

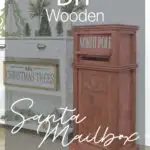


Decorate for Christmas with your own vintage inspired Santa mailbox.
Nothing says Christmas like writing a letter to Santa and placing it in a large red mailbox. But you do not need to go to the mall to mail off your letters to Santa…
Instead, build your very own Letters to Santa mailbox! It makes the perfect DIY Christmas decor that will wow everyone.
I partnered with Kreg Tools to build the mailbox using their amazing pocket hole jig. Use any of the Kreg Jigs, or use this as an excuse to upgrade to my favorite 720Pro. It will make shop time more fun and easy!
This post may contain affiliate links. As an Amazon Associate I earn from qualifying purchases. Click here to read my full disclosure policy.
And right now there are some great sales on some of my favorite Kreg tools. Check them out here.

Large Santa Mailbox
I made a fun crafty mailboxes for Christmas a few years ago. And my kids always ask when will I bring it out.
Even though they are older, they look forward to writing their letter to Santa every year. The tradition of thoughtfully coming up their Christmas list is just so much fun.
So this year I decided to take the tradition up a notch!
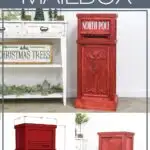
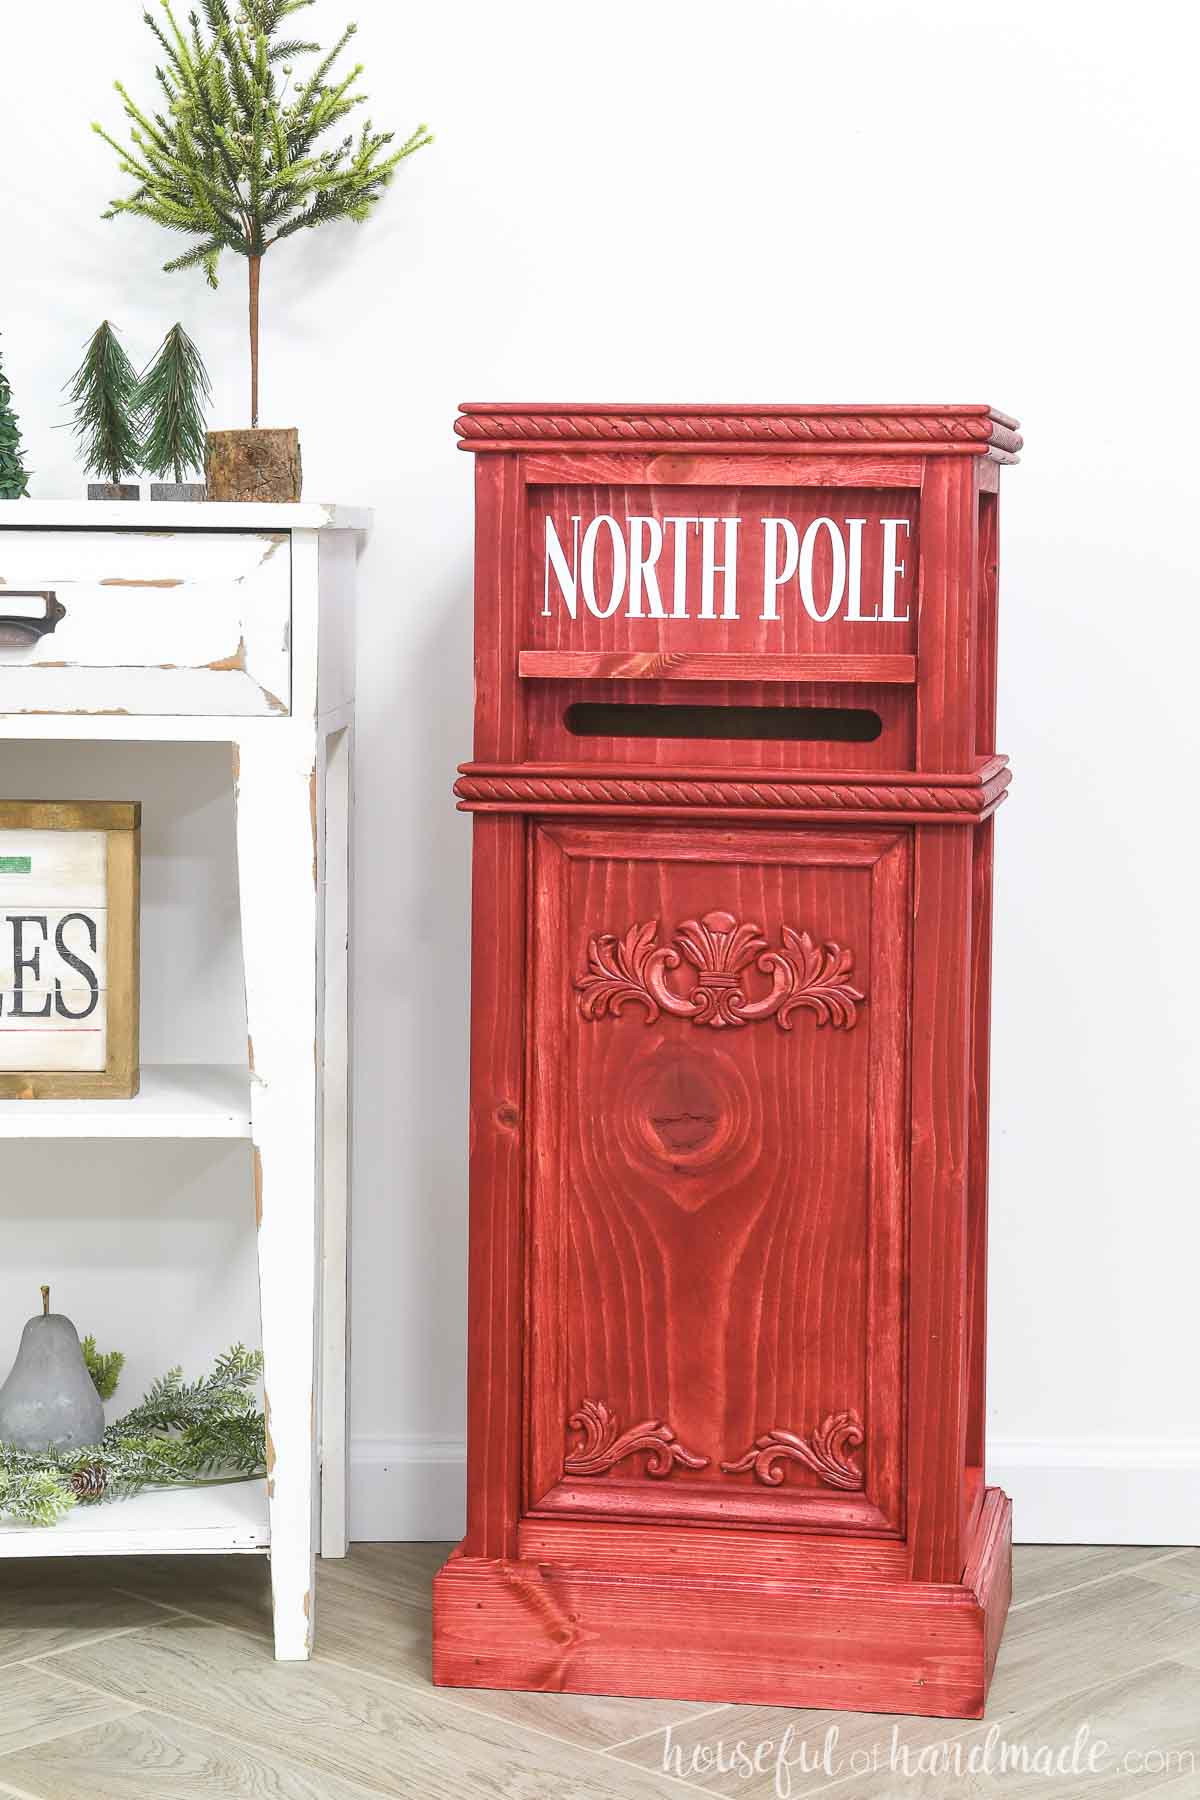
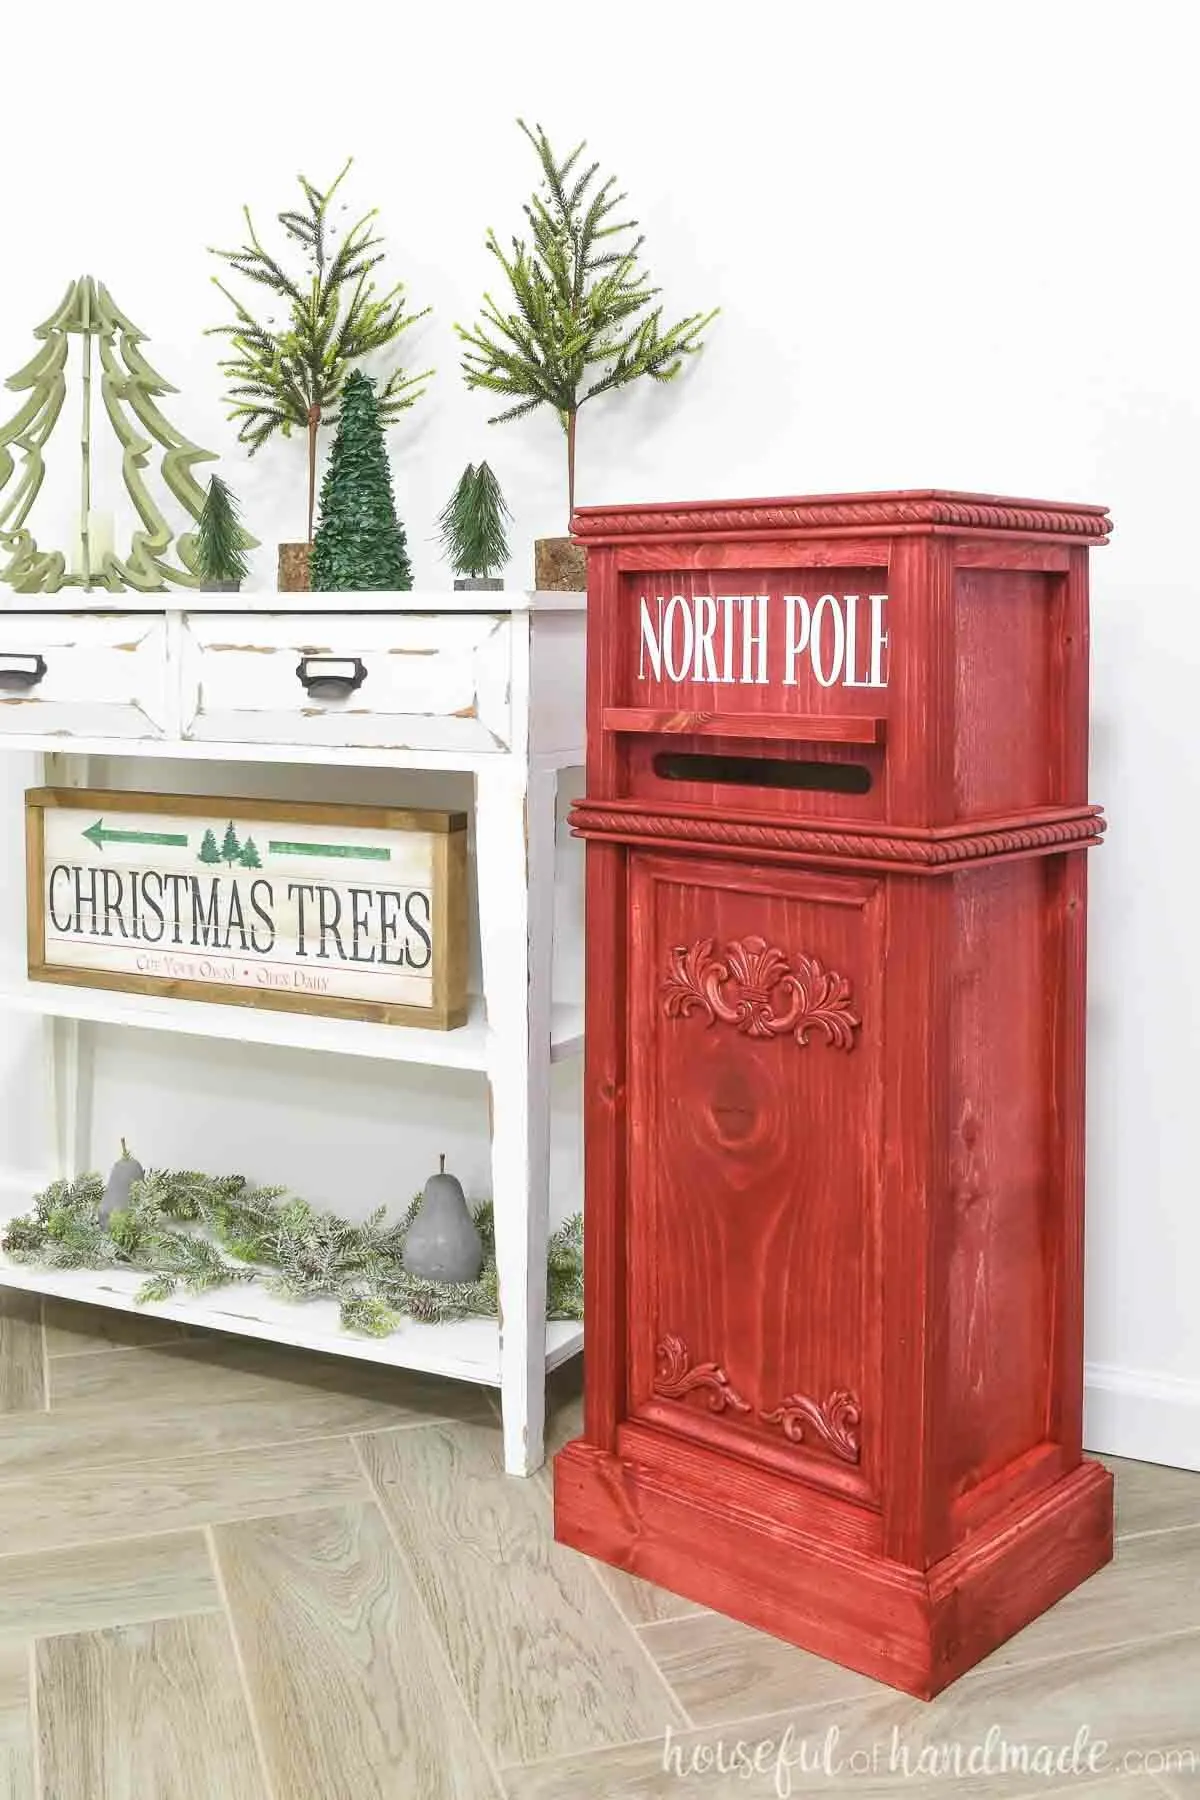
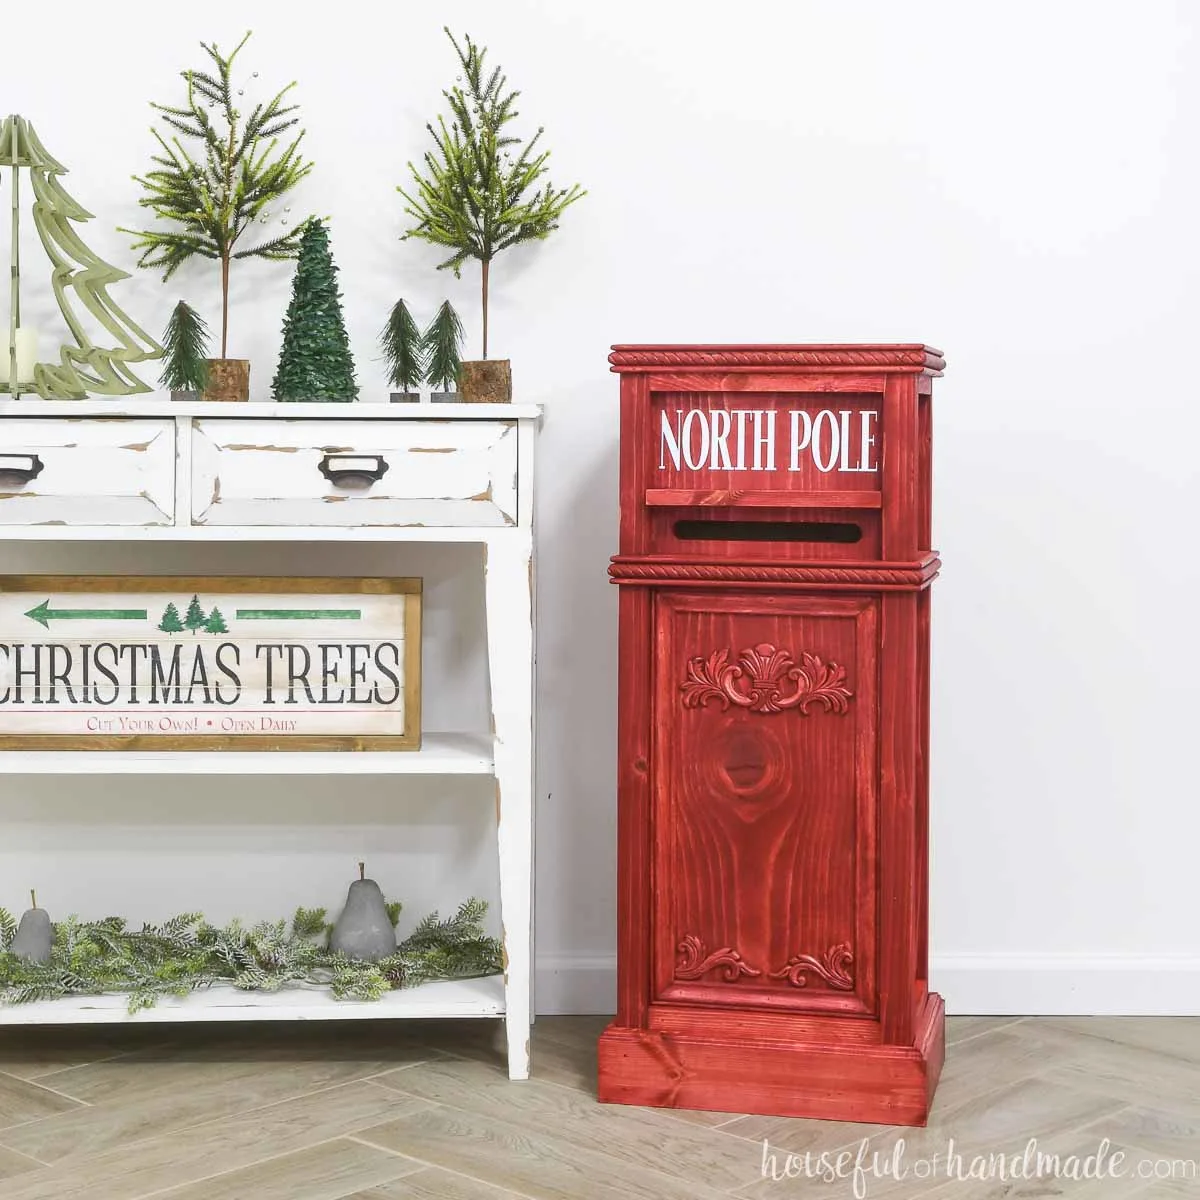
This gorgeous letters to Santa mailbox is built from wood and embellished with wood trim and appliques. It looks like a vintage mailbox in an old Christmas movie.
The main mailbox body is built from standard dimensional lumber. All you need are 2x2s, 1x2s, a 1×8 and 1×12.
Then it is time to get creative and decorate your own mailbox however you want. I used rope trim that made me think of candy canes to create dimension all around the mailbox.
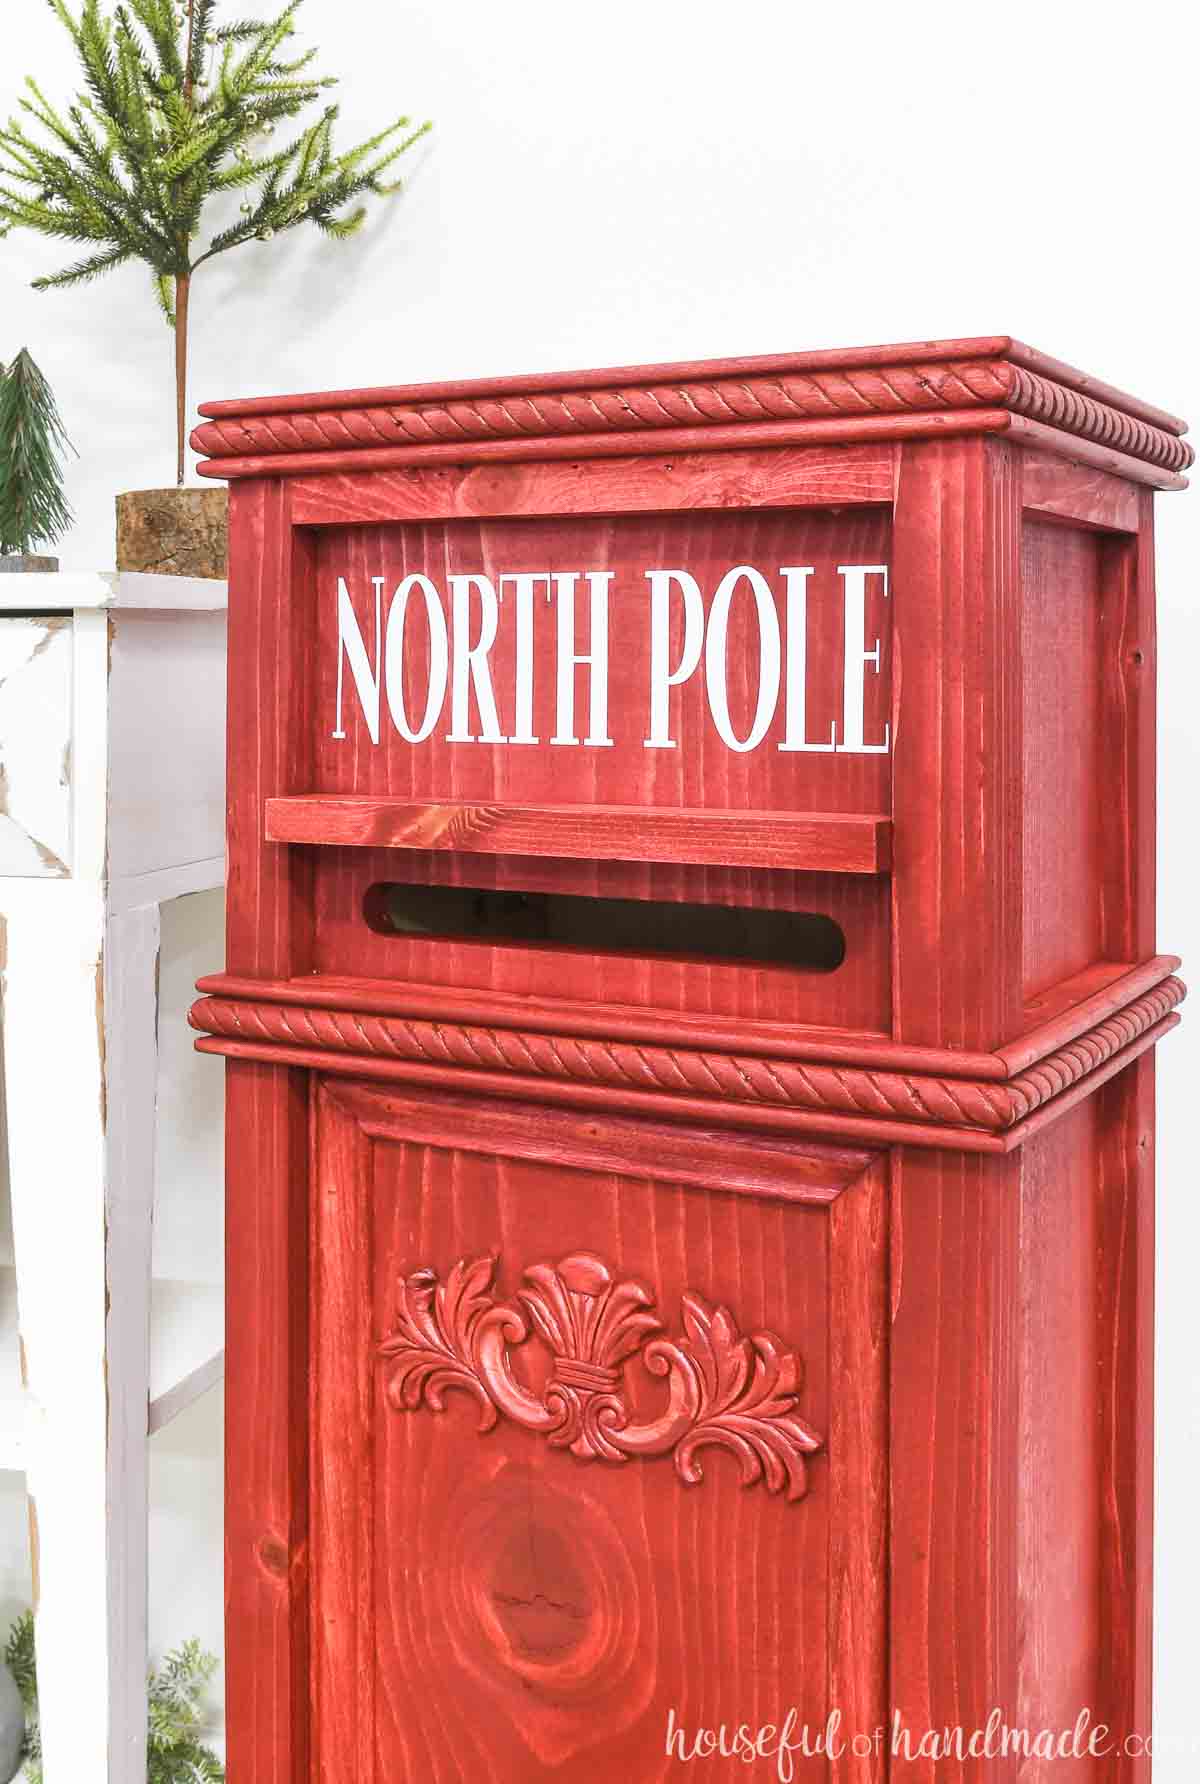
To add more vintage charm to the front, a simple moulding is used around the opening. Then a beautiful wood applique is added in the center.
And the entire thing gets festive once it is stained red. I love that the grain of the wood still shows through.

You can use your new mailbox decor anywhere you want to add some Christmas cheer.
Here are just a few ideas of how to decorate with your Letters to Santa Mailbox:
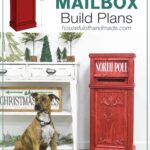
- Place it next to the Christmas tree
- Decorate your front porch around it
- Place it in your entryway
- Put it on the hearth by your fireplace
- Donate it to a school, church, or local business

How to Build a Christmas Mailbox
Tools needed:
- Miter saw
- You will need a sliding miter saw to cut the 1×12 to width, or you can use a circular saw to cut all your pieces.
- Pocket hole jig
- I love my Kreg 720, but their less expensive 520 jig or 320 jig are great jigs for beginners or small spaces (learn what Kreg Jig is right for you here).
- Jig saw
- Drill
- Impact driver (optional, but I love not having to switch bits with the drill)
- 90 degree drill adapter
- Brad nailer
- Sander
- Optional: Router and Kreg Router table
- I used this to make my own baseboards out of a 1×4 board.
Supplies:
- Printable PDF Woodworking Plans
- Wood products
- (1) 8′ long 1×12 board
- (1) 8′ long 1×8 board
- (2) 8′ long 2×2 boards
- (1 1/2) 8′ long 1×2 boards
- Decorative trim
- Wood appliques
- (1) 5′ long 3 1/2″ tall base board
- 1 1/4″ Kreg pocket hole screws
- 1 1/4″ brad nails
- 5/8″ brad nails
- 2″ hinges
- strong round magnet
- Knob or small piece of dowel
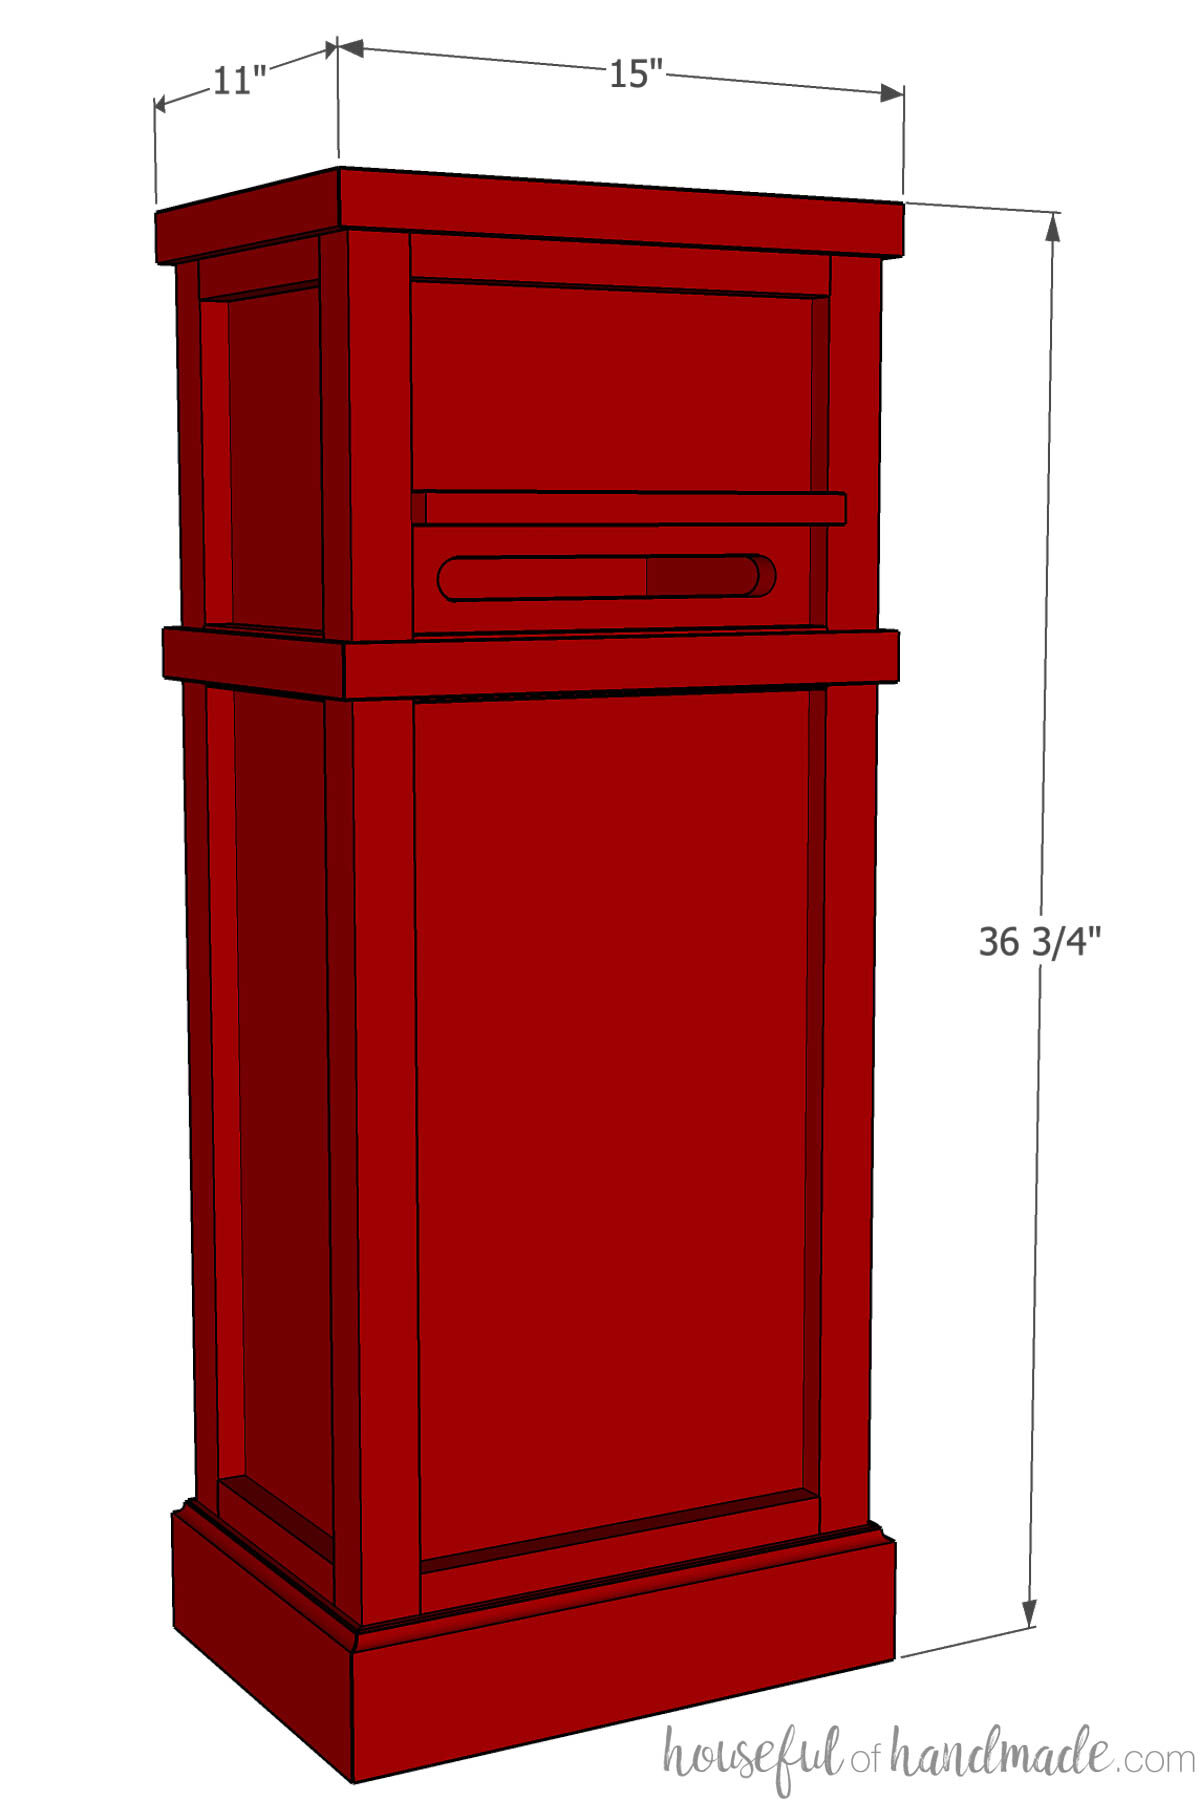
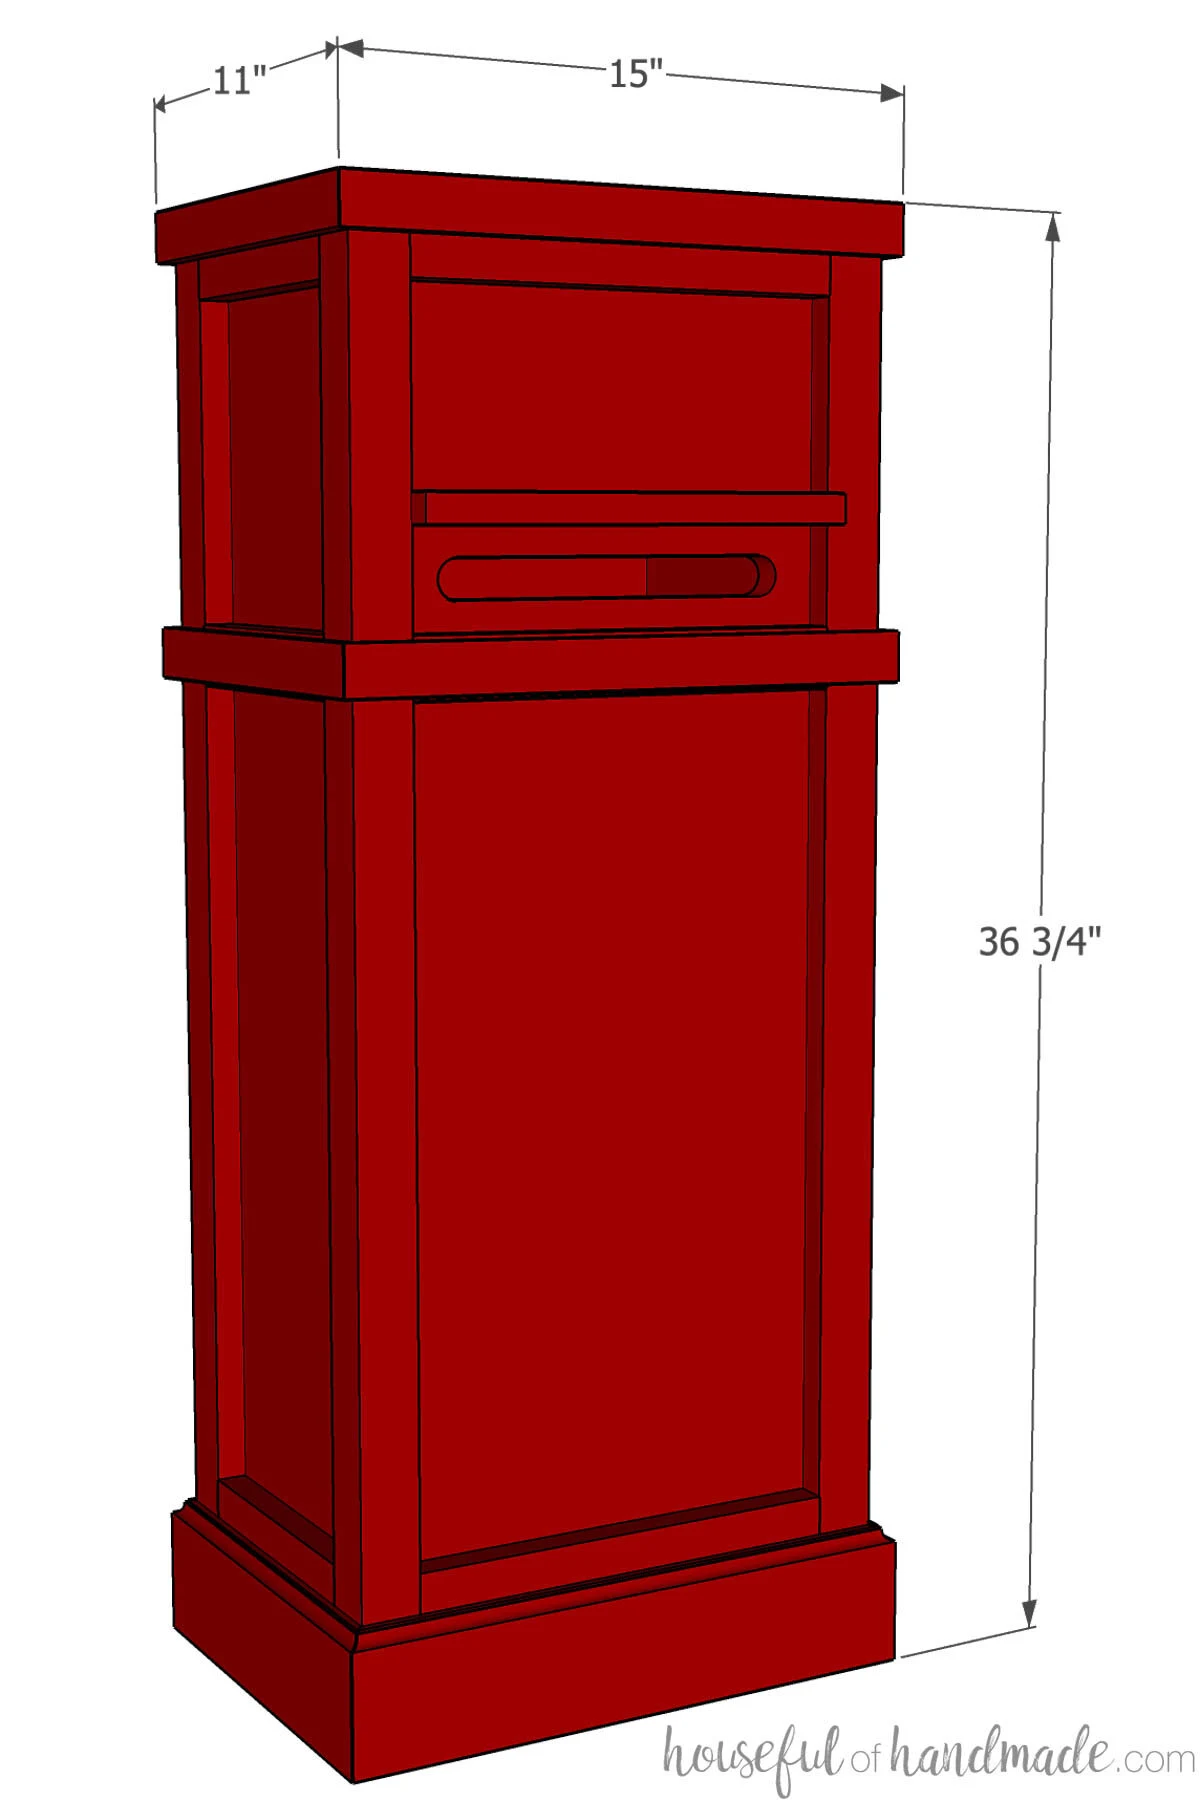
Overall Dimensions:
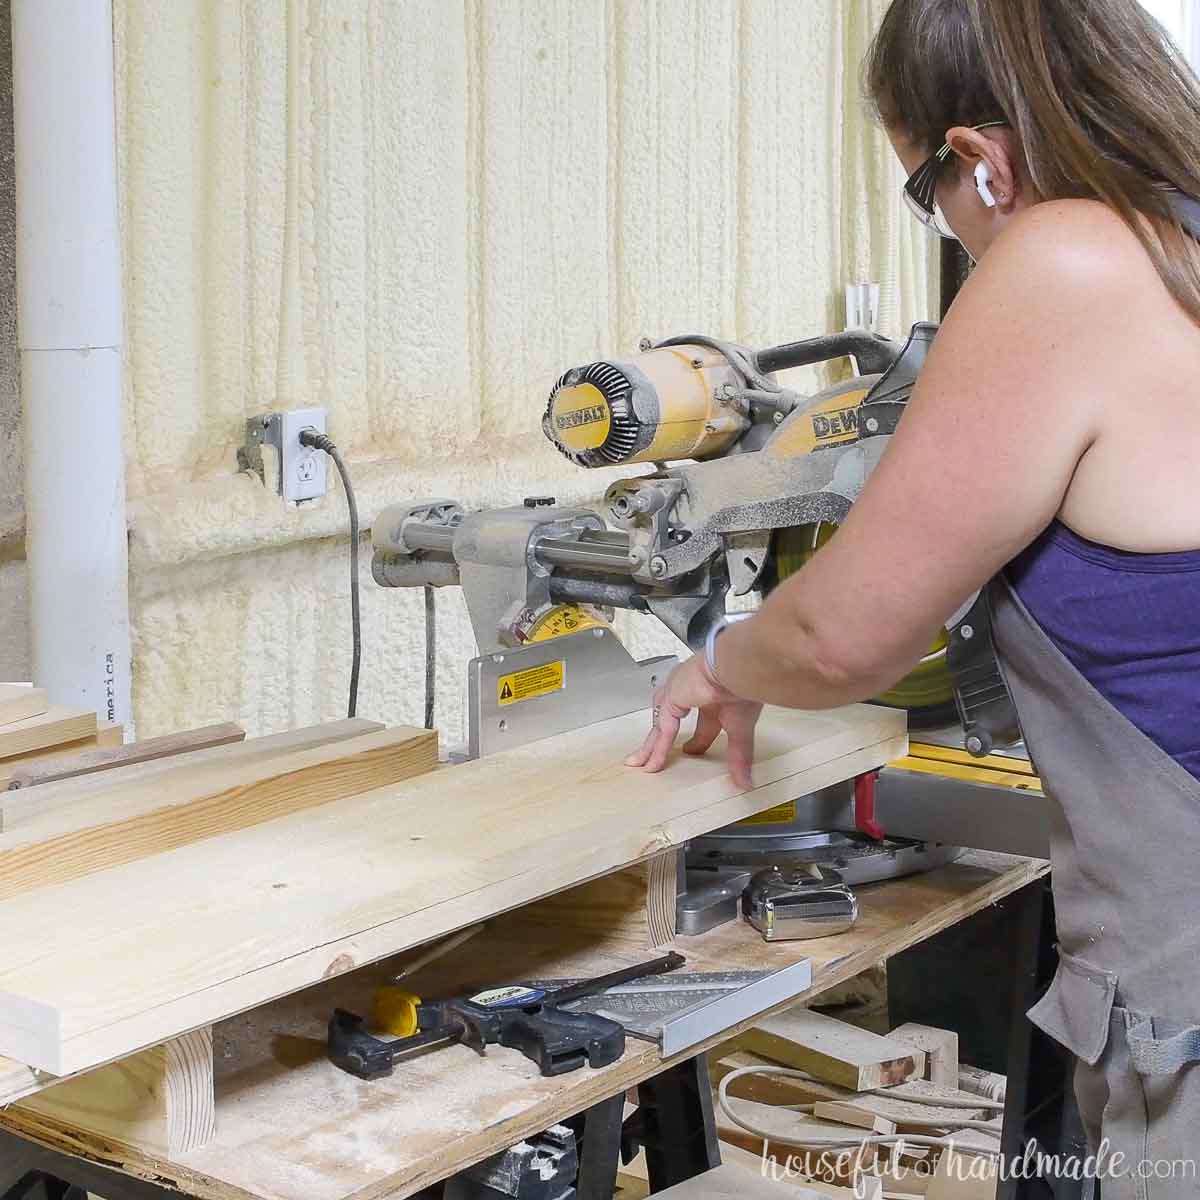
STEP 1- Cut and prep pieces
Cut out 36″ long pieces from the 2×2 boards for the corners, 1×8 boards for the sides and 1×12 board for the front.
For the back, cut a 24 1/2″ and 5 1/2″ piece.
Detailed cut lists can be found in the PDF build plans.

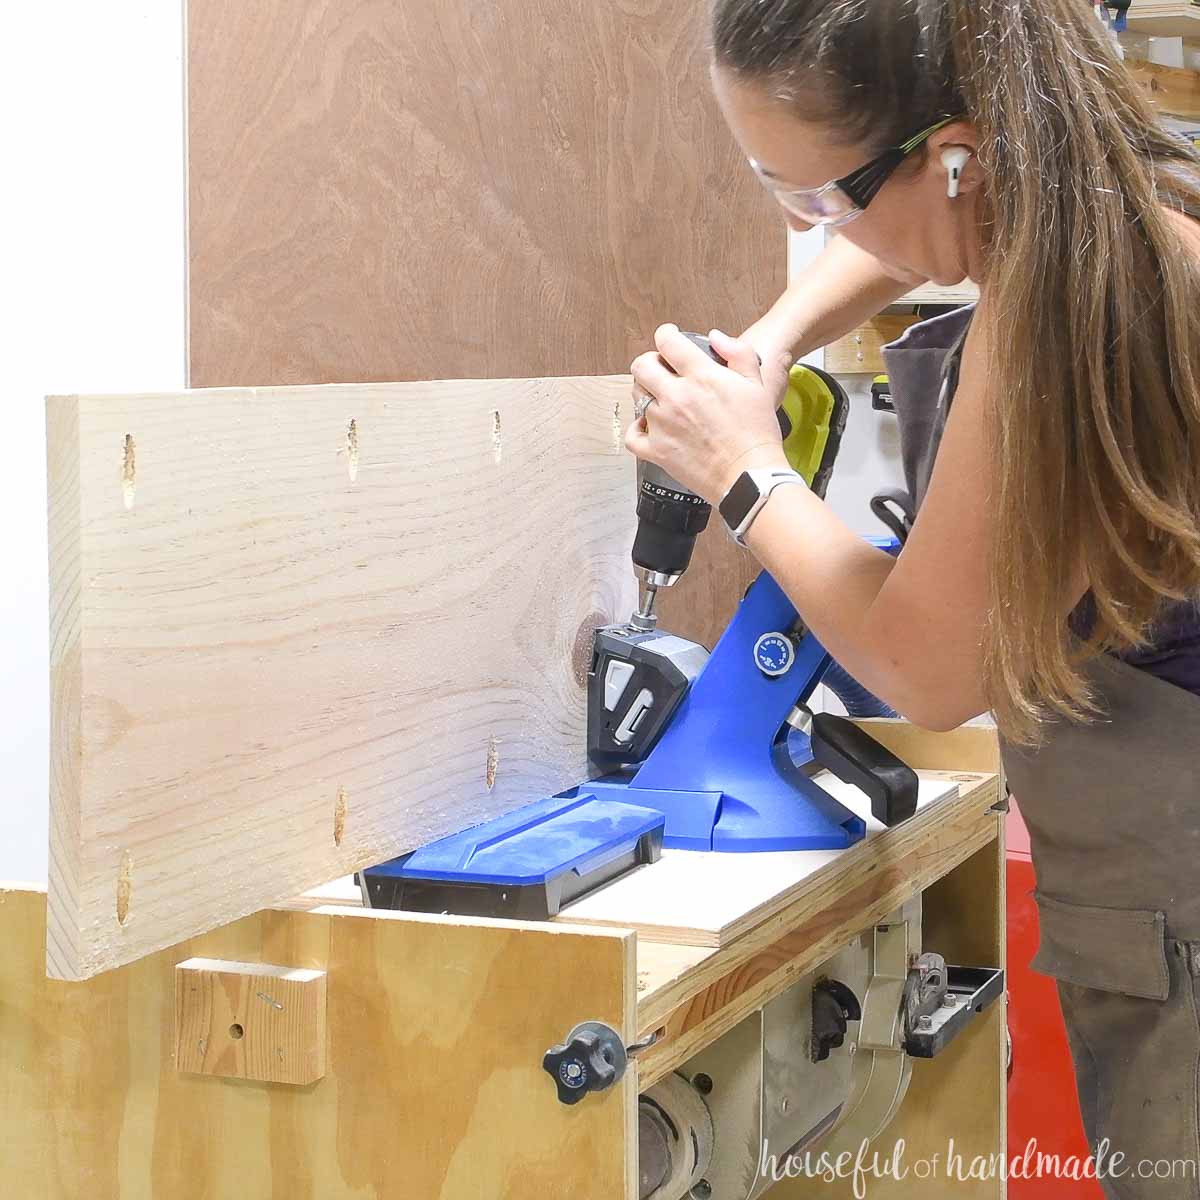
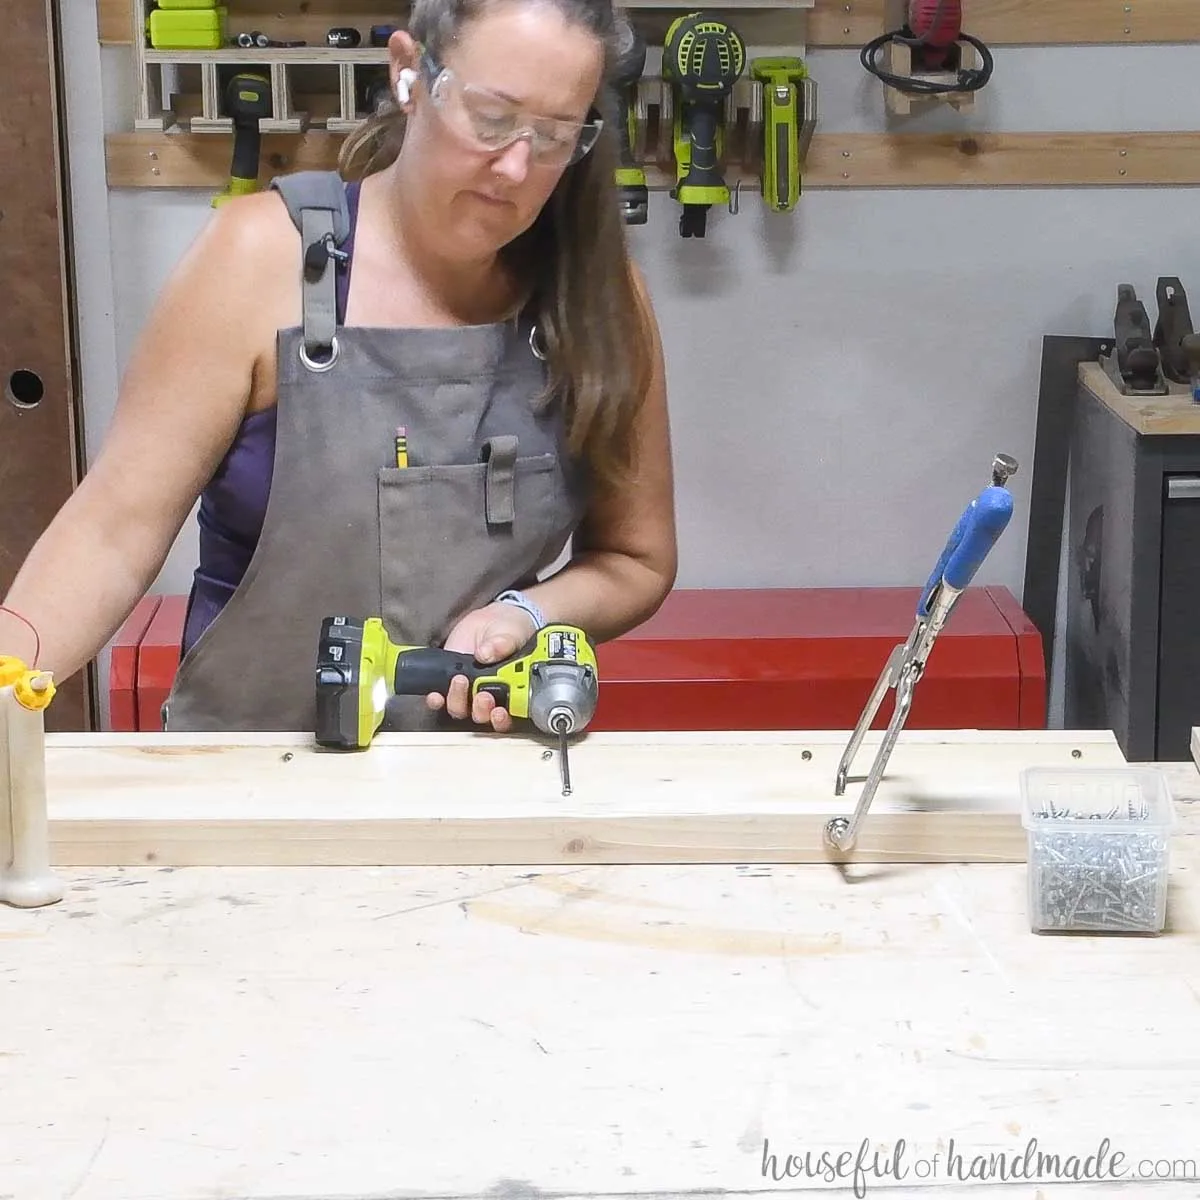
Set your Kreg pocket hole jig set for 3/4″ thick material. Drill pocket holes in the back sides of the side, front, and back pieces.
Make sure to add pocket holes every 5-6 inches along the boards.

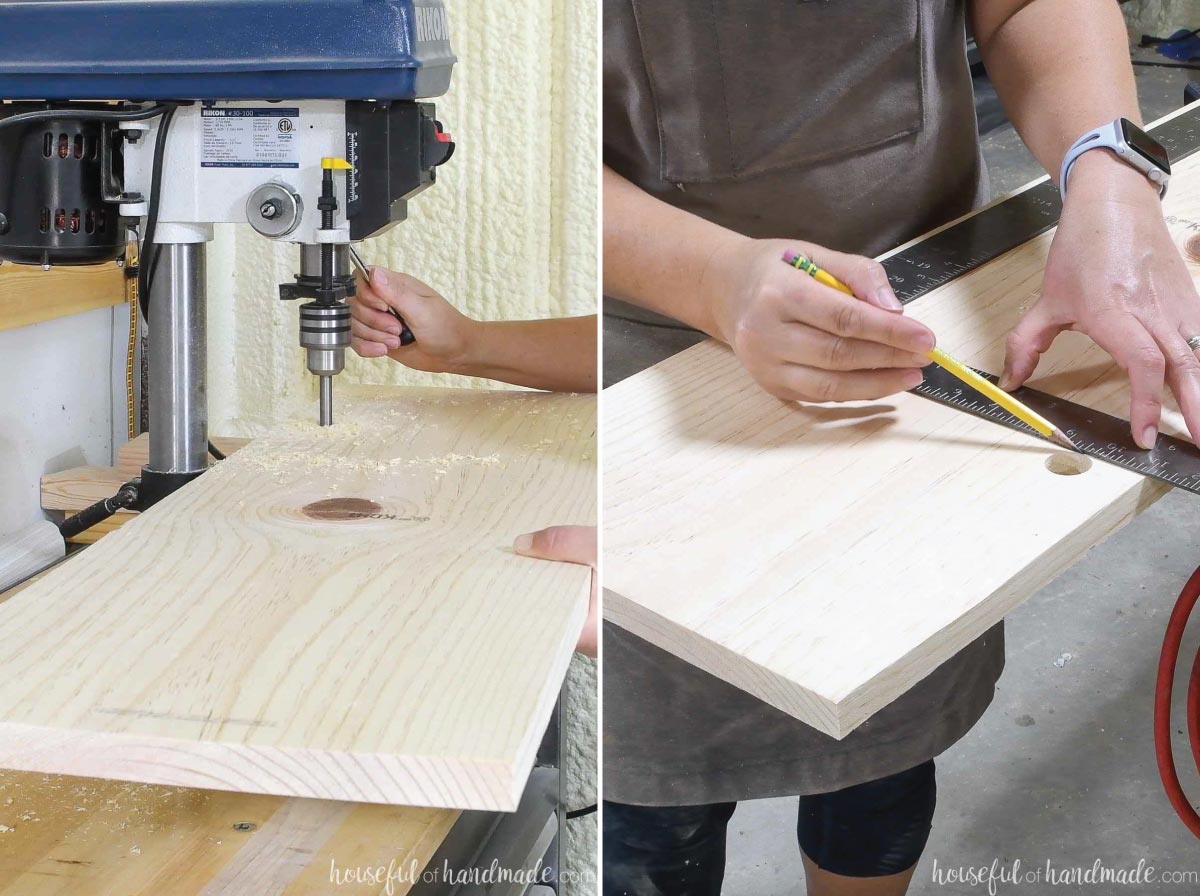
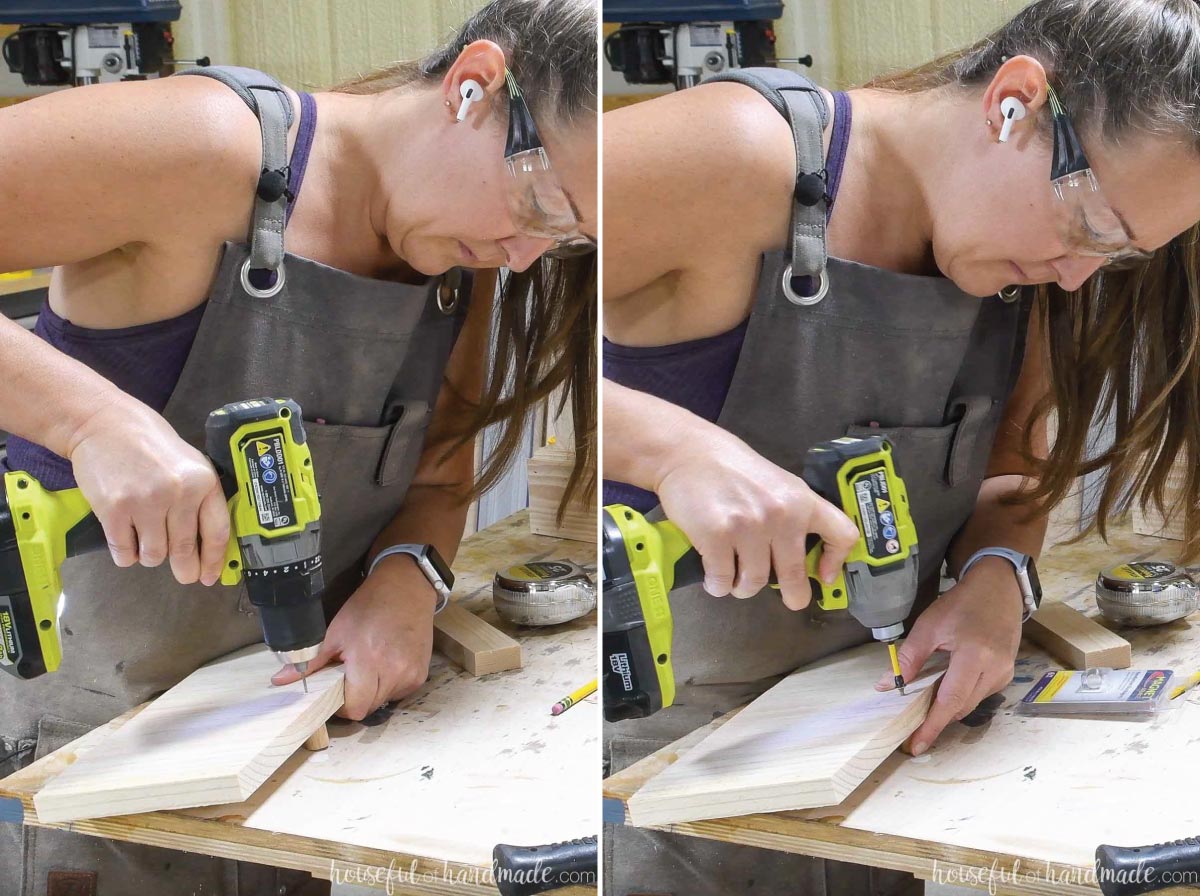
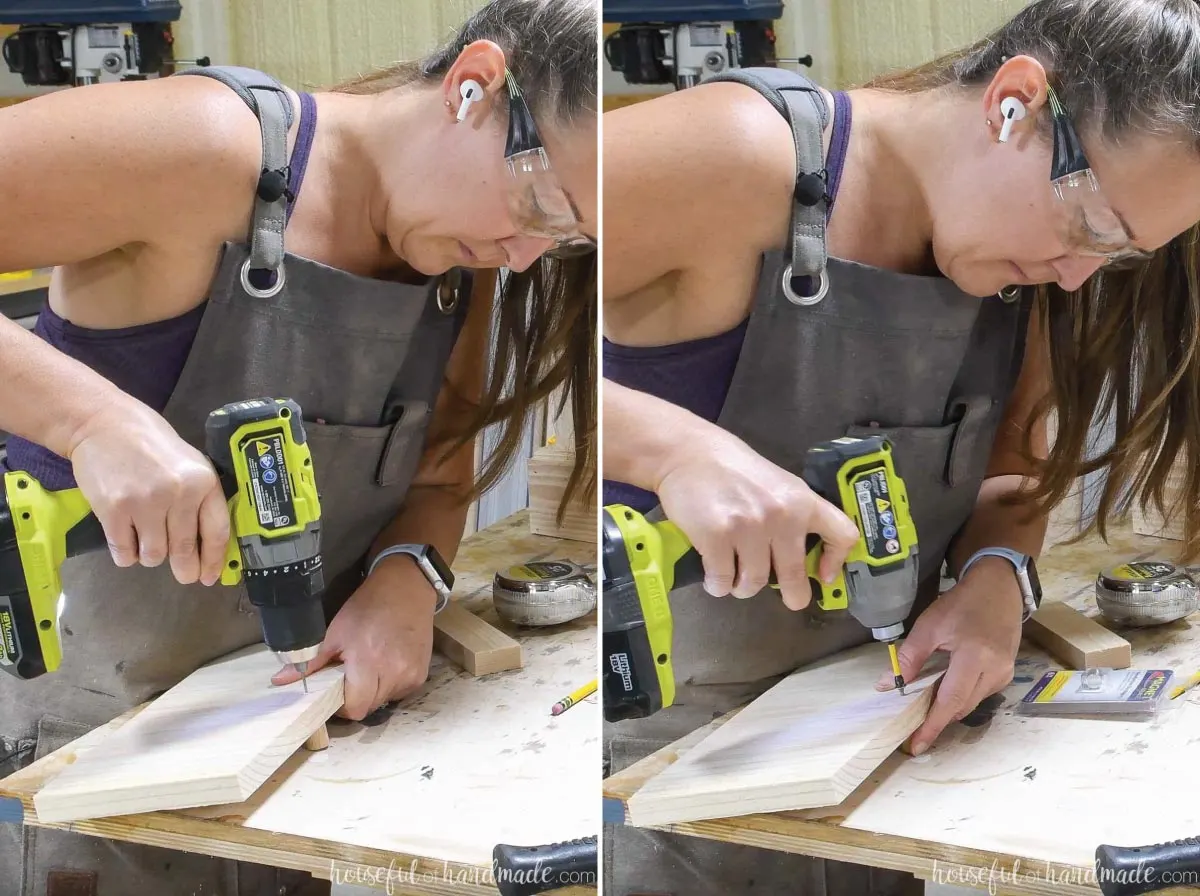
On the front, measure out where you will put your mail slot according to the plans.
Drill 1″ holes for each side of the opening.
Then draw a straight line between the two circles. Make sure the line just touches the top and bottom of the circles.

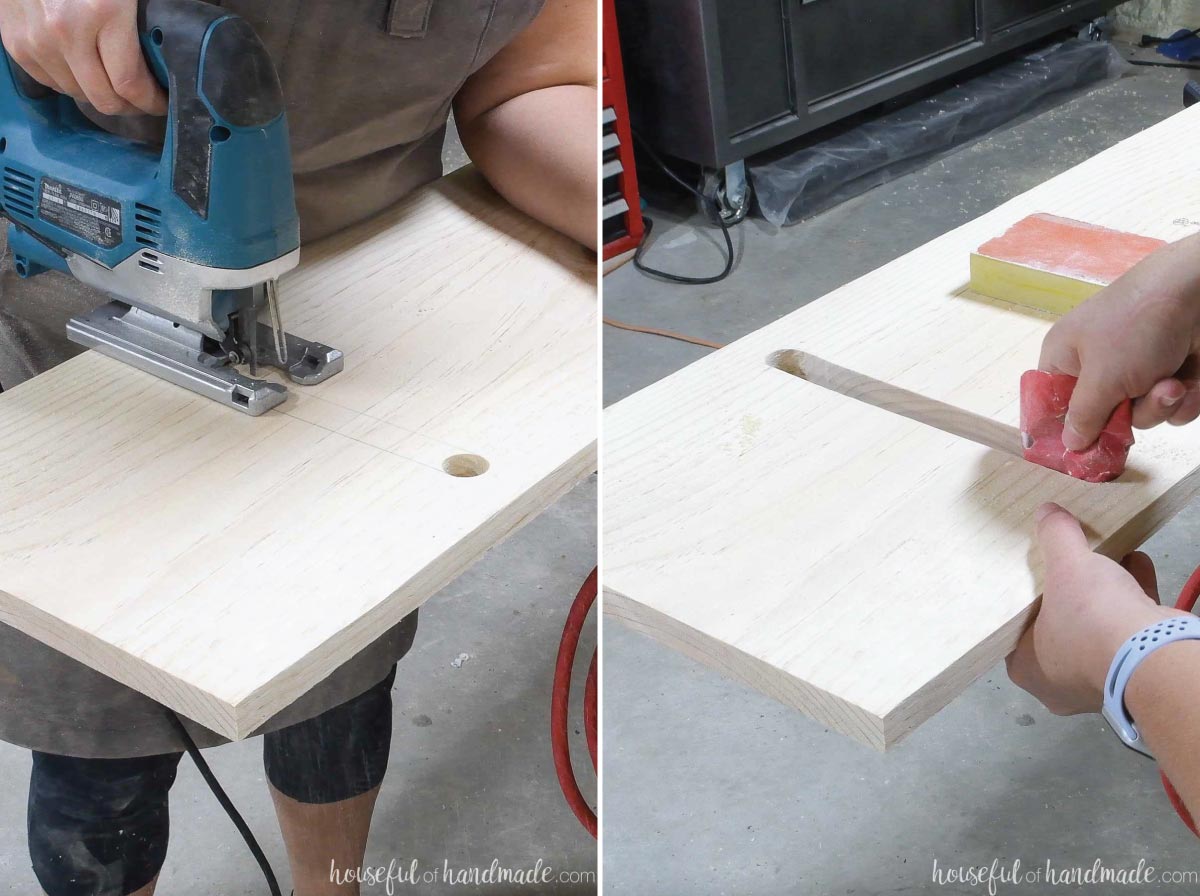
Using a jigsaw, cut along the lines.
The inside should fall out. Sand the slot smooth now (it will be harder later).

STEP 2- Assemble mailbox
Now you are ready to assemble the mailbox. Because you will need to be working inside the tall, slender box, it can get tricky.
I planned out the steps to make it easy to access all the pocket holes and attach all the pieces.
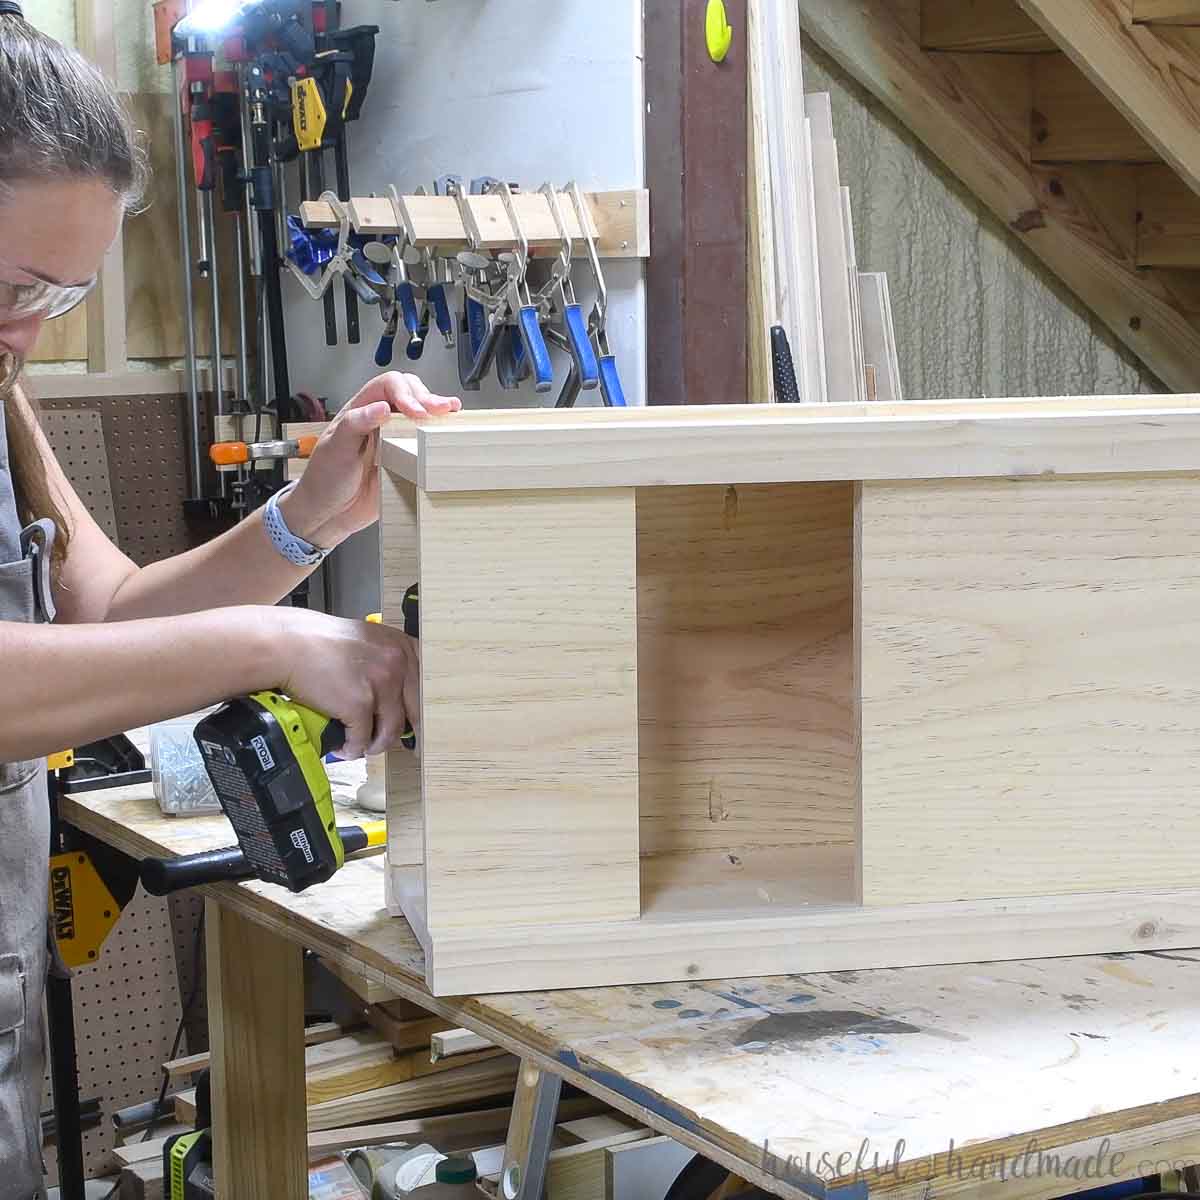
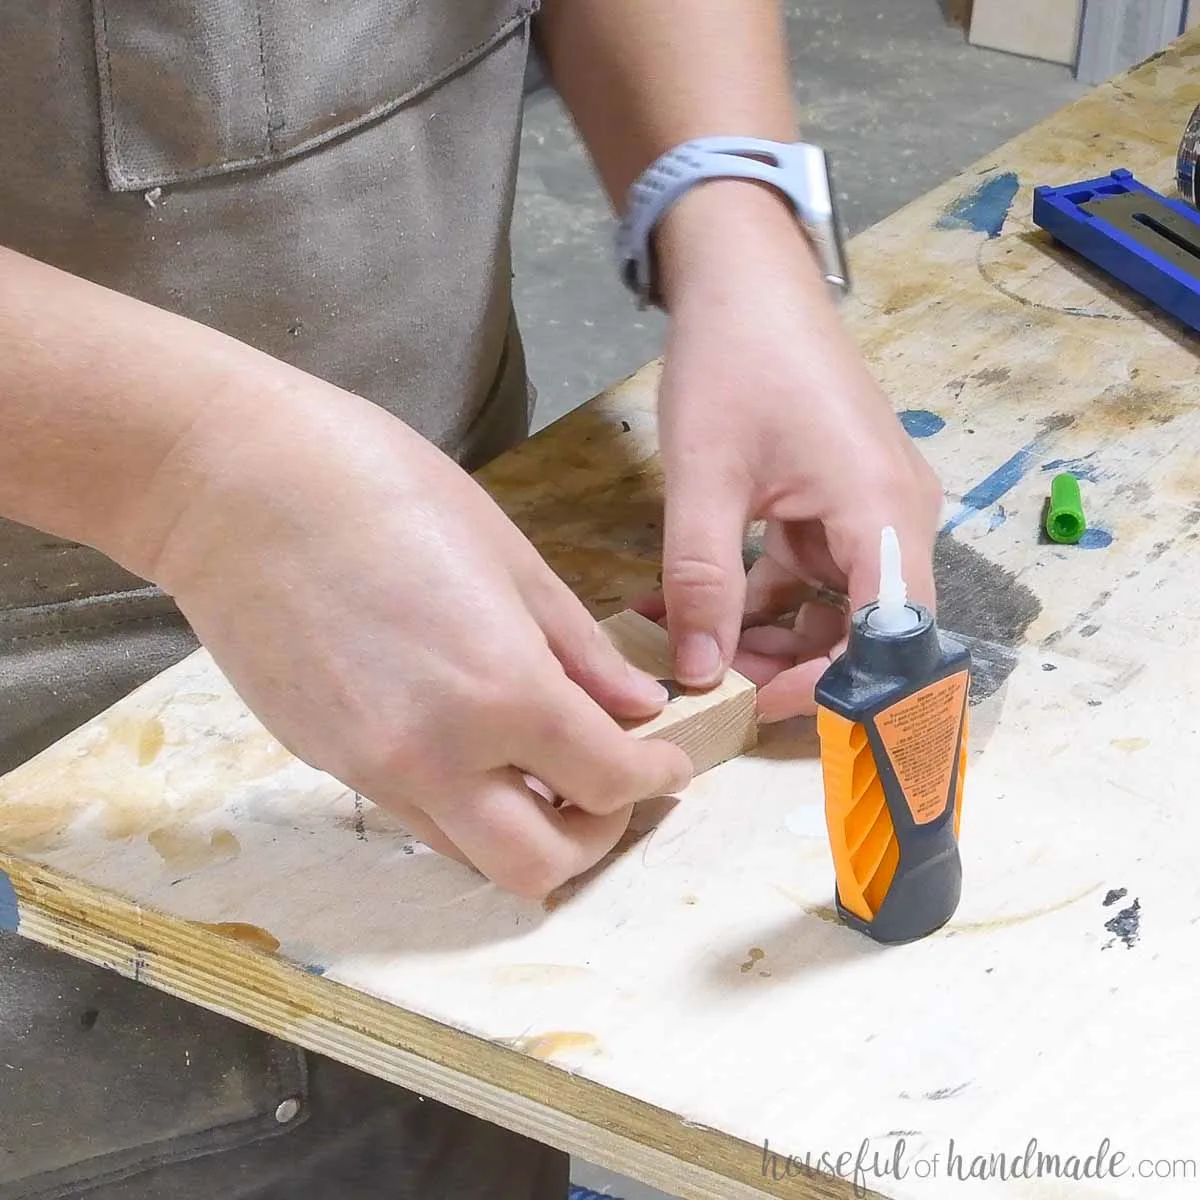
Start with attaching the side board to one of the corner pieces. Make sure the back is flush with the back of the corner.
Secure with 1 1/4″ pocket hole screws and wood glue.

Then attach another corner piece to the other side of the side board.
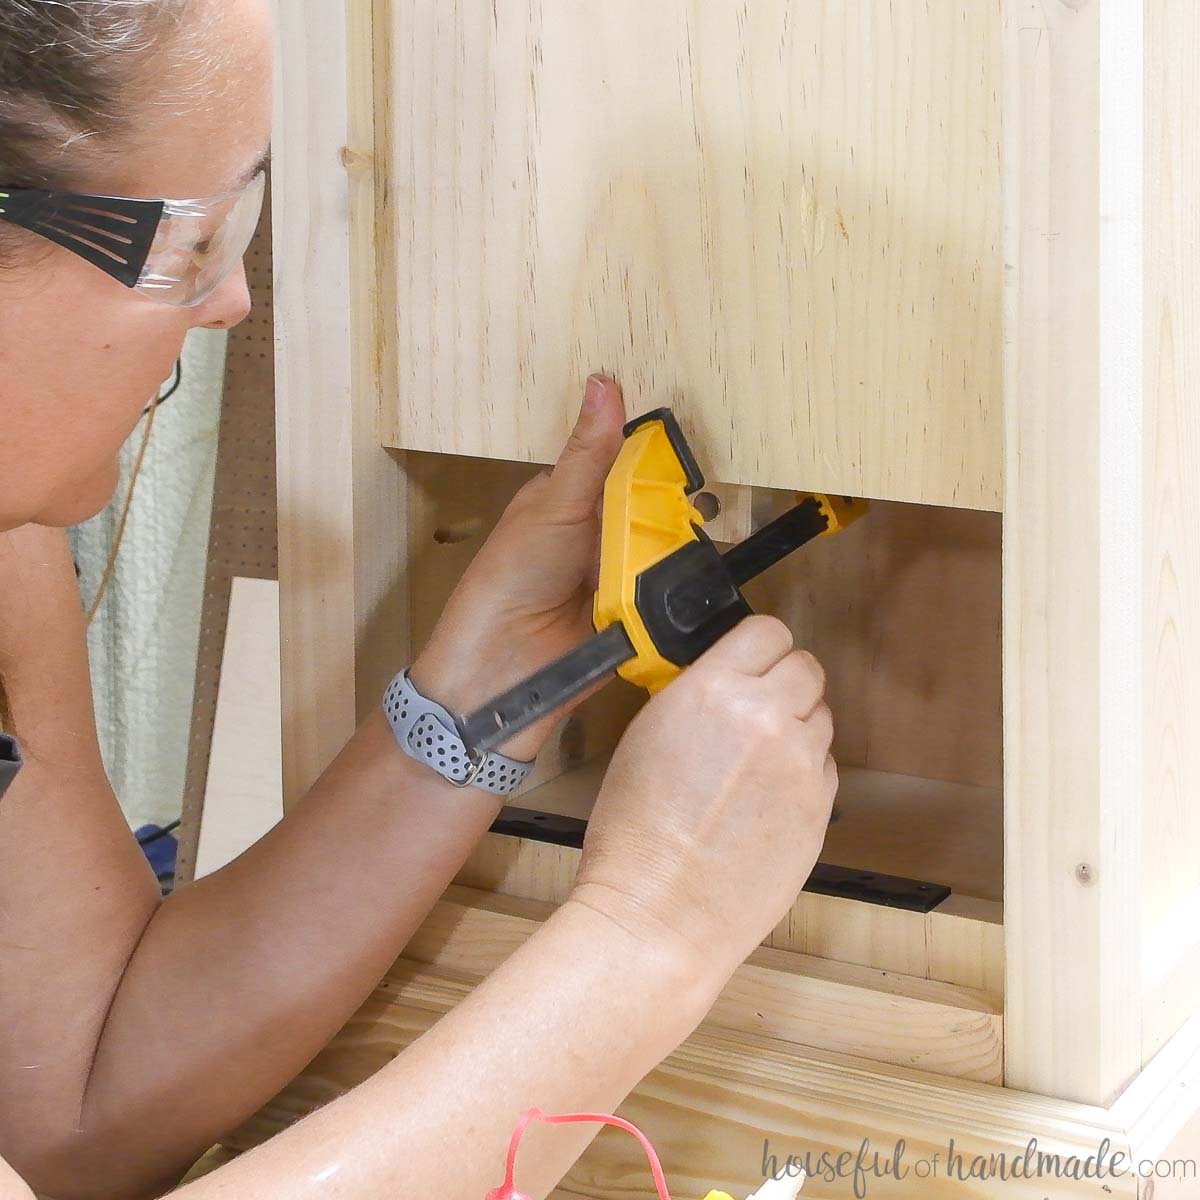
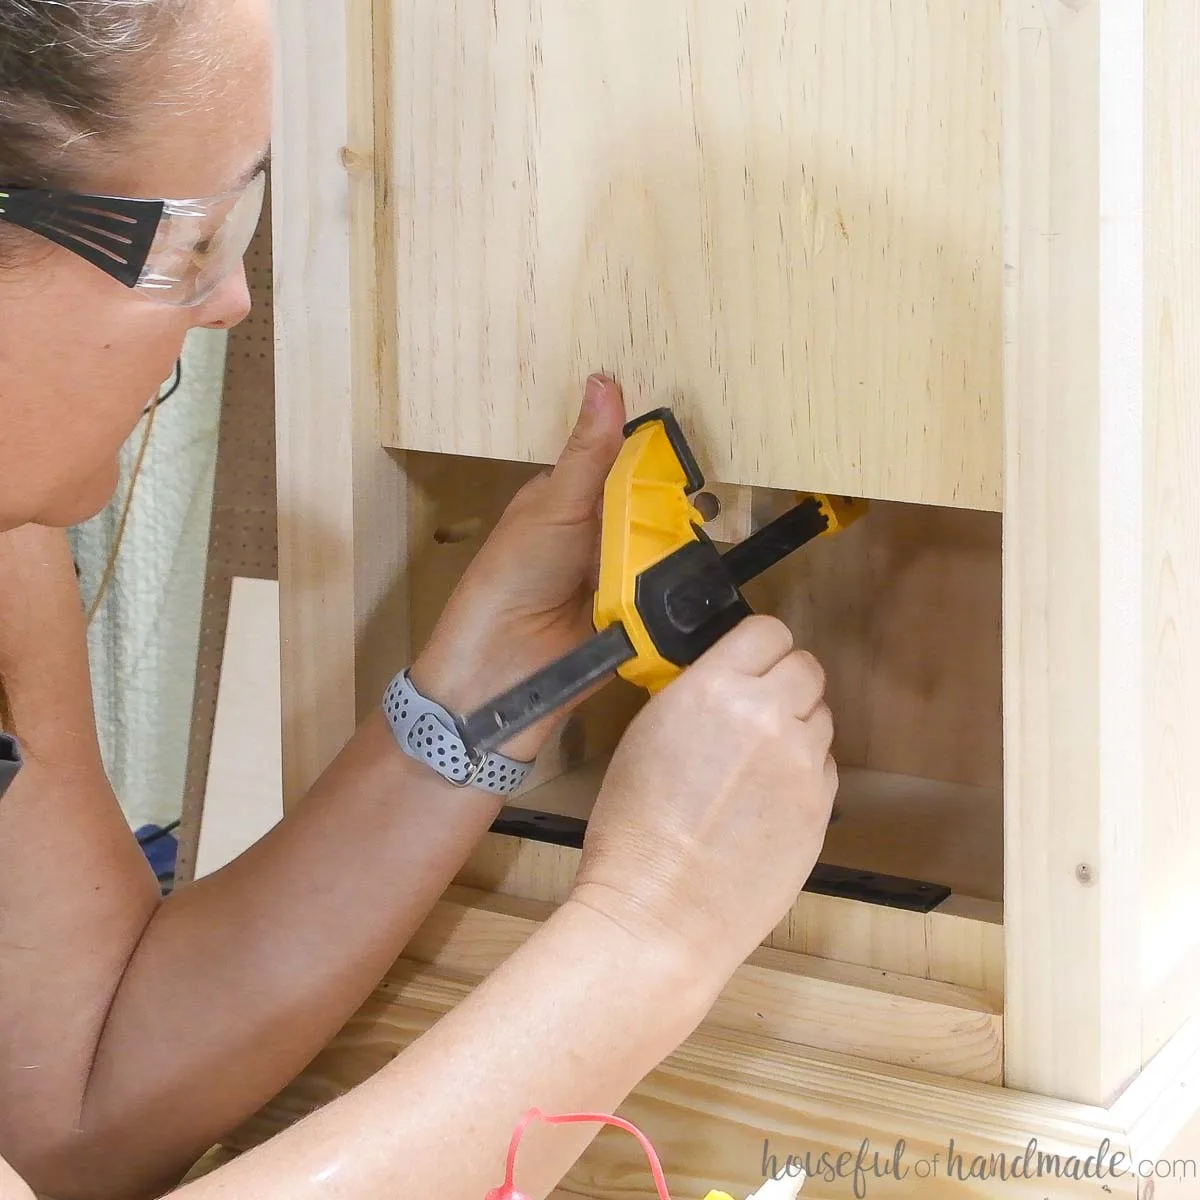
EXPERT TIP:
The Kreg right angle clamp is a great second set of hands when attaching boards with pocket hole screws.
Again secure with wood glue and 1 1/4″ pocket hole screws.
Repeat for the second side board.
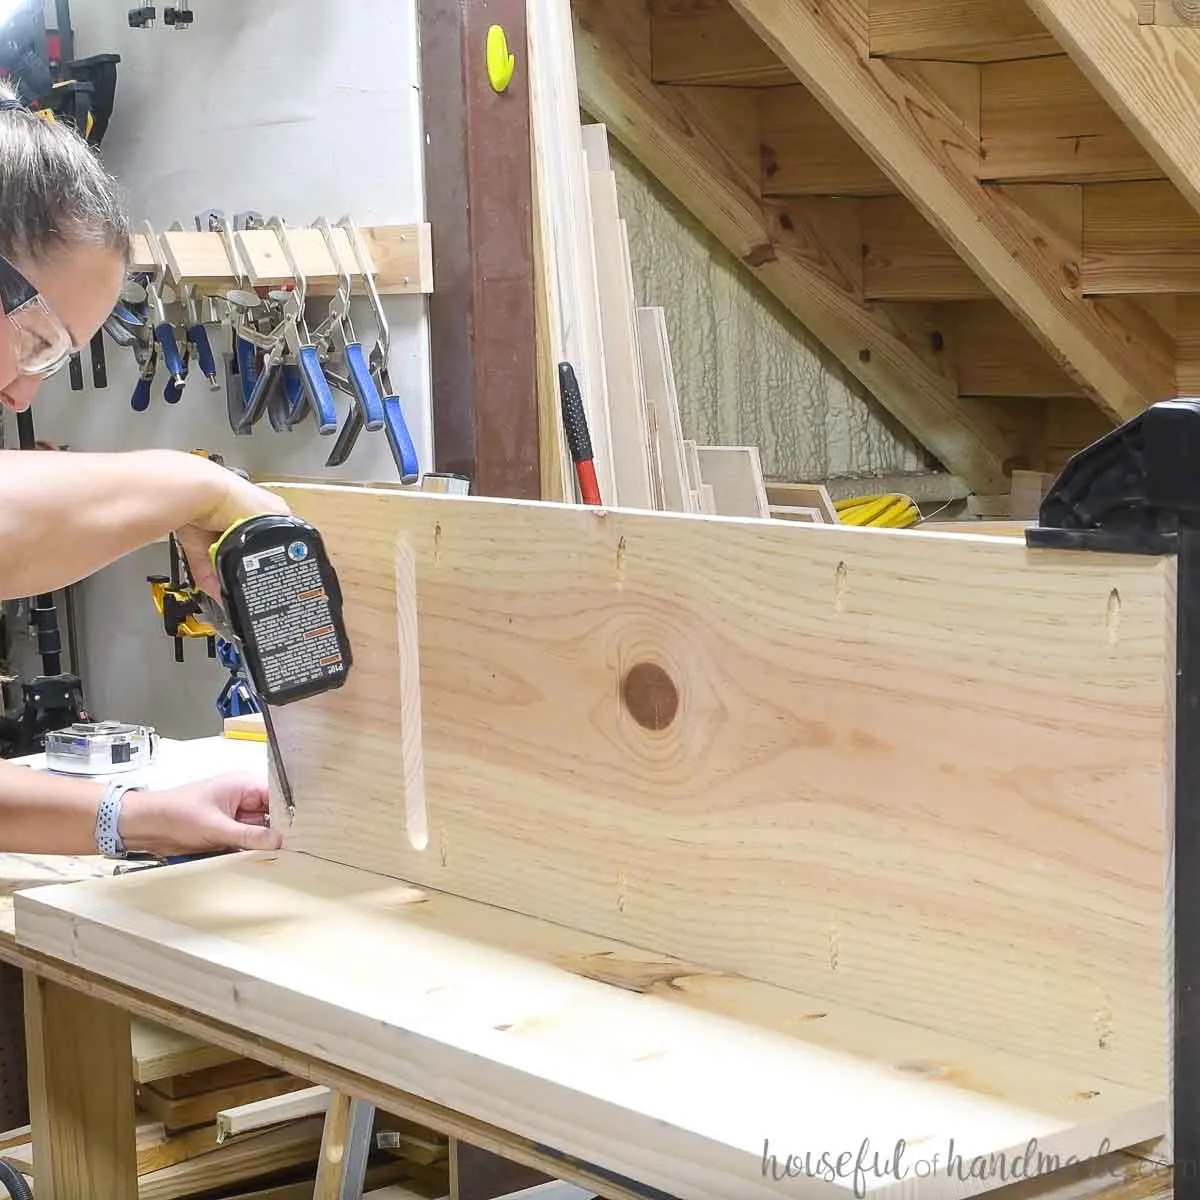
Next attach the front to one of the side boards.
Make sure the back is flush with the back of the corner piece.
Quick grip bar clamps are helpful in holding the pieces in place while you secure with wood glue and 1 1/4″ pocket hole screws.

Then attach the other assembled side to the other side of the front piece.
I used a combination of bar clamps and right angle clamps to hold things while I drove in the screws.
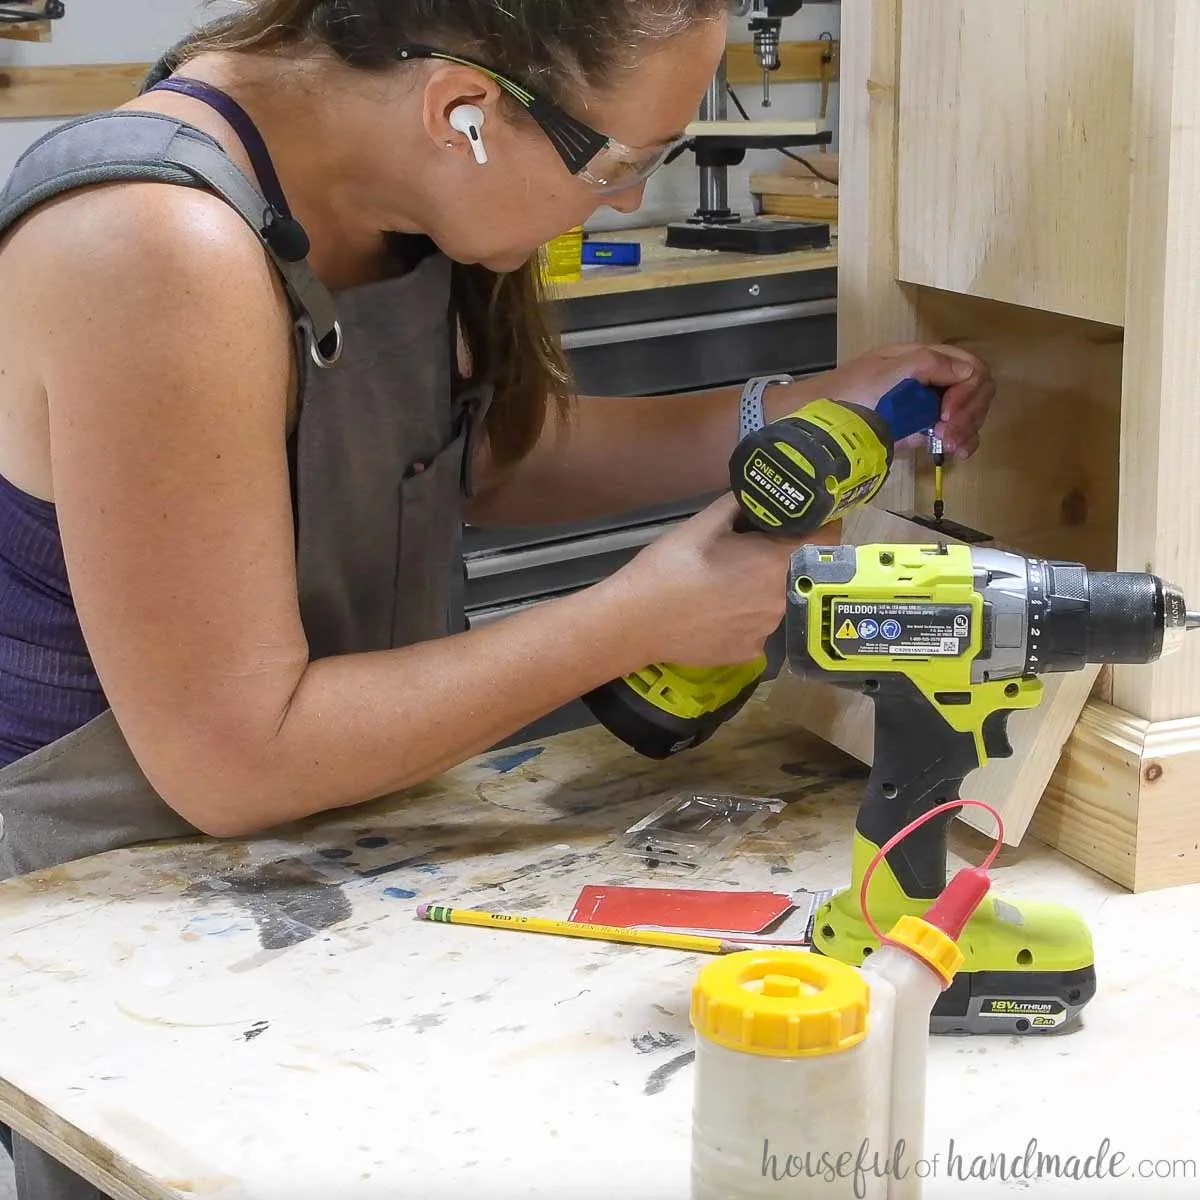
Since you are working in a tight space you will need to use a shorter Kreg driver bit or a 90 degree drill adapter.


Next add the top part of the back between the two sides. This is the larger back piece.
Attach it to the top of the mailbox. Secure with wood glue and pocket hole screws.
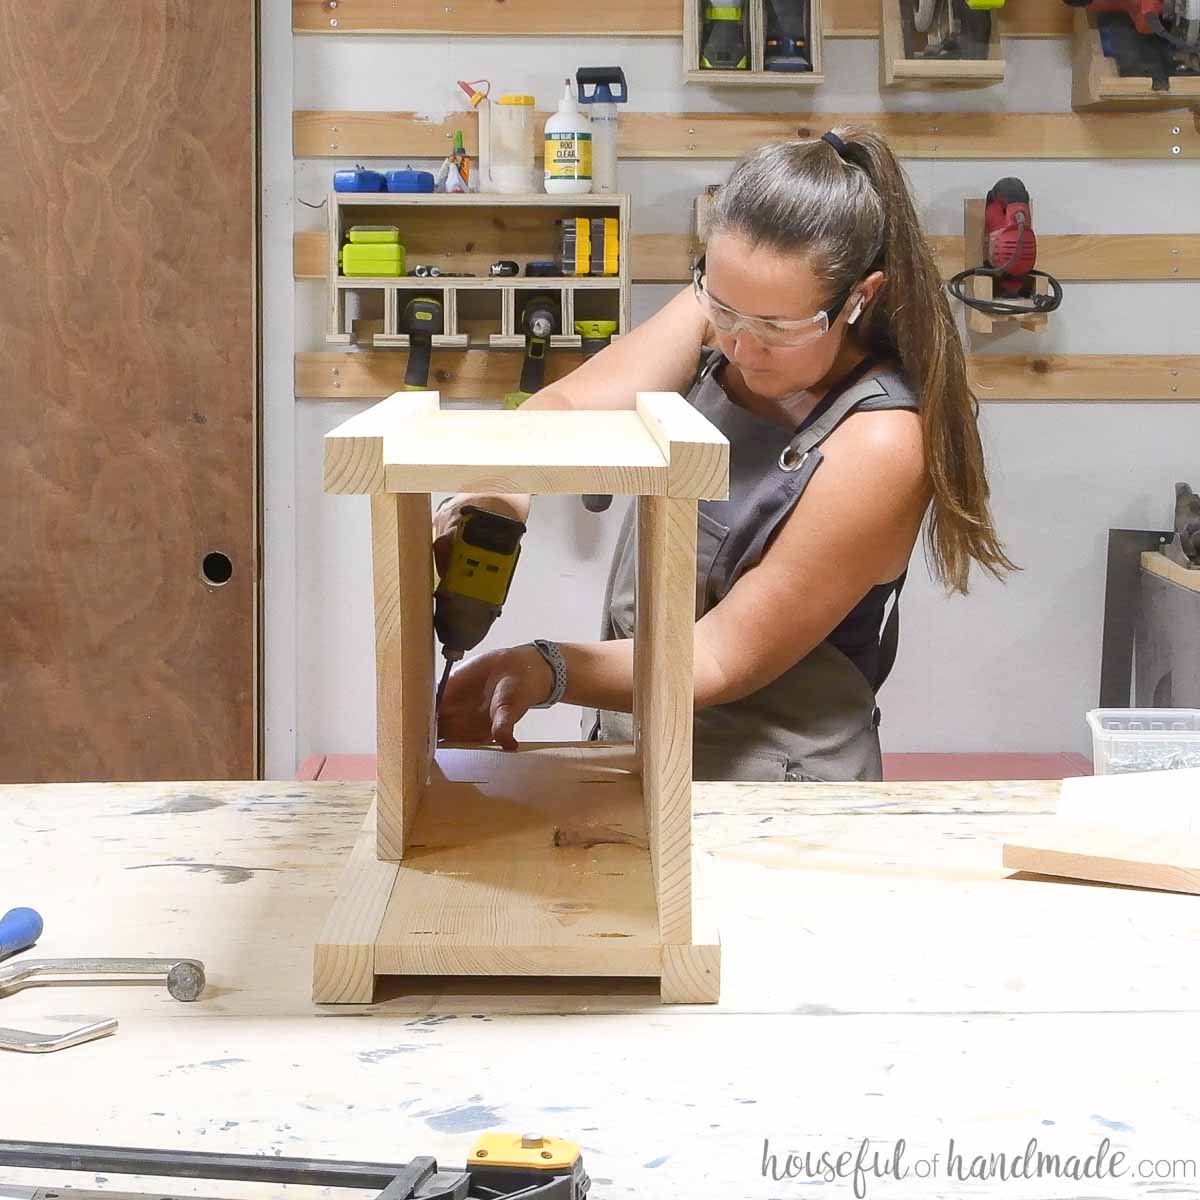

Next, measure the width of the bottom of the mailbox. Cut a piece of 1×8 to this length for the bottom piece.
Drill pocket holes in all four sides of the bottom.

Attach the bottom to the front and one side of the mailbox. If you attach both sides right now, it will be too tight to get the final back piece in.
Secure with 1 1/4″ pocket hole screws.
I didn’t use wood glue on the bottom because it would be hard to get the pieces in place without getting glue everywhere.


Then carefully position the lower back piece so it is flush with the bottom.
Secure it to the sides and then secure the remaining side and back of the bottom.

STEP 3- Add trim and decorations
Measure and cut 1×2 boards to fit between the corner boards on the front, back and sides.
On all pieces, attach a 1×2 trim flush with the top, one 8″ below the top trim (just below the mail opening), and the last one 3″ up from the bottom.
Secure these with wood glue and 1 1/4″ brain nails.
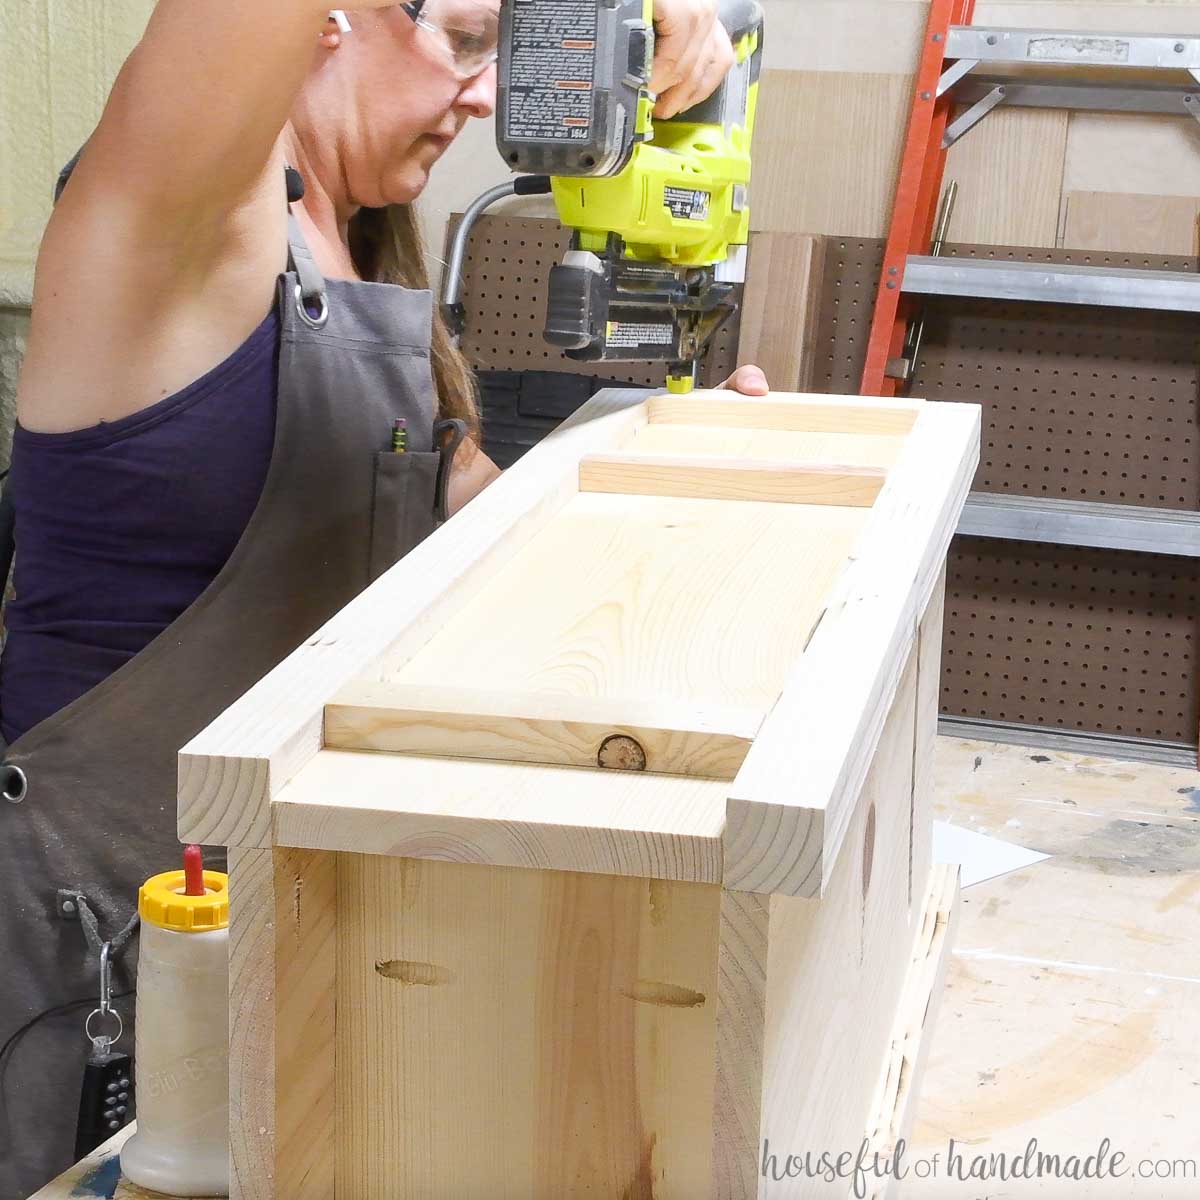

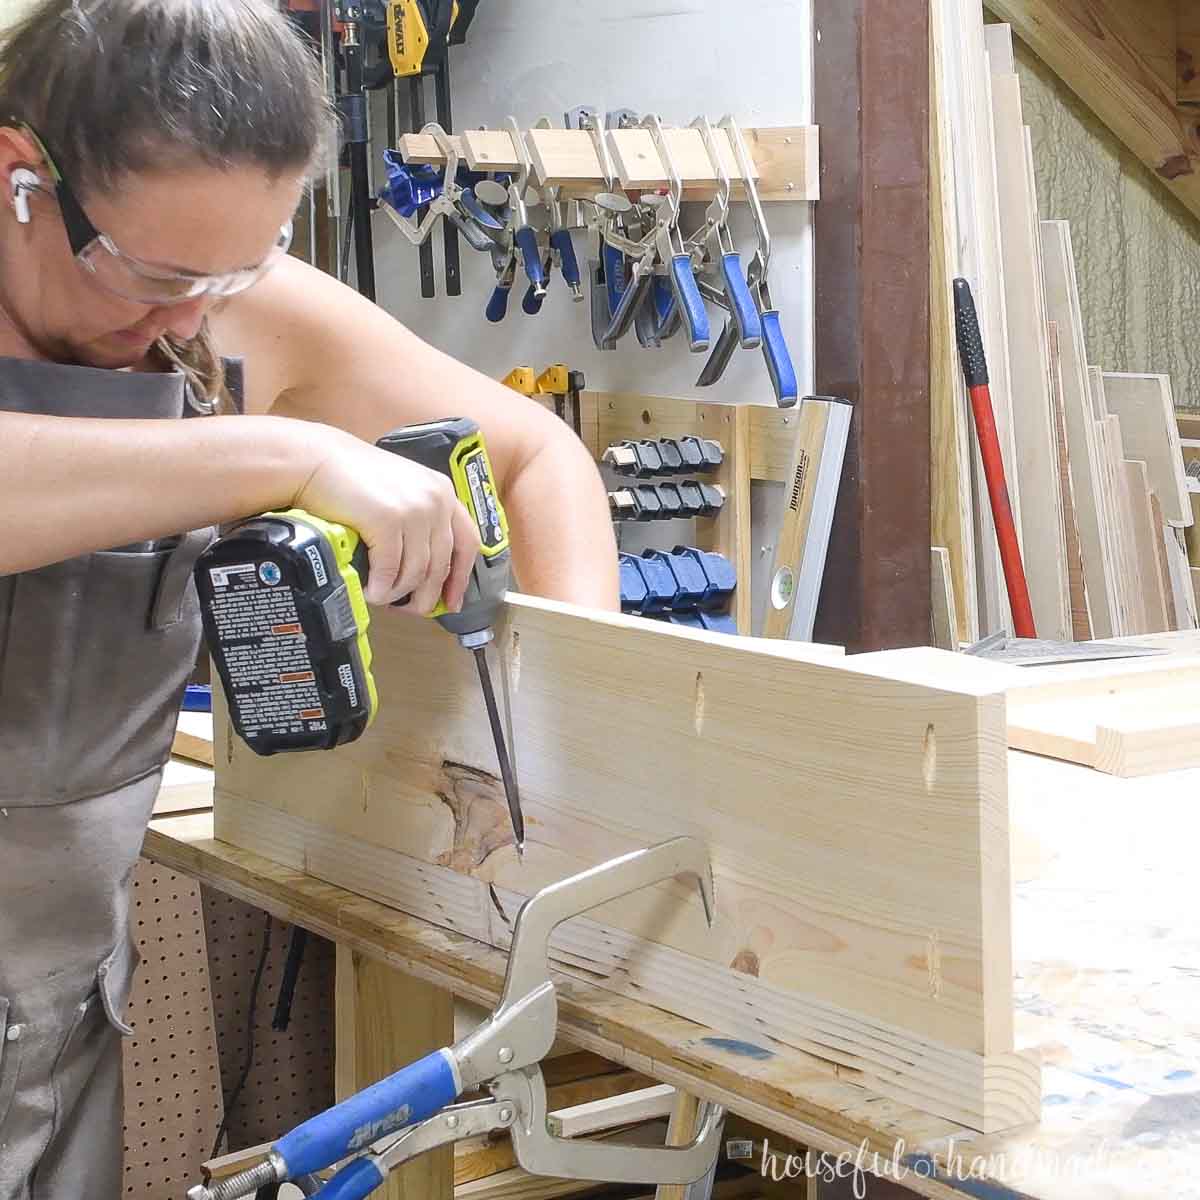
On the front of the mailbox, attach a piece of 1×2 between the corners about 1″ above the mail slot.
Glue this in place and clamp to dry.
Then for extra security, add a couple screws from the inside of the mailbox into this board.
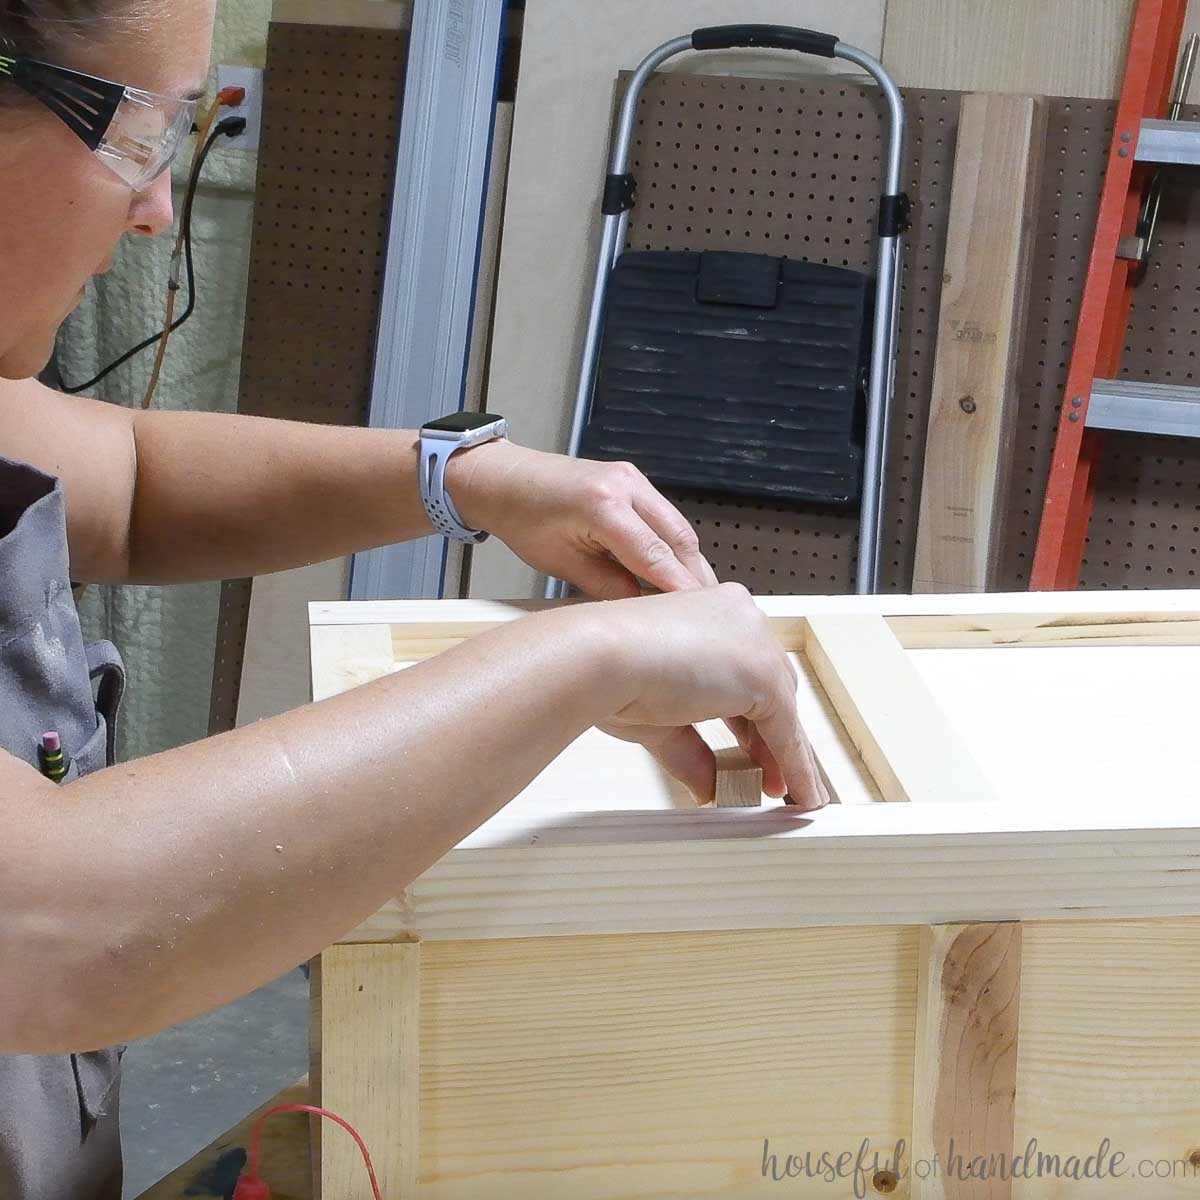

Cut trim to decorate the front of your maibox.
I used a simple decorative moulding to create a frame inside the corners and 1×2 trim.
I cut the pieces to length with a 45 degree angle on the ends. Then attached it to the mailbox with wood glue and 5/8″ brad nails.

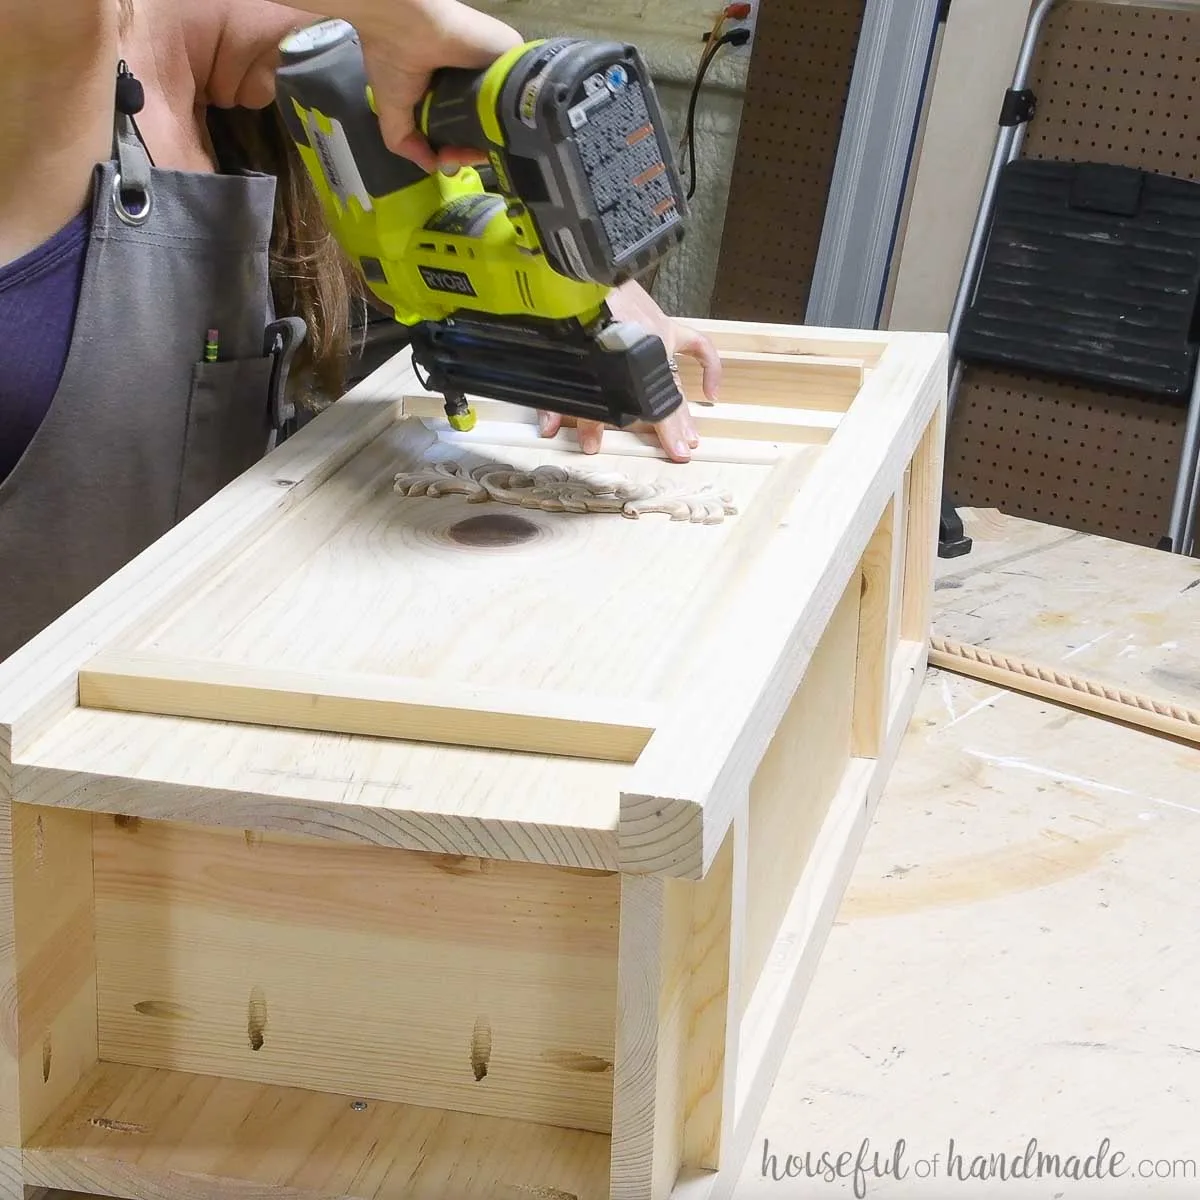
The applique I bought was too large for the mailbox, so I cut the sides off.
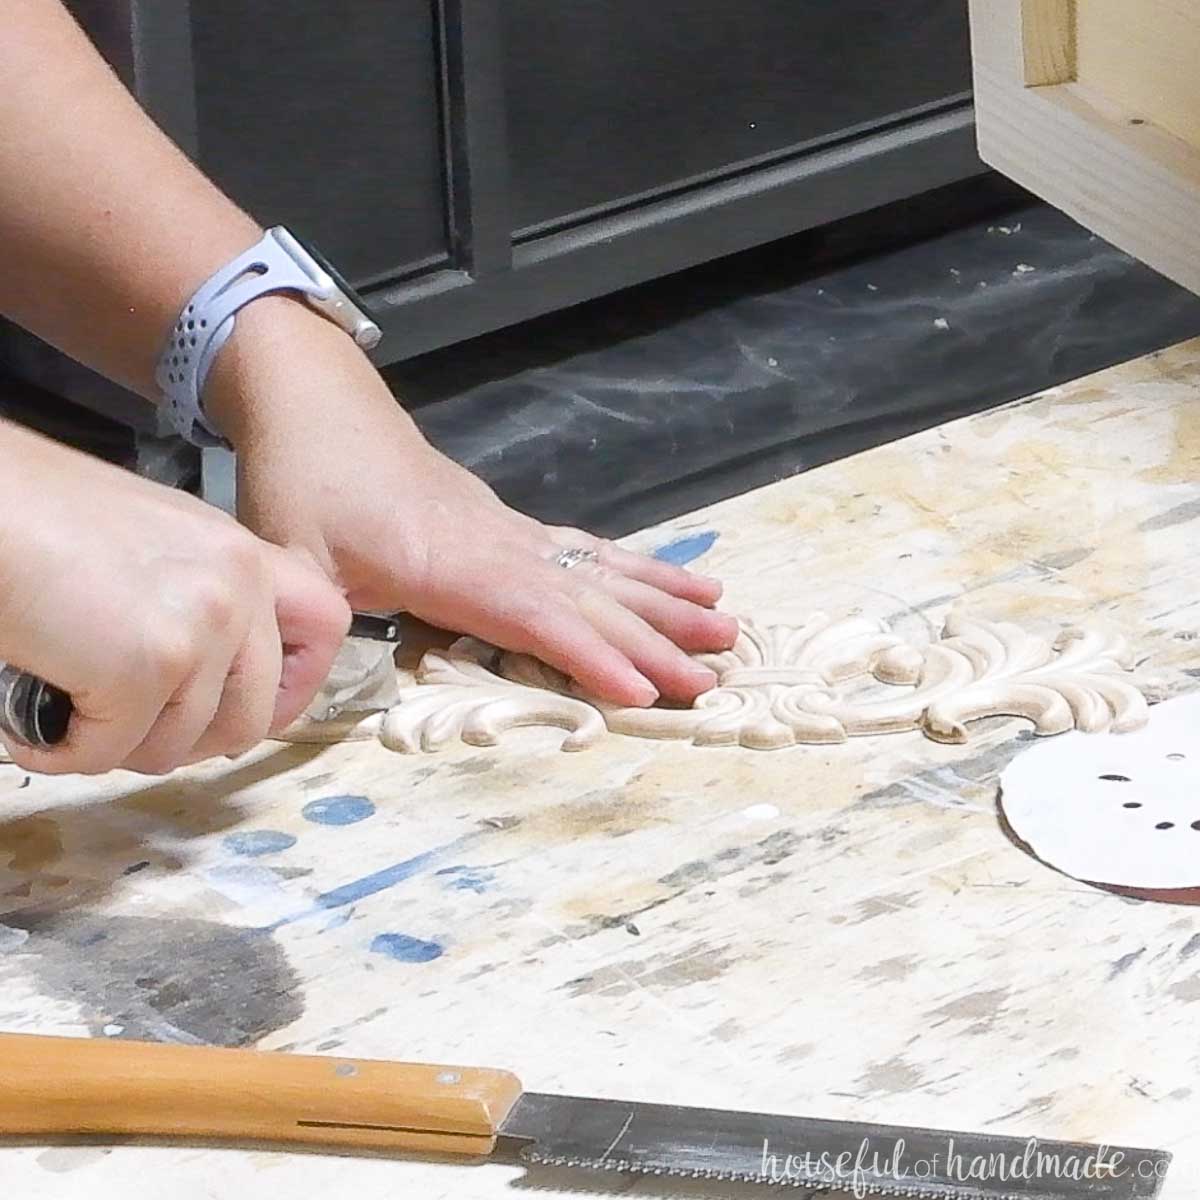

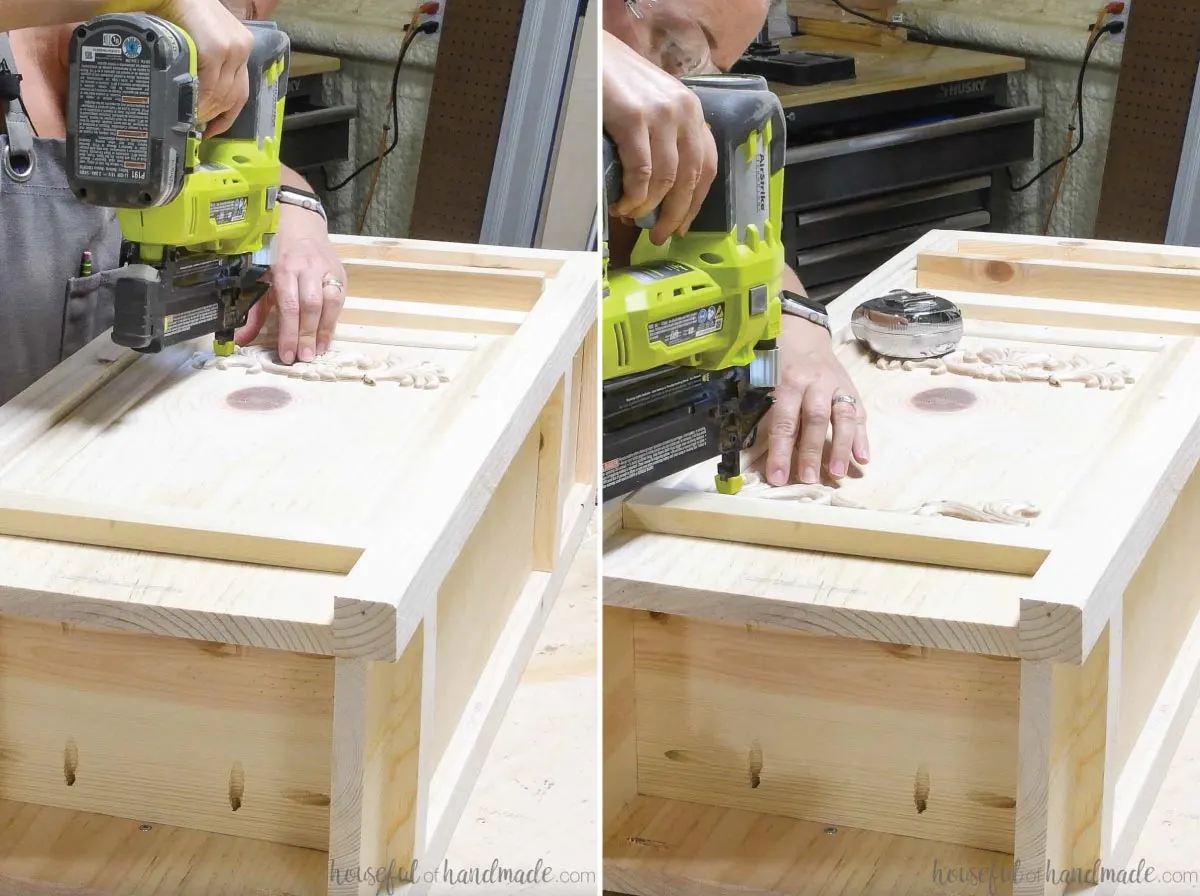
Then I attached the center piece to the top of the area.
Secure the applique with wood glue and 5/8″ brad nails.
The sides were used at the bottom of the box to add a little more grandier.

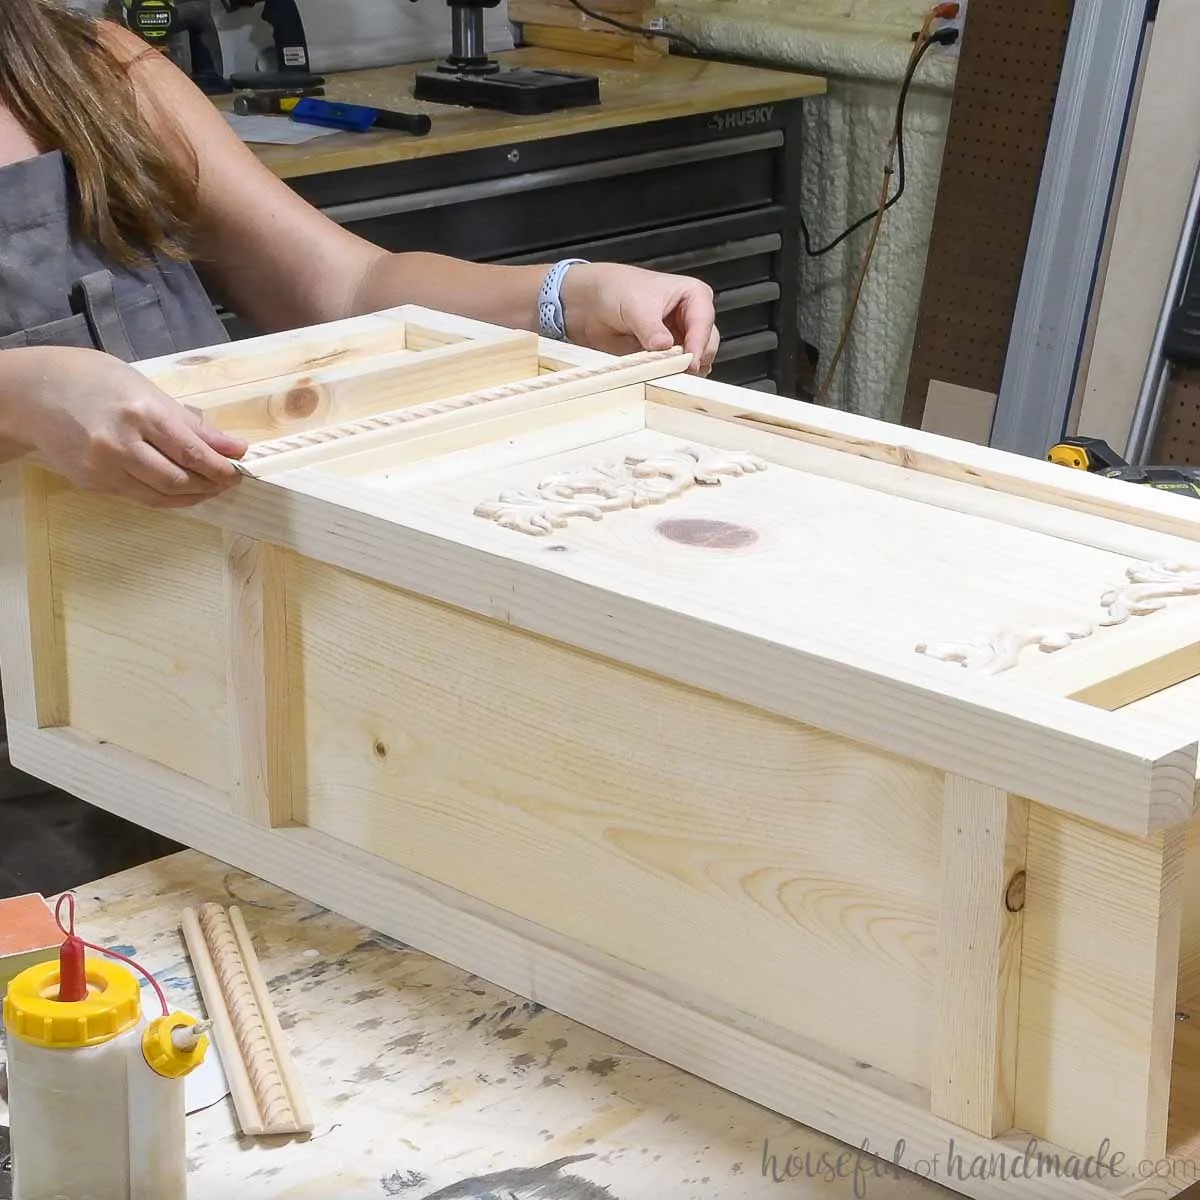
Use a 1 1/4-1 1/2″ wide molding to trim the center of the mailbox over the 1×2 trim.
I used a rope moulding since it looked like candy canes. Cut the ends at a 45 degree angle and attach with wood glue and 1 1/4″ brad nails.
EXPERT TIP:
Position your brad nails in the grooves and indents of your trim to hide the nail holes. This will eliminate the need to fill them.

Measure the top of the mailbox and cut a piece from the remaining 1×12 board to fit it.
You will have to rip down the one side of the board. Use a tablesaw, jigsaw, circular.
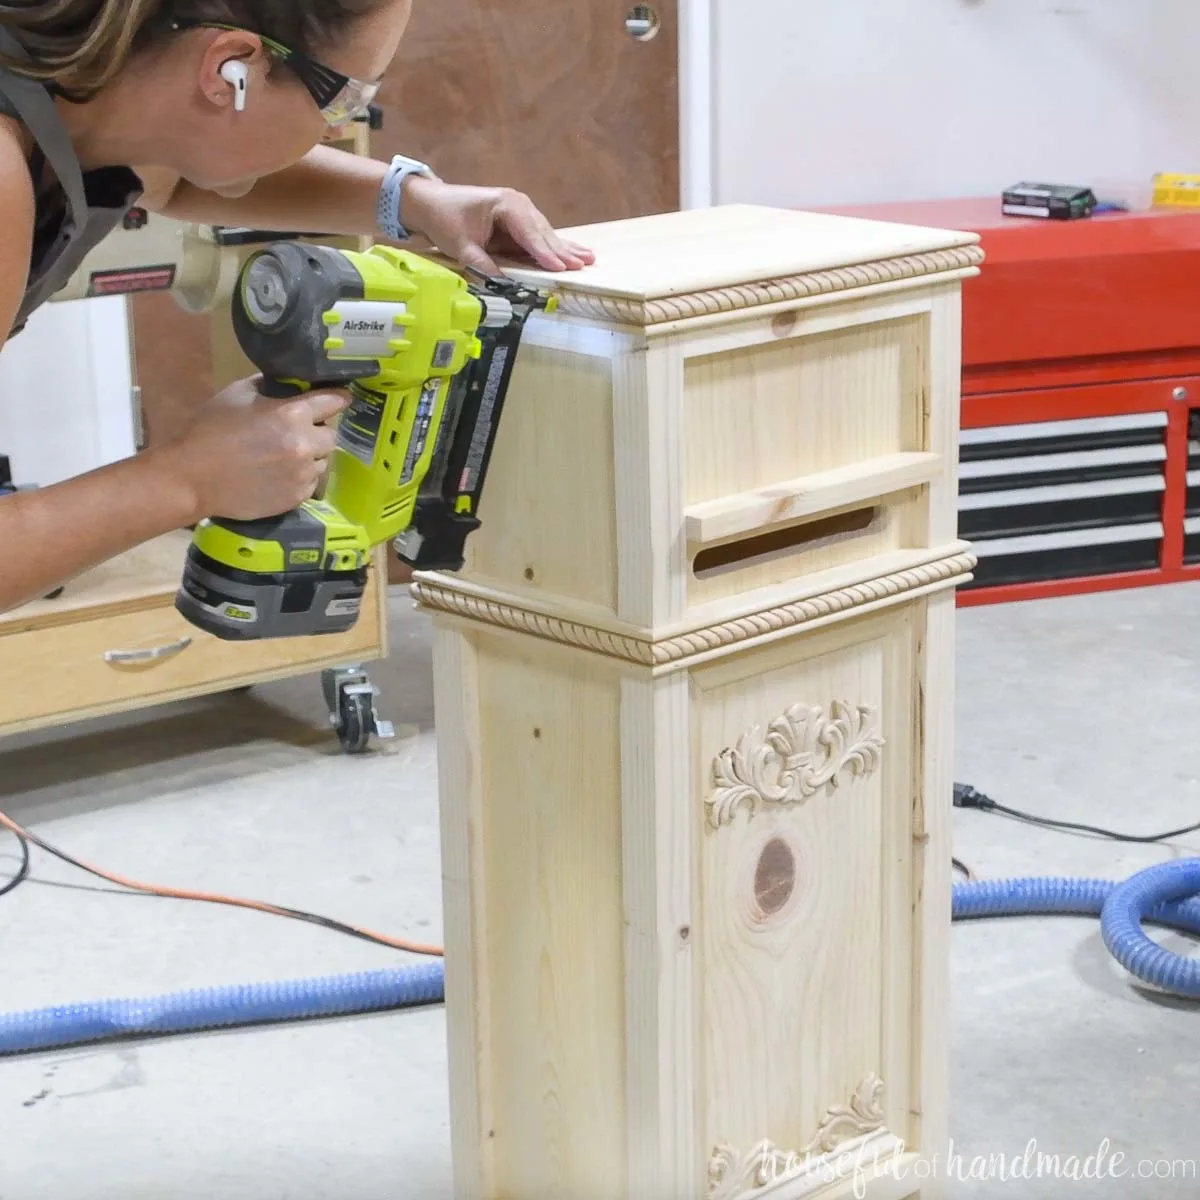
Glue and nail it into place on the top of the mailbox.

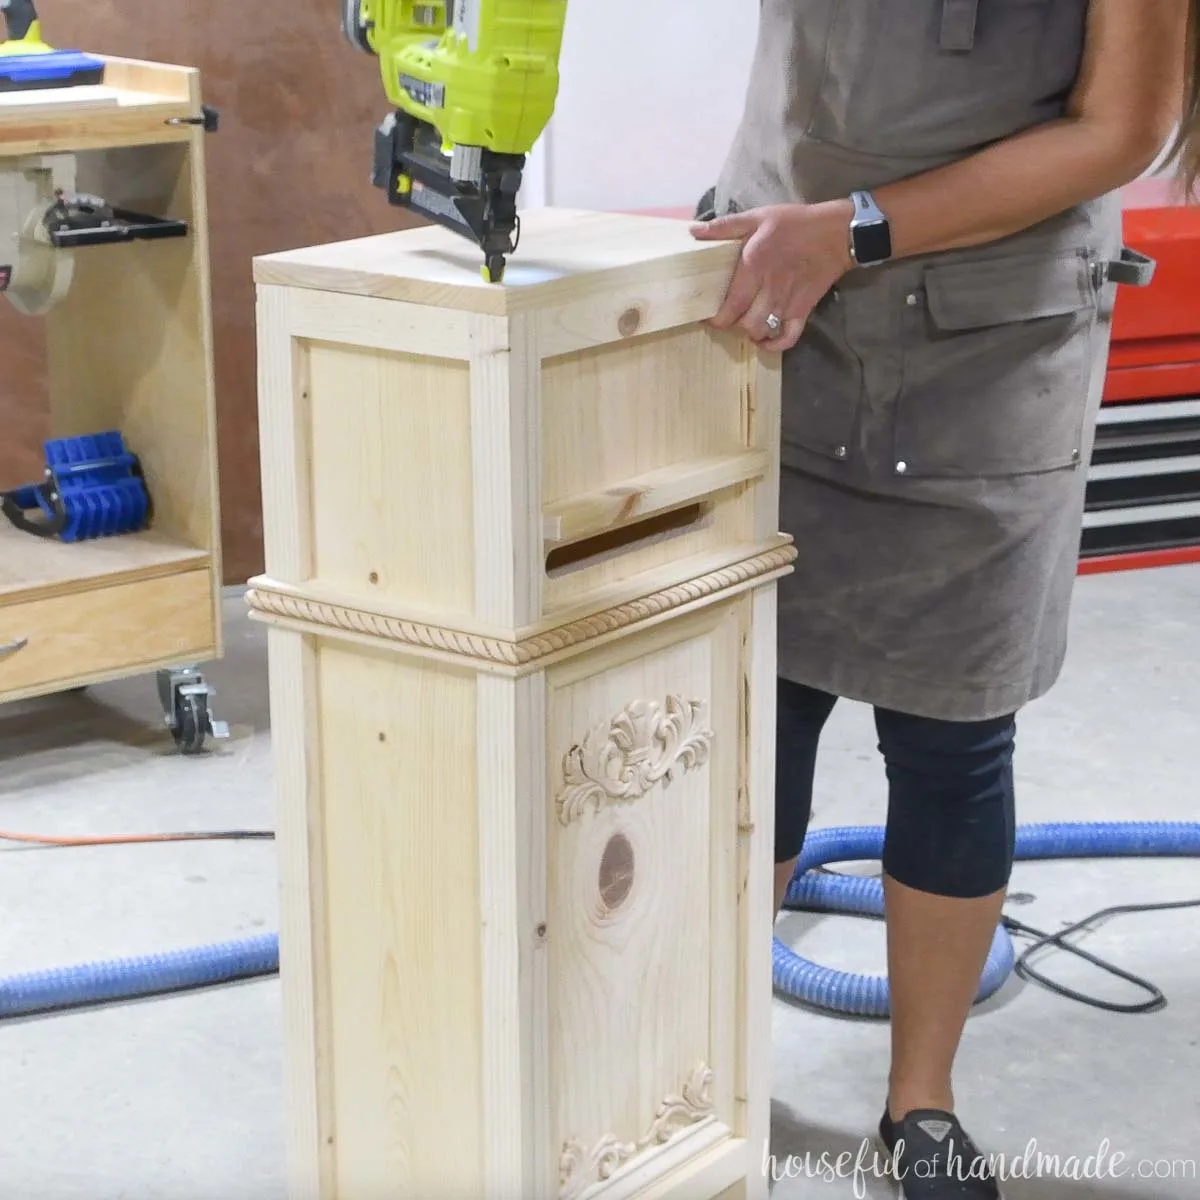
Add more trim to the top around the entire mailbox to hide the edge of the top board.
This finishes the top of the mailbox off nicely.
Secure with wood glue and brad nails.

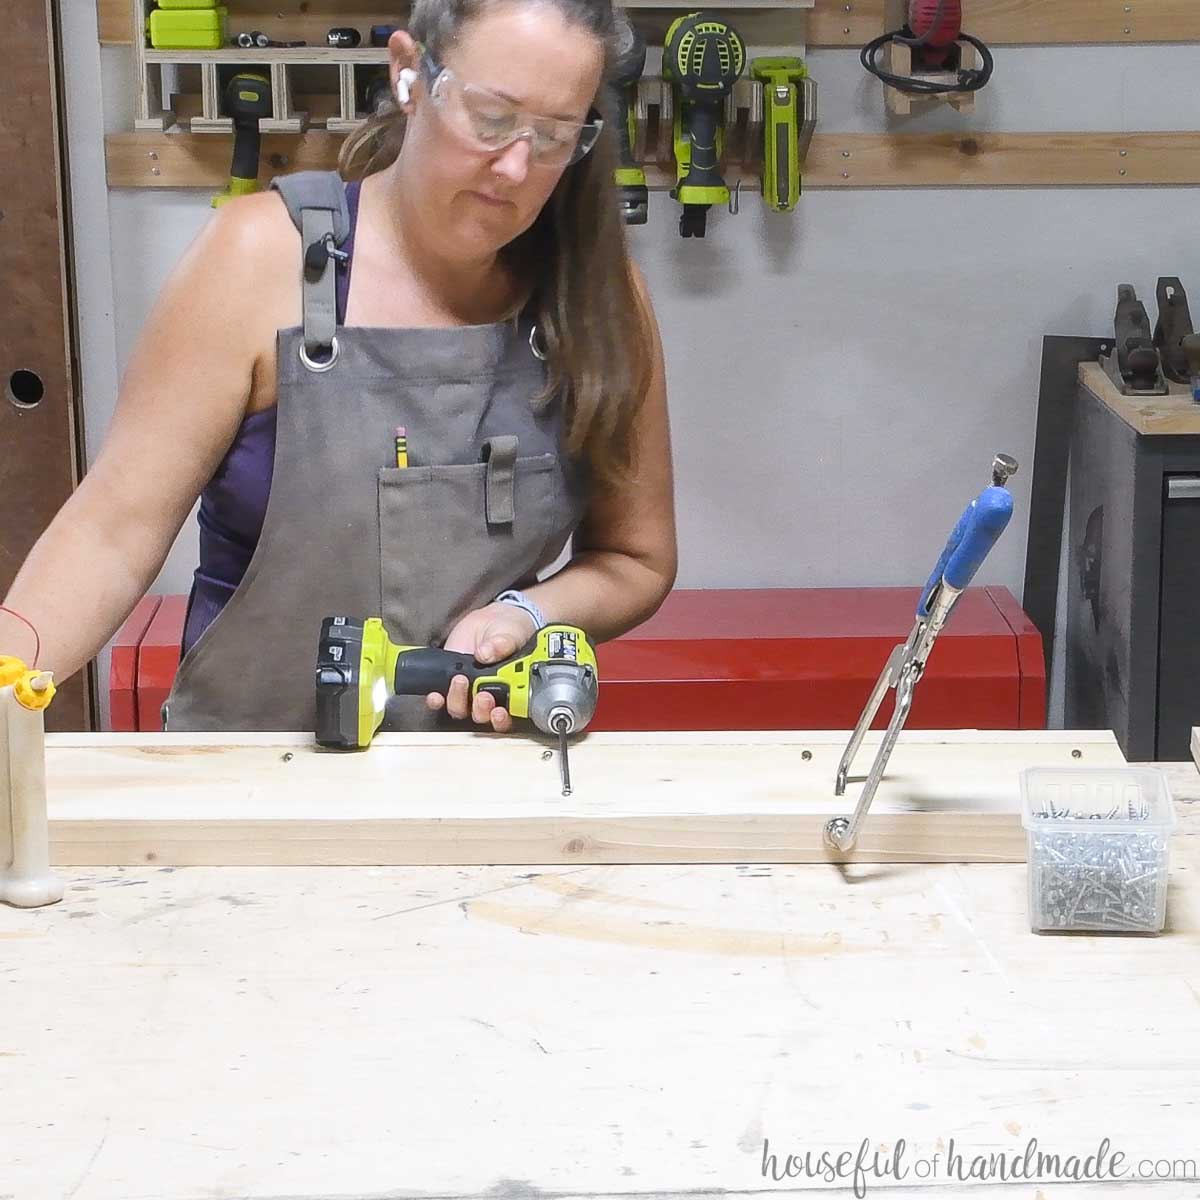
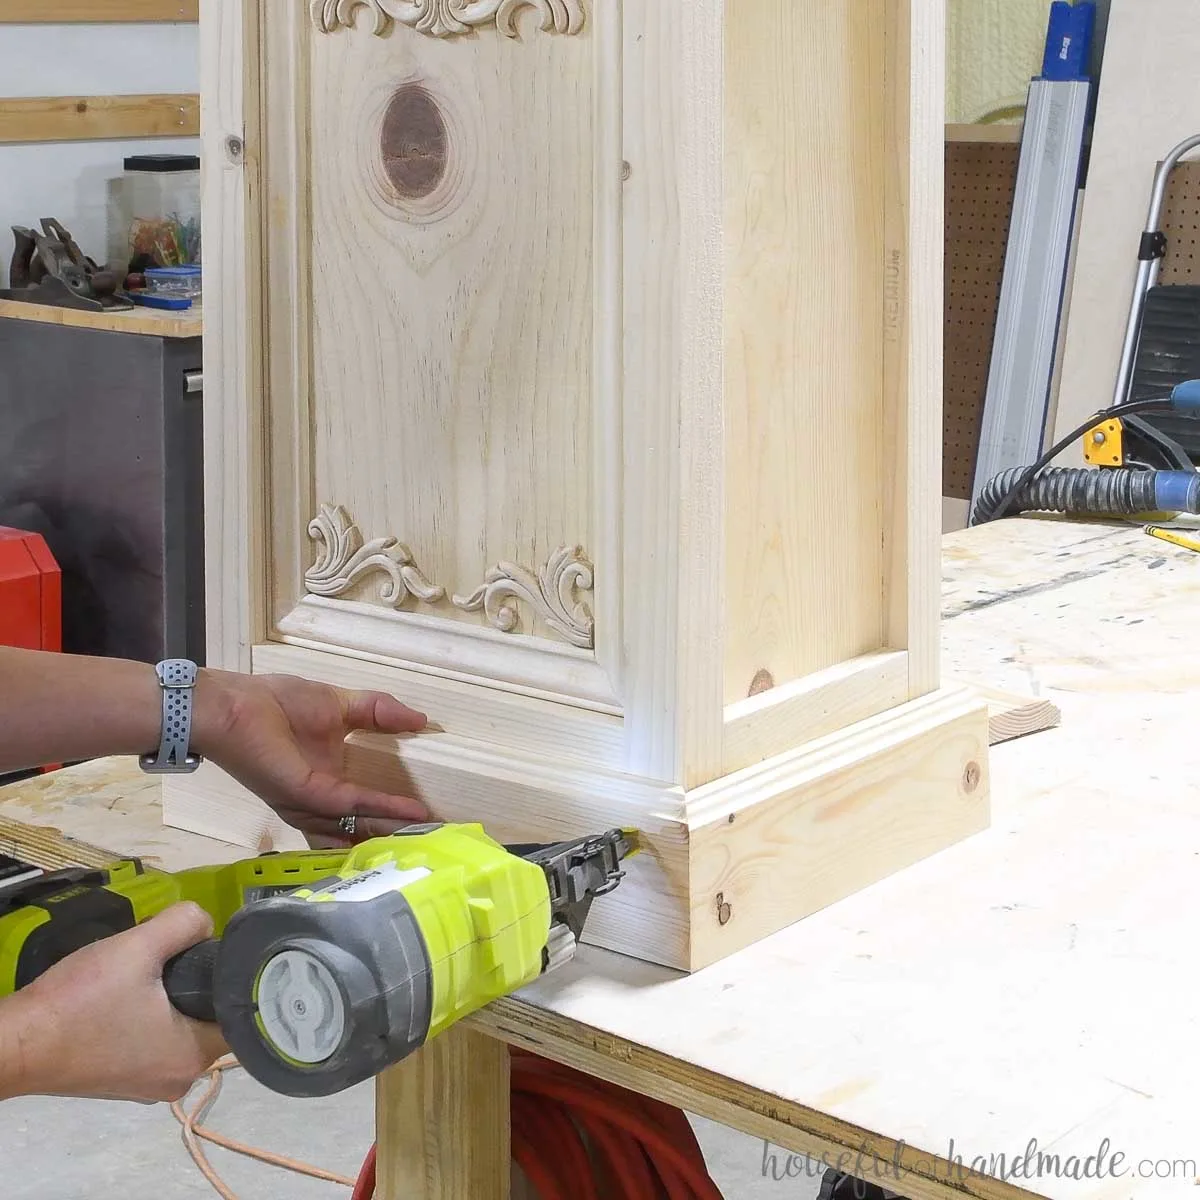
Cut your baseboards to fit around the base of the mailbox.
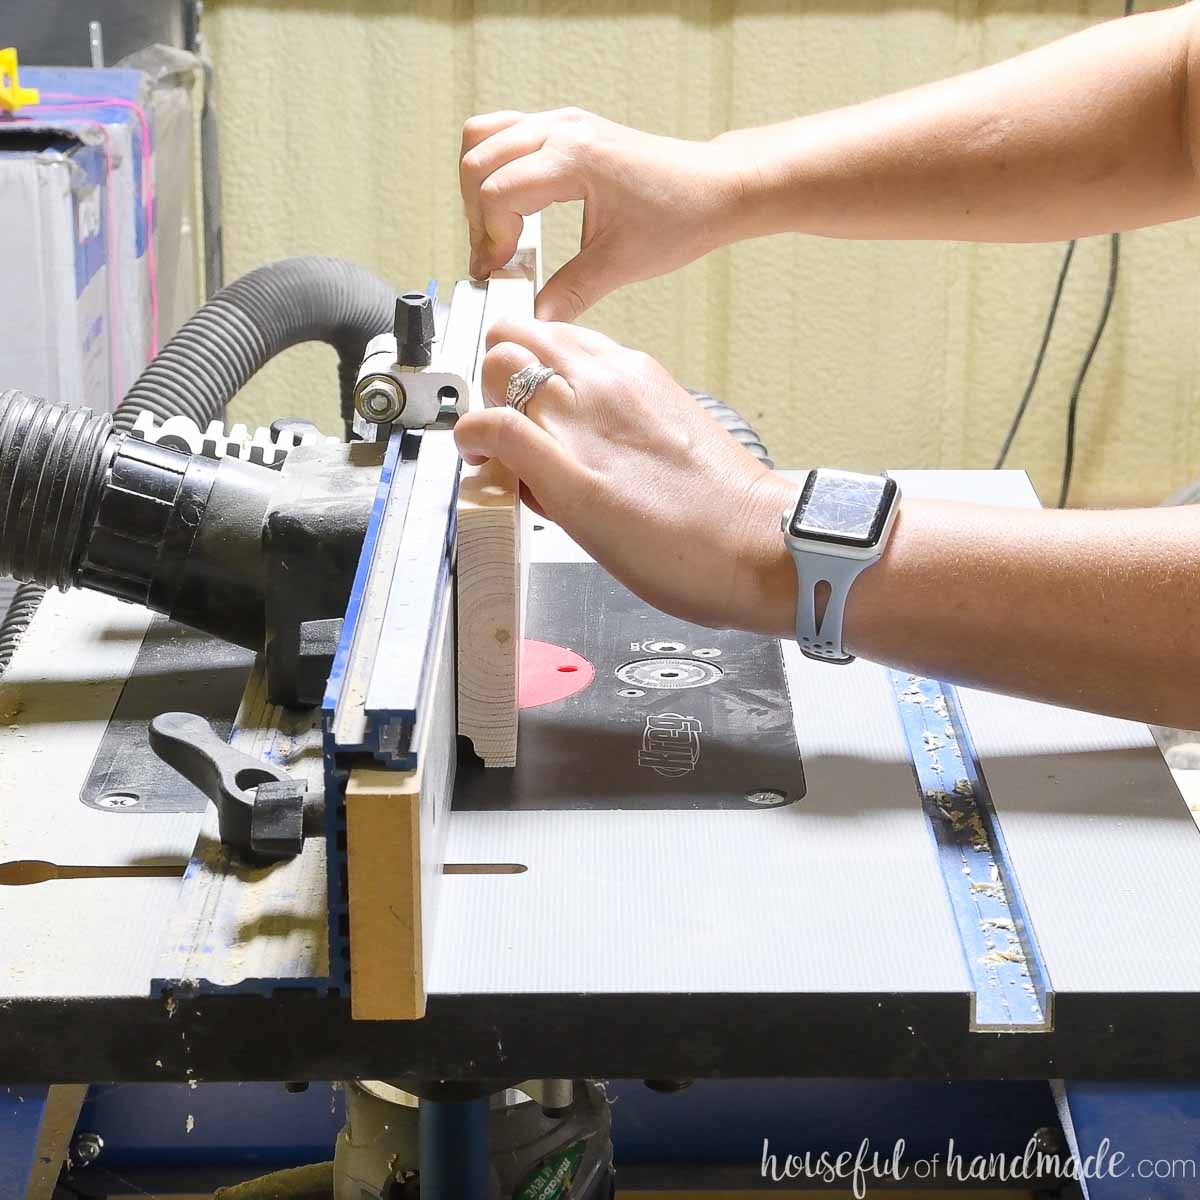
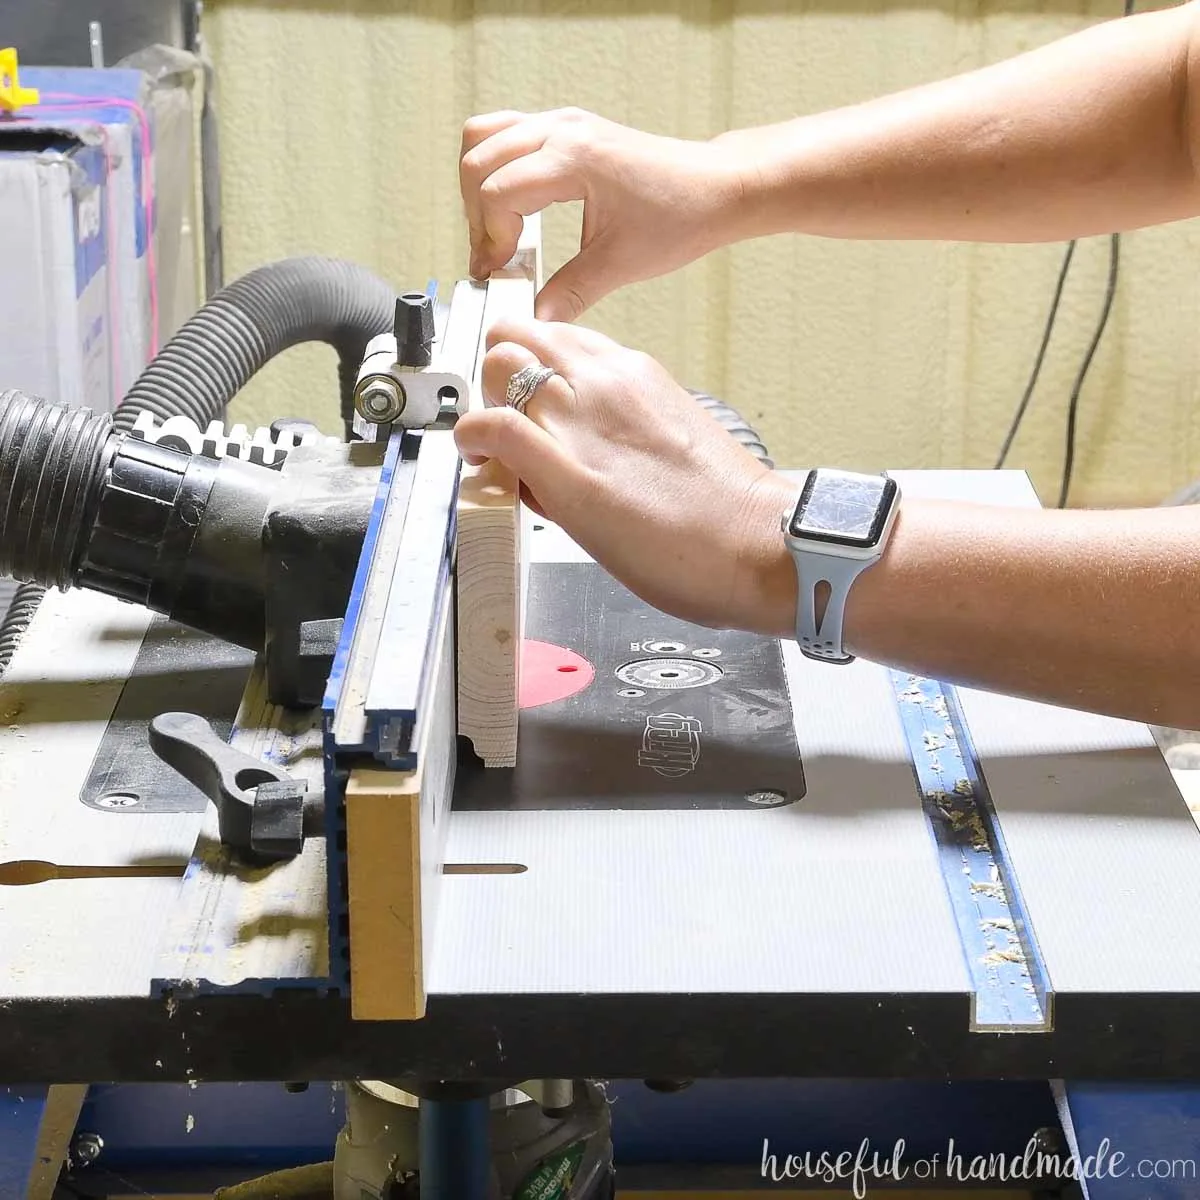
I made my own wood baseboards by using the Kreg router table.
Using a decorative router bit, set the fence so it is flush with the front of the router bit. Then use the fence to hold the board straight as you router the design in the top.
Attach the baseboards to the bottom of the mailbox with 1 1/4″ brad nails.

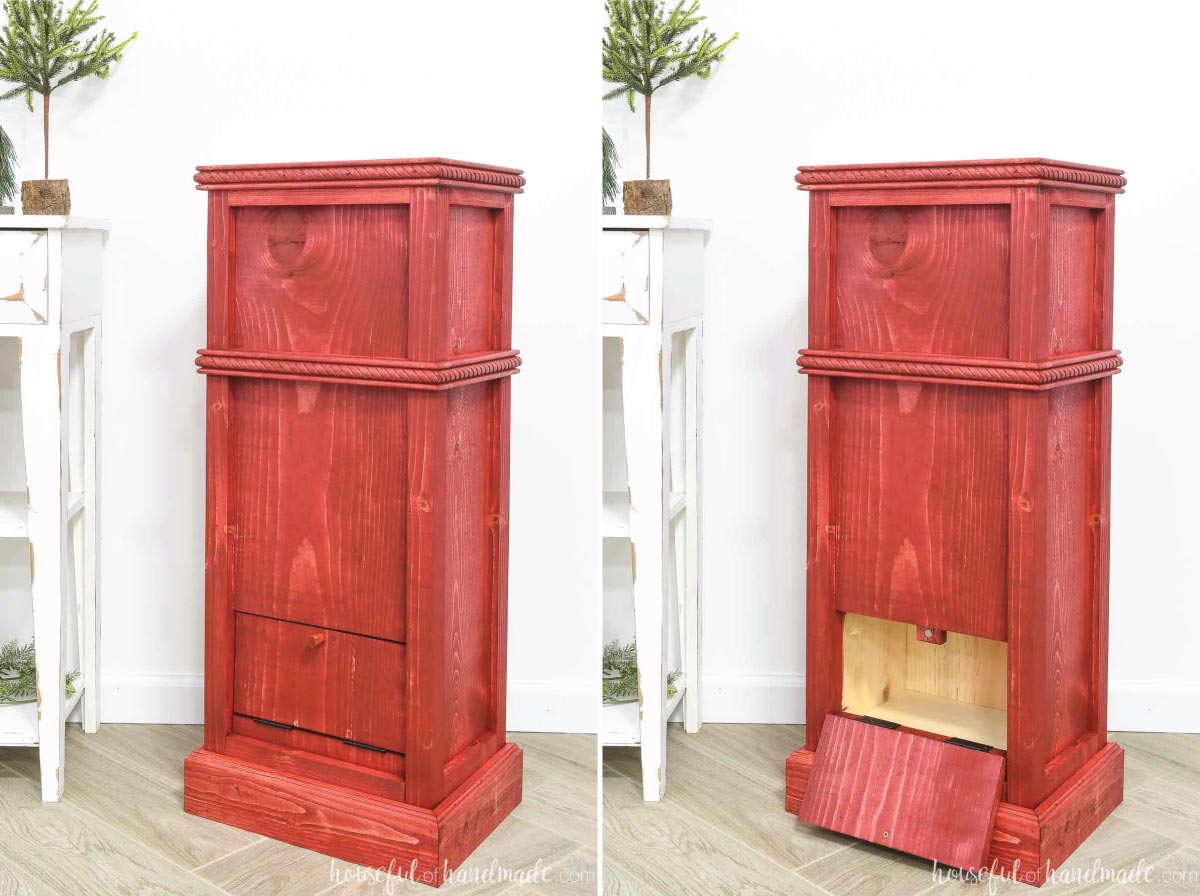
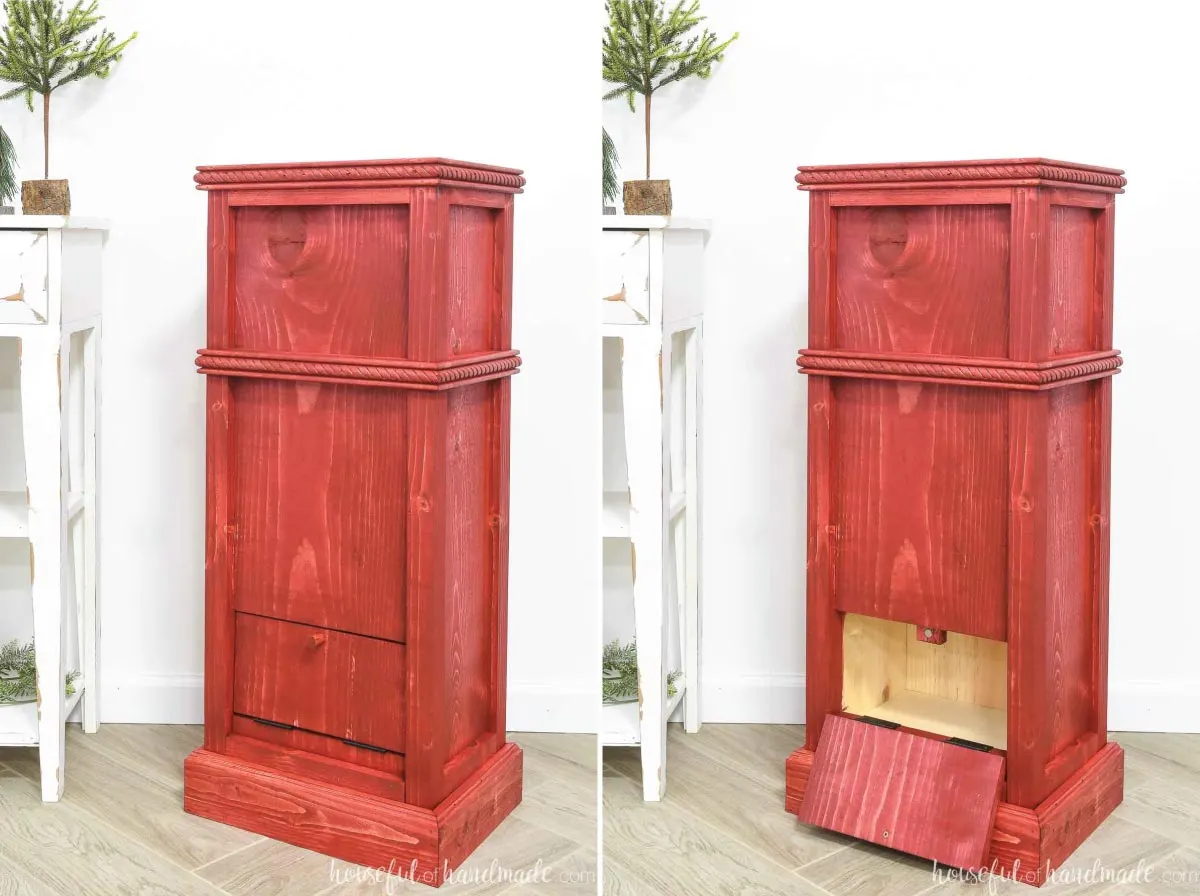
STEP 4- Attach back closure
Last thing to do is to close up the opening in the back of the mailbox.
Cut a piece of 1×12 so it is 1/4″ smaller than the opening. Then rip 1/8″ off one side of the board to allow it to move freely in the opening.
You can do this easily on a miter saw.
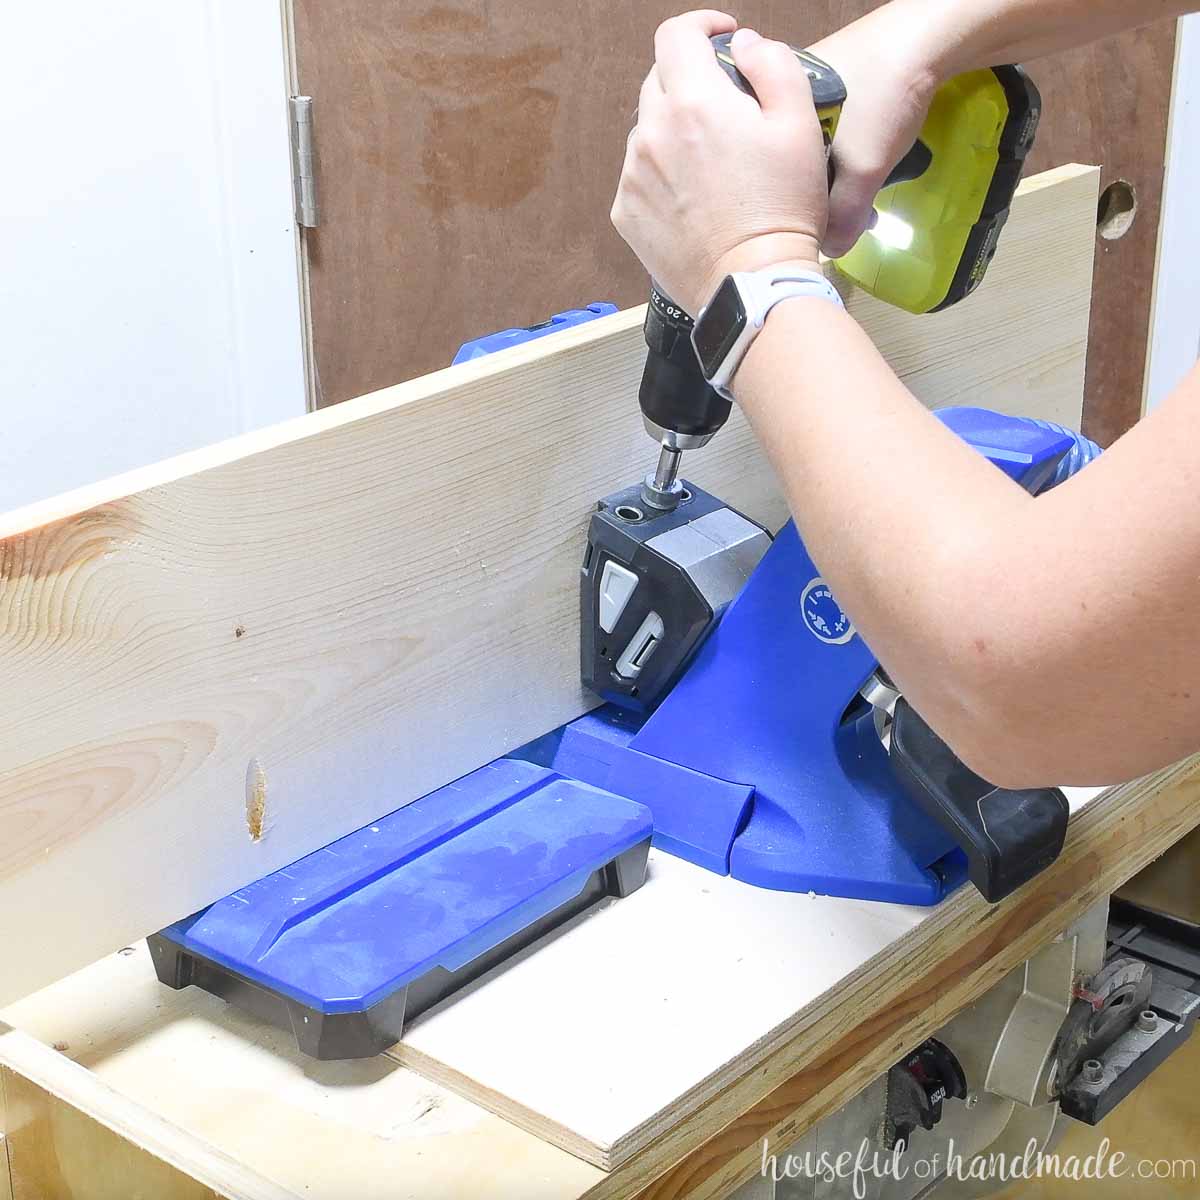
Attach hinges to the piece.
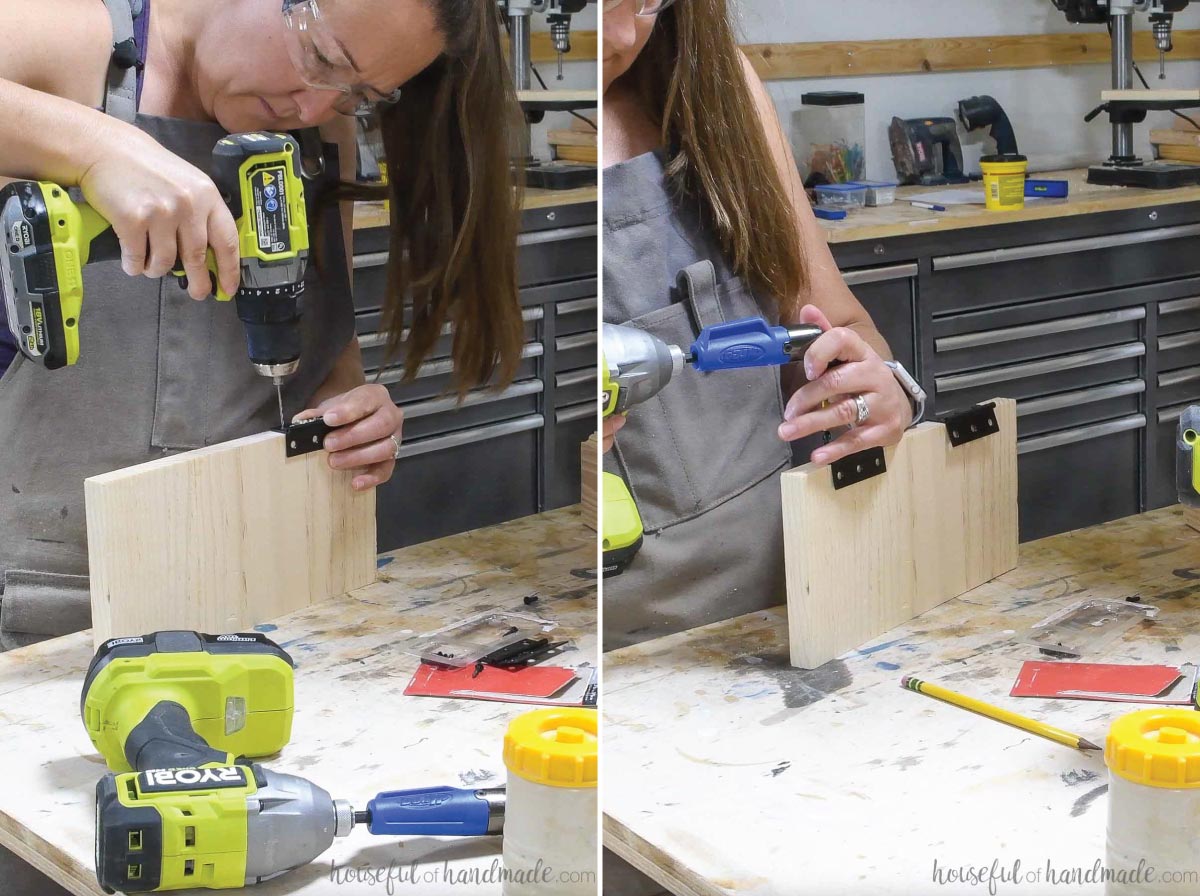
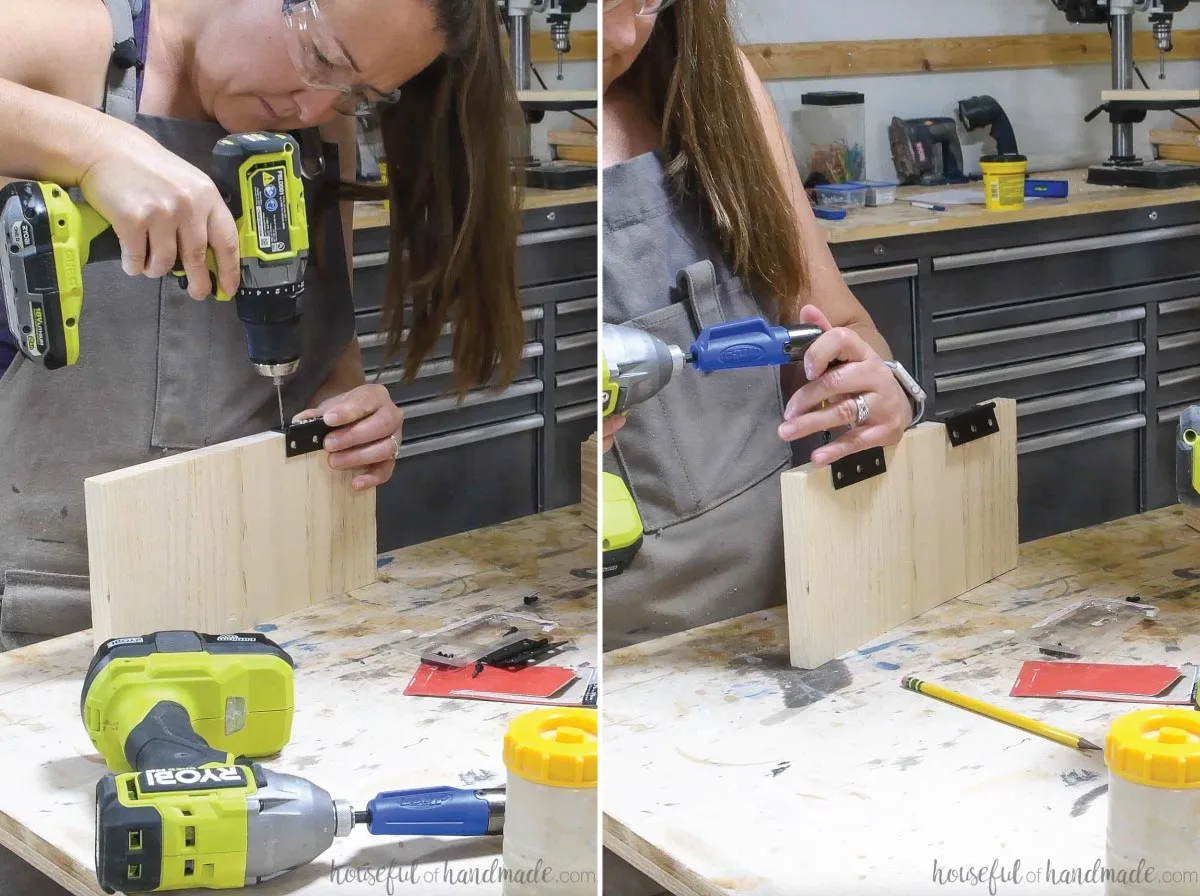
Then attach the hinges to the bottom of the back opening.
You will need a 90 degree drill adapter to get into the tight opening.
Double check that the door closes, if not, trim the piece until it fits nicely.

On the top front of the door, add a knob or piece of dowel as a handle.
If using a knob, make sure the screw is flush with the back, not proud.
If using a scrap of dowel, drill a hole the size of your dowel halfway through the door piece.
Then pre-drill a pilot hole in the center of it all the way through.


Add glue and secure your dowel into the hole.
Use a scrap of wood and a hammer to tap it into place.

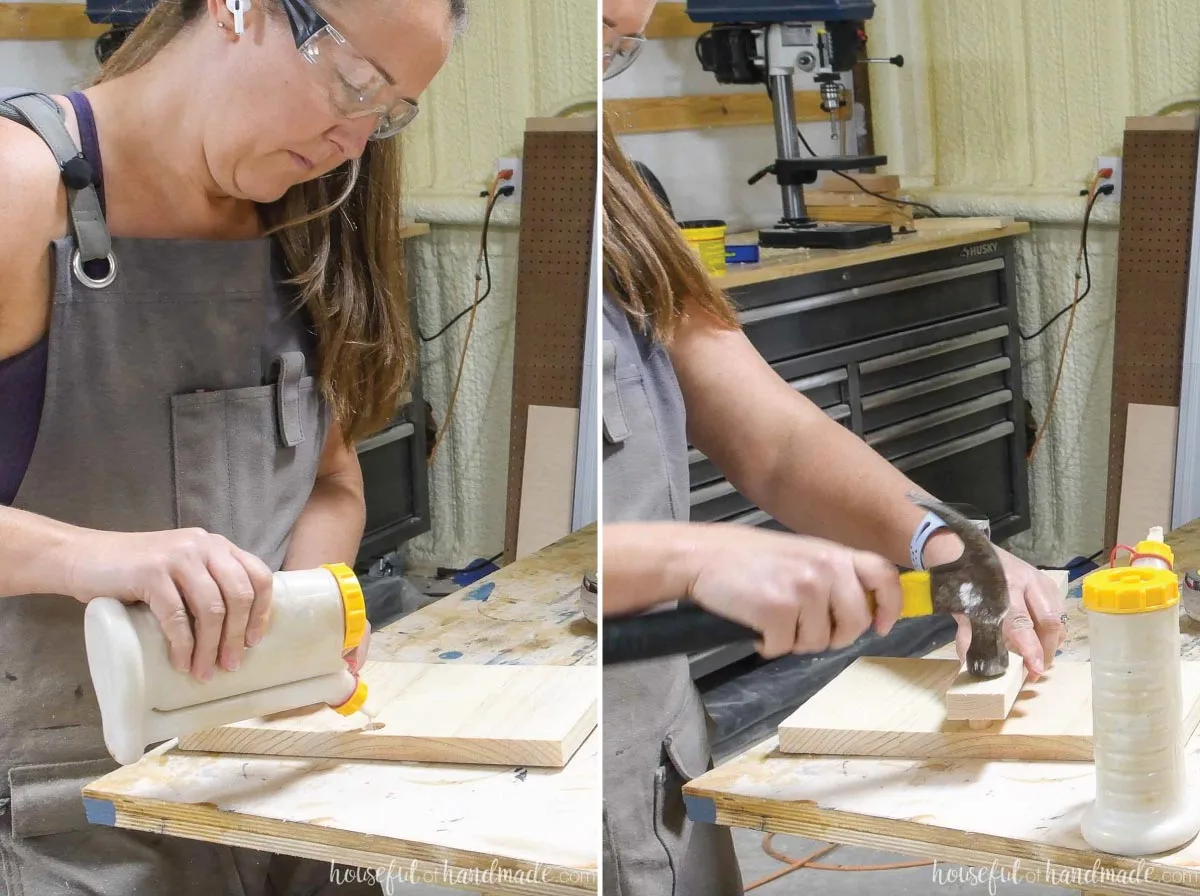
Flip the board over and pre-drill through the hole again into the dowel.
Add a wood screw so it is flush with the back.
The screw is not needed to hold the dowel in place (the glue will do that), but it will hold tight to the magnet to keep the door closed.
Cut a 2″ piece of 1×2 board. Drill a hole the same size and depth as your magnet in one side (about 1/2″ in from the edge).
Glue your magnet into the piece.
Make sure to check which side is attracted to your screw so you don’t have the wrong polarity of the magnet facing out.

Position the 1×2 on the back of the opening so the magnet is where the screw lands when the door is closed.
Add glue to it and clamp it into place to dry.
Now you can reattach your door and watch it snap closed and stay that way!
STEP 5- Finish
Fill any visible nail holes with stainable wood putty. Then sand your mailbox.
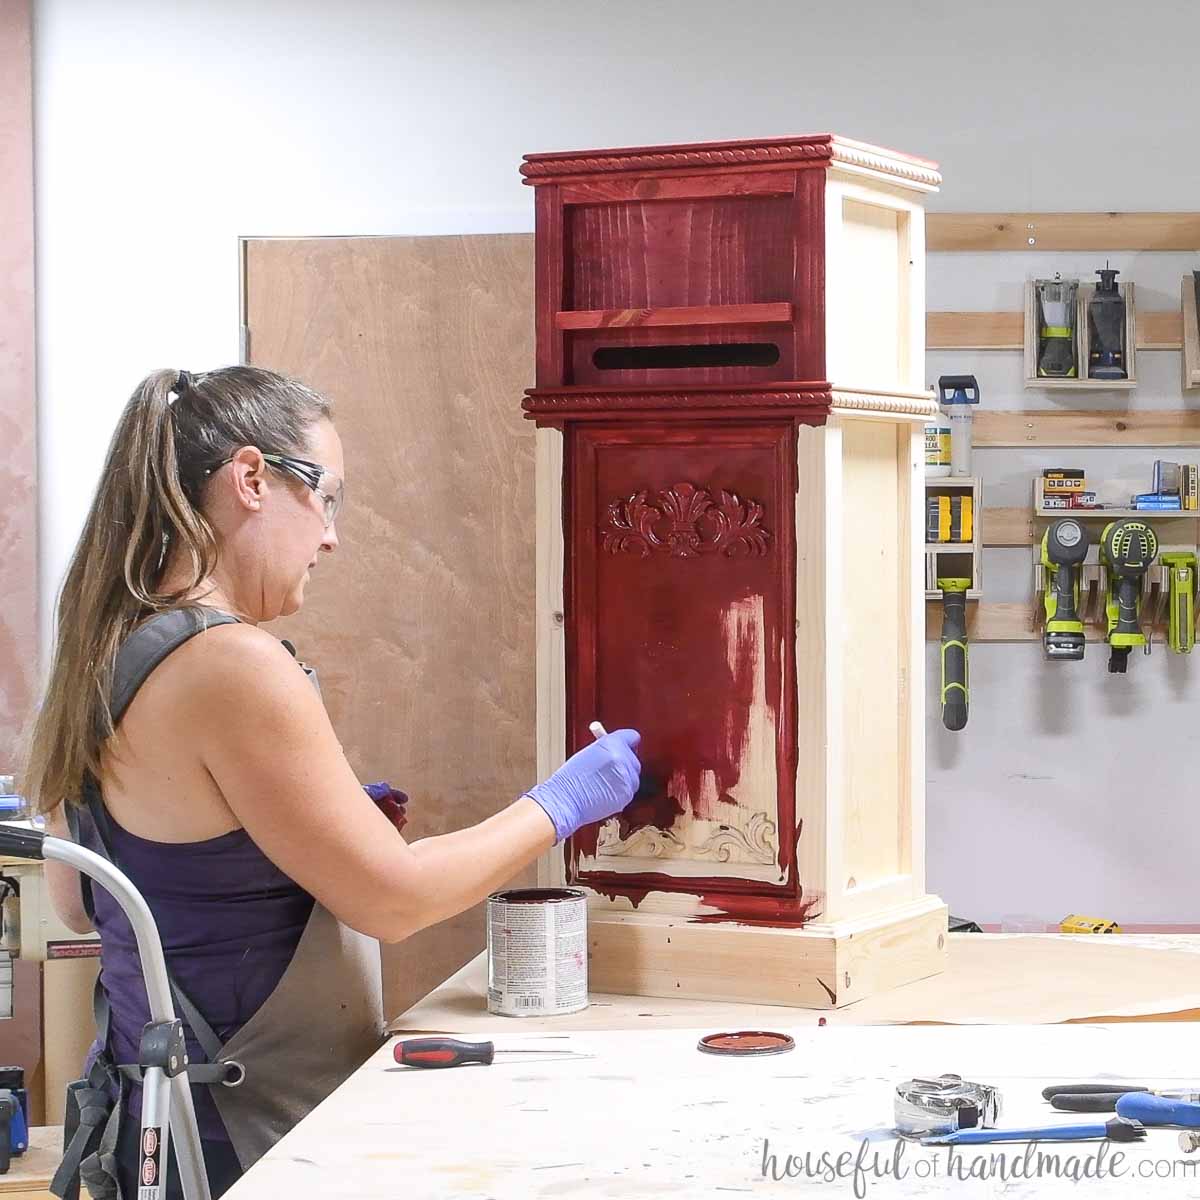
Stain or paint your Santa mailbox red.
I used a Varathane Barn Red stain so the wood grain would still show through, but it would be a nice strong red color.
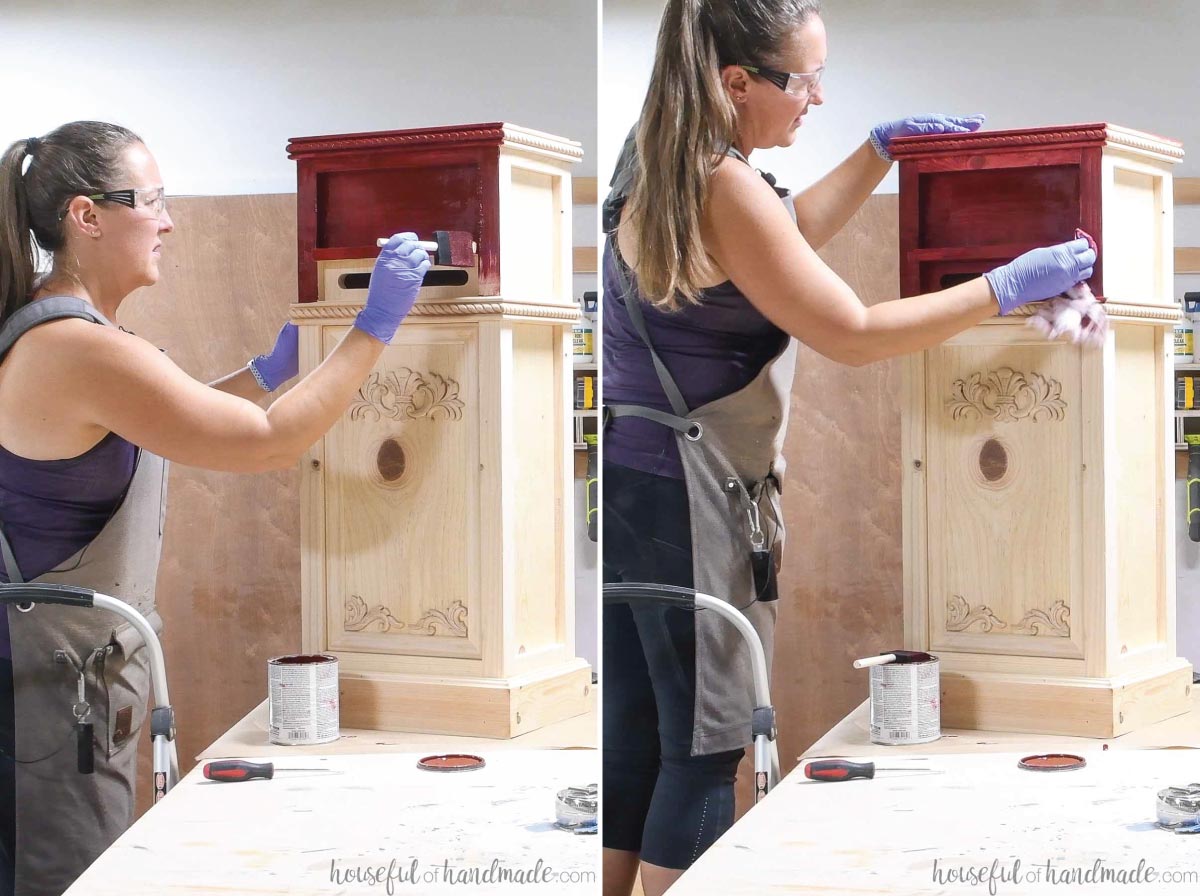

Stain the piece in sections, then remove excess stain before moving onto the next section.
This will prevent the stain from drying on the mailbox as you work the stain in all the details from the trim.

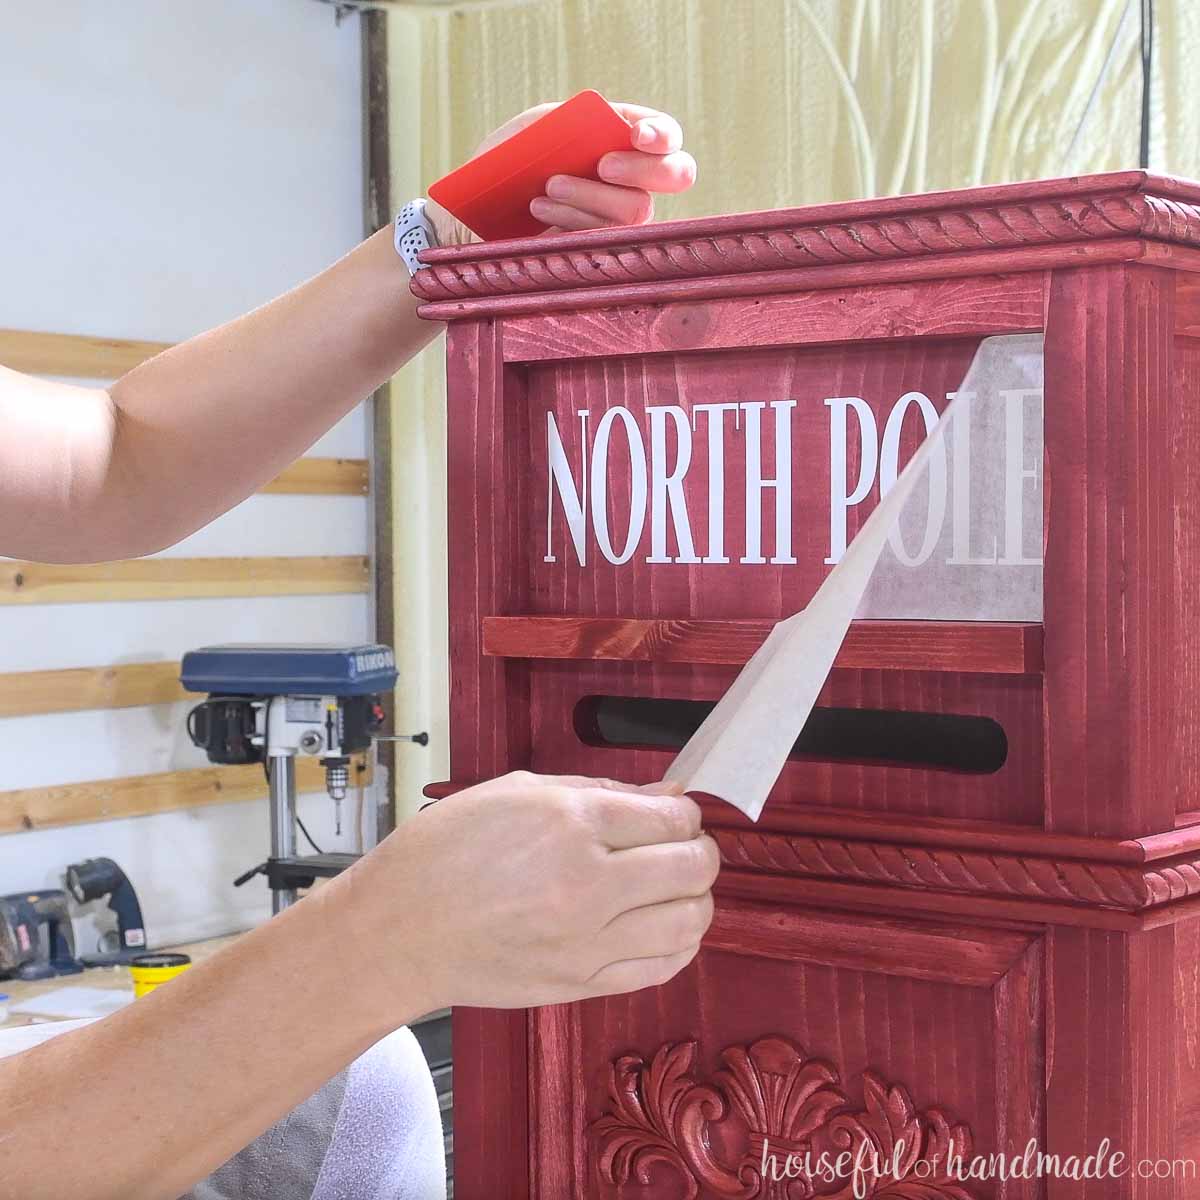
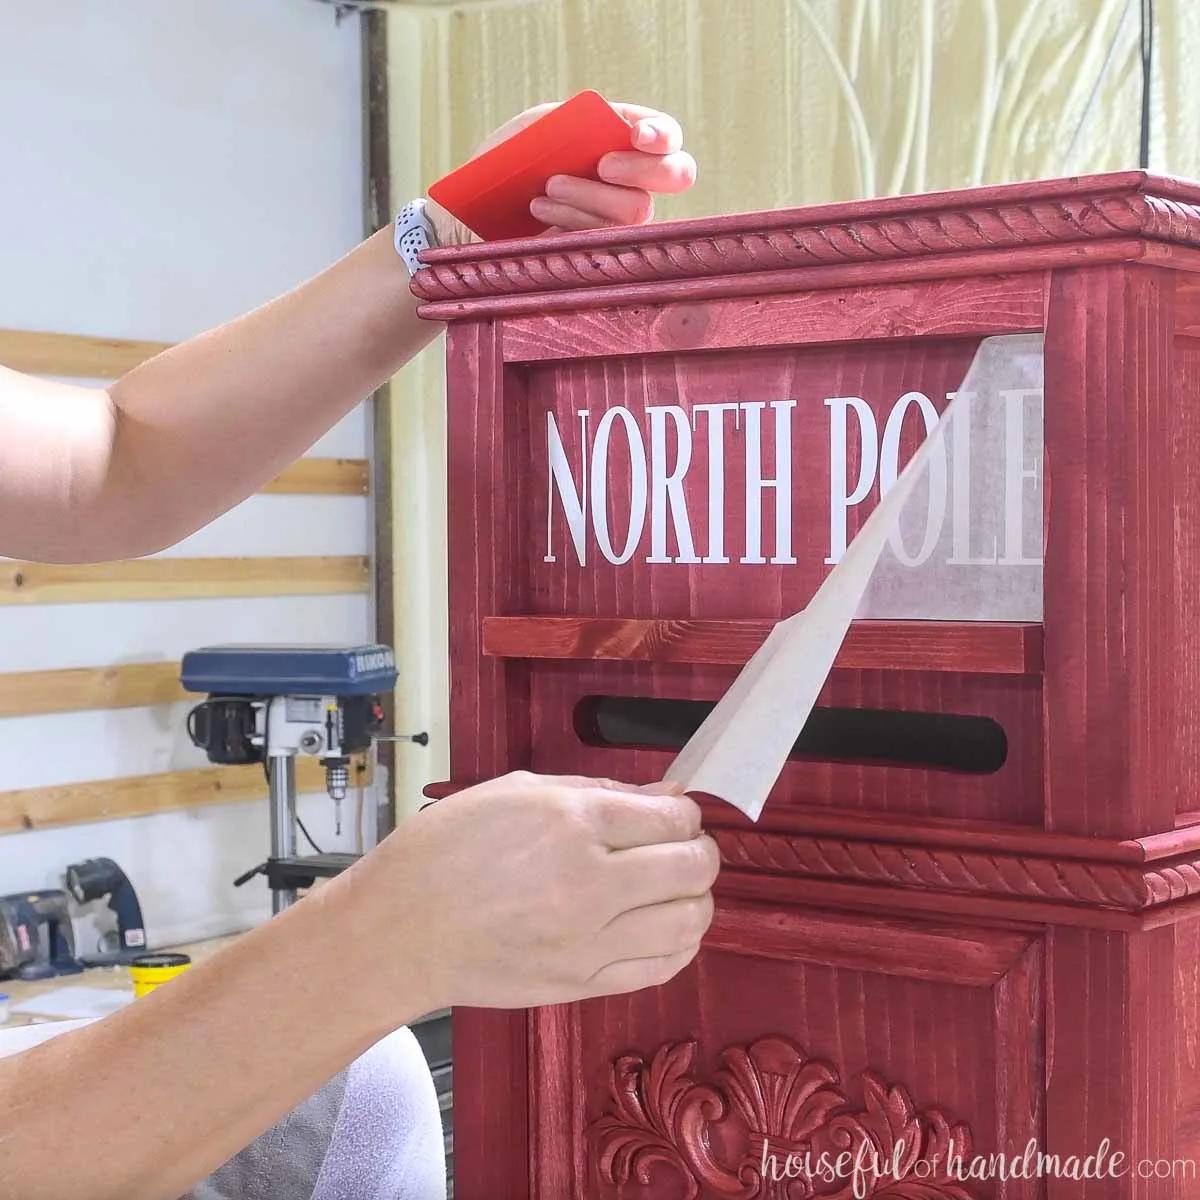
Once the stain is dry, cut out the words “North Pole” from white vinyl to add to the top of the mailbox.
If you do not have a vinyl cutter, you could paint the words instead.
EXPERT TIP:
To easily line up the vinyl, only remove the backing from half the words. Then line that up inside opening being careful not to press down the exposed half until you are happy with the placement. Secure the vinyl then carefully remove the remaining backing.
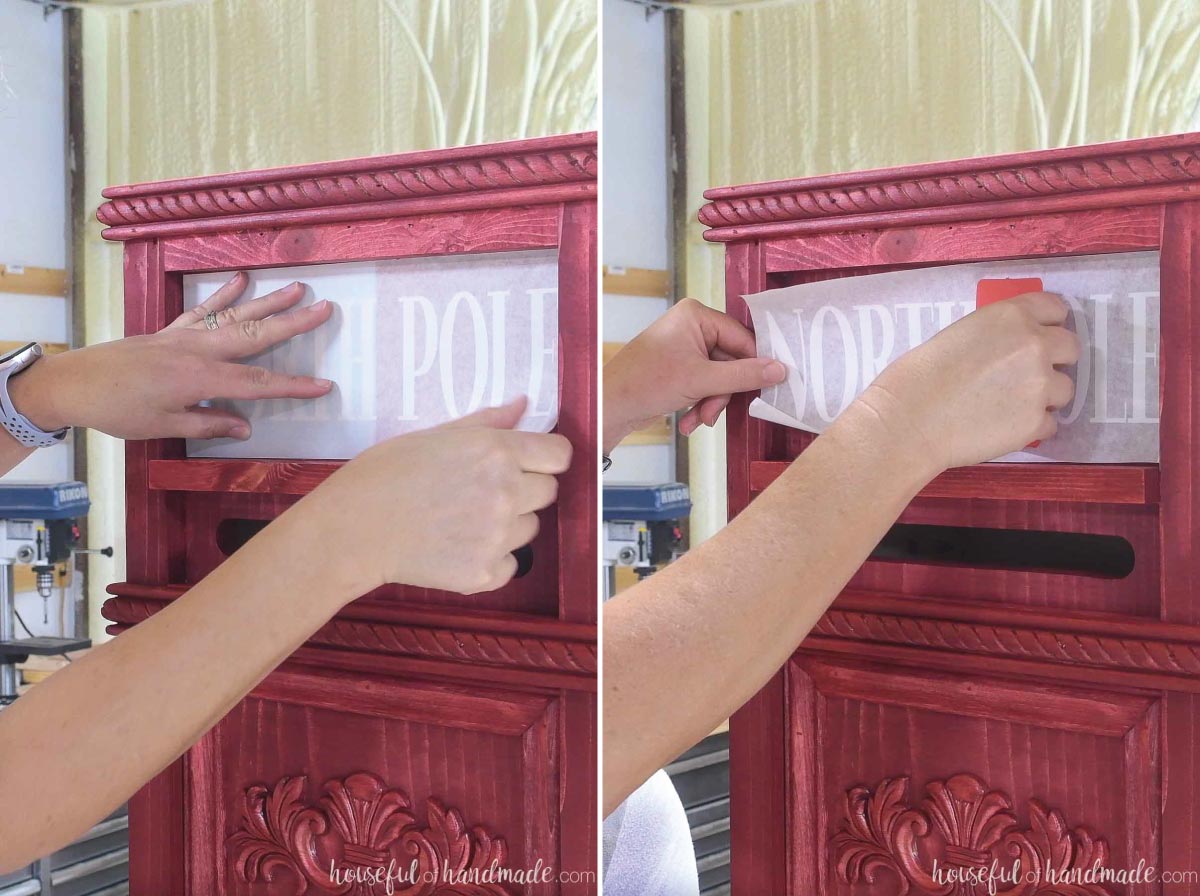

Scrape the vinyl onto the wood to adhere with the transfer paper still in place.
Then carefully peel it back exposing your beautiful lettering.
Now you are ready to display your new Letter to Santa mailbox!
The kids are so excited to fill it up with their Christmas wishes. The magic of Christmas is my favorite part.
I am so happy I get to make amazing things to help them stay hopeful and young as long as possible.

Merry Christmas!


Thank you to Kreg Tools for sponsoring this post. I only recommend products that I use and love and all opinions are 100% my own. Click here to read my full disclosure policy.