
Hide the bottom of you Christmas tree with this beautiful DIY Christmas tree collar.
Tree skirts are out! I am sick of rescuing them from the roller brush of the vacuum, my kids using them as blankets, and always fixing and smoothing them.
Now I am obsessed with more modern ways to cover up the unsightly base of the tree. In our last home, I made a wood Christmas tree box out of reclaimed wood. But it was too big to fit in the pods when we moved.
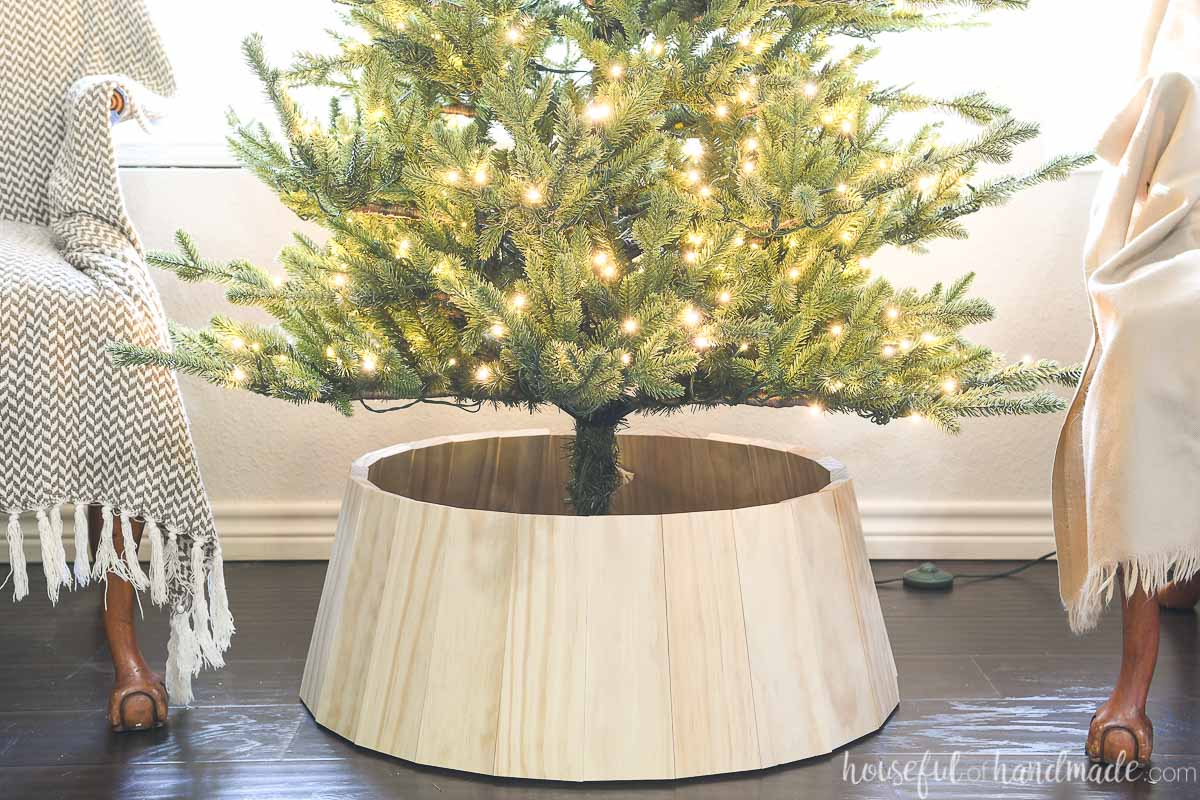
And this time I wanted something that was easier to store away. So I created this beautiful DIY Christmas tree collar. The entire thing is made from three 1×4 boards and folds flat so you can store it away until next year!
This post may contain affiliate links. As an Amazon Associate I earn from qualifying purchases. Click here to read my full disclosure policy.


Folding Christmas Tree Collar
I thought about just buying a Christmas tree collar. There are many options, they are very popular right now (apparently I am not the only one done with tree skirts).
But all the store bought ones have the same problem: they are large and hard to store away!

We have very little storage in our current home. No garage, no storage room, not even a coat closet. So creating something that can be folded away for storage was the most important.
And what ended up happening is the requirement to store it away actually made this DIY tree collar easier to make!
Instead of glueing and screwing the boards together, they are all connected with 2 cords through the center of the boards.

You can flatten the collar and place it in the box with the rest of your Christmas decorations. That is my kind of tree collar!

How to Make a DIY Tree Collar
Tools needed:
- Miter saw
- I recently upgraded to this larger sliding miter saw (watch for it to go on sale), but all my projects before were built with this inexpensive miter saw that I loved.
- Drill press or drill with a drill guide
- Table saw or circular saw with guide track
- Staple gun
- Measuring tape
- Optional: Easy marking tool
- This tool is not necessary but is cheap and I end up using it on every project (also makes a great stocking stuffer).
Supplies:
- (3) 1×4 boards
- Scraps of ~1×2 boards
- Scraps of 1/4″ plywood or MDF
- 6 yards 3mm cotton cord
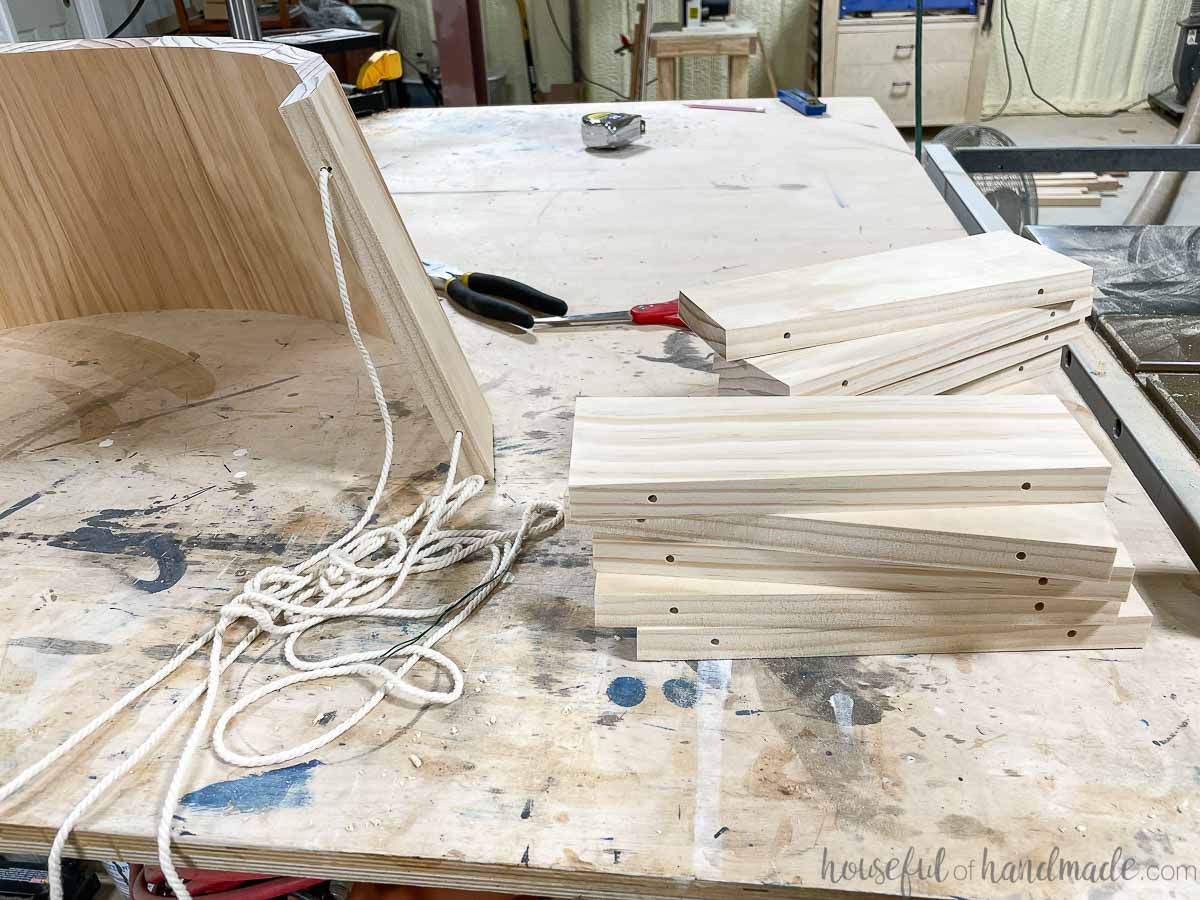
This tree collar is made up of 24 pieces of 1×4 cut exactly the same! Since each piece is identical, if you make some quick jigs you can easily cut all the pieces without having to continue to measure and mark.


Cut pieces with a quick miter saw jig
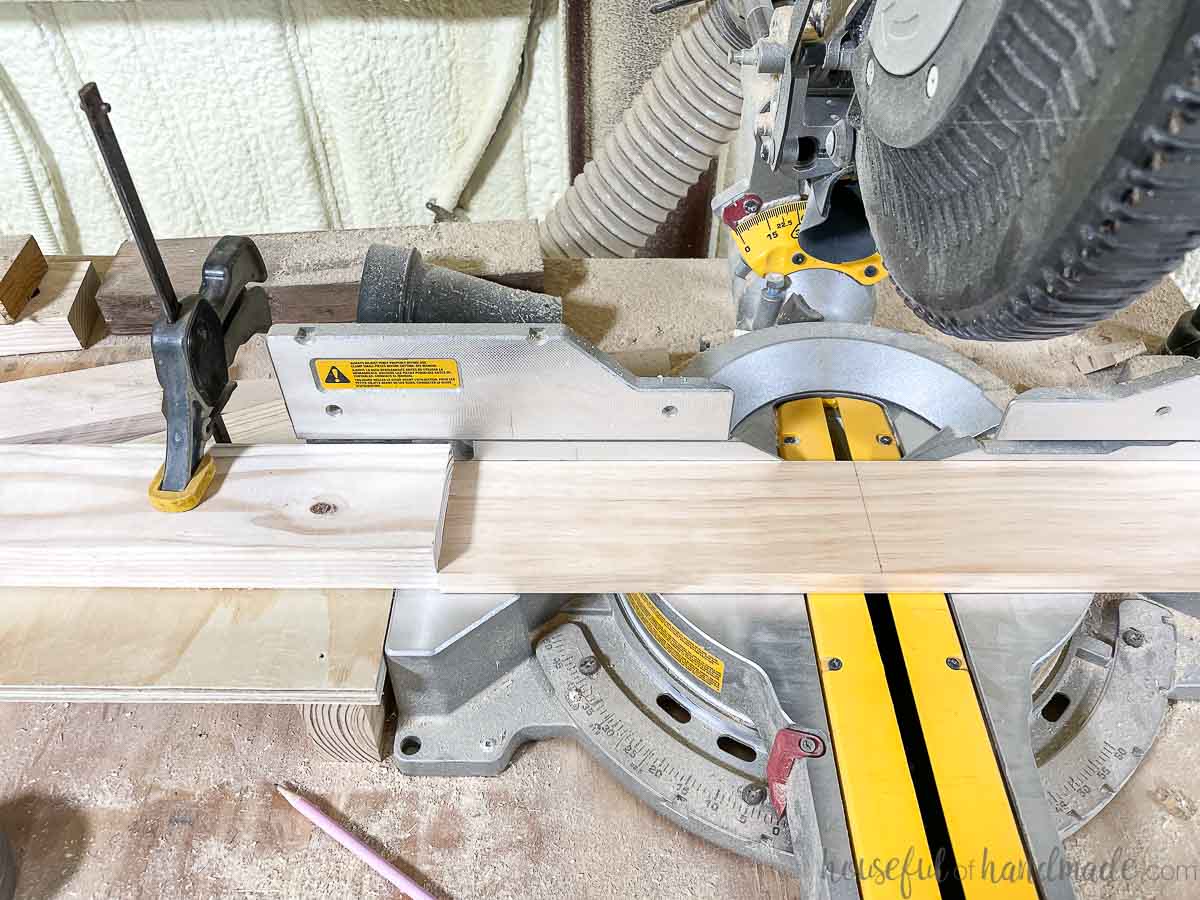
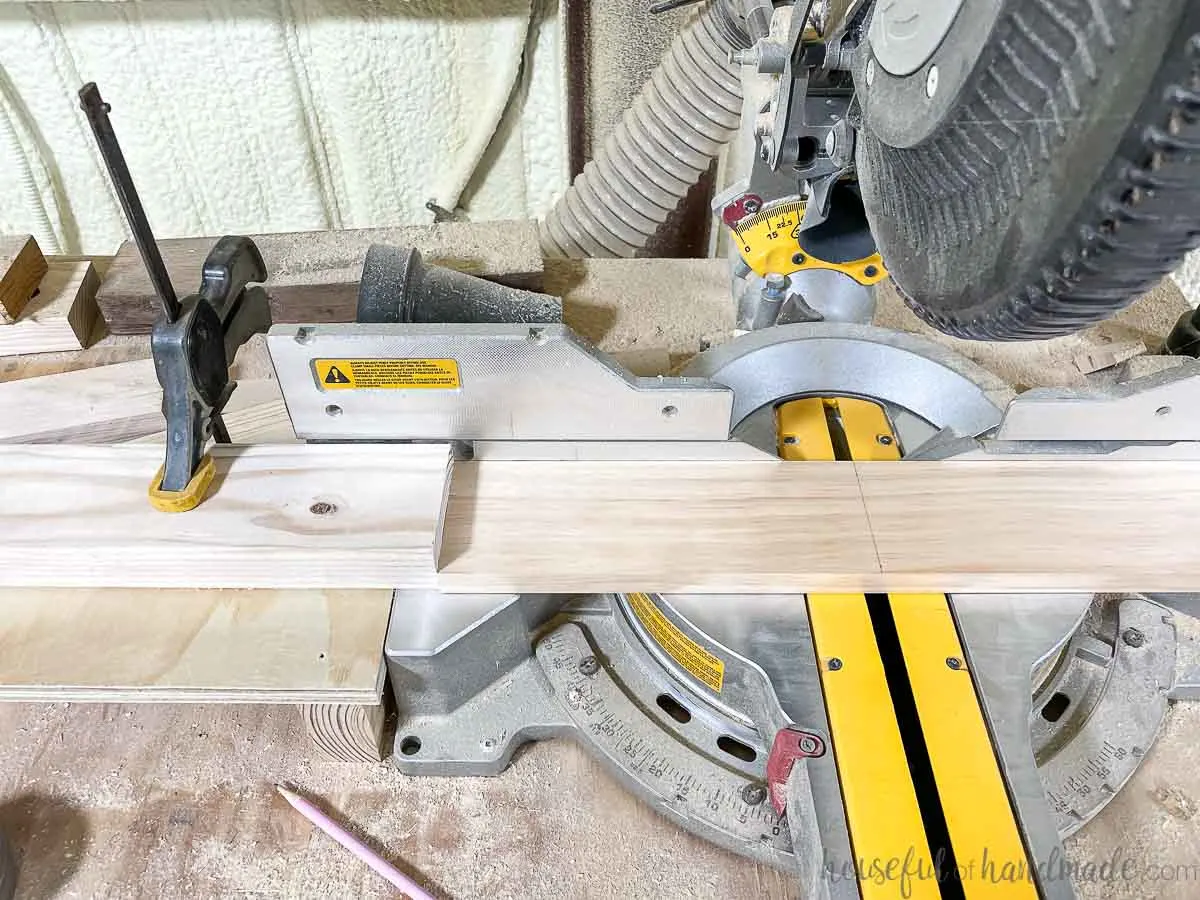
The first jig I make is on my miter saw. It really isn’t a jig at all, but makes cutting the same length of board over and over easy.
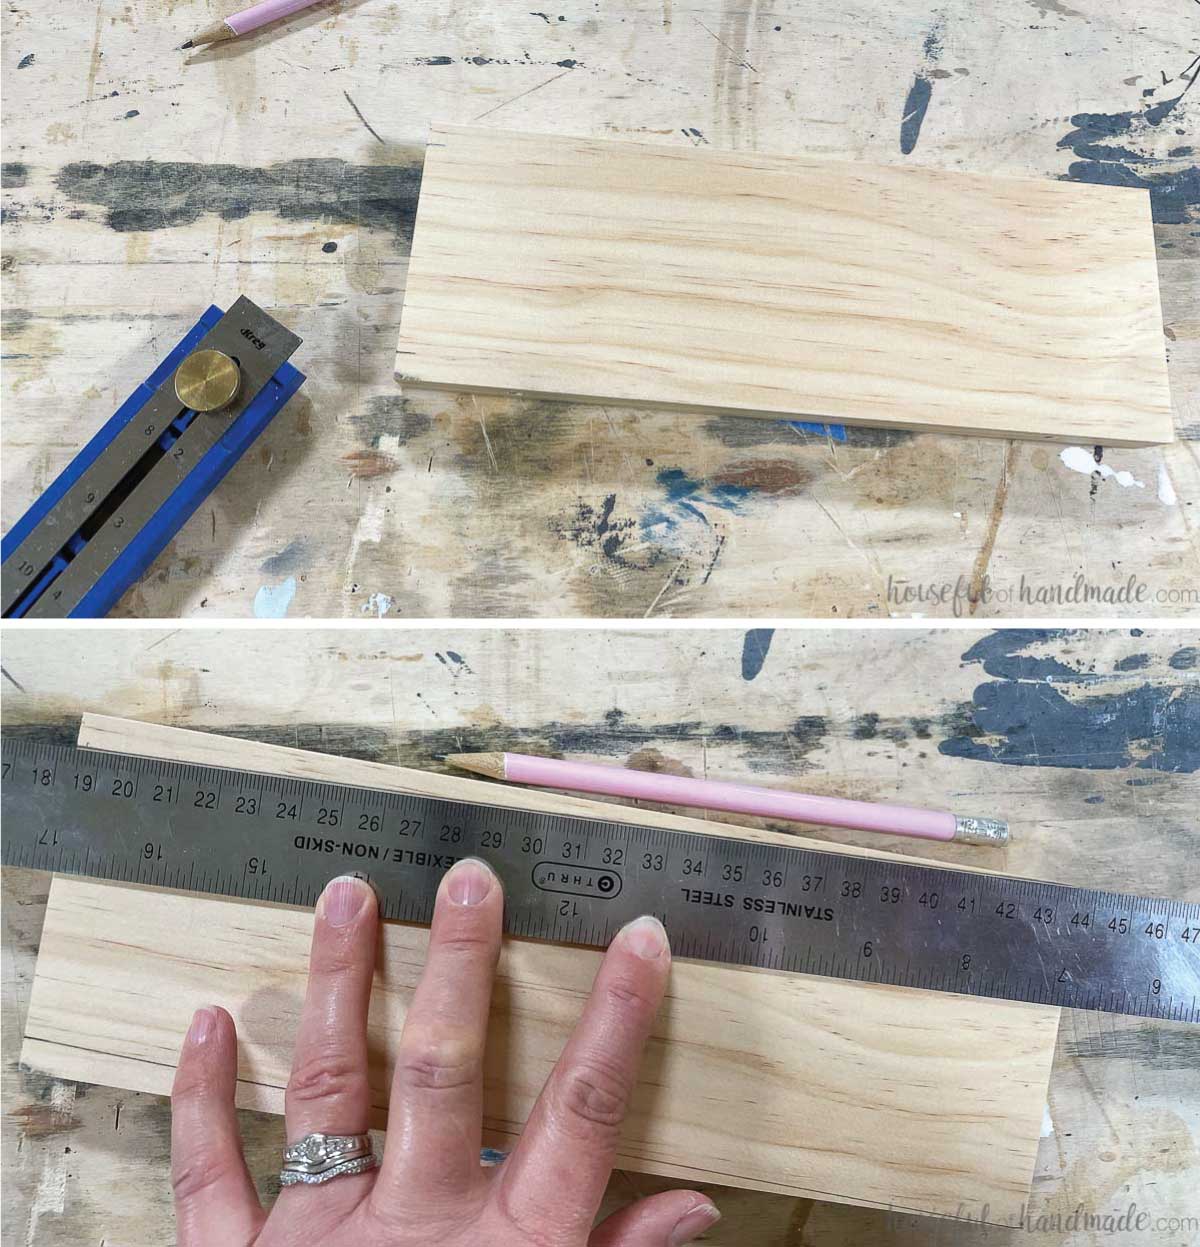
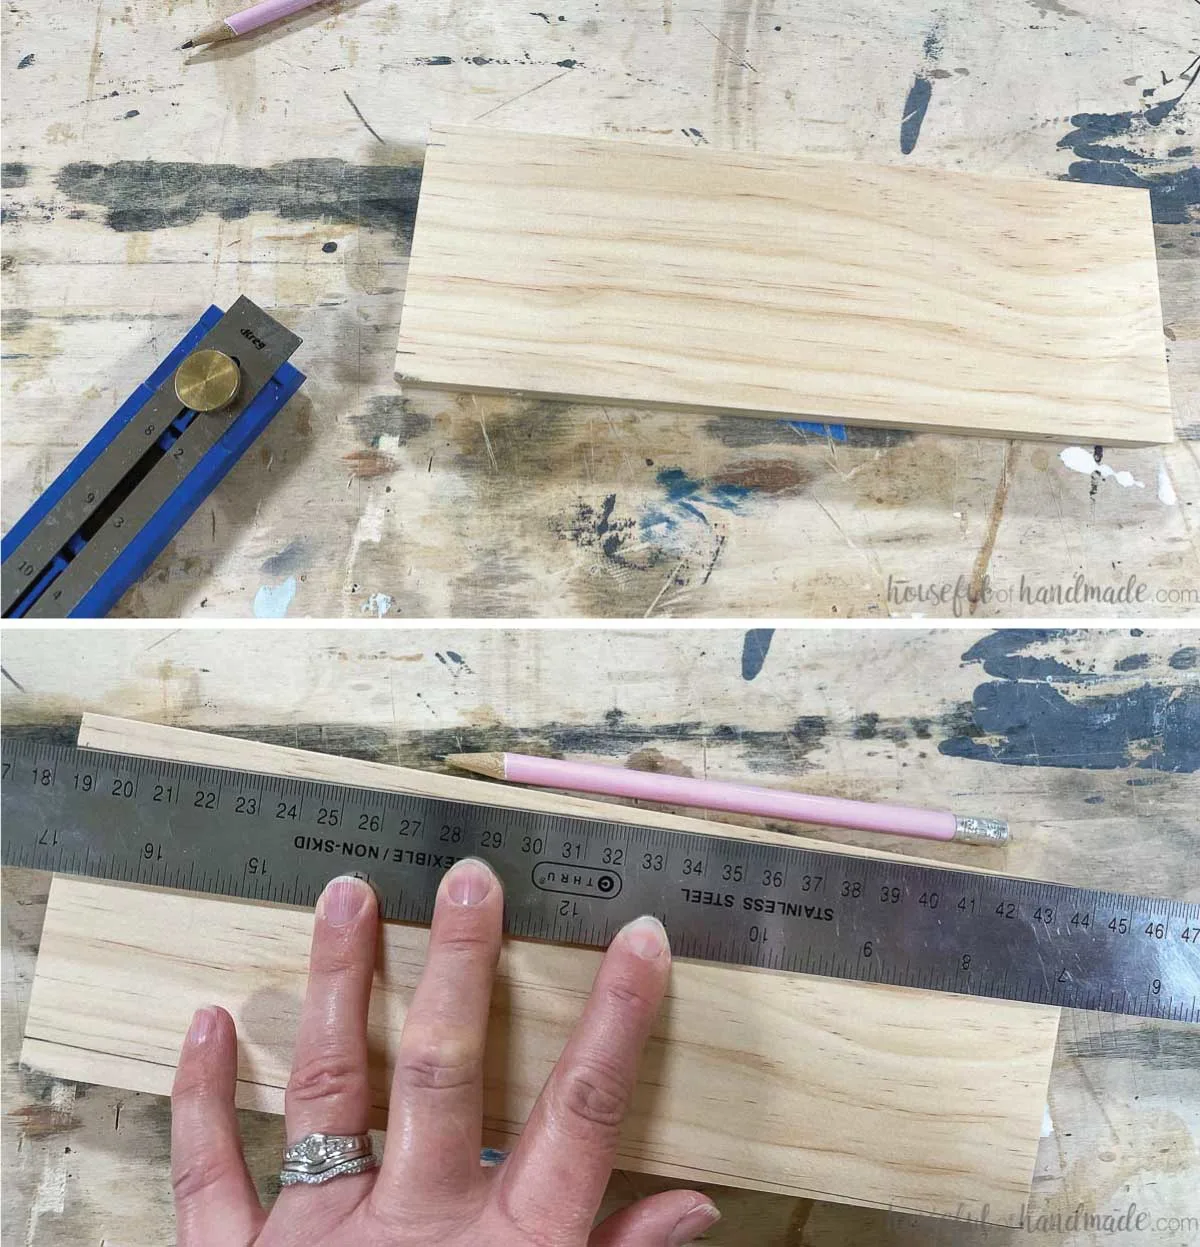
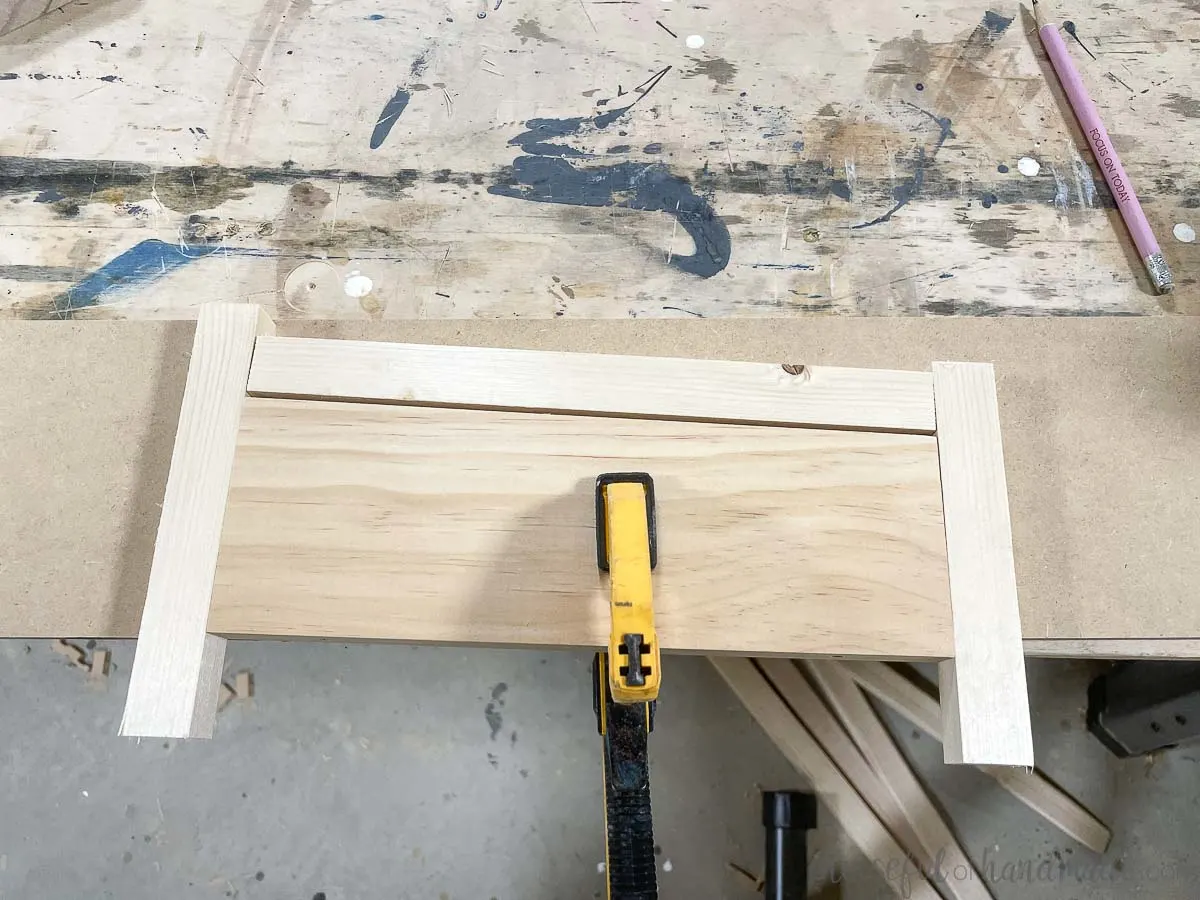
Measure the 10″ cut line on your first 1×4 board and draw a line. Line it up on your miter saw where you want it to cut.
Then clamp a board or speed square next to your miter saw at the edge of this board. Double check that the saw is still in the correct place when pressed up against your “stop” and then cut.
Repeat this cut 24 more times so you have (24) 10″ pieces.
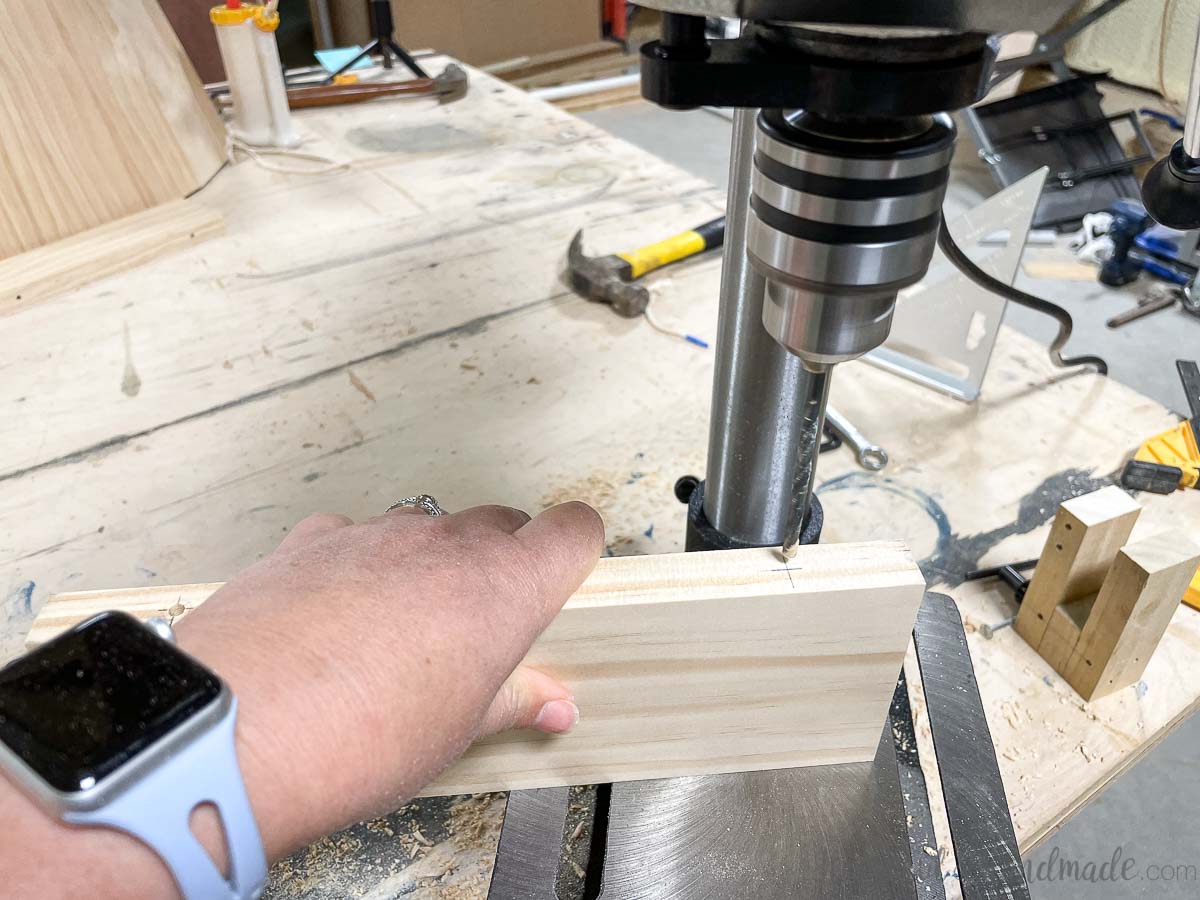
Drill holes with a drill press jig
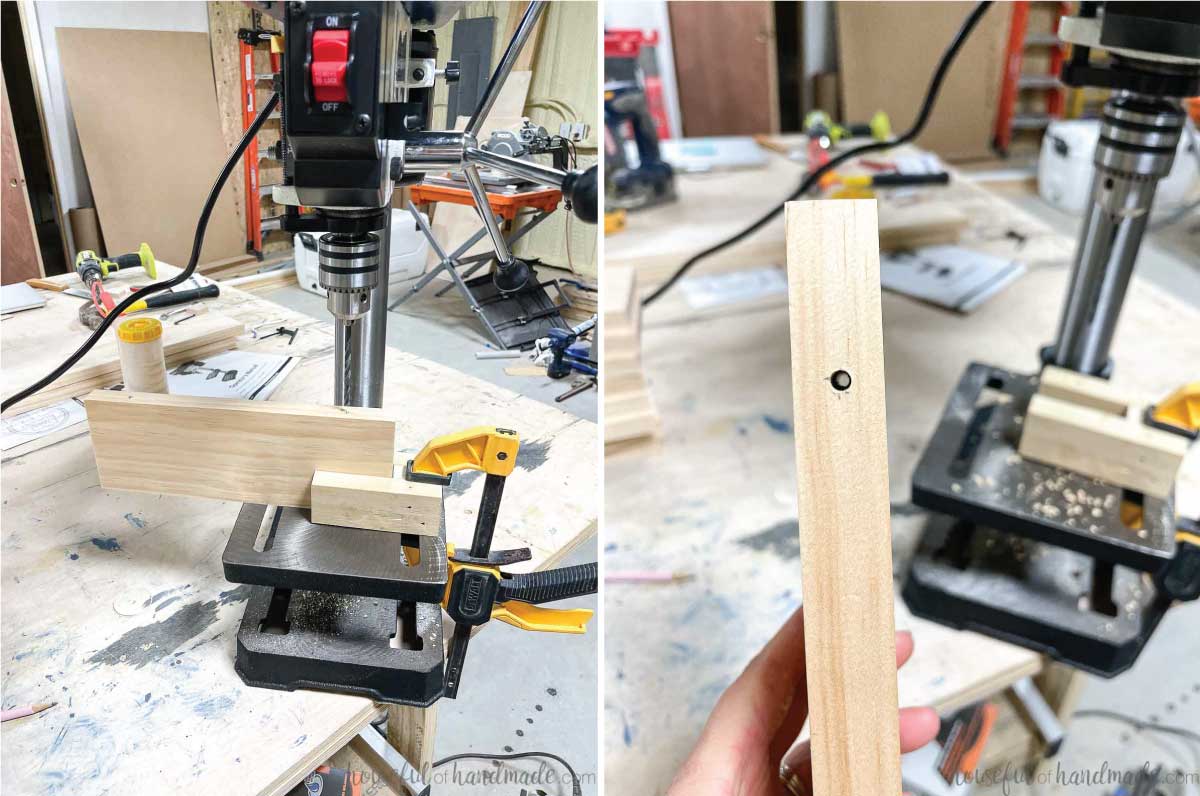
The next step is to drill a hole all the way through the edge of each 1×4 piece on the top and bottom. A drill press makes this easier but you could also manage with a hand held drill and a drill guide.
I created a jig to hold the board centered under the drill press fitted with an 11/64″ bit and 1 1/2″ in from each end. For the jig I used scraps of 1×2 board to create a U shape.

Since my drill press only has a 2″ capacity, I had to drill the 2″ in the one side, then flip the board to drill in the second till they met in the middle.
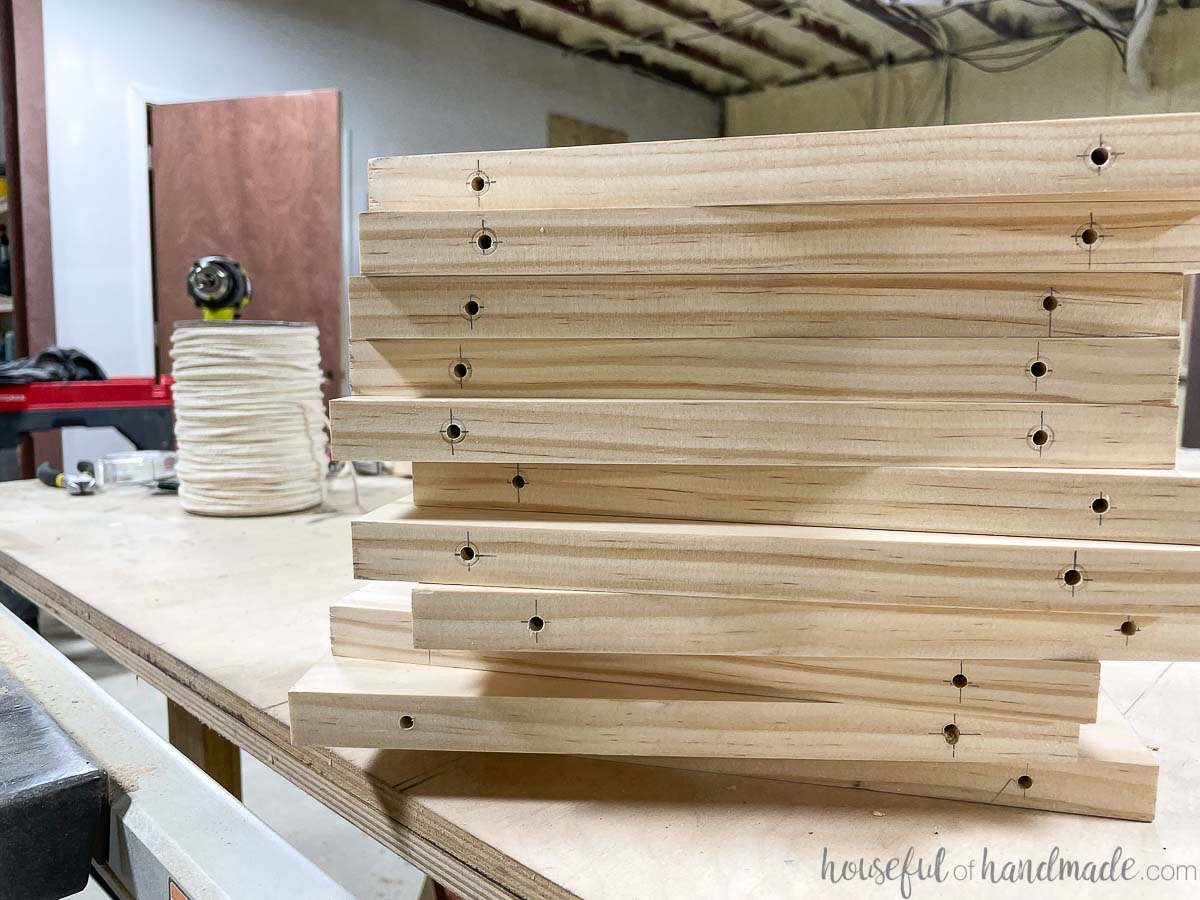
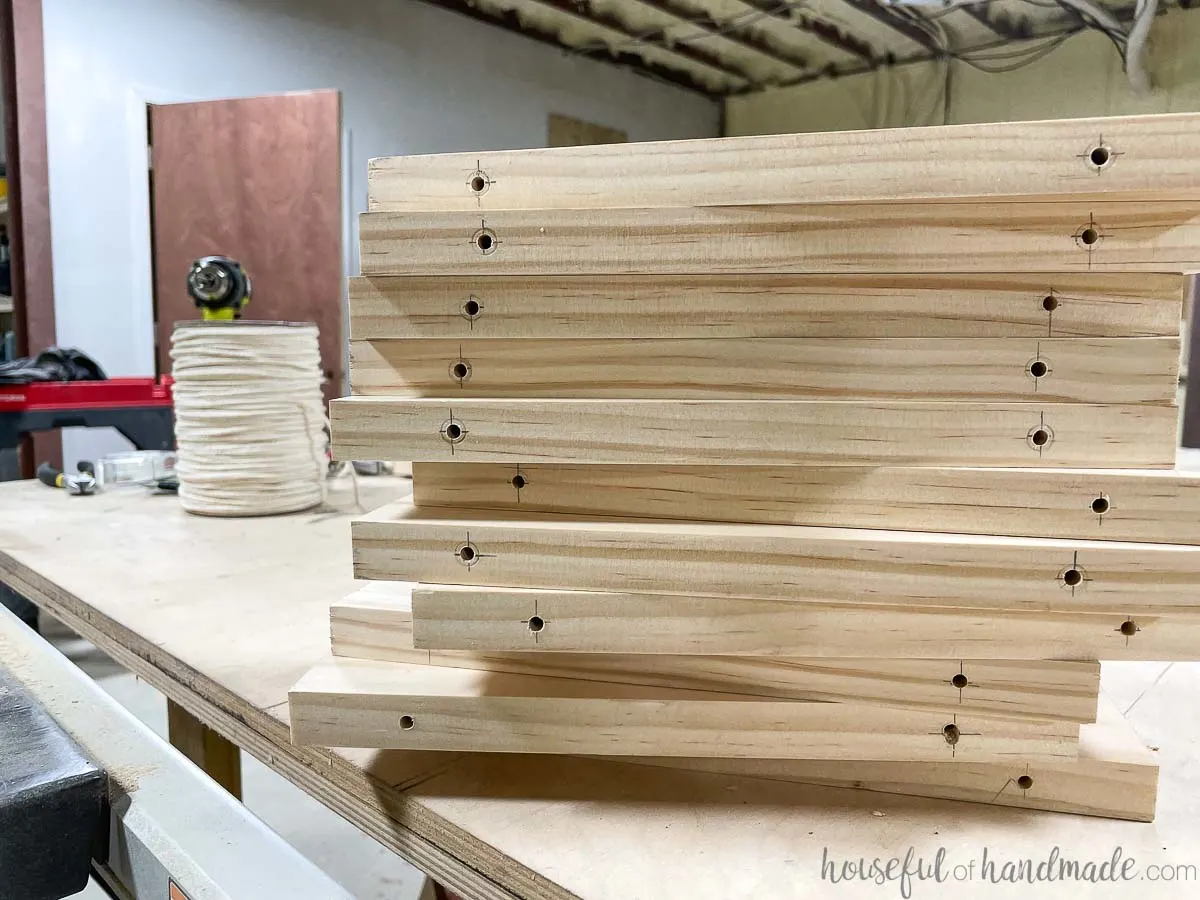
This jig worked okay. Actually, it worked great for the first 8-10 boards. But then it started not lining up right. I kept tweaking the position and the holes were not lining up in the middle.

Drilling holes without a jig
So for the last 10 boards, I used my multi-mark tool to quickly mark the center of the boards on each end and 1 1/2″ from the end and manually lined up the drill press.

It worked perfectly. But took a few extra minutes to measure and line things up.

Make sure you drill all the holes before moving on to the table saw. You want the holes to be drilled parallel with the face of the boards and the table saw will be tapering the edges.
Cutting tapers with a table saw jig
The last part is to cut the tapers and angles on the sides of each board. This sounds super complicated, but is actually really easy with these 2 quick jigs.

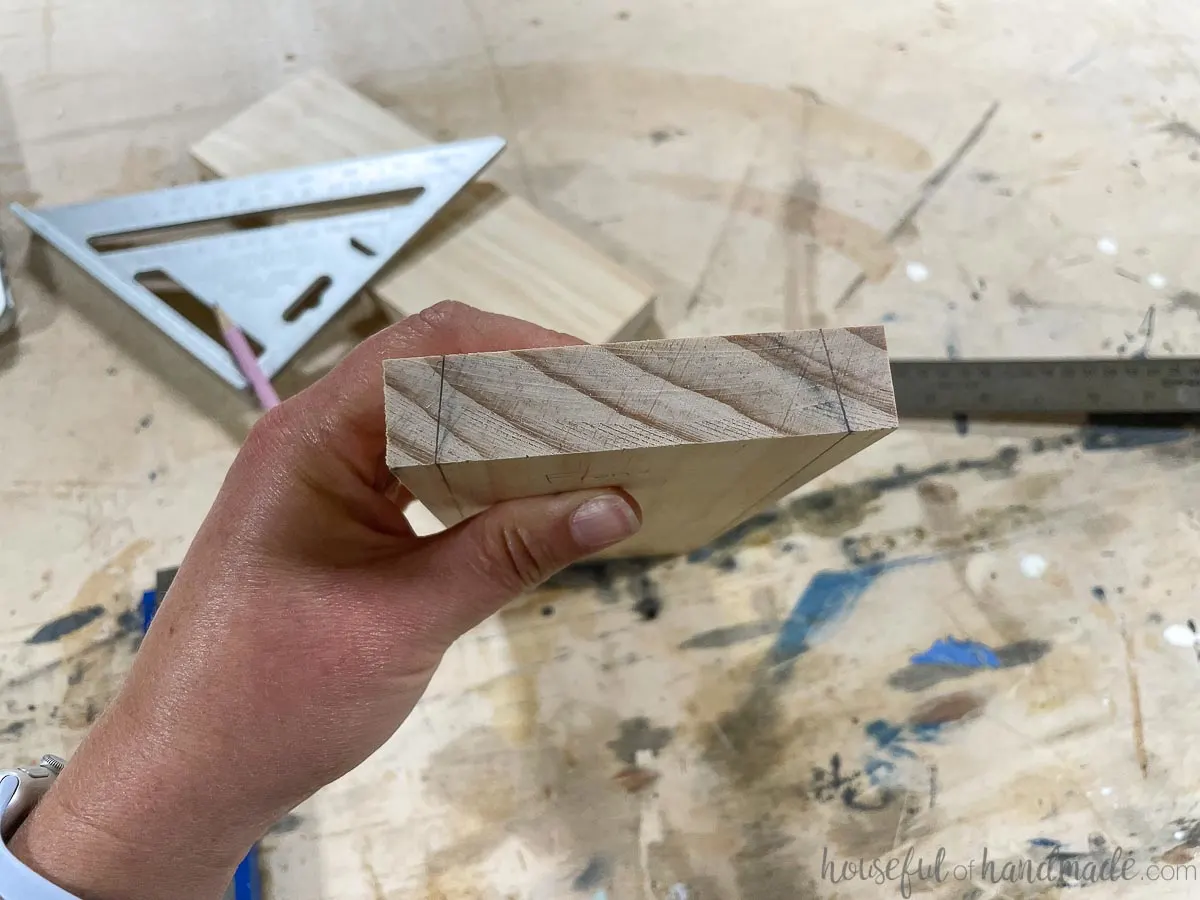
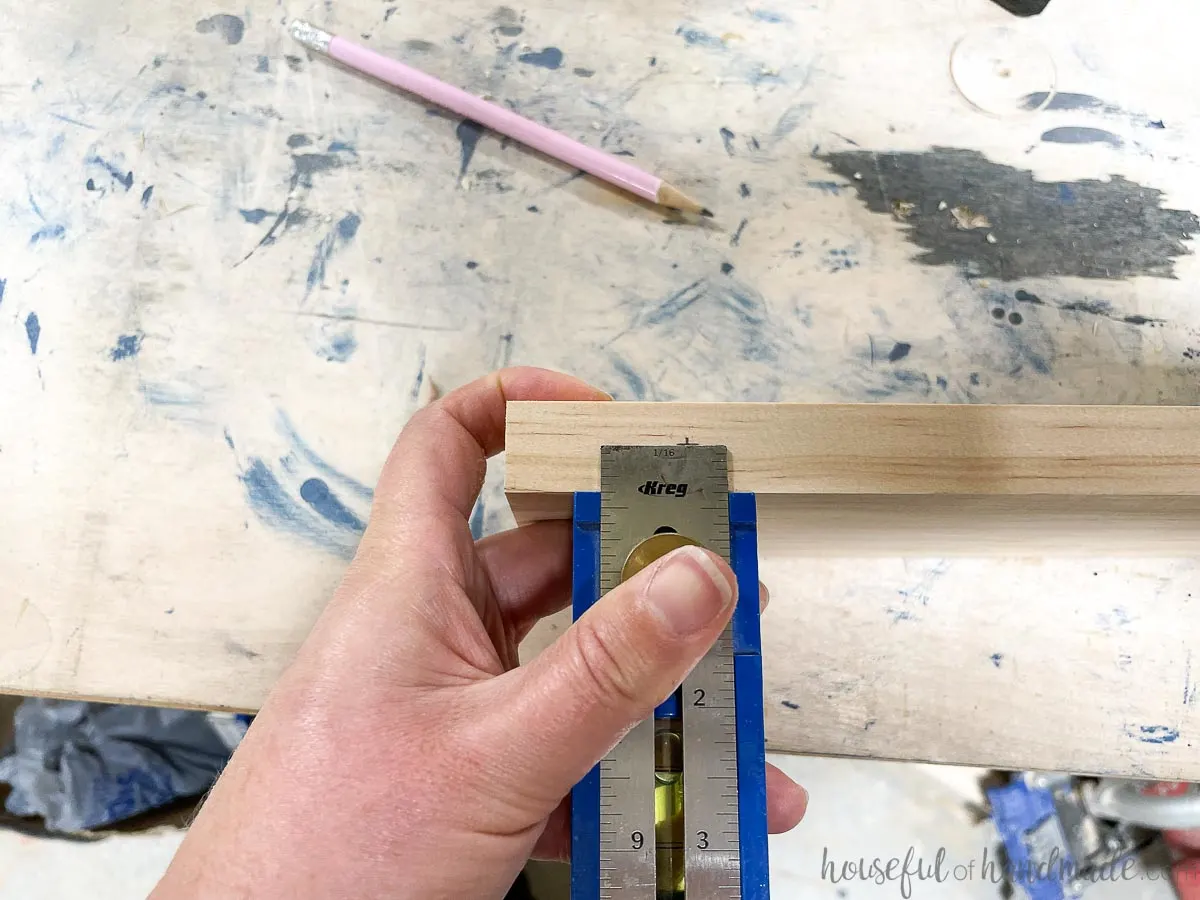
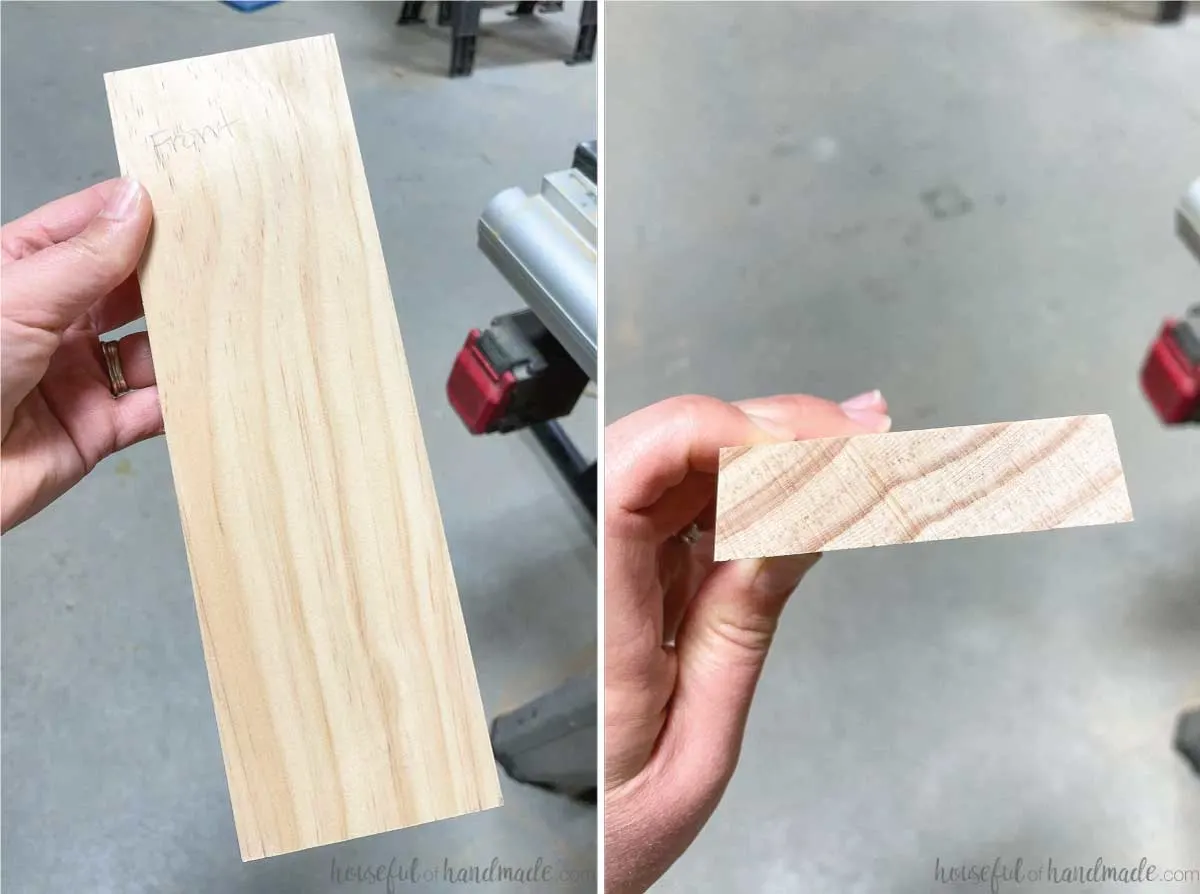
You will first measure and mark the tapers on one 10″ board. Measure in 5/16″ from the edge on both sides of the top of the board.
Draw a line from these point to the outer edges on the bottom of the board.
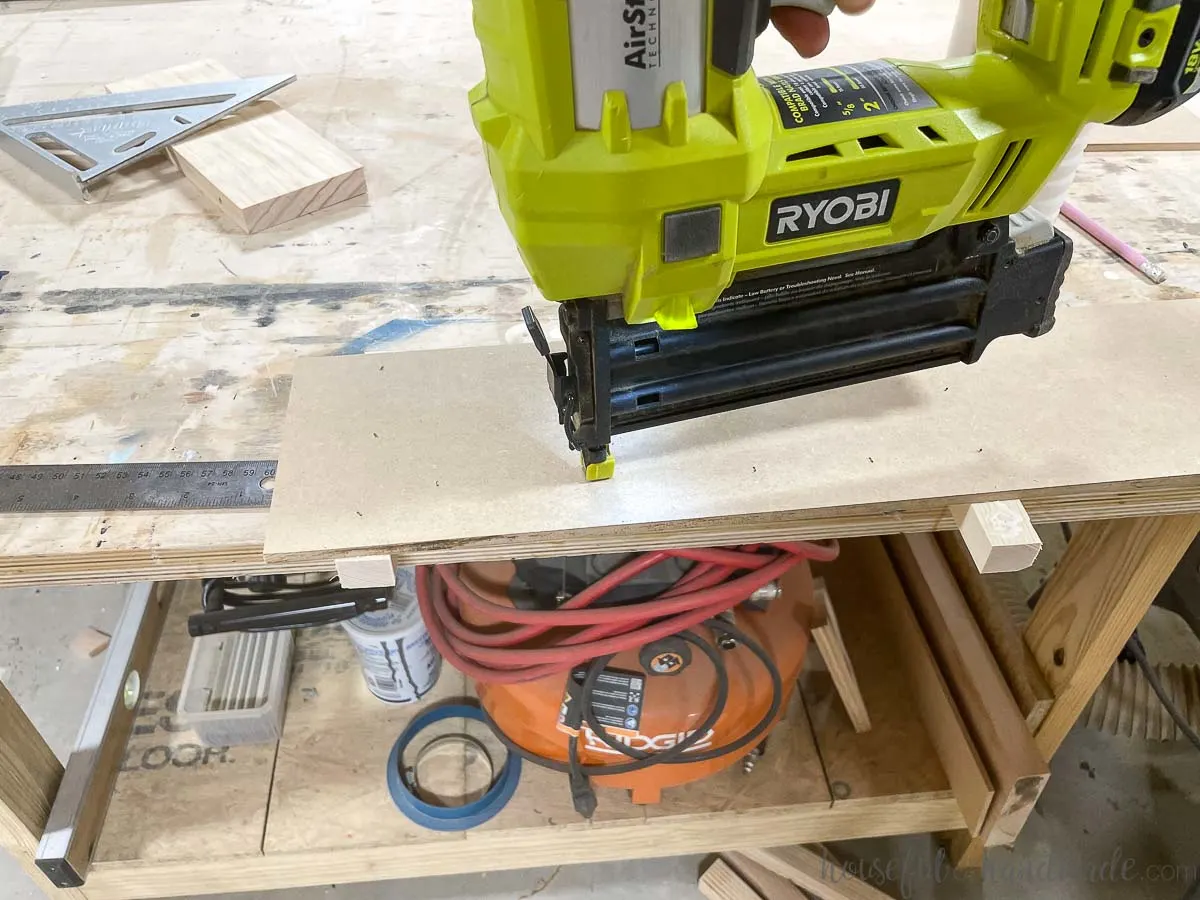
Cut a couple pieces of 1/4″ MDF big enough for the 10″ board and some scraps of wood to fit on it. Mine were 5″ x 20″ and I liked the extra length for maneuvering it on the table saw.
Line the board with the marked tapers up so it is centered on the board and the one tape line is flush with the edge of the MDF. Clamp it down.
I usually lay the MDF so it hangs over the edge of my work table slightly and squat down to see the line underneath to line it up properly.
Cut scraps of wood to surround the board on all three sides. This will hold it in place while you cut it.
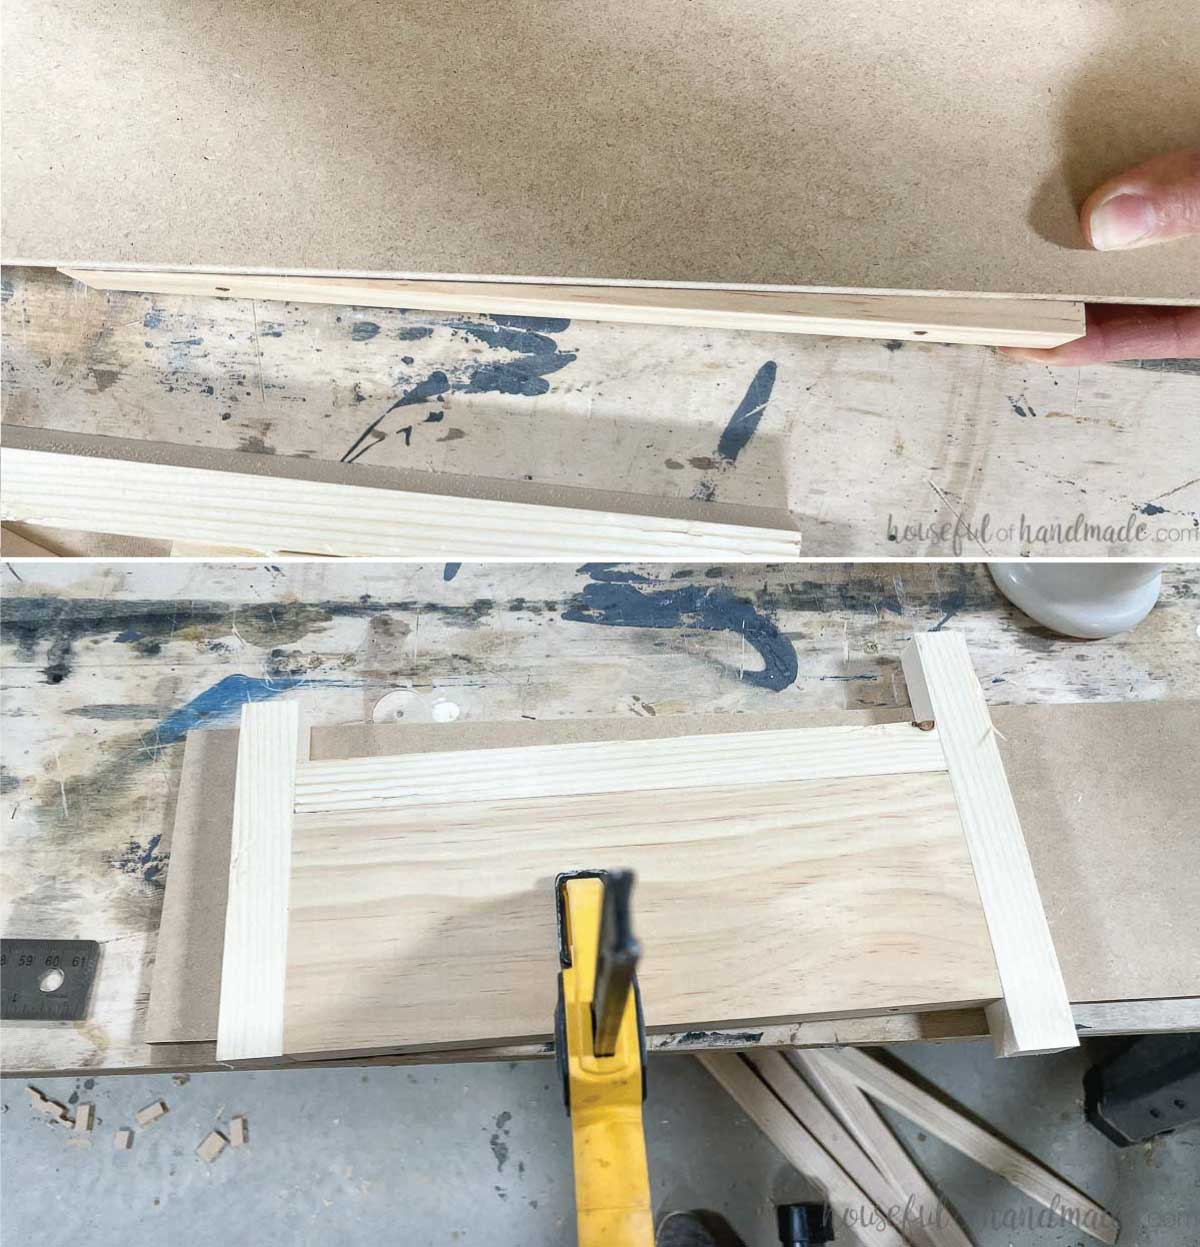

Make sure any extra length on these scraps only hangs over the edge of you plywood on the side that will be cut. On my first jig I accidentally let the edges hang over both sides and the ones on the back make it so the jig doesn’t slide up against the table saw fence.
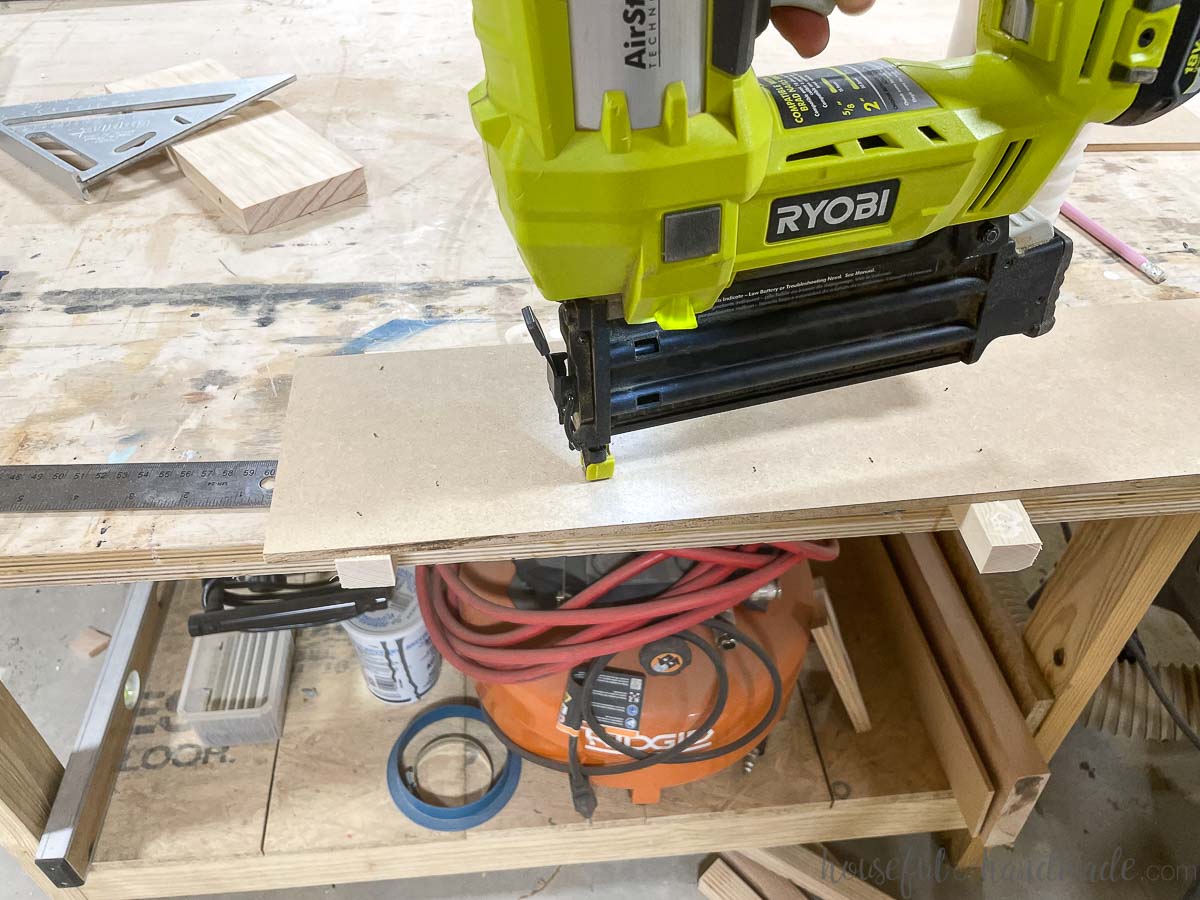
Glue these scraps down and then flip the jig over and secure with a couple nails or screws. Just make sure they are countersunk into the MDF so it doesn’t get in the way of it sliding on the table saw.
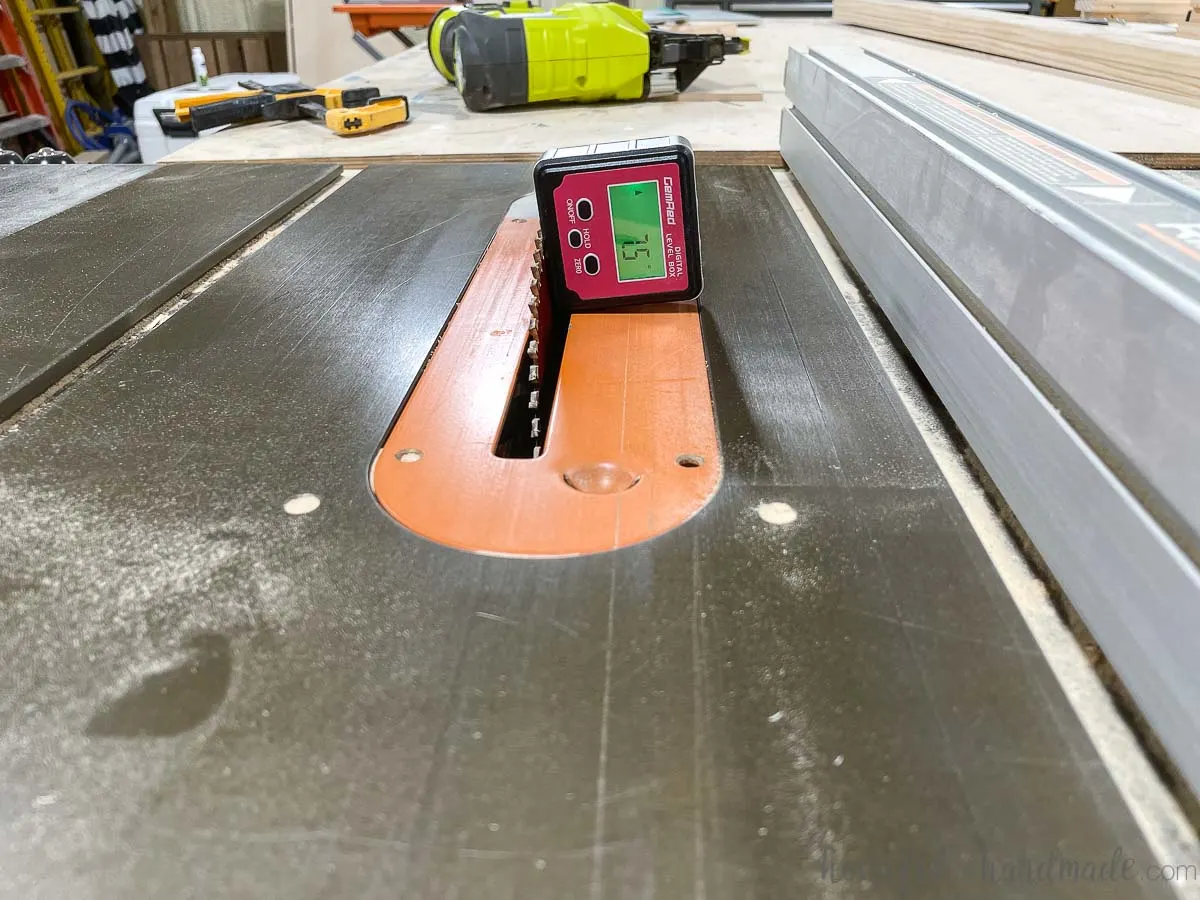
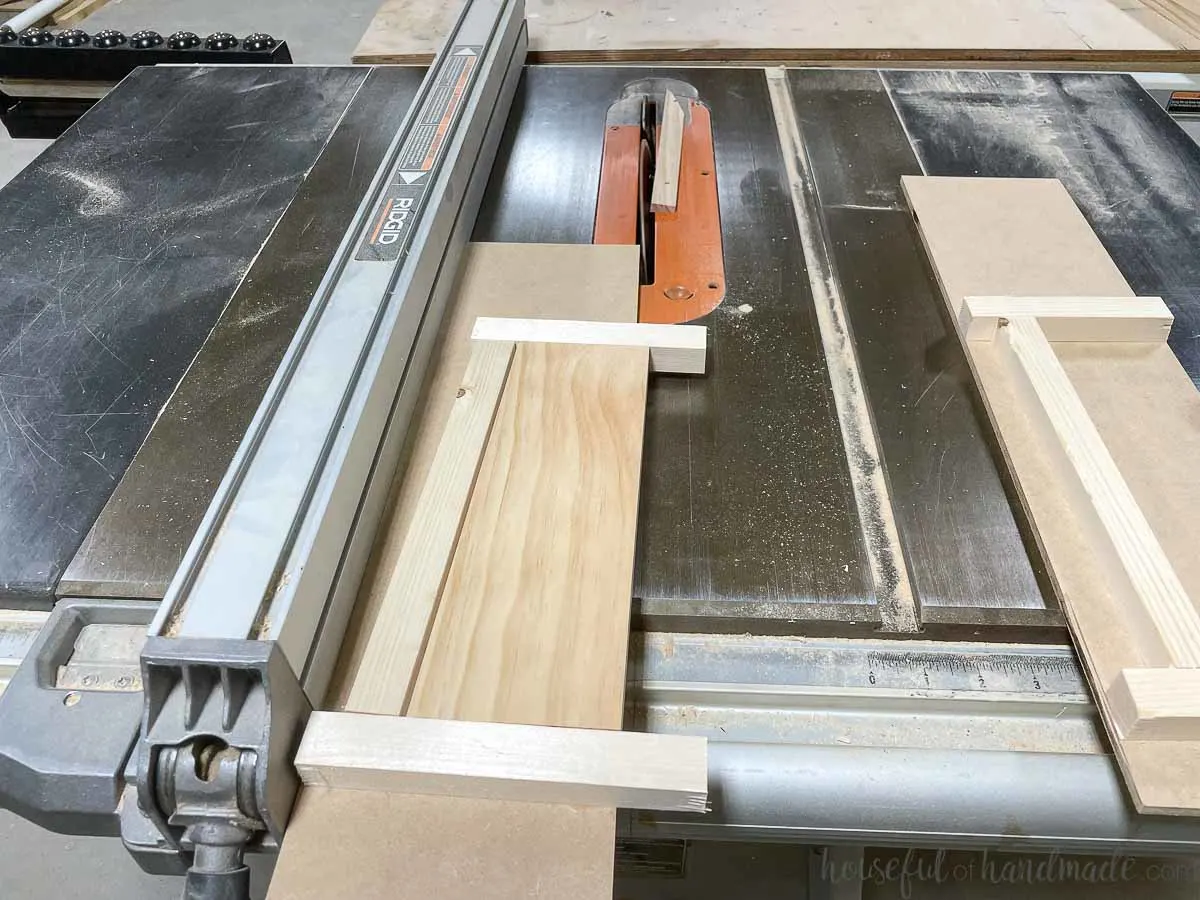
Now set your table saw blade to a 7.5 degree angle. Line the fence up so the blade only cuts the board at an angle and not the MDF of the jig.

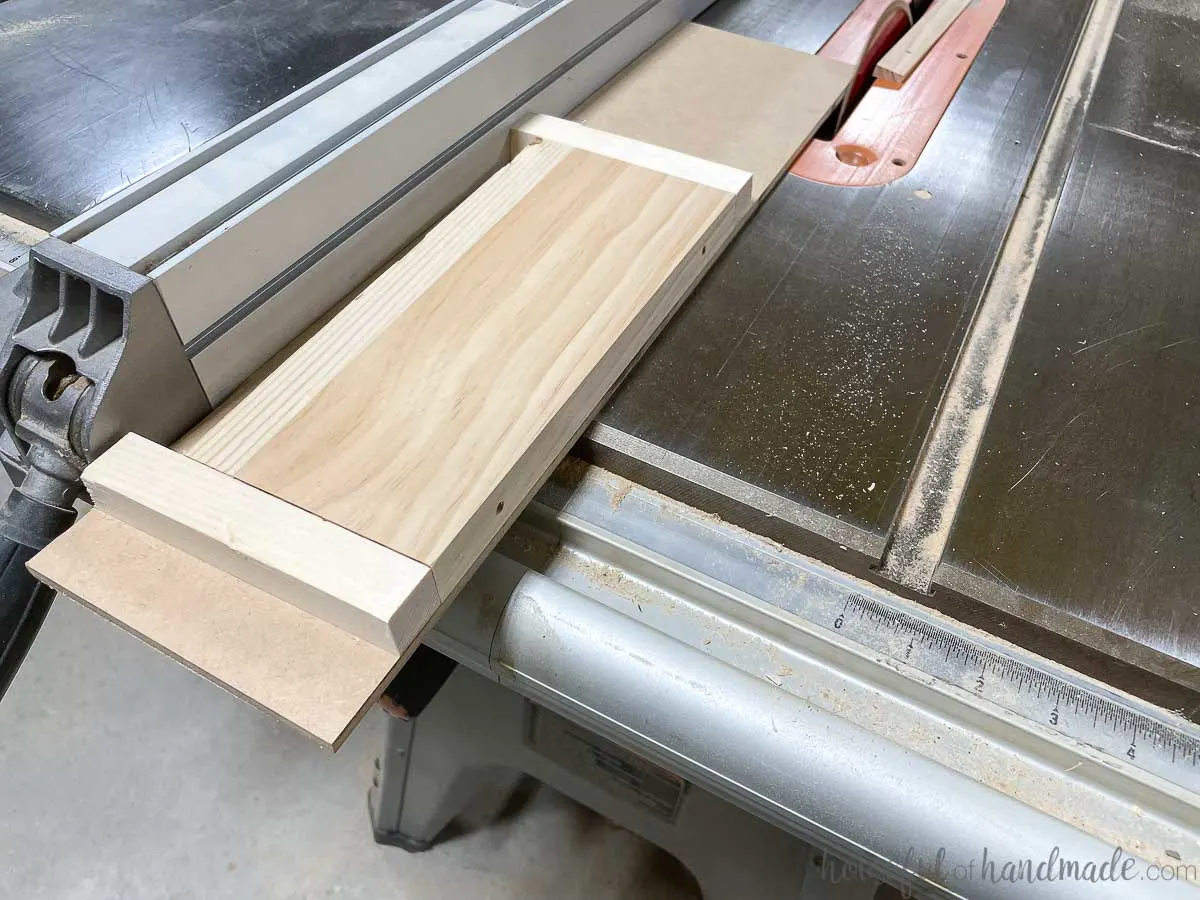
Place the marked board into your jig and run it through. It will trim off the excess scrap pieces and cut a perfect angled taper on your piece.

Why 2 jigs?
The reason there are 2 jigs needed for the table saw is because after you cut the taper on the first side, you cannot cut the second side with the same jig because the one side is now different.

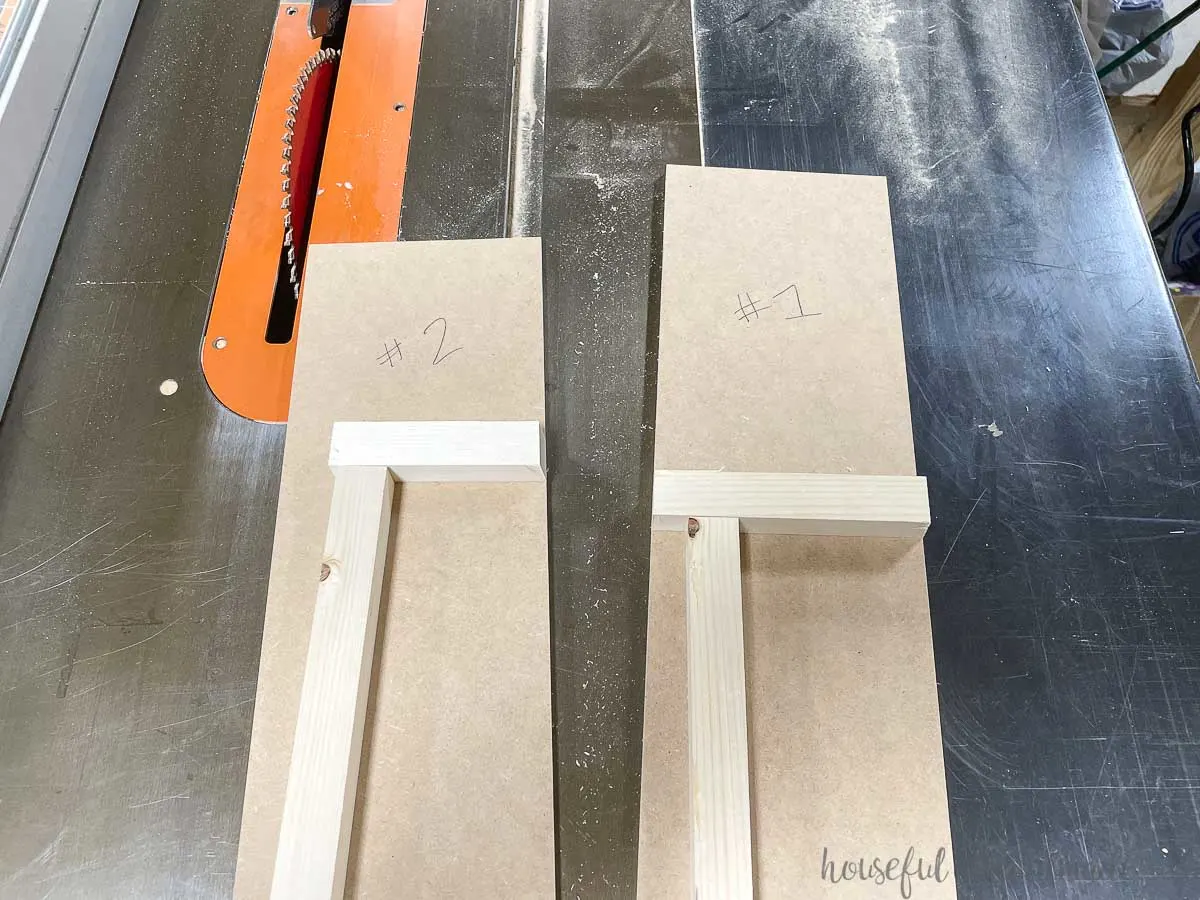
To create the second jig, line the cut piece up the same way for the second side. Lining up the taper line drawn on the other side.
Cut and attach scraps around it the same as for the first jig. You will notice that the cut side will be angled, make sure the angle is facing up so the two tapers go toward each other and the two angles go toward each other.

Run your piece through the table saw with the saw still at the 7.5 degree angle and it will taper and angle the other side.

Repeat for all 24 pieces.

Assemble the Christmas tree collar
With all your pieces cut it is time to assemble. Also, if you want to stain your DIY tree collar, you might want to do it before assembly.
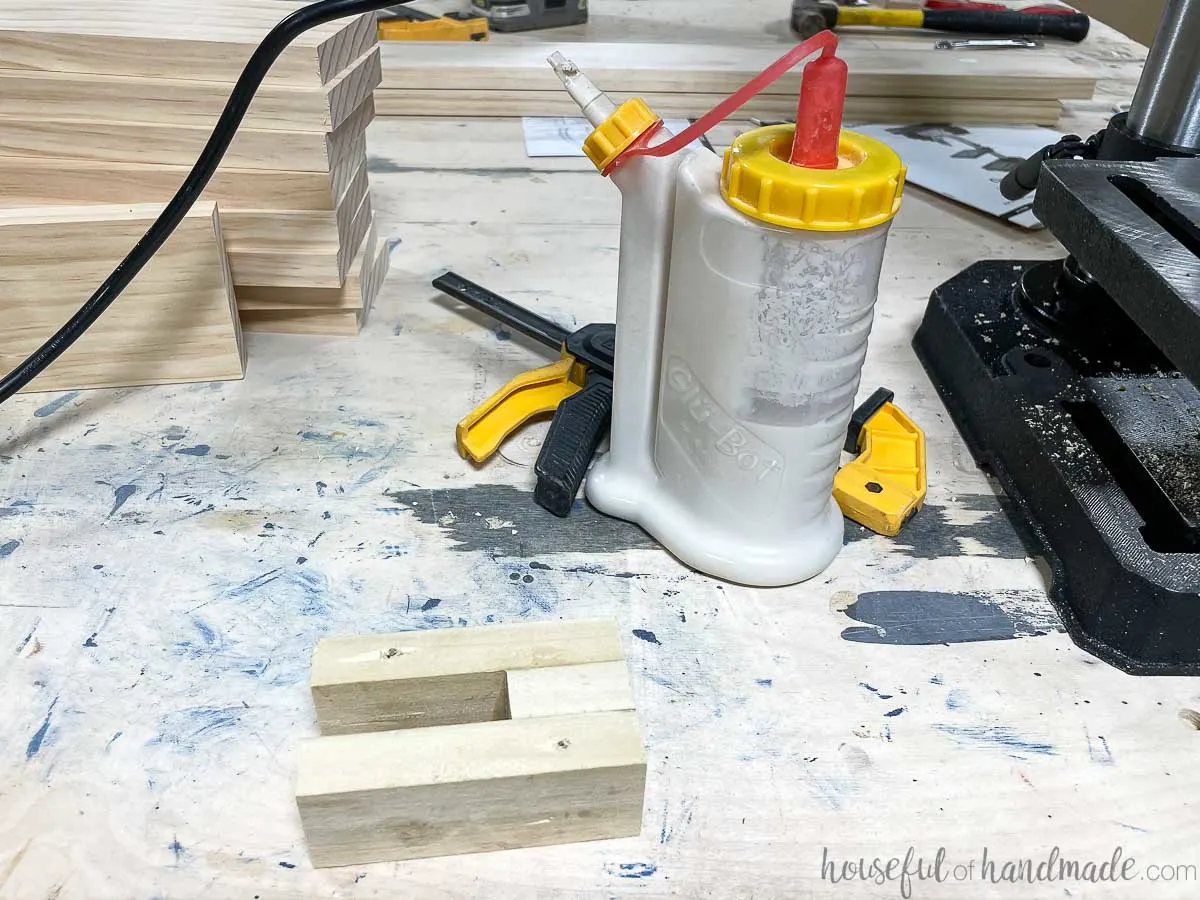
Cut 2 pieces of cording to ~9′ long. On one end tie a knot, on the other end secure a folded piece of wire to the other. Make sure your wire is long enough to go through the entire board.
I folded the wire and wove it through the fibers on my cord so it was very secure. Then taped it tightly.


Thread the cording through the holes on one board. Thread one cord through the top hole and the other through the bottom.
Then add another board. Make sure the tapered ends are all on the top and the angled sides are all on the inside.

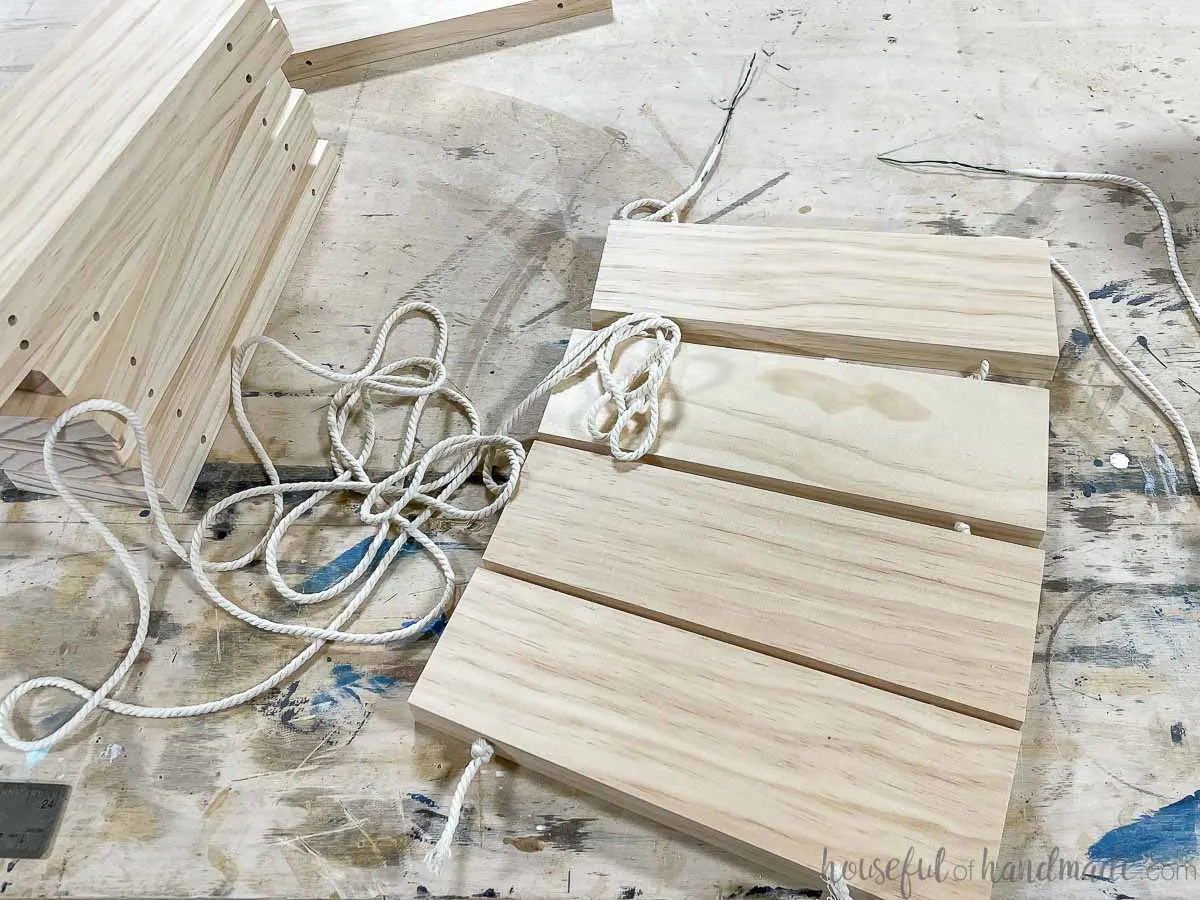
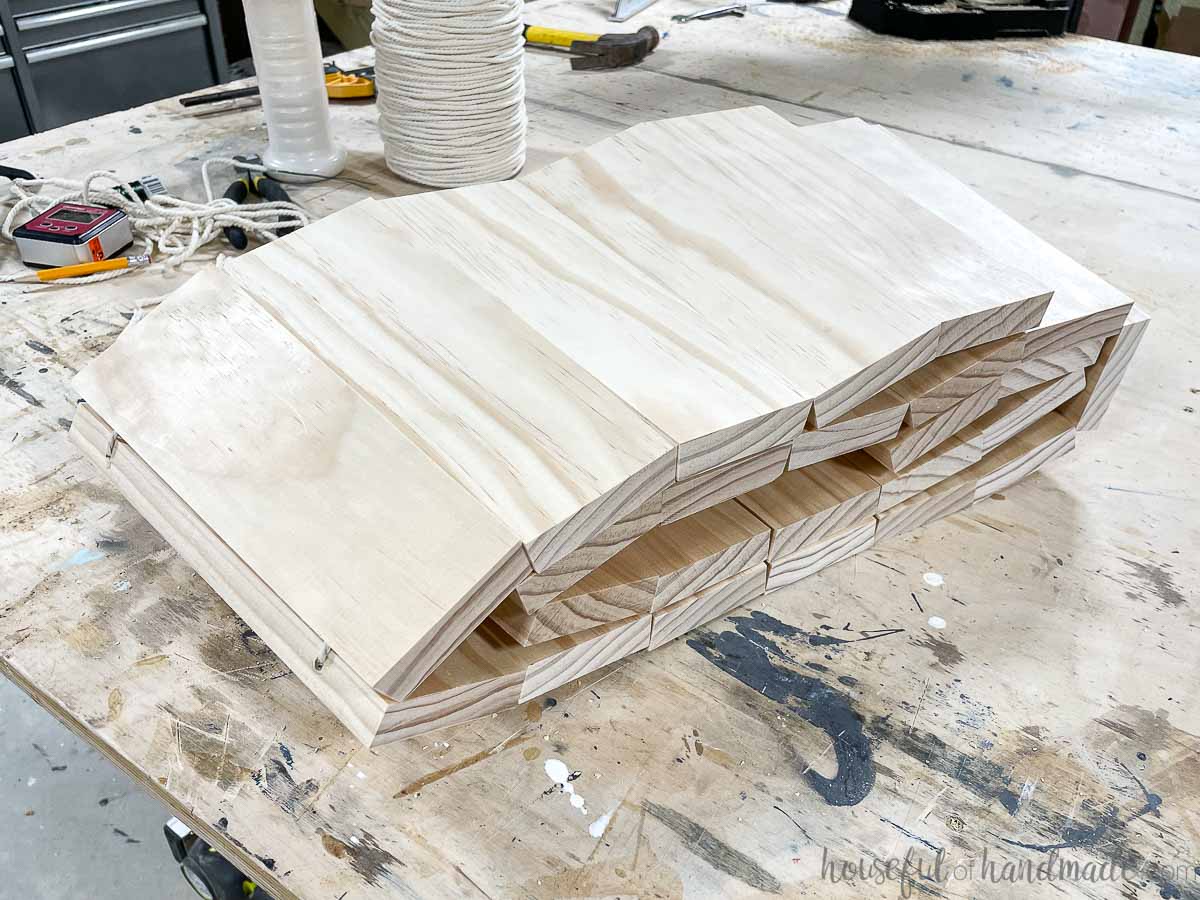
Continue threading boards onto the cording. Pull the cording tight every few boards.
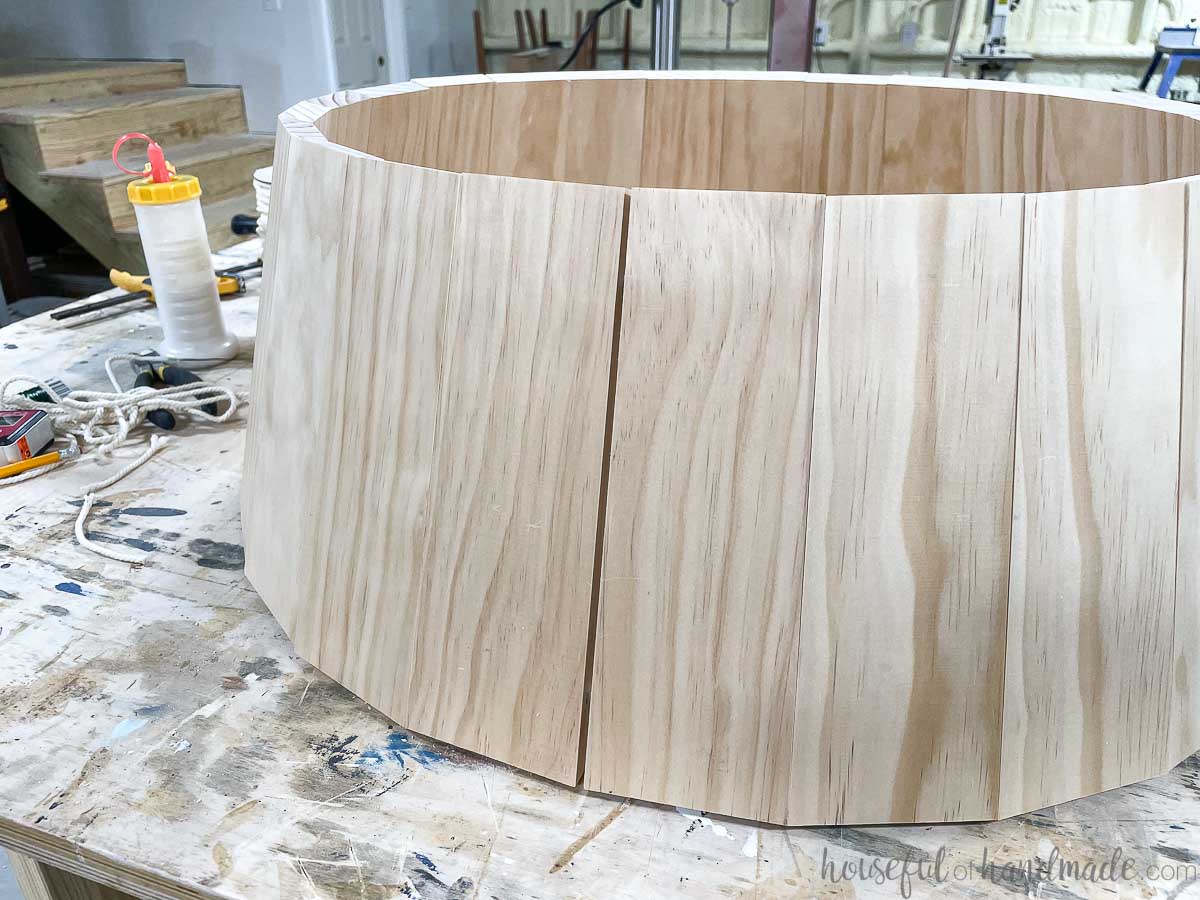
Once you get enough boards on the cord, you can stand it up to keep the cording nice and secure.

Keep adding boards until all 24 pieces are on the cord and it is nice and tight.
Now it will stand up all on its own!


Tie a knot on the other end of the cording to finish it off.
Then pull the knots to the inside of the tree collar and Secure with a staple.

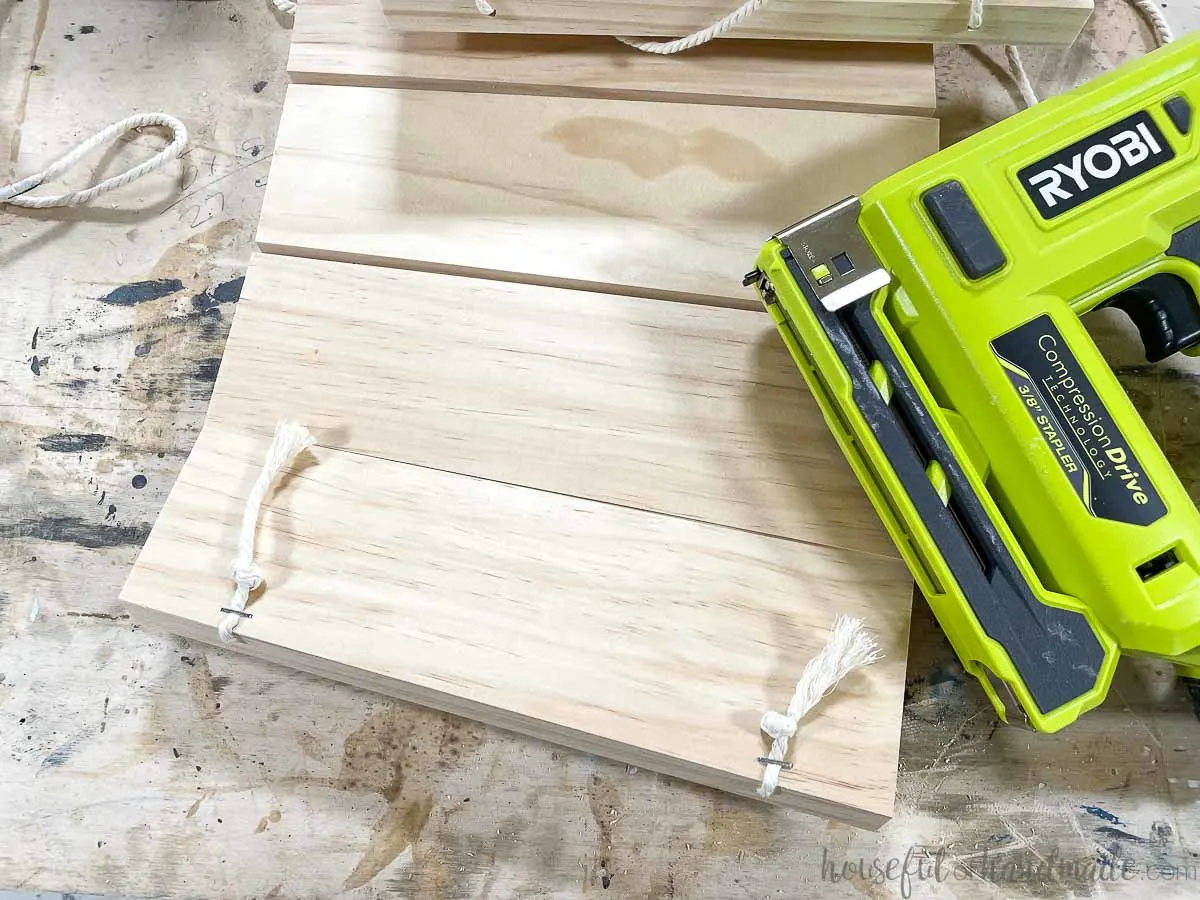
This will make the gap at the back much smaller then if the knots were on the sides. But if you don’t have a stapler you can skip it.
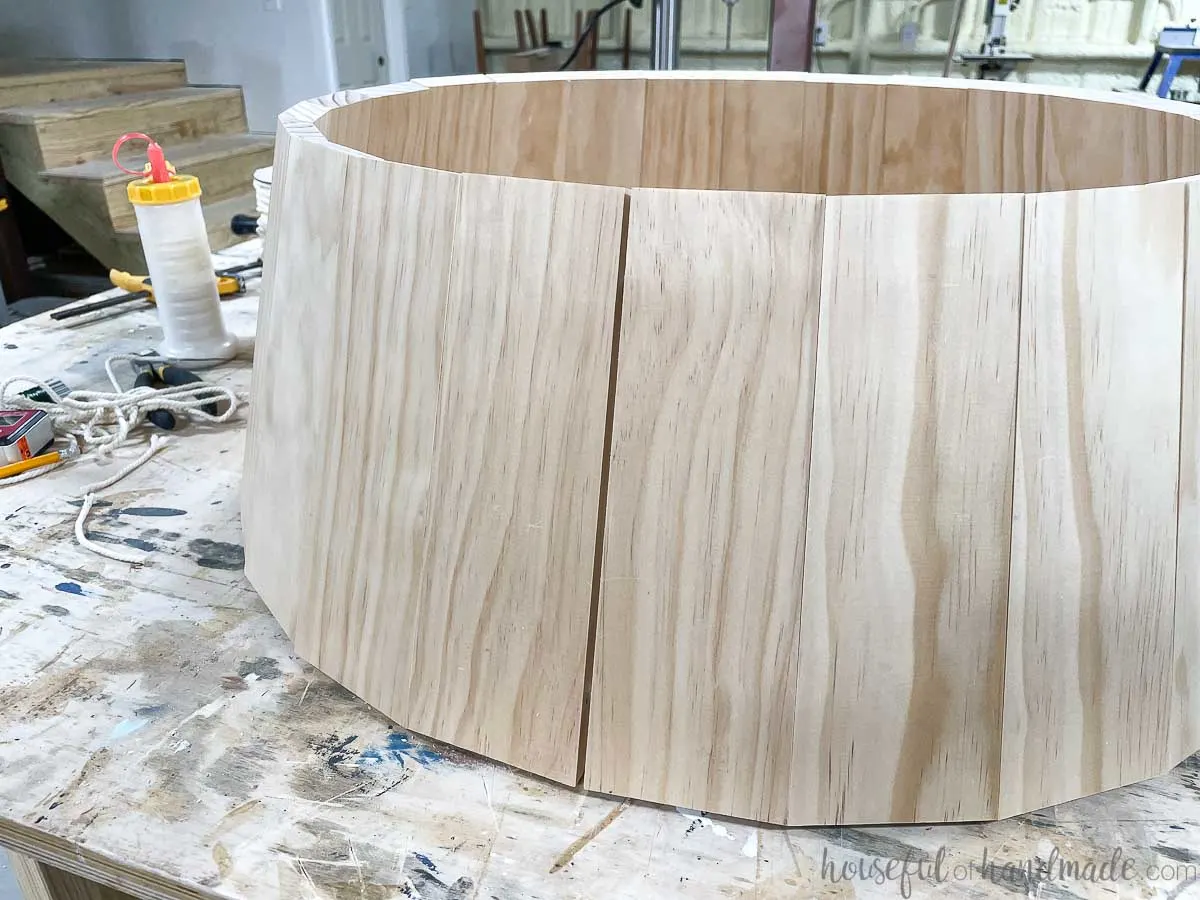
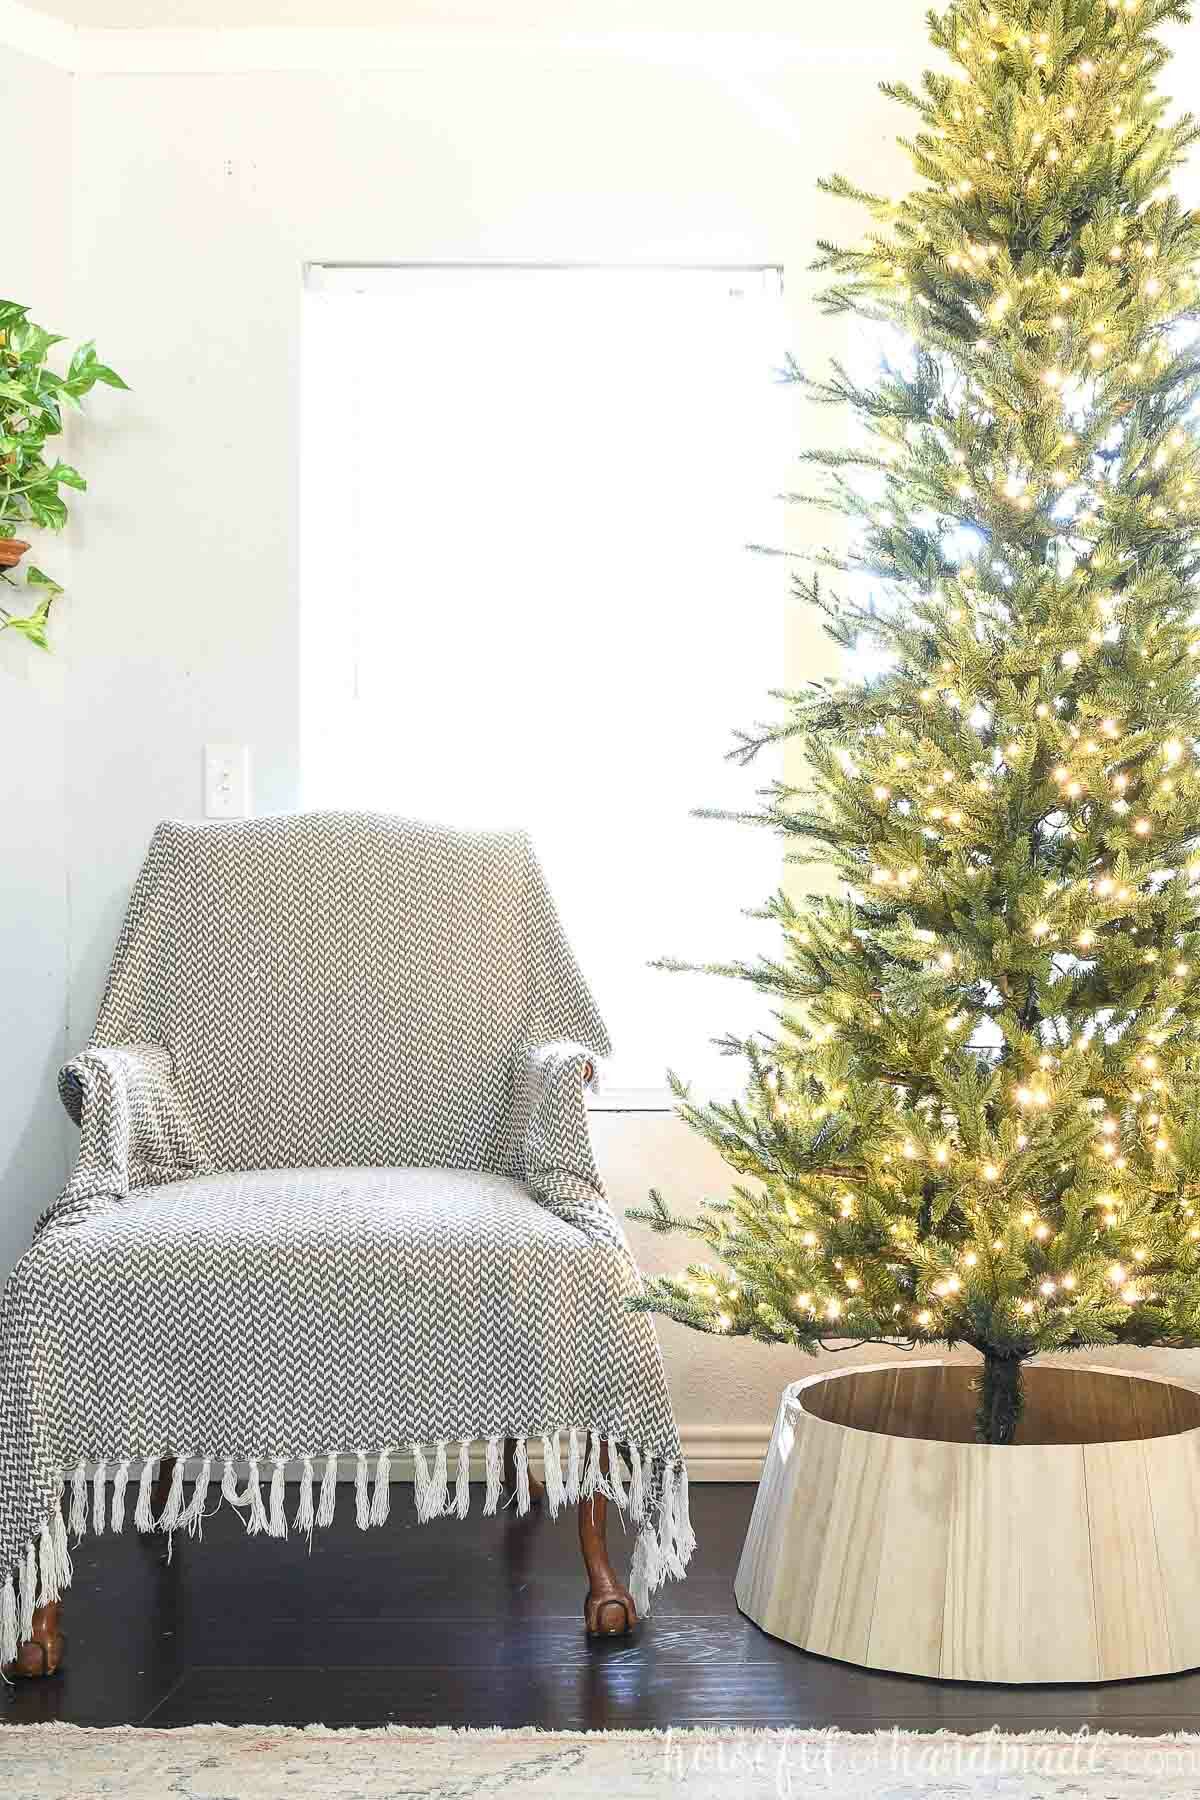
Now all you have to do is circle your new wood tree collar around the base of your Christmas tree!
It looks so chic and modern. And it will look amazing when all the presents are tucked around it. Now I am super excited for Christmas!


Even Miss Delilah is loving the new Christmas tree collar.


Happy building!


Gary
Saturday 4th of December 2021
Any tips on figuring out the math to change the size? I'd like to make one for our smaller tree, but I'm not sure how to adjust the angles to make one with a smaller circumference?
Thanks!
Ana
Friday 5th of November 2021
That's super cute and ingenious!
Kati
Saturday 6th of November 2021
Thanks! I am excited to start decorating for Christmas now!