
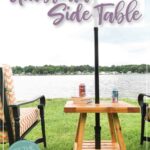
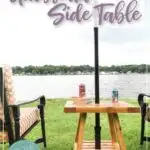
Stay cool outside with a beautiful new umbrella side table.
It’s getting hot outside! But instead of giving up enjoying the outdoors, I decided it was time to make some shade.
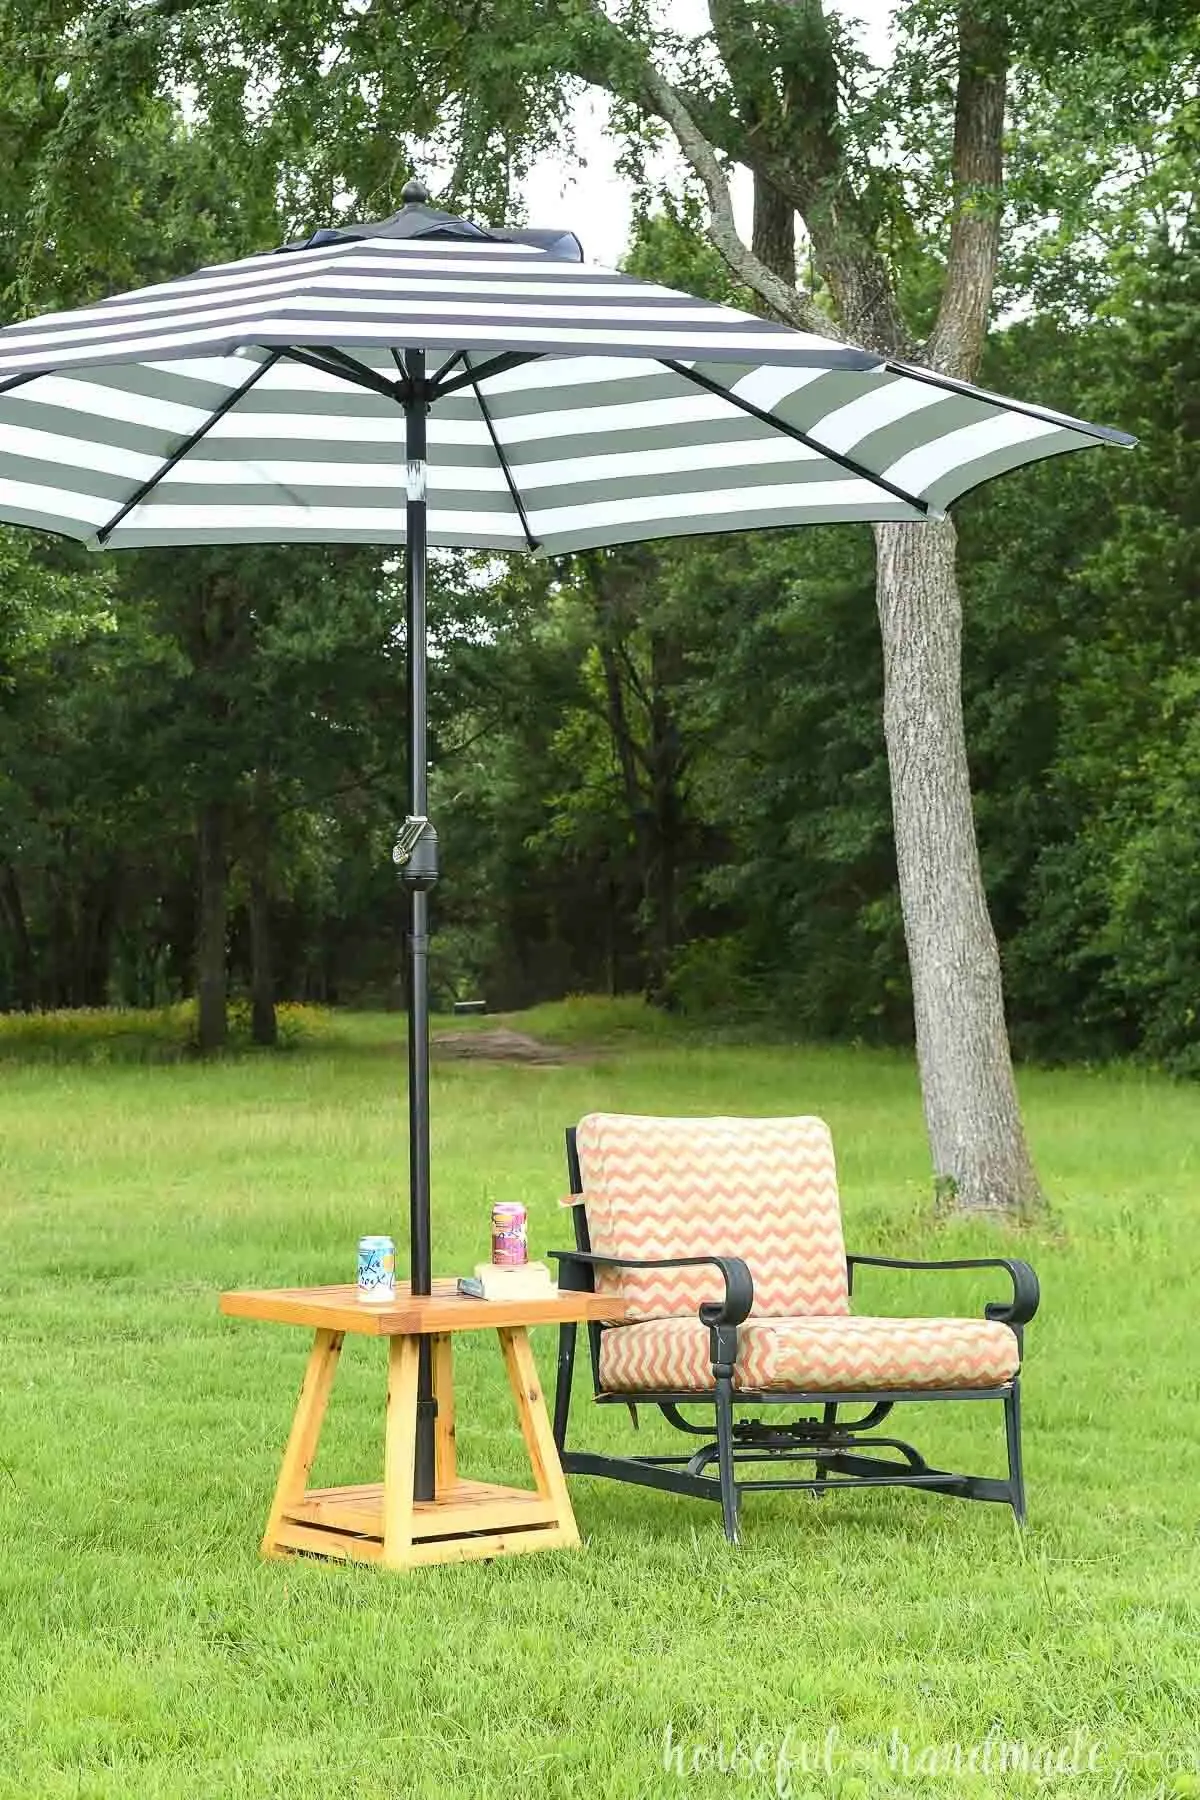
So I partnered with Waterlox to use their Marine finish (perfect for outdoor furniture) to build some beautiful outdoor side tables. These tables perfectly hold an umbrella to help you stay cool outside.
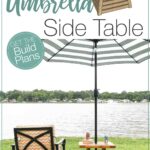
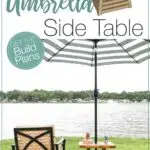
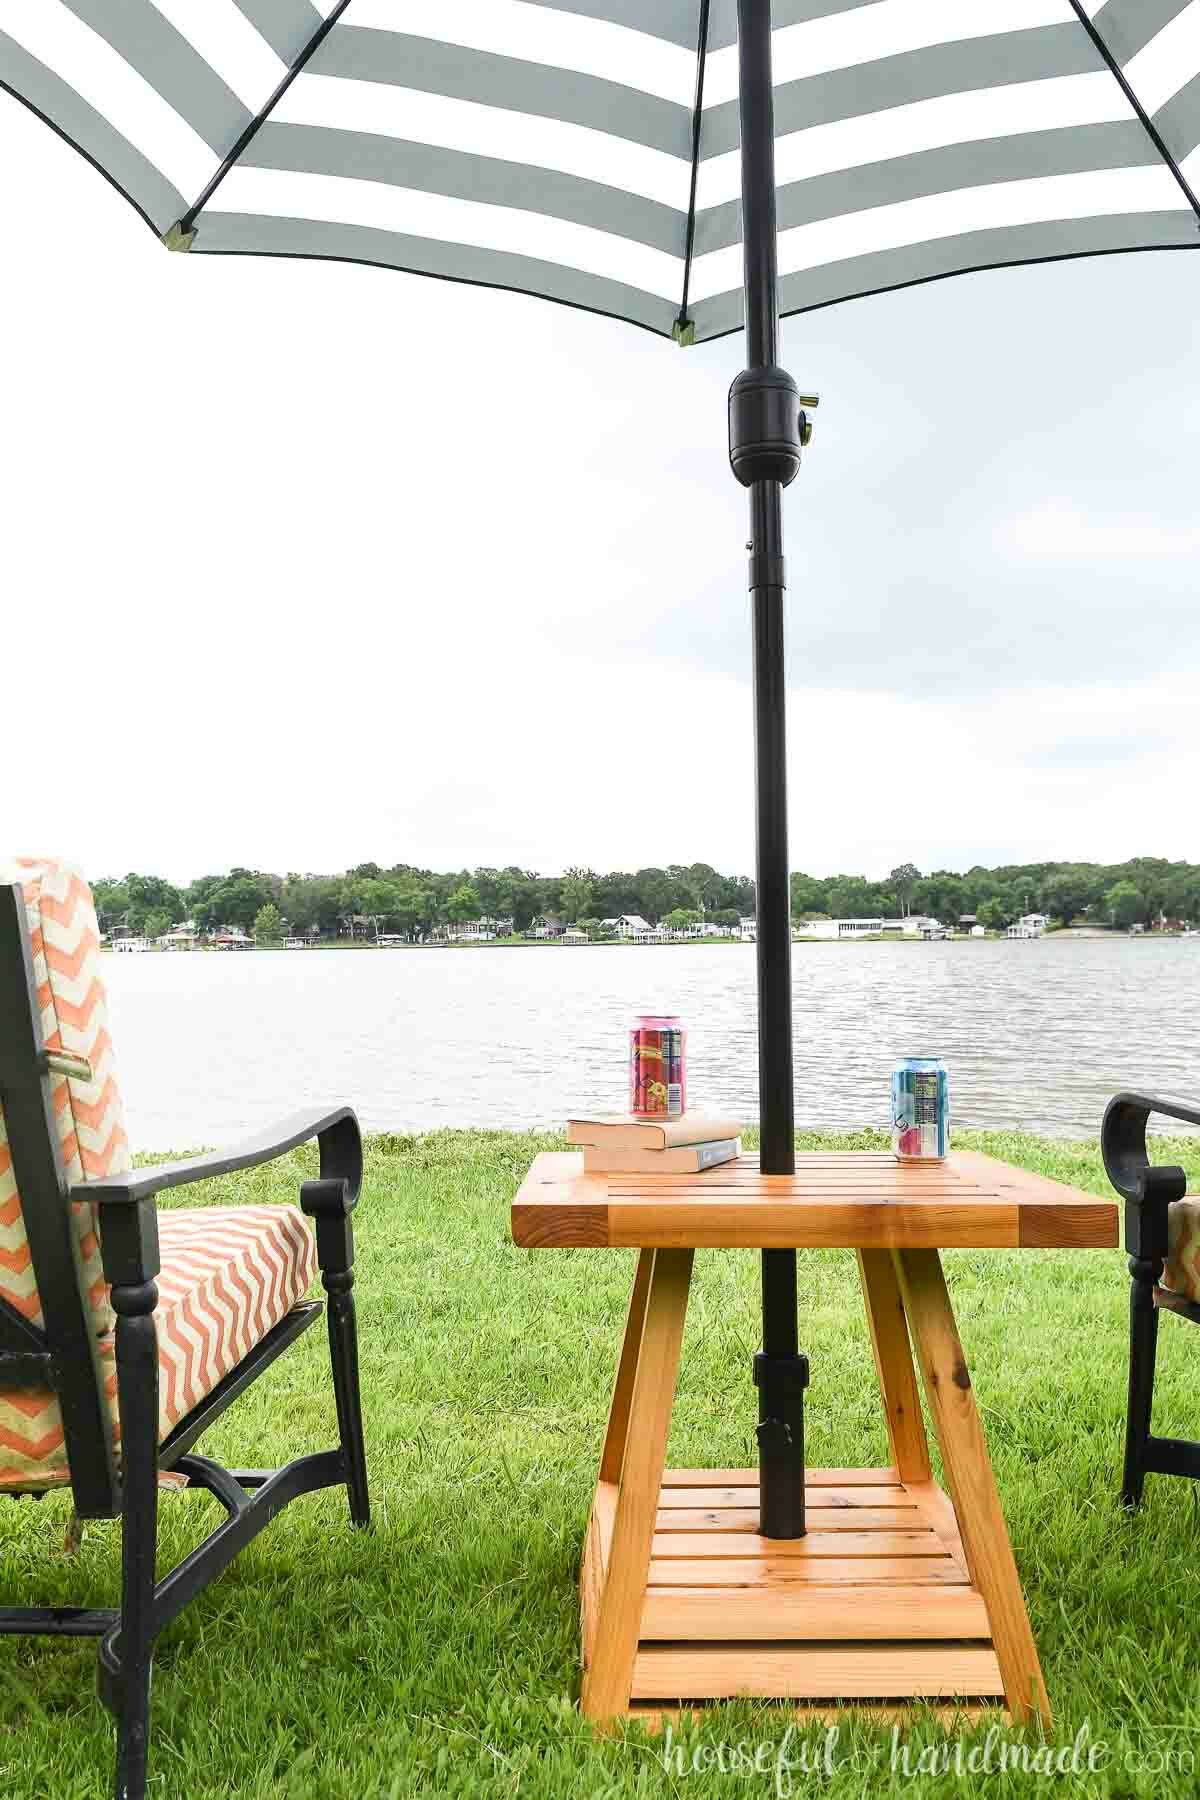
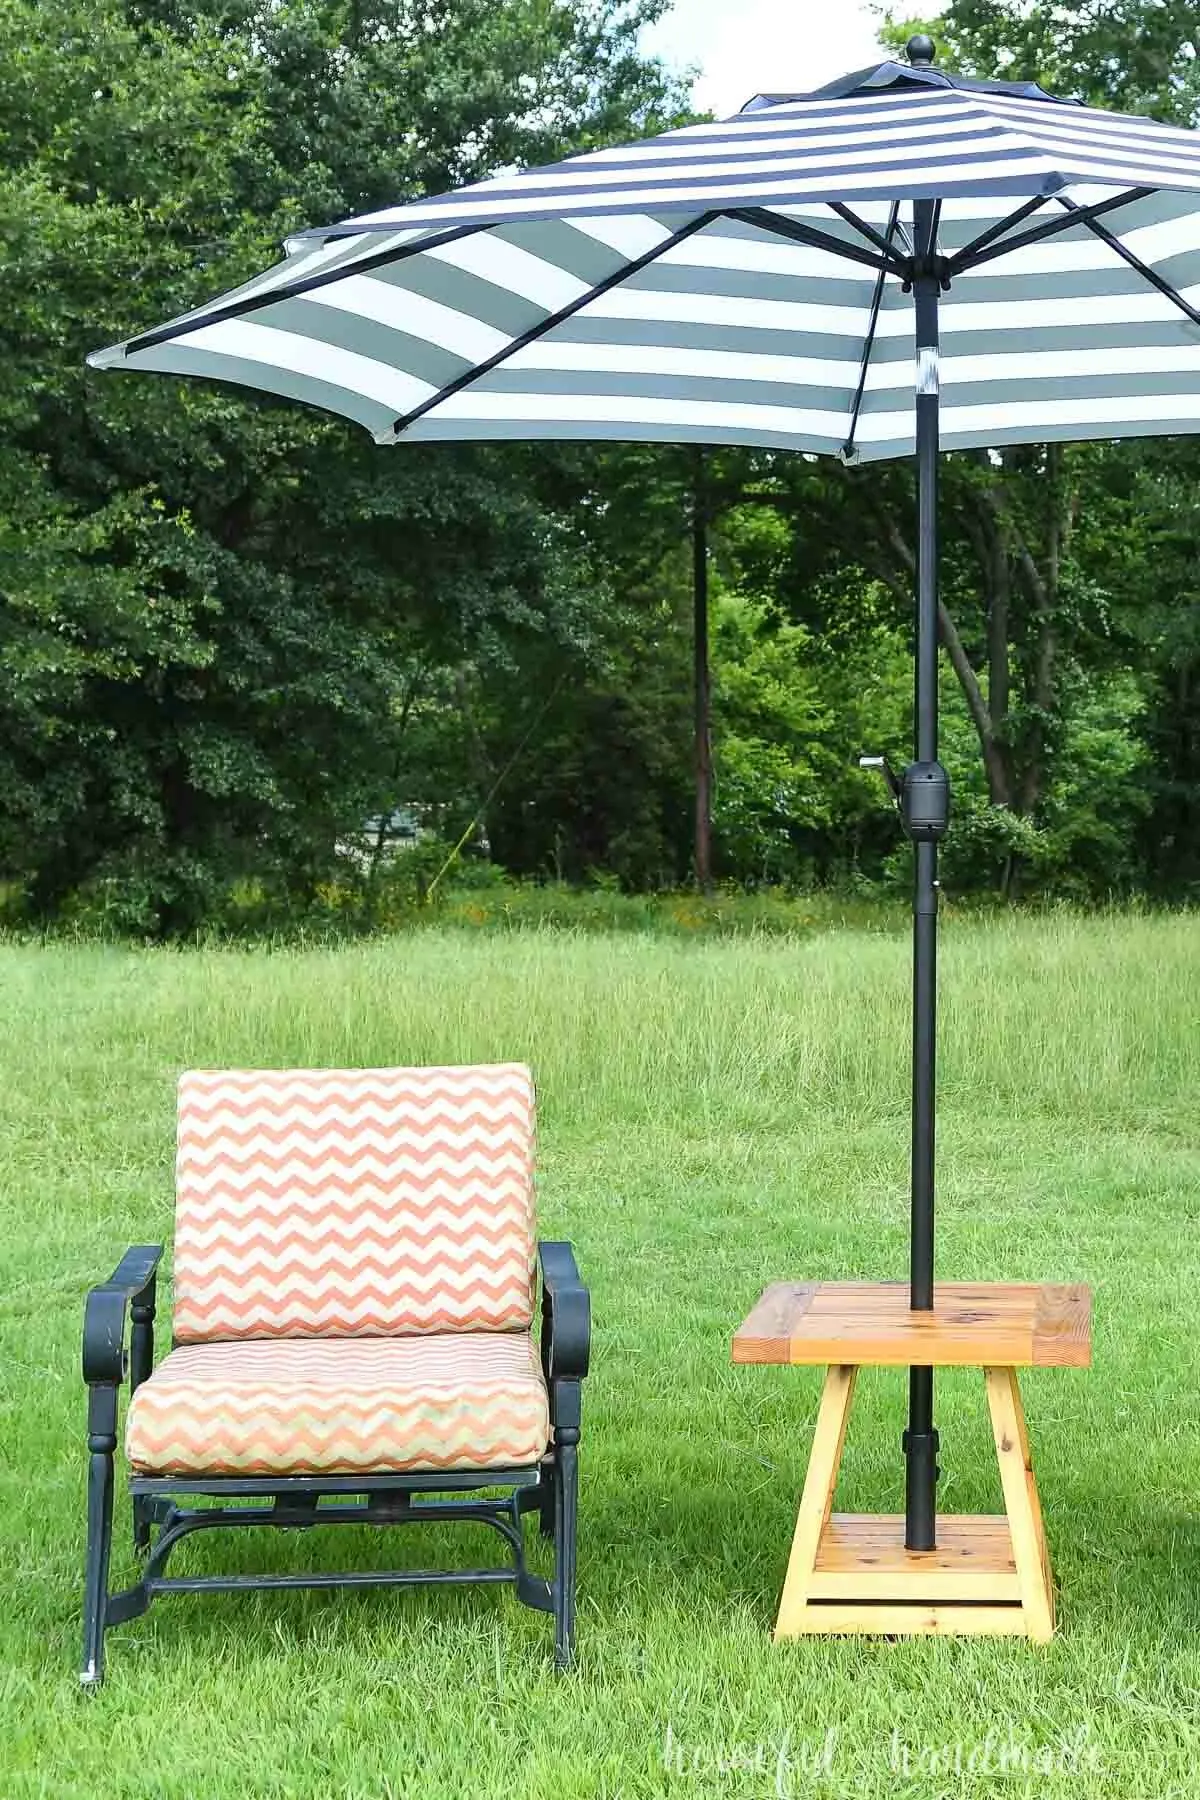
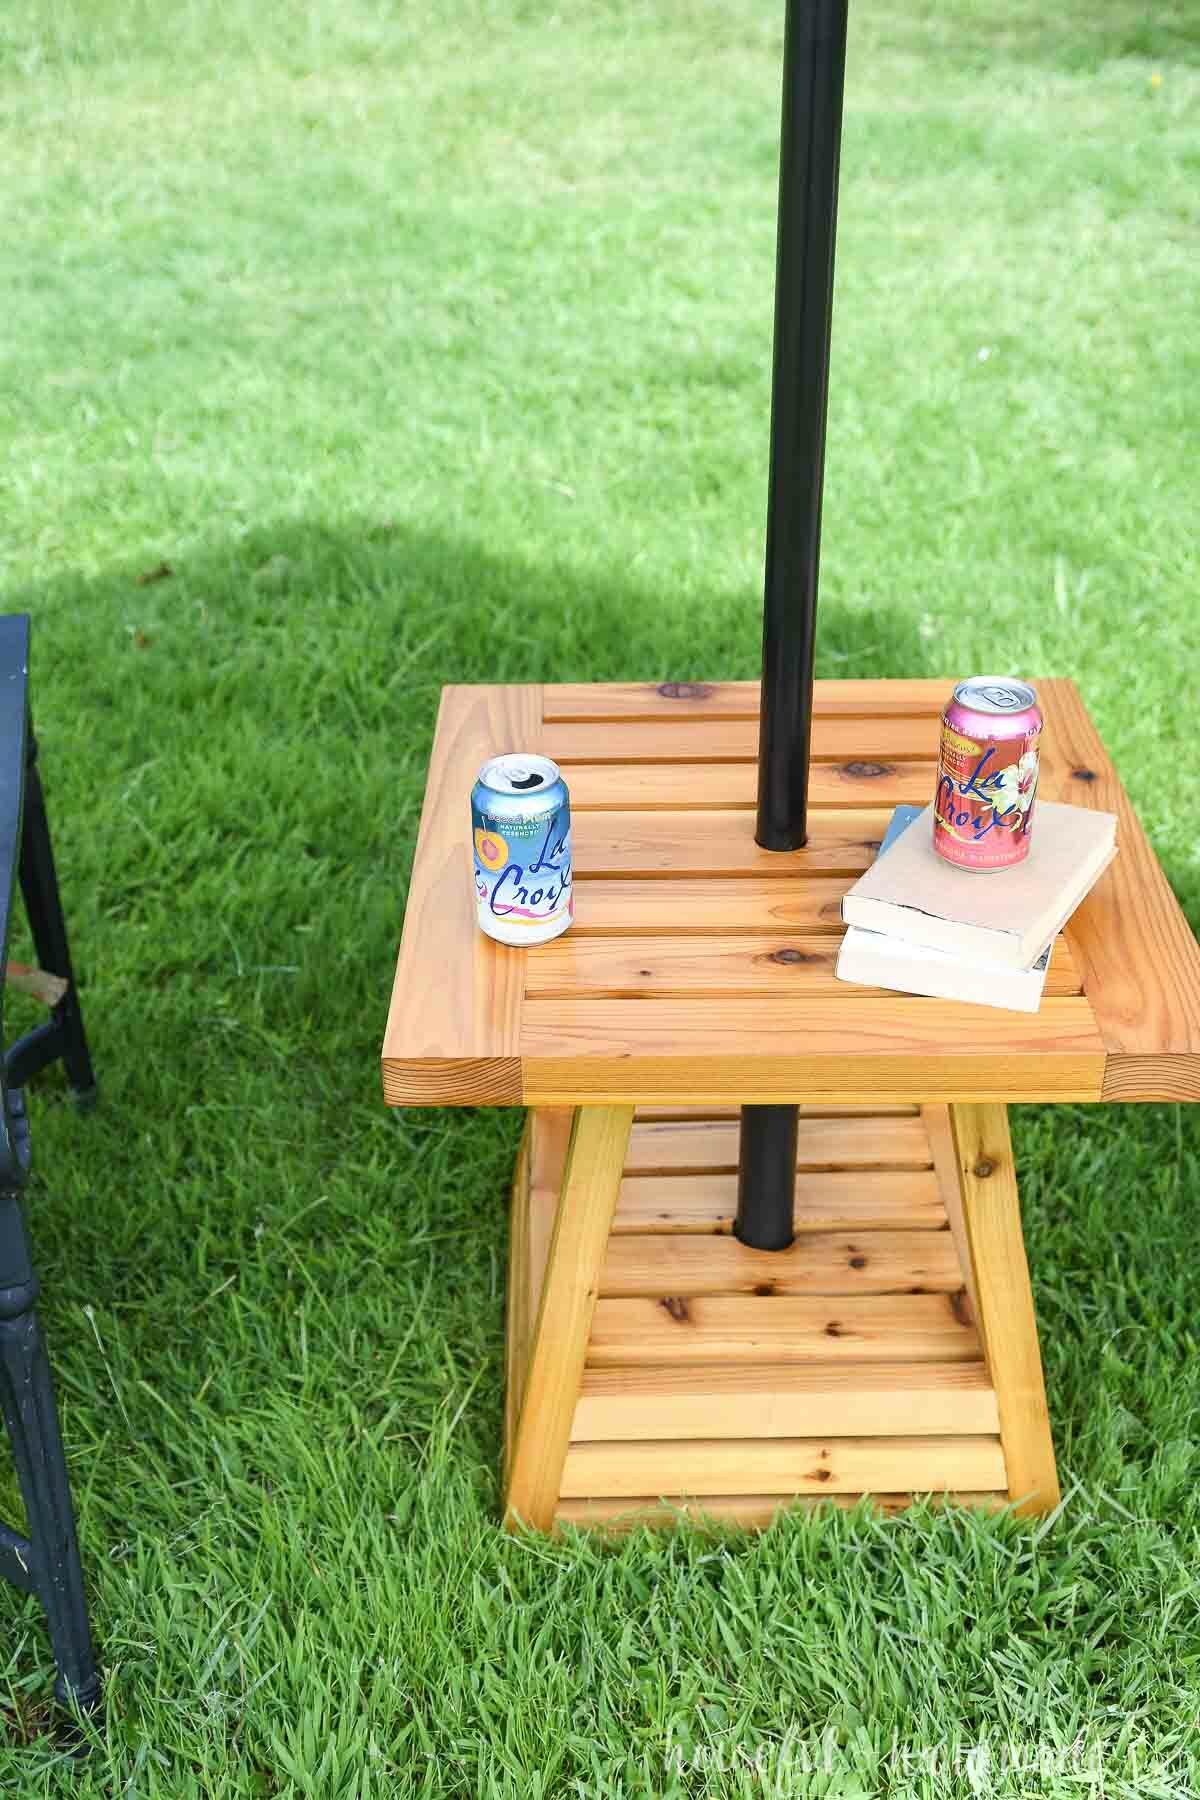
Plus these DIY umbrella side tables have 2 shelves to hold you summer read, cool beverage, beach tunes and more! Are you ready to get back outside?
This post may contain affiliate links. As an Amazon Associate I earn from qualifying purchases. Click here to read my full disclosure policy.

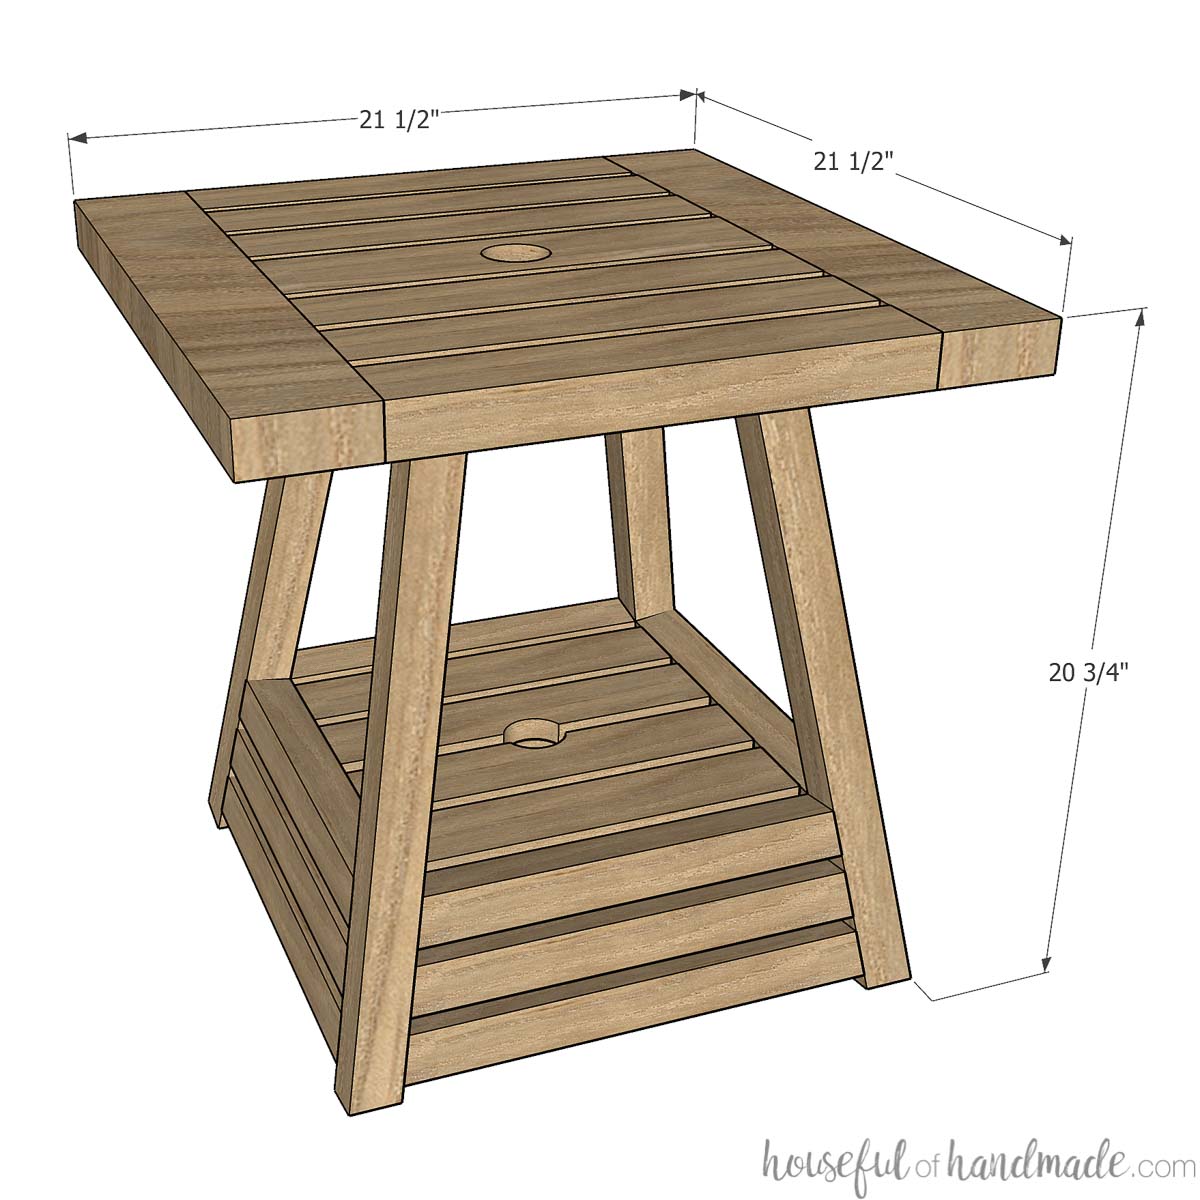
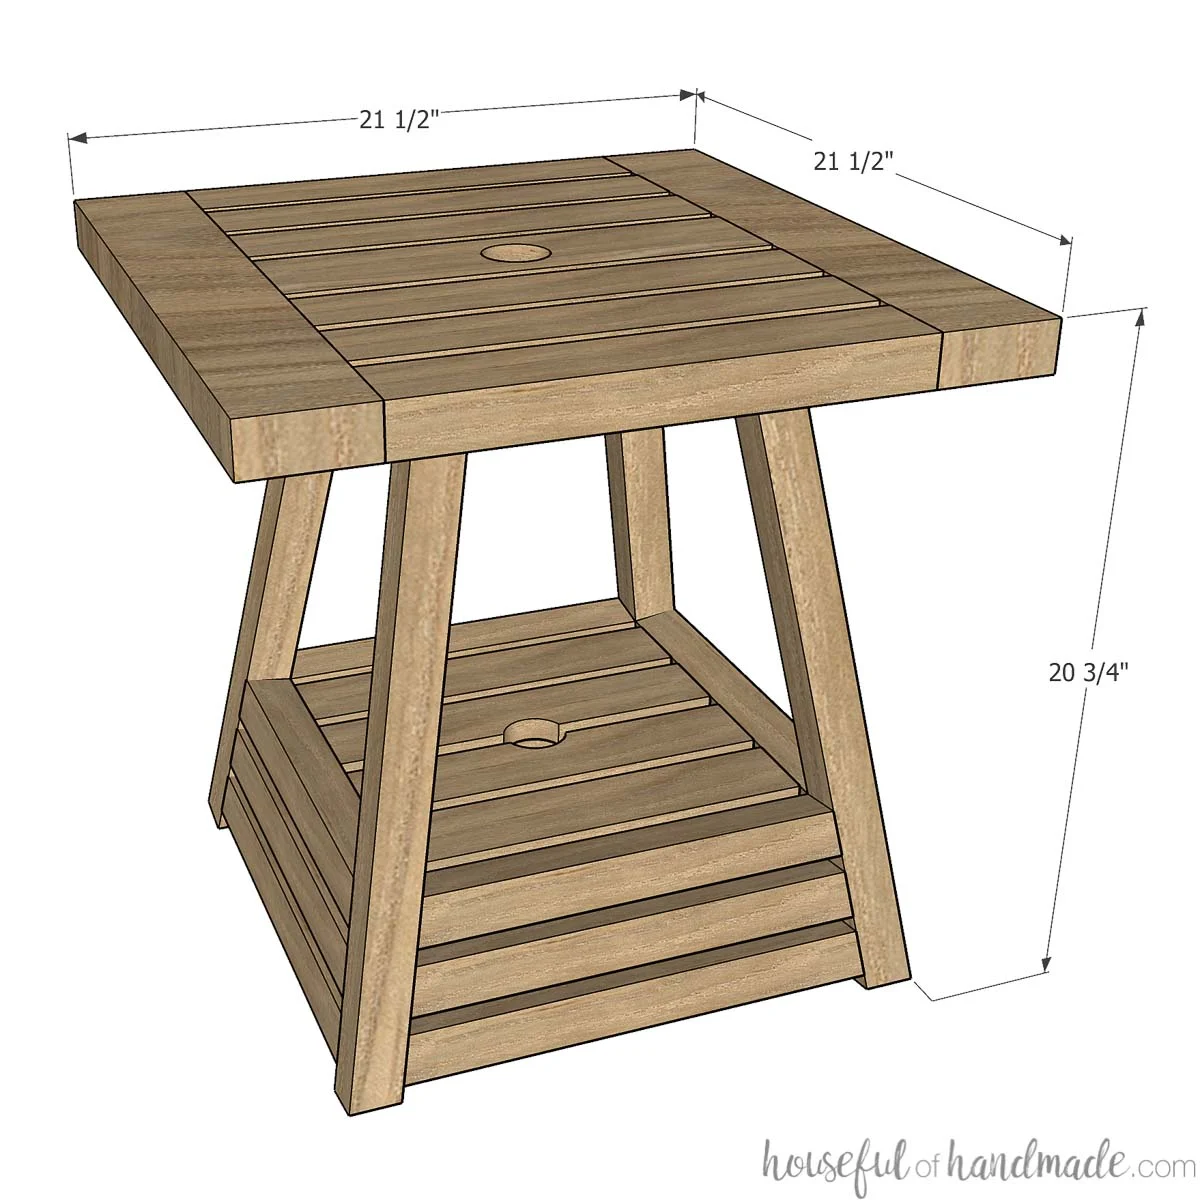
Outdoor Side Table Design
This project all started when my husband found some reasonably priced outdoor umbrellas online. Since our last umbrella stand with side table did not make the move to Texas, we needed new ones.
I wanted a unique design on the side tables. Something that would hide the base of the umbrella stand, but look amazing.
After many, many, many different ideas, it finally happened…

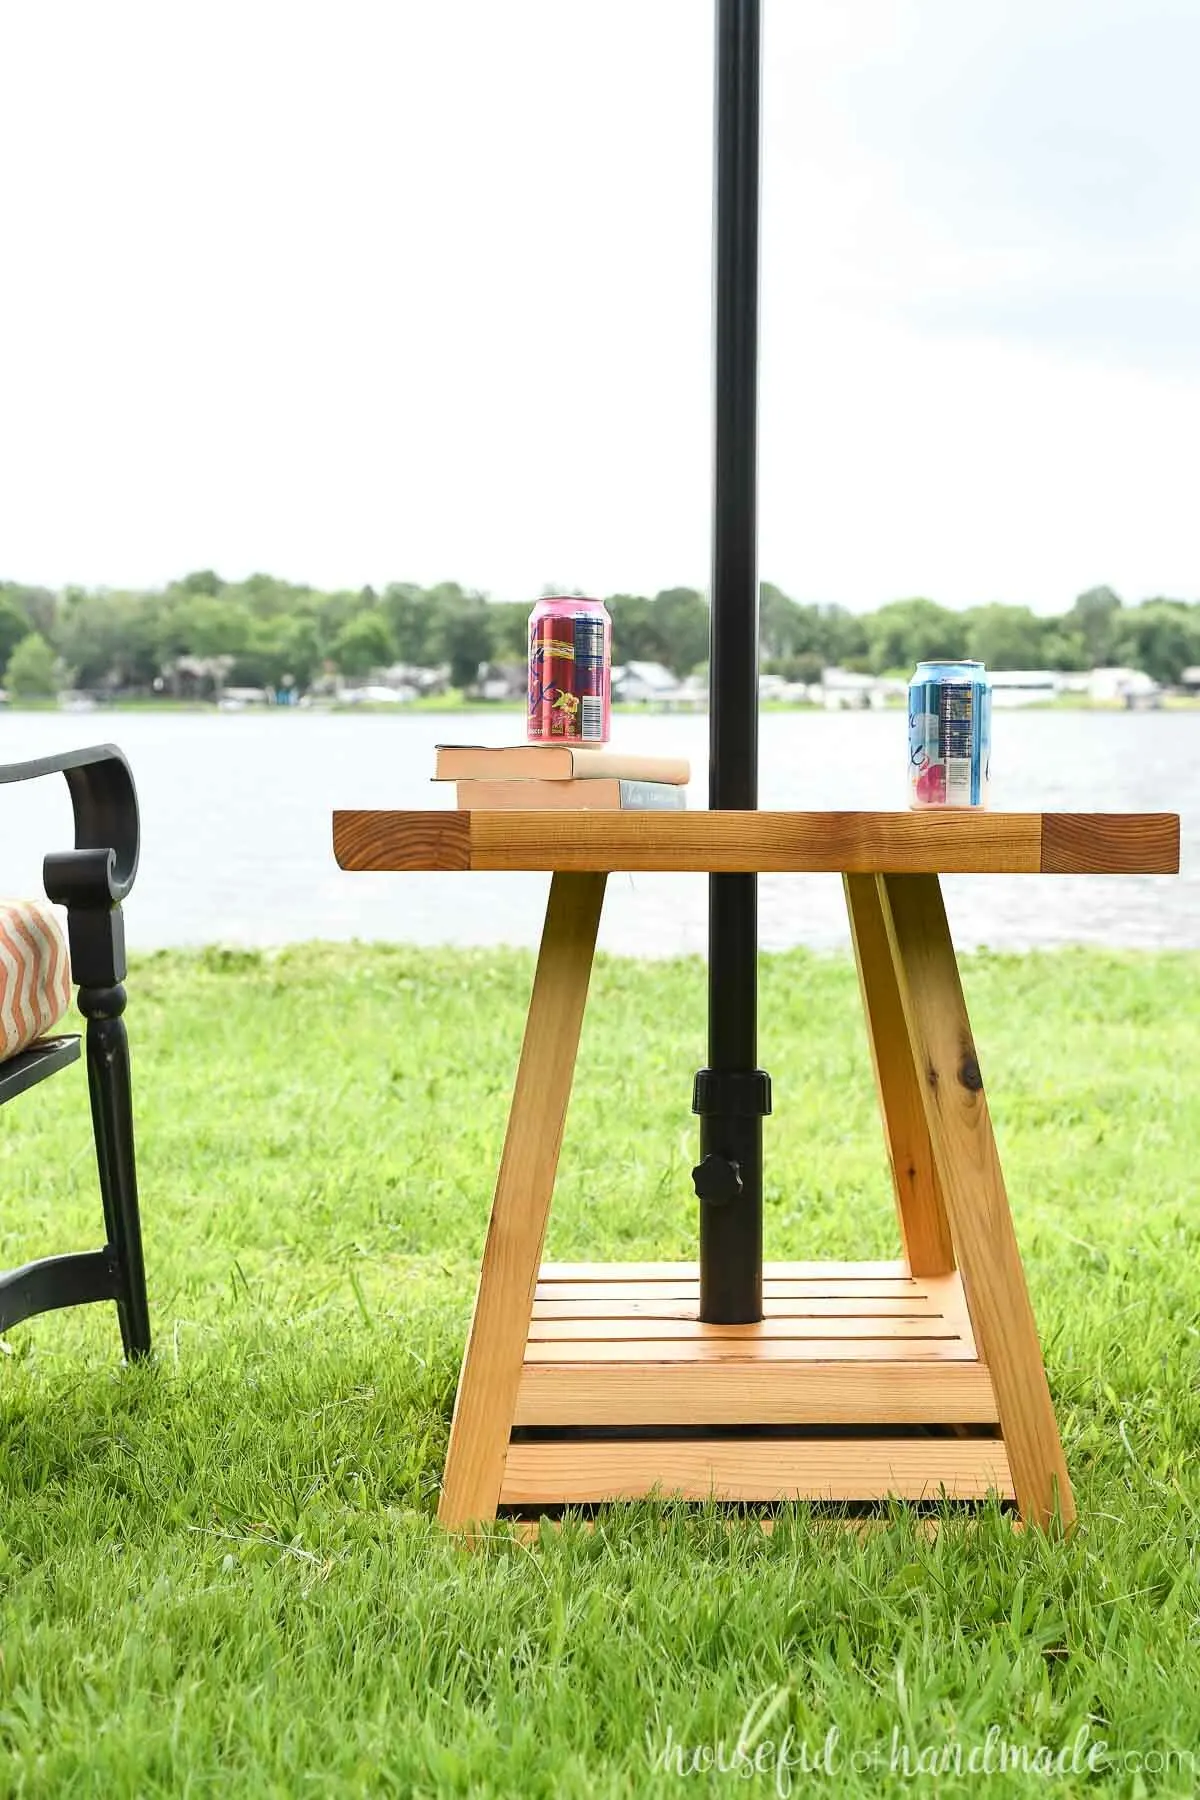
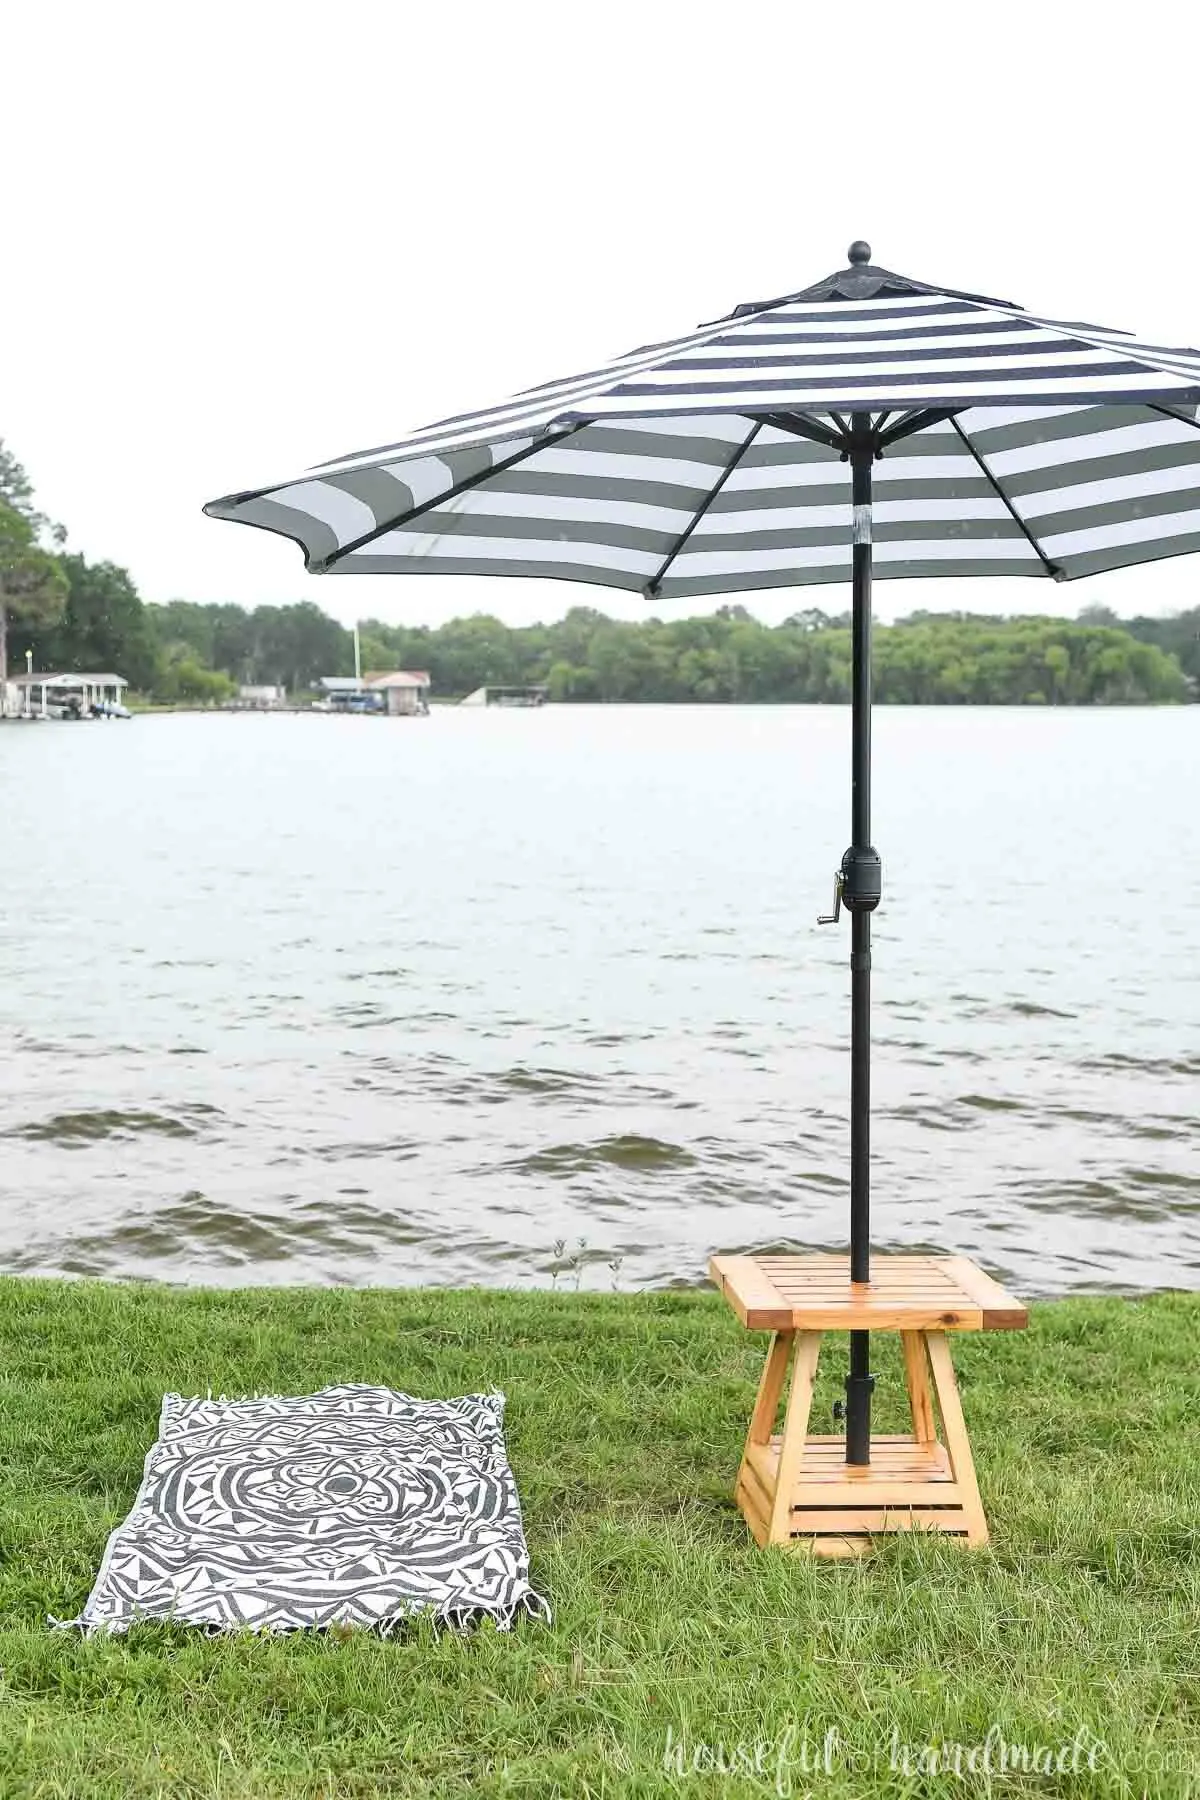
The base of the umbrella table is a pyramid shape. The design allows for a second shelf and hides the umbrella base. It also adds the unique and interesting design element I was looking for.
But don’t worry that the pyramid design is complicated to build. Even a beginner can tackle this outdoor side table.
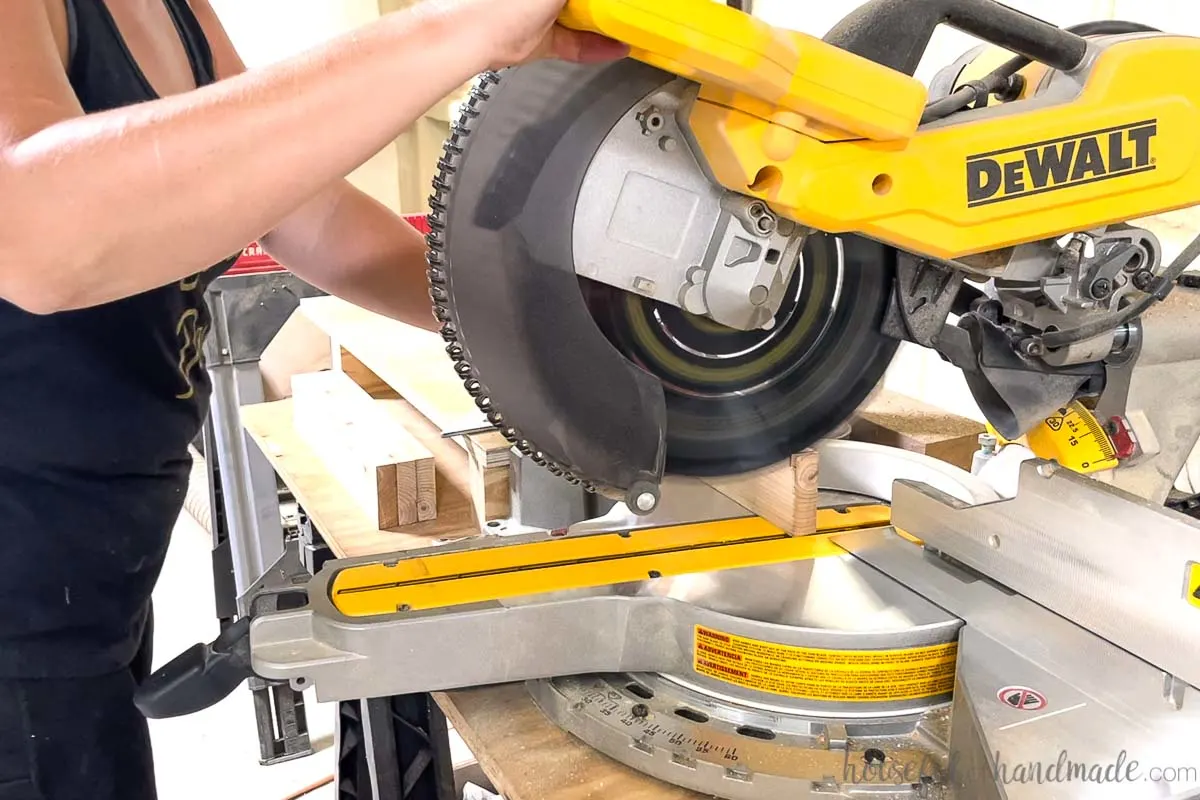
The secret of the pyramid design is what I have decided to call a “double angle cut” on the miter saw. When you cut a board with an angle you usually just angle the base of your miter saw or the top.

But with a double angle cut you change the angle on both places at the same time. That way when you make 1 cut, you get a complicated looking cut, but it is very easy to do!
And only the 4 legs requires this double angle. That creates the pyramid shape. The rest of the base boards that cover the umbrella stand and make the shelf are cut with a single angle cut to fit in between the legs.
Outdoor Wood Sealer
To make sure my umbrella side tables hold up to the sun and weather, I wanted to seal them with an amazing outdoor finish. So we used the Waterlox Marine finish.
This finish provides protection for outdoor furniture in direct sunlight. It protects your hard work from UV rays and humidity so you can enjoy your new outdoor tables for years without a lot of maintenance.

This is the same sealer I used on our DIY fire pit benches and I love the warmth it adds to the wood. And this time I used a wood that is already warm so the added warmth makes it look so rich!
I used cedar to build my side tables. Cedar is a great wood for outdoor projects, it is also lightweight so it makes these side tables easy to move around when we out playing and want to move the shade.
And the color that the Waterlox Universal Tung Oil Sealer followed by the Marine Finish in satin give it is amazing. They look so expensive!

How to Build an Umbrella Side Table
Tools needed:
- Miter saw
- I started with this budget friendly Hitachi and recently upgraded to this sliding Dewalt miter saw.
- Drill
- Impact driver (optional, but I love not having to switch bits with the drill)
- Pocket hole jig
- Measuring tape
- Forstner bits
- Drill guide
- Sander
Supplies:
- Wood products:
- (3) 2×2 boards
- (1) 2×3 boards
- (1) 2×4 boards
- (1) 1×3 boards
- 2 1/2″ pocket hole screws
- 1 1/4″ pocket hole screws
- Figure 8 fasteners
- 3/4″ wood screws
- Wood glue
- Umbrella
- Umbrella base
- The umbrella base needs to be less than 14″ wide to fit in the side table. I found these inexpensive one and they work great.
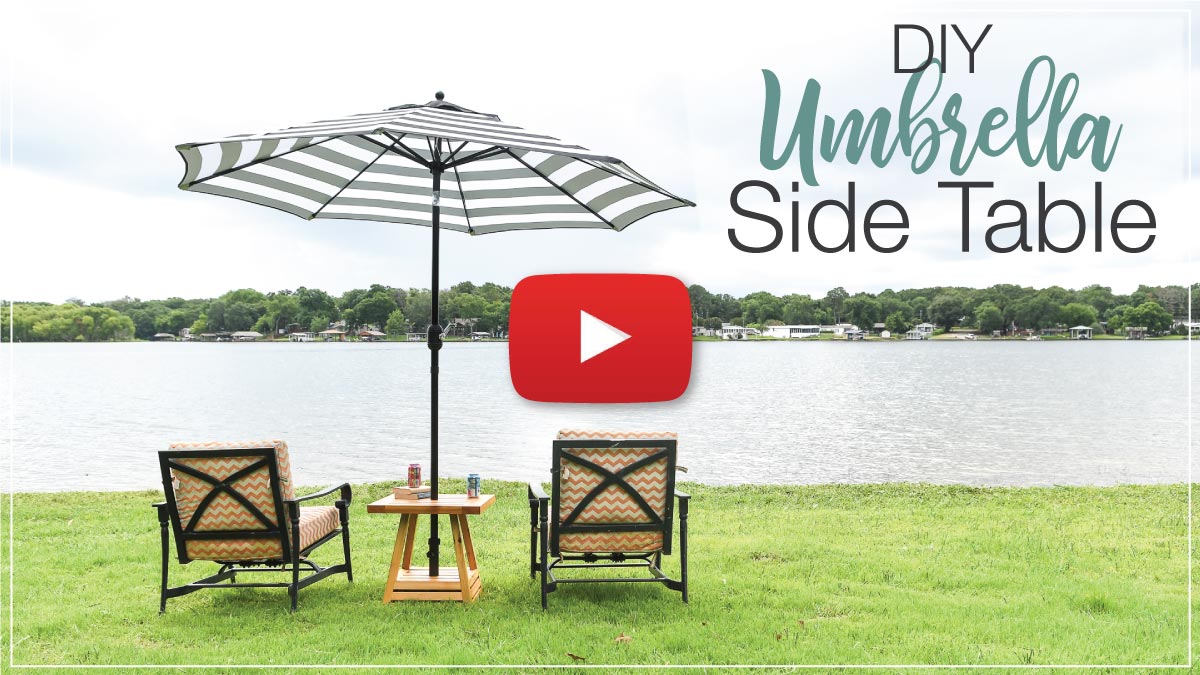
Prefer to Watch? Check out the YouTube Video
Build the Base Sides
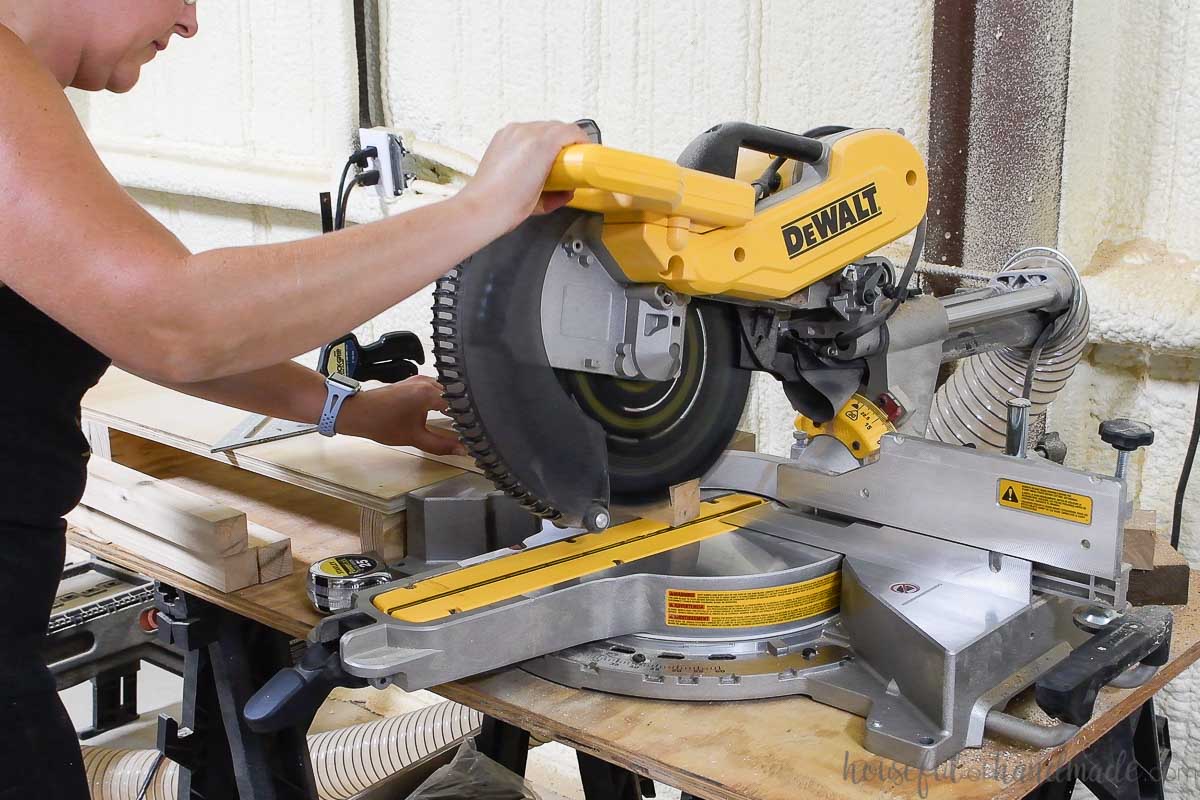
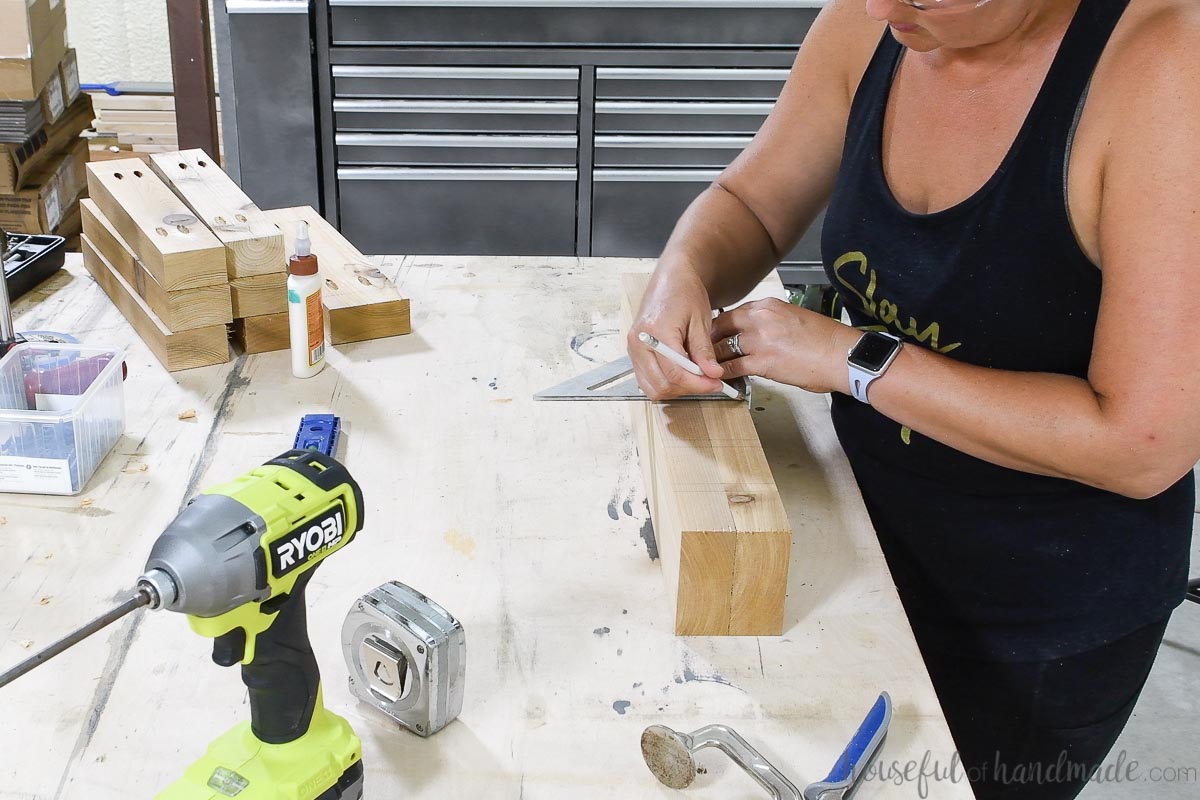
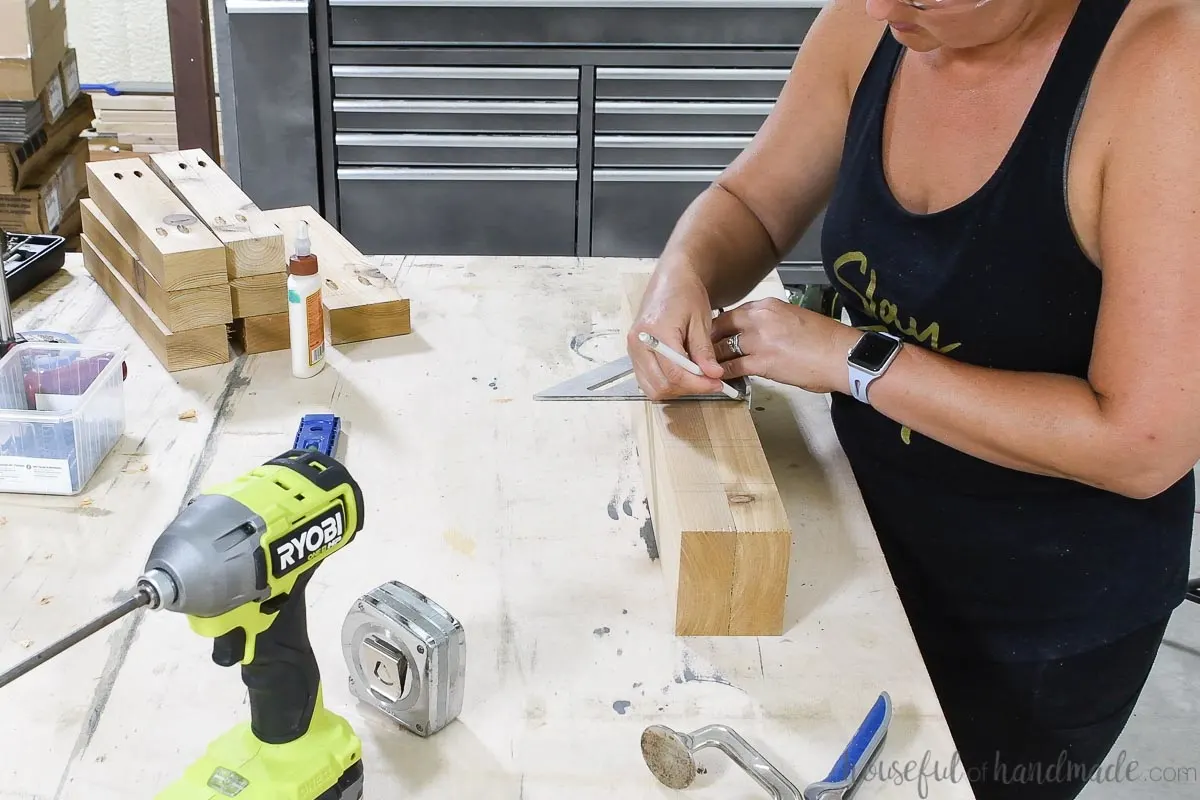
Cut four 2×2 boards at 20″ long for the legs. These boards need both ends cut at a double 10 degree angle, meaning turn the base of your miter saw to 10 degrees and tilt the top of your saw to 10 degrees then cut.

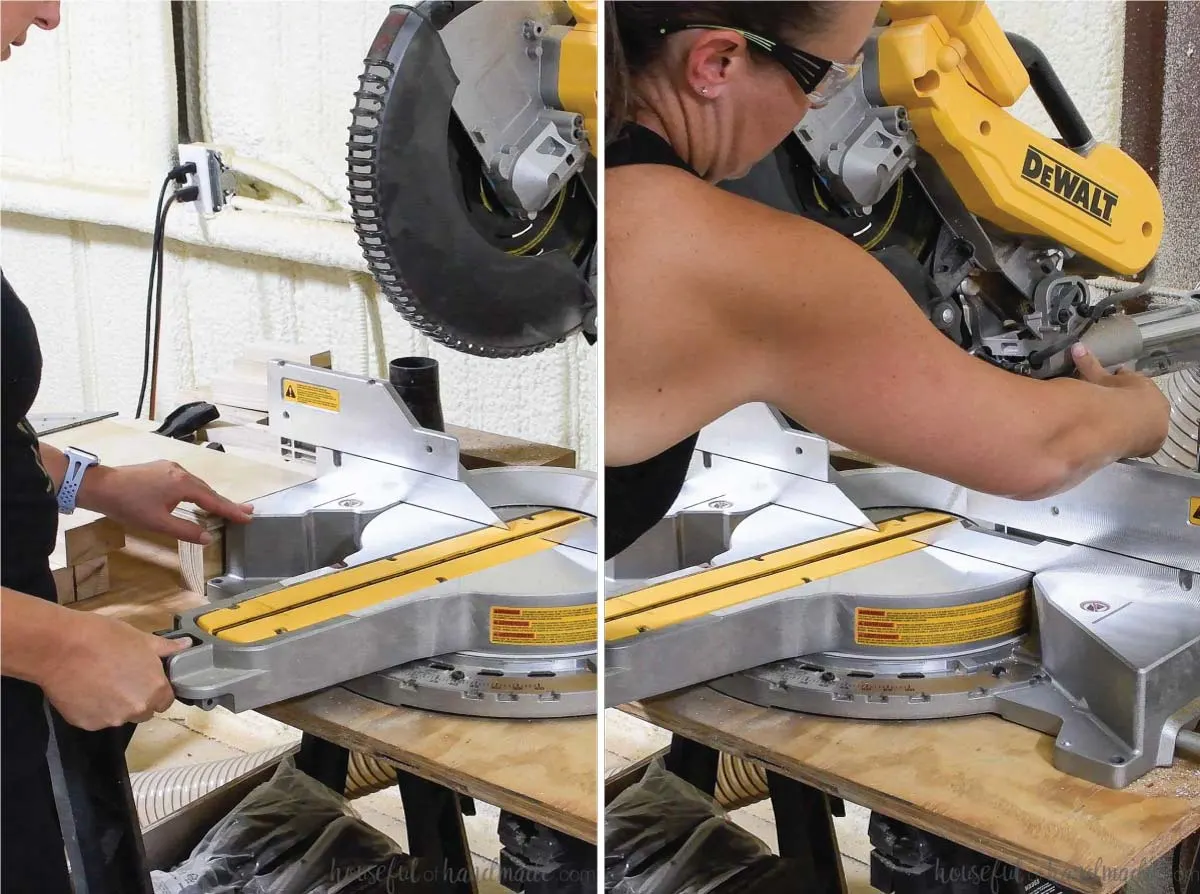
This double angled cut will give the base the pyramid shape. Both ends of the legs need to be cut with this double 10 degree angle so the ends are parallel.

Cut four 2×2 boards at 14 1/2″, four at 13 3/4″ and four at 13″.
Cut these boards so they are at a 10 degree angle on each side (not a double). The angles on these boards needs to angle towards each other.
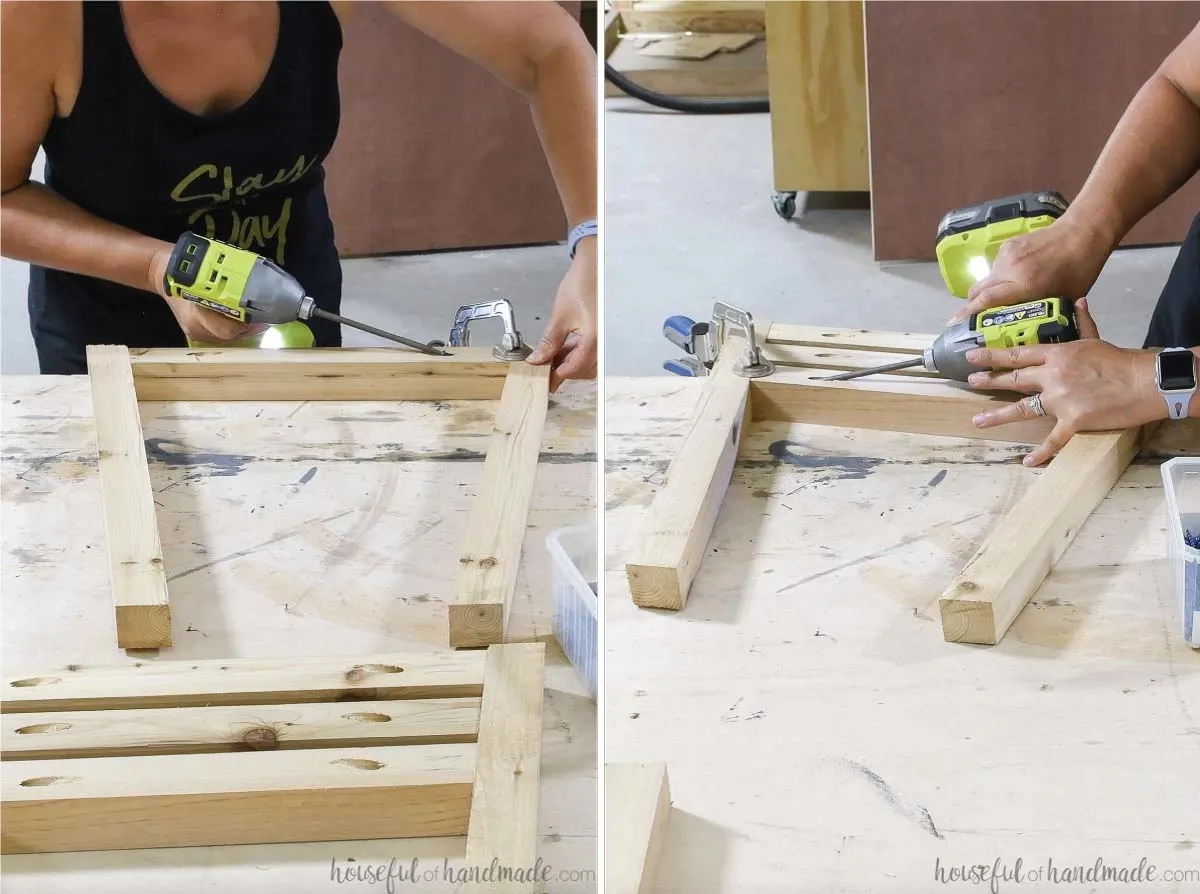
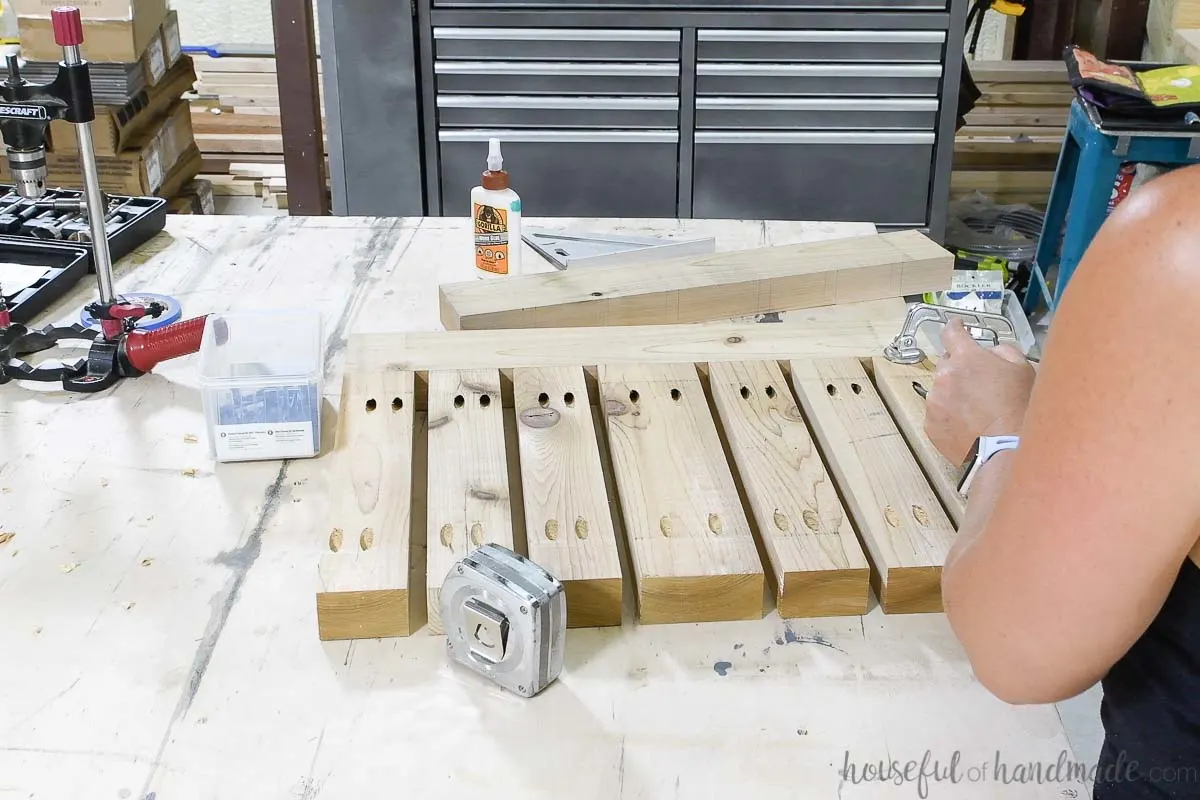
Drill 1 pocket hole set for 1 1/2″ thick material in each end of the angled 2×2 boards (not the legs).
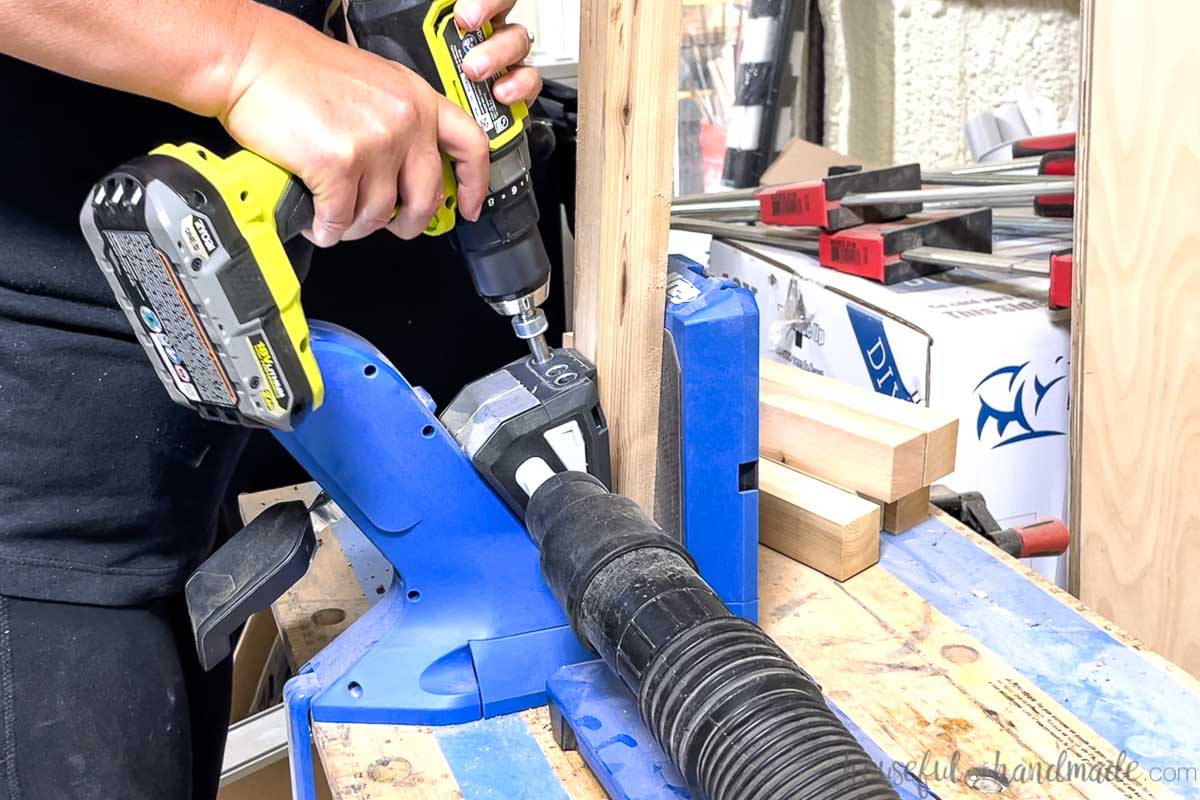

Assemble the sides by attaching one of each size of side boards between two leg pieces. Start with the largest piece on the bottom 1/2″ up from the bottom of the leg. Then leave a 1/2″ gap between the other side boards.
Secure with wood glue and 2 1/2″ pocket hole screws.
When attaching to the leg pieces, pay attention to the angle on the leg. The longest point of the leg (made by the double angle) needs to be on the outside corner of the assembled side.

Repeat so you have two assembled sides.
Finish the Base
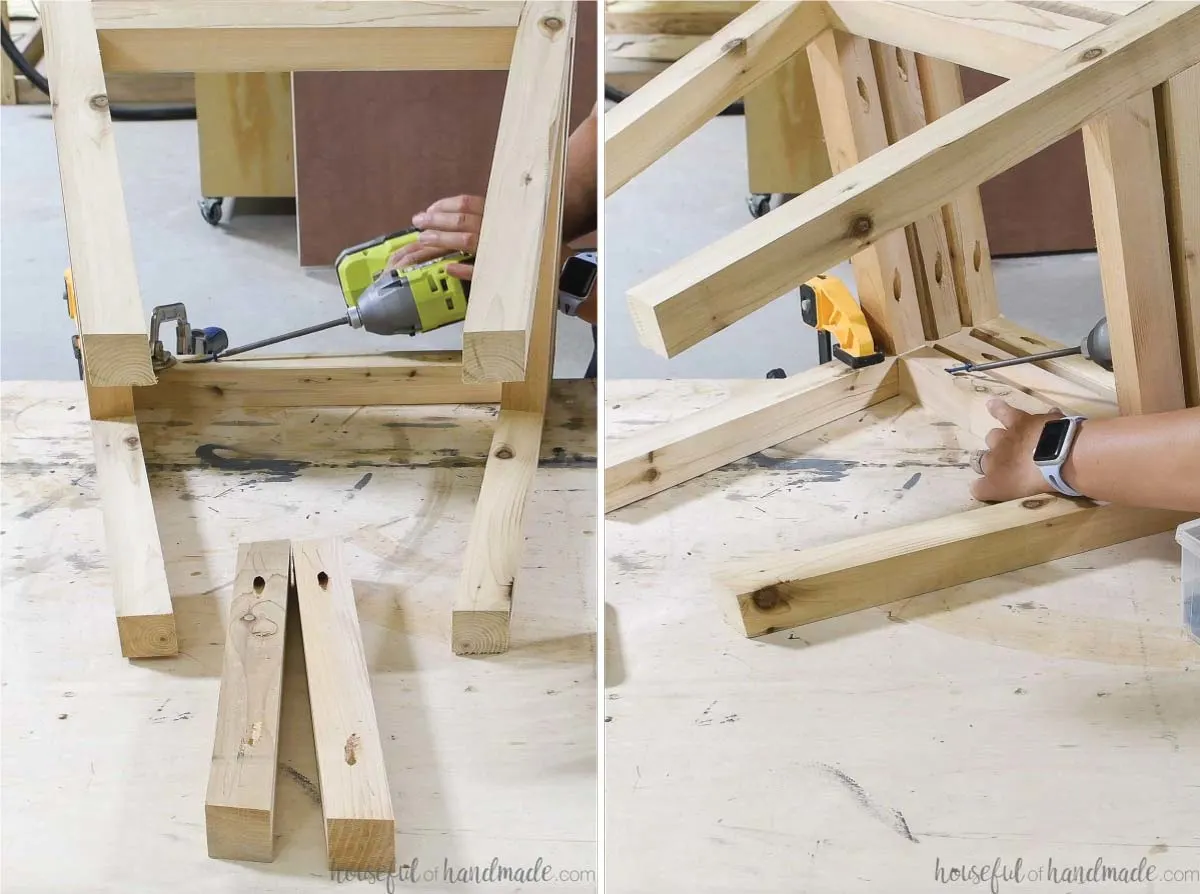
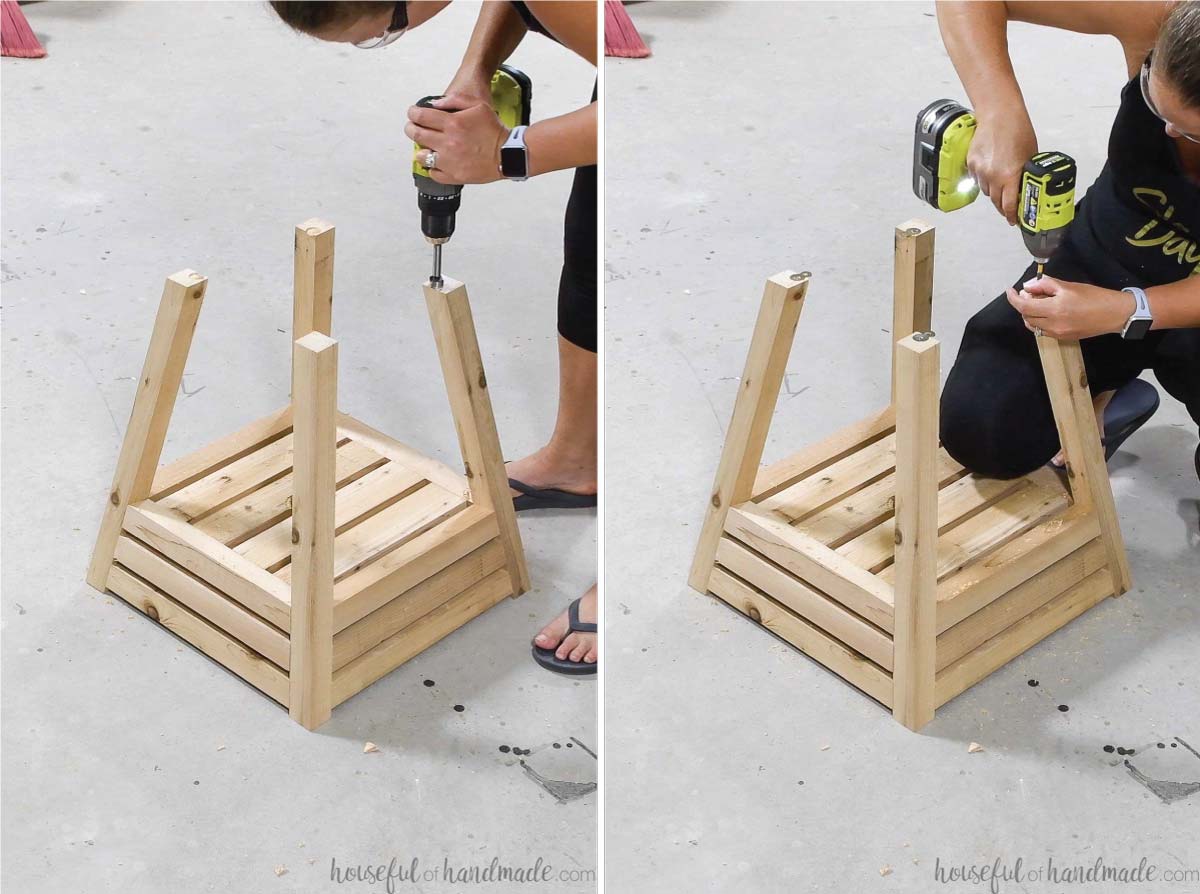
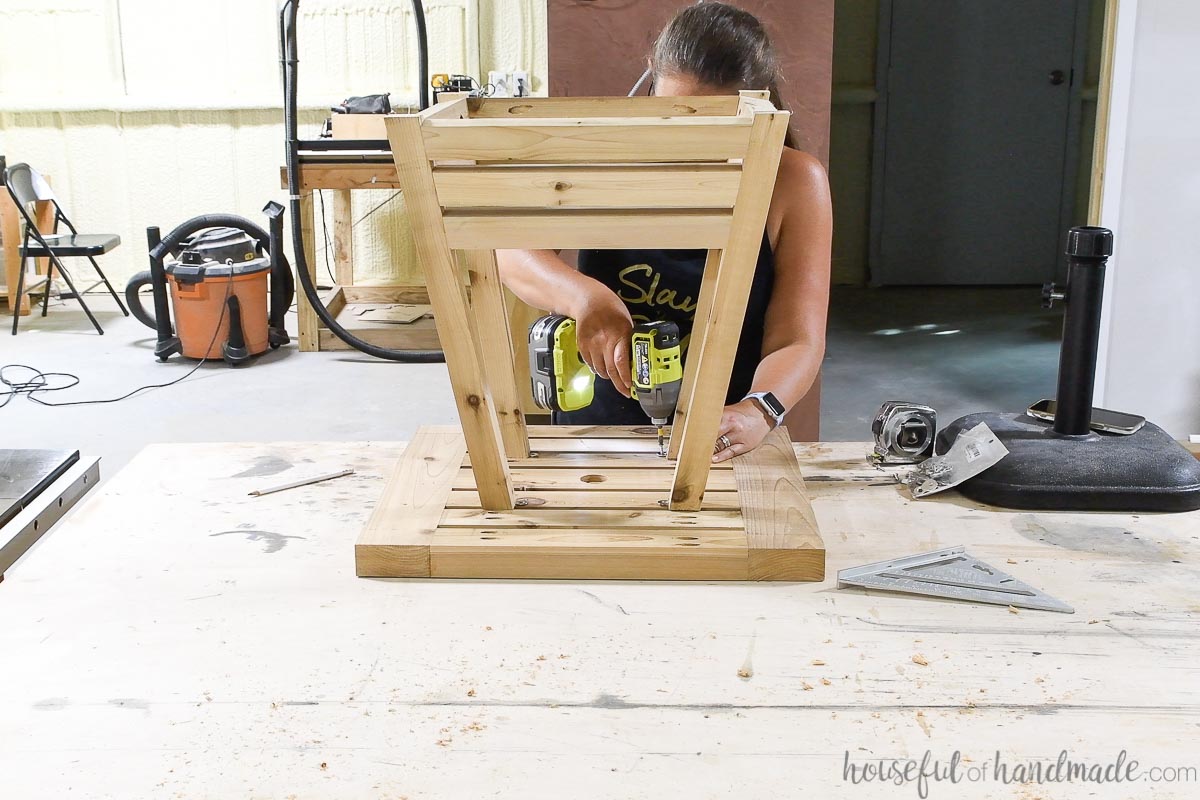
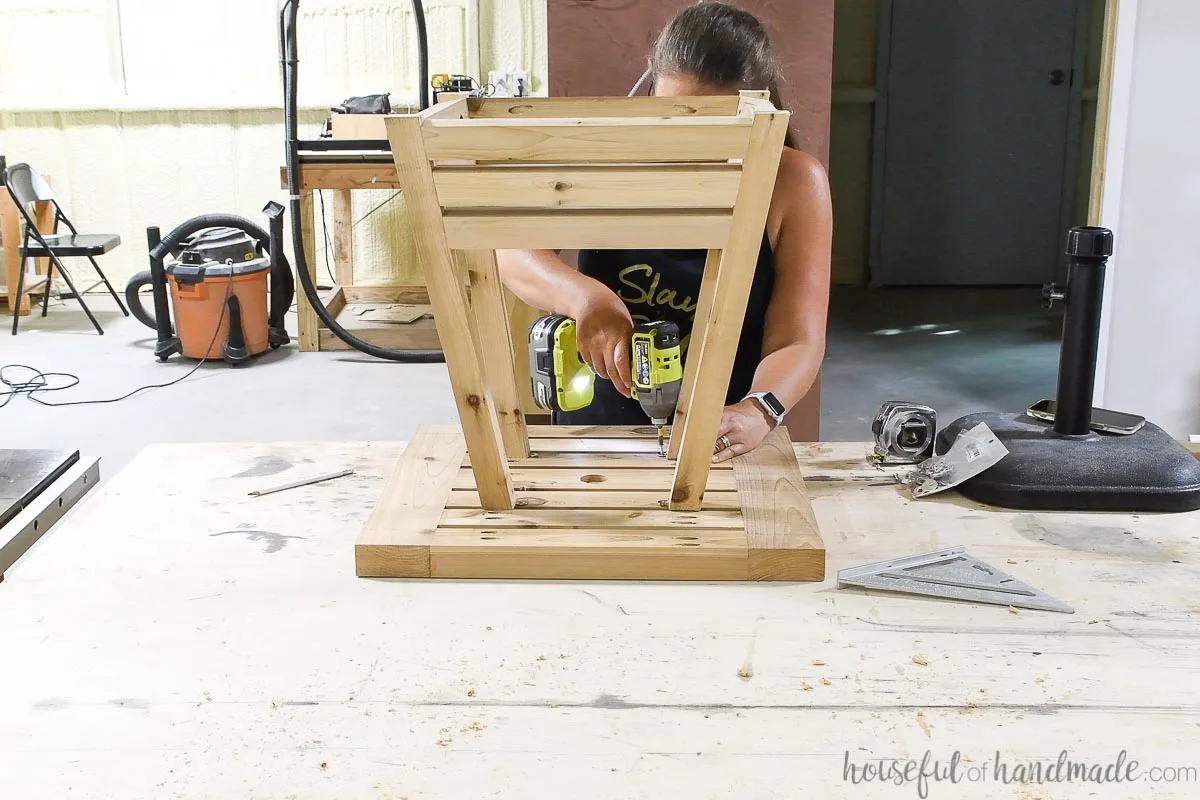
Next attach 3 (one of each size) of the side boards between two of the assembled sides.
Again pay attention to the angle of the leg boards. And make sure all pocket holes are hidden on the inside of the pyramid.
Repeat for the last section of the base.

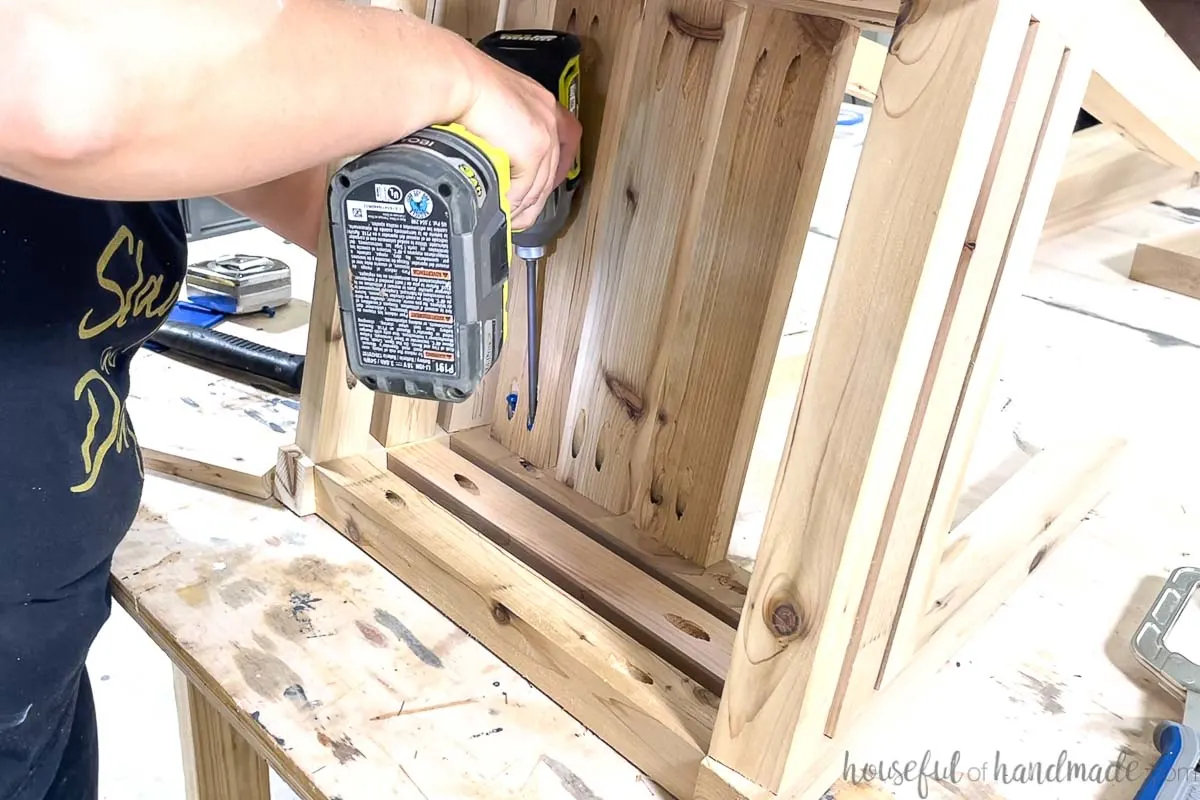
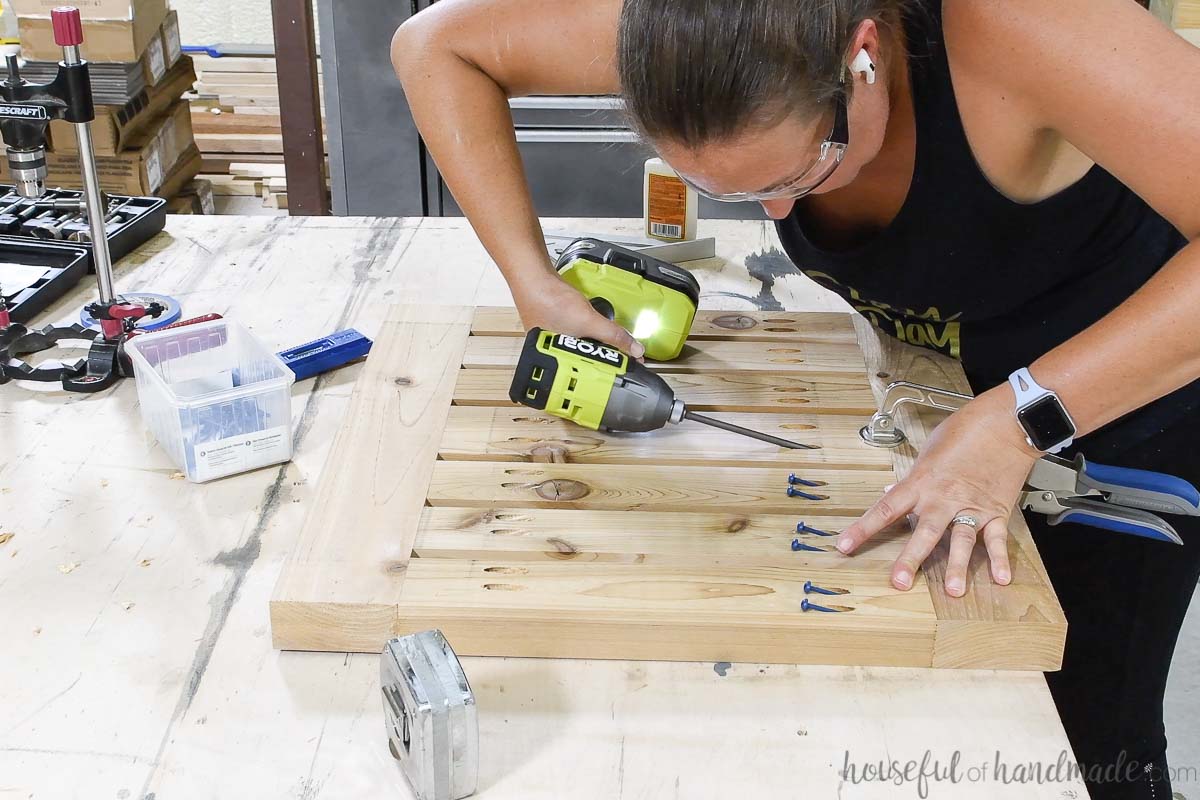
Measure the opening between the top side boards. Cut four 1×3 boards to fit into this opening. They will have 10 degree angles on both ends (angled toward each other).

Drill 2 pocket holes set for 3/4″ thick material in the back of each of these boards and attach them to the top side boards so they are evenly spaced.
Secure with 1 1/4″ pocket hole screws and wood glue.

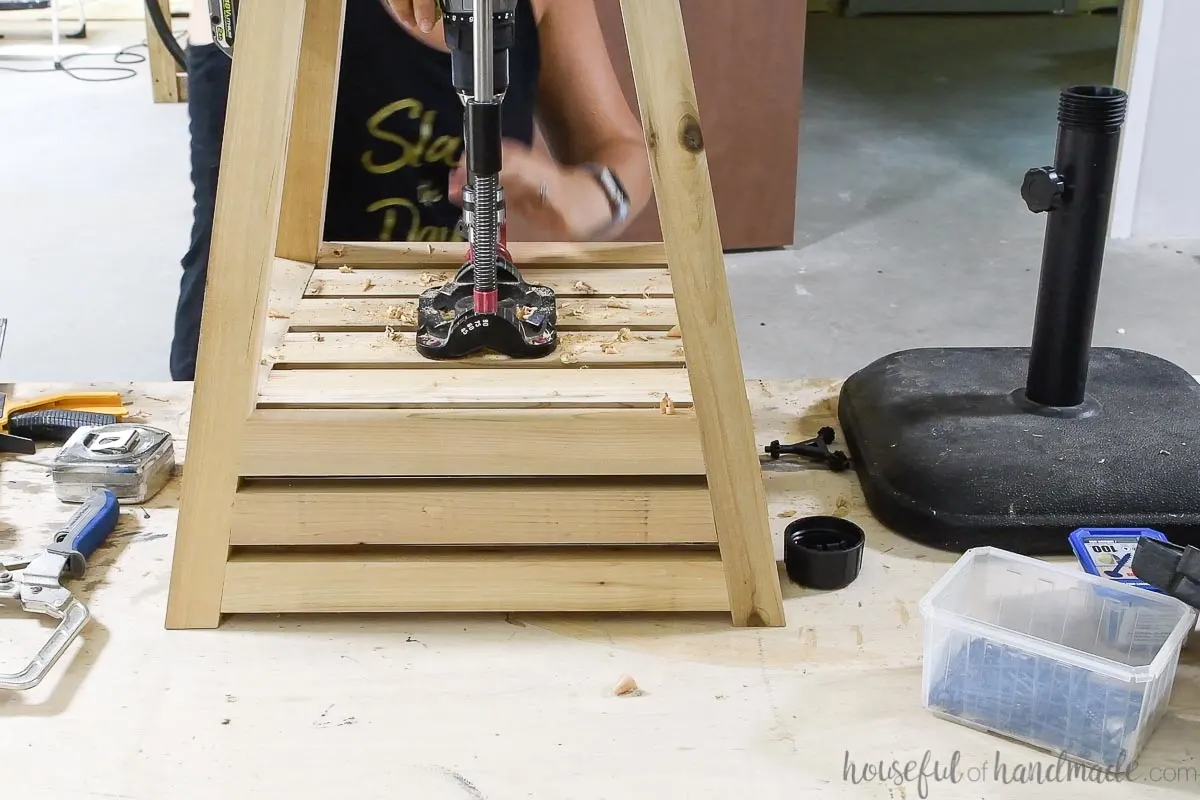
Measure the exact center of the base on these shelf boards. Use a drill guide to drill a hole large enough for your umbrella base to fit through in the center.
I drilled the hole just large enough for the base pole. I have to either unattach the pole and reattach it inside the umbrella table or remove the tightening screw and threaded on top part to fit it over the table.
This makes it so there is very little gap around the umbrella base pole.

Build the Table Top
Cut six 2×3 boards and one 2×4 board at 14 1/2″. Then cut two 2×4 boards at 21 1/2″.
Drill pocket holes set for 1 1/2″ thick material in both ends of all the 14 1/2″ boards.
Mark the sides of the 21 1/2″ boards where you will attach the other boards. Center the 2×4 board then put the 2x3s on either side of it. Leave a 1/2″ space between all the boards. The end 2×3 boards will be flush with the ends of the 21 1/2″ boards.
Attach the boards with 2 1/2″ pocket holes and wood glue. Use a face clamp to keep the boards nice and flush while you secure them.
First attach all boards to one of the side boards.

Then attach the second side board making sure to line them up with your markings. Secure with wood glue and screws.

Measure the diameter of your umbrella pole. Drill a hole big enough for it in the center of the table top. Use a drill guide to make sure the hole stays straight.
Attach the Table Top
Drill a hole the size and depth of your figure 8 fastener on the top of each leg.
The top of the figure 8 fastener will need to hang over the edge of the leg. Pay attention to which side of the leg it hangs over so it lines up with one of the boards on the table top.
Attach the fastener to the top of the leg inside the hole with a 3/4″ wood screw.

Then tip the base of the table onto the table top. Center the base and then attach the to the table top with 3/4″ wood screws.
Sand your finished umbrella side table with 100 grit sandpaper and get ready for an amazing finish!
How to Spray Waterlox Marine Finish
Tools needed:
- HVLP paint sprayer
- Spray tip for
- The exact size depends on your sprayer, I used a 1.3mm tip for my Fuji spray gun.
- Respirator
- Paint pyramids
Supplies:
- Waterlox Universal Tung Oil Sealer (UTOS)
- Waterlox Marine finish
- Mineral spirits
- Lint free rag
- Gloves
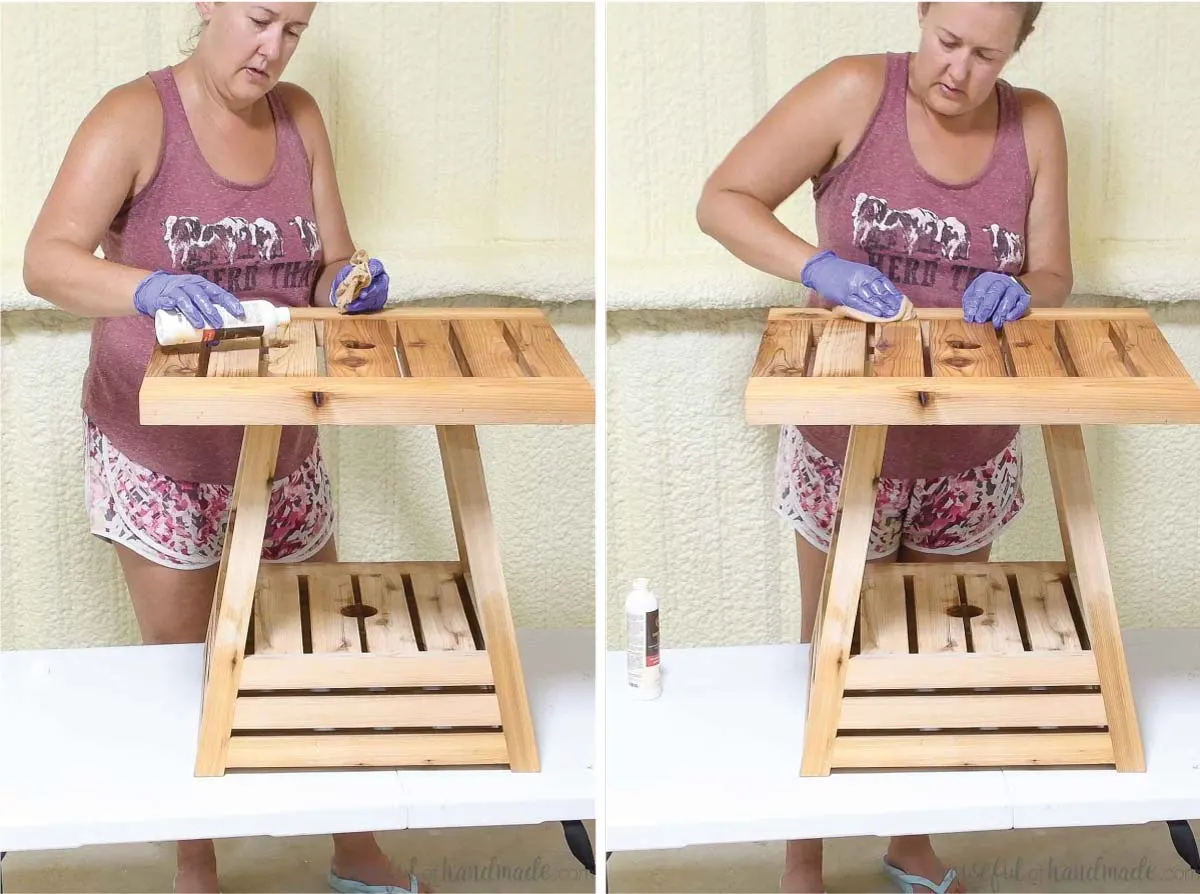
Apply UTOS
After sanding your side table to 100 grit sandpaper, it is time to apply the Universal Tung Oil Sealer (UTOS). The UTOS needs to be applied by hand, not with the sprayer.
Use a lint free rag to apply the UTOS to the table. Pour a small puddle of UTOS on the table and rub it in with the rag.
When the puddle is gone, pour another puddle and repeat. Continue until the entire piece is covered in a coat of UTOS.

Let dry for 24 hours before applying the finish. The UTOS needs oxygen to cure. Open up some windows and use fans to provide enough airflow to properly cure.
Thin the Marine Finish
To spray the Waterlox Marine finish in an HVLP sprayer, it must be thinned slightly.
Thin using mineral spirits. All sheens of the Marine finish should be thinned 25% to properly spray.
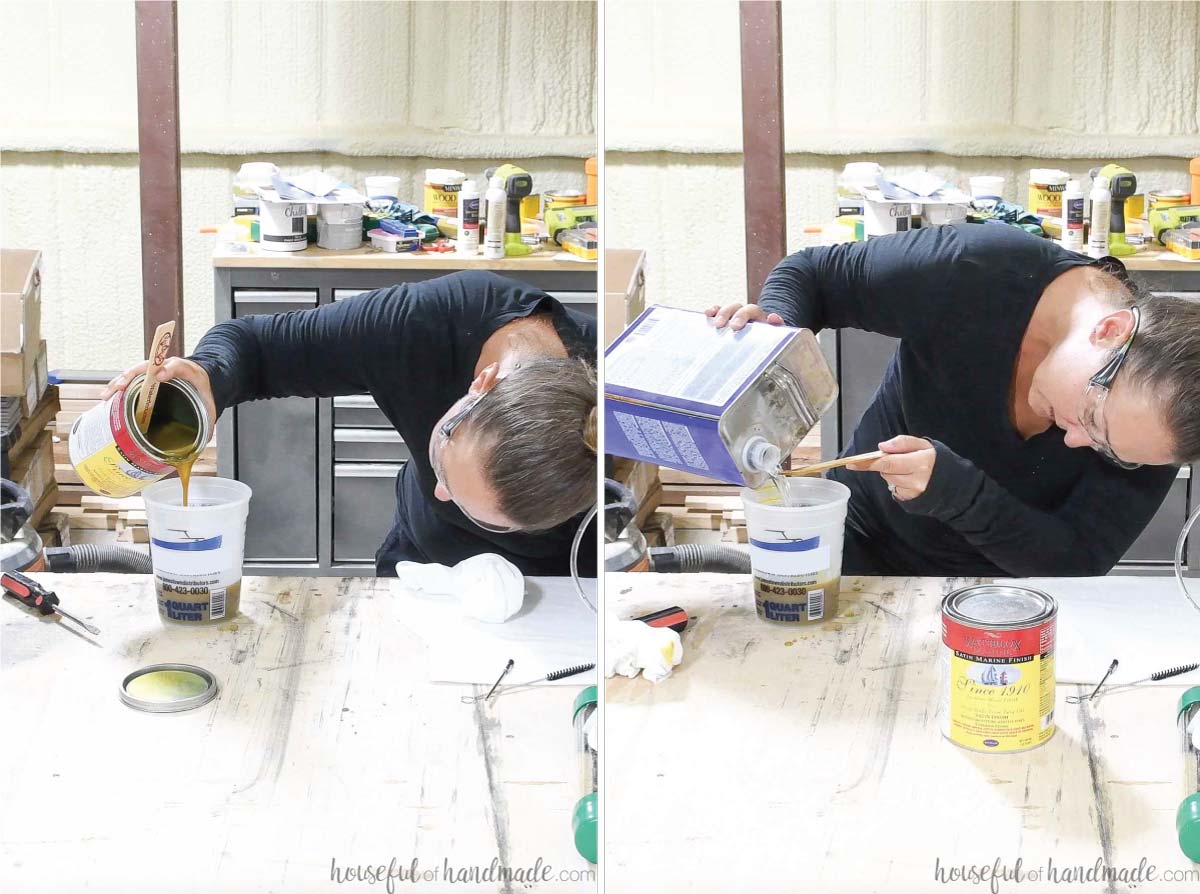
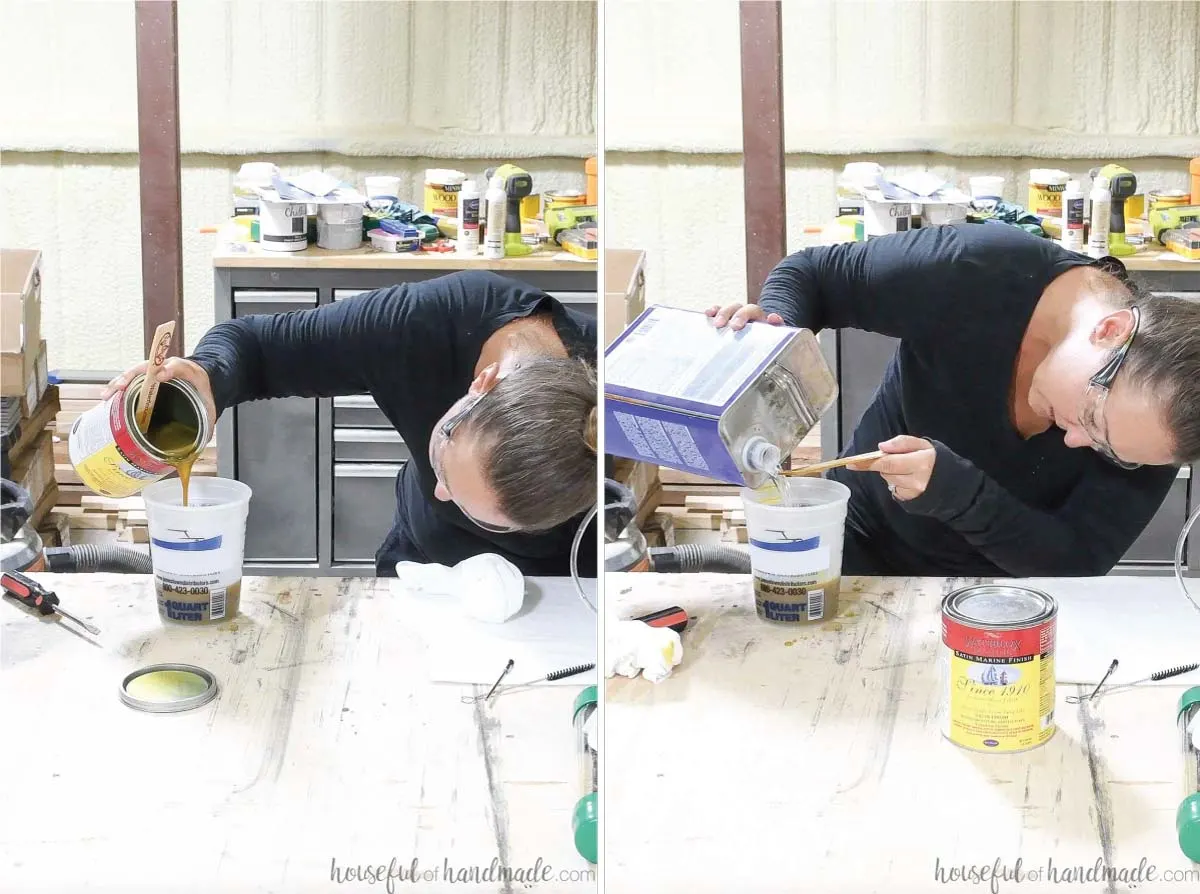
I built 2 umbrella side tables and used 10 oz of Marine finish thinned with 2.5 oz of mineral spirits for each layer. The first layer used pretty much the entire amount, the second layer only used about 3/4 of it.
Also, you must strain the thinned finish before putting into your sprayer. This will help prevent any clogs getting into the tip and making it hard to spray.


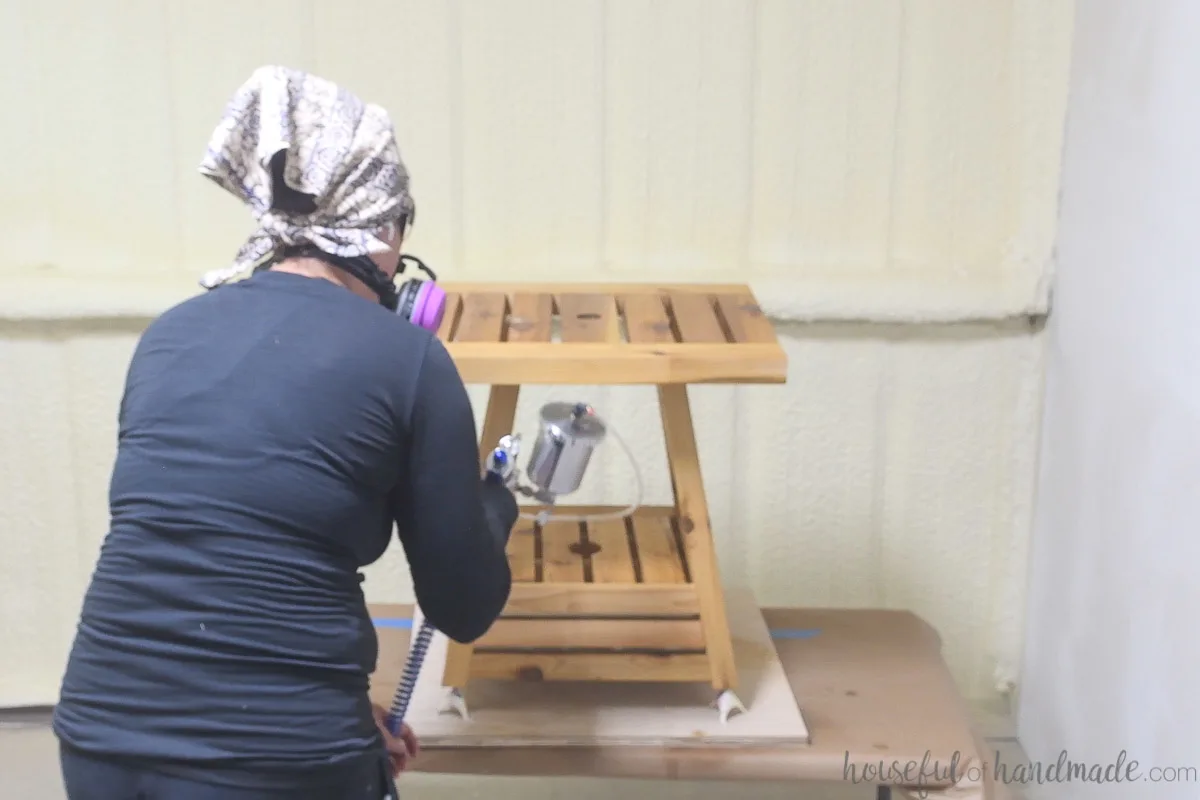
Spray the Finish
Plug in your gun and turn it on. On a scrap of cardboard or brown paper, spray the gun and adjust the spray to your desired spray.
You want to make sure to open the tip so you get enough spray through to leave a thick enough coat to fully cover the wood. It can be easy to spray a too thin coat.
Spray the underside of the table with the adjusted sprayer. And further adjust as needed which is why it is great to start on the underside.
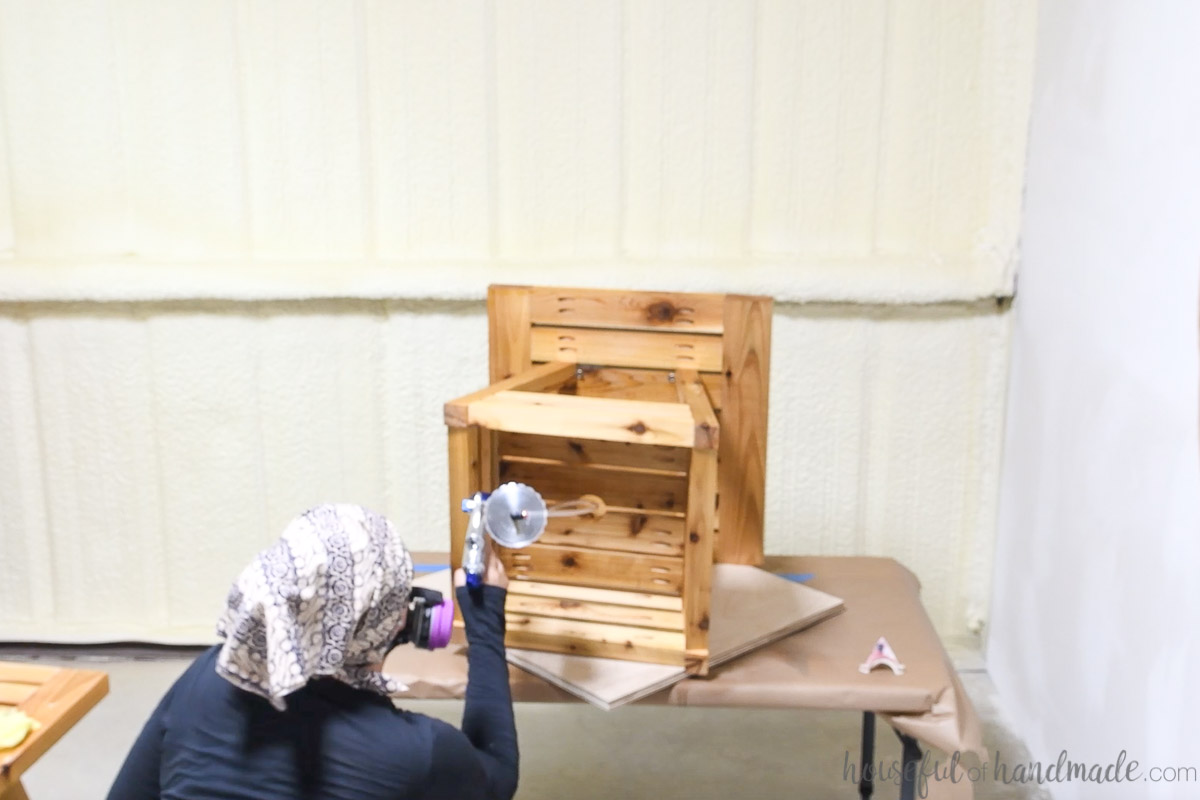

Keep your hand about 6-8″ away from the furniture and always keep your hand parallel to the piece. Move back and forth and overlay the sprays about 50%.
Keep your hand about 6-8″ away from the furniture and always keep your hand parallel to the piece. Move back and forth and overlay the sprays about 50%.
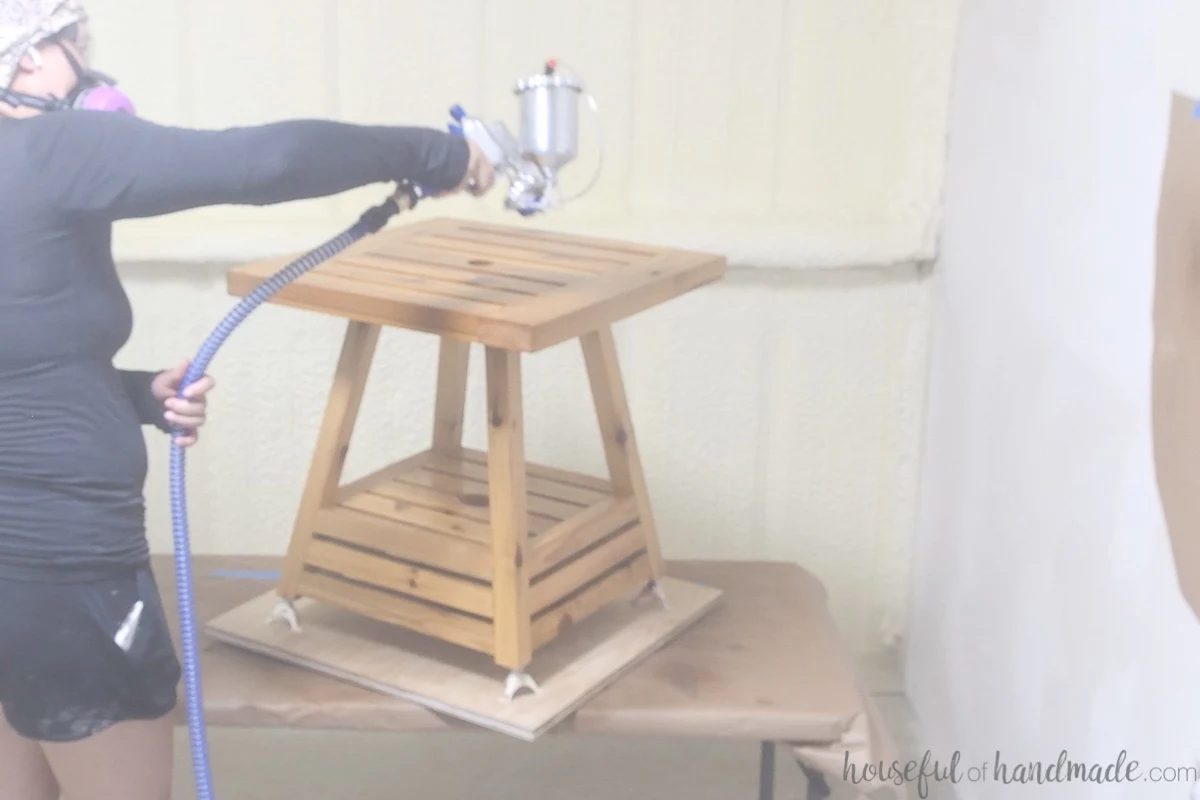
Once the underside is sprayed, flip it over. Place a paint pyramid under each foot to keep the bottom raised while you spray the sides and top.
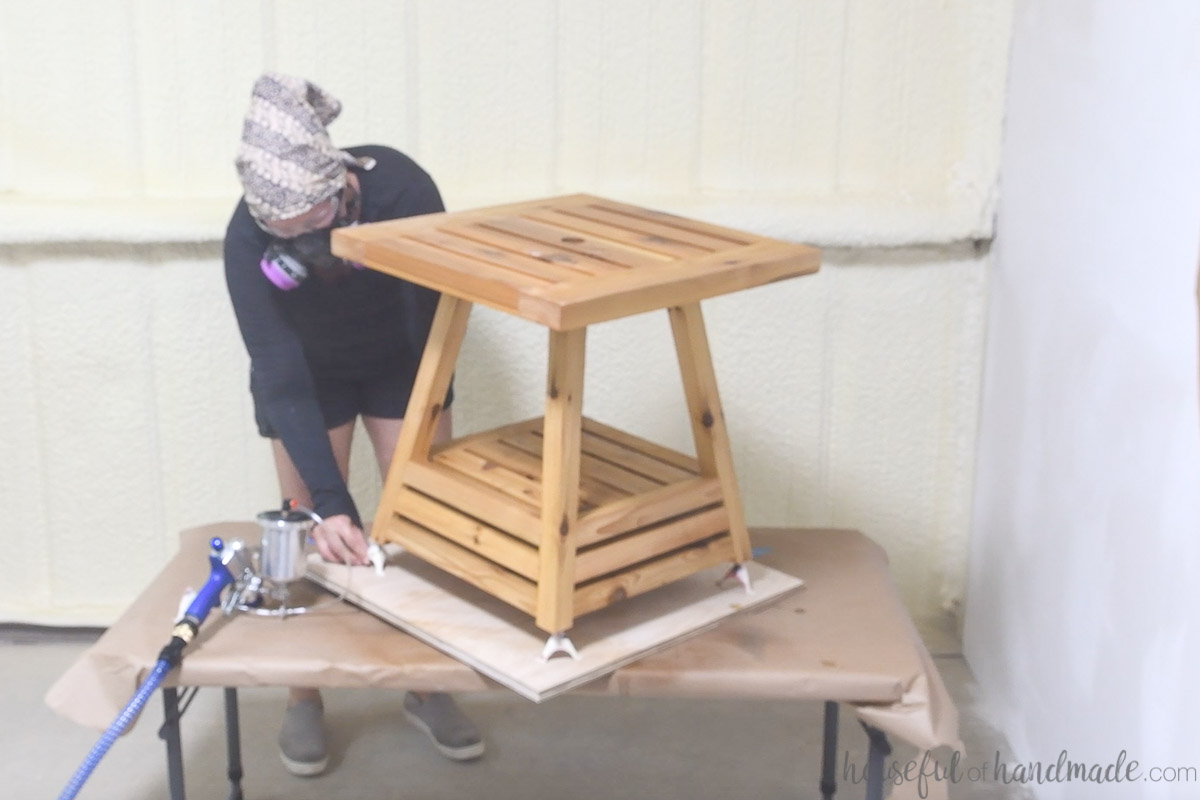
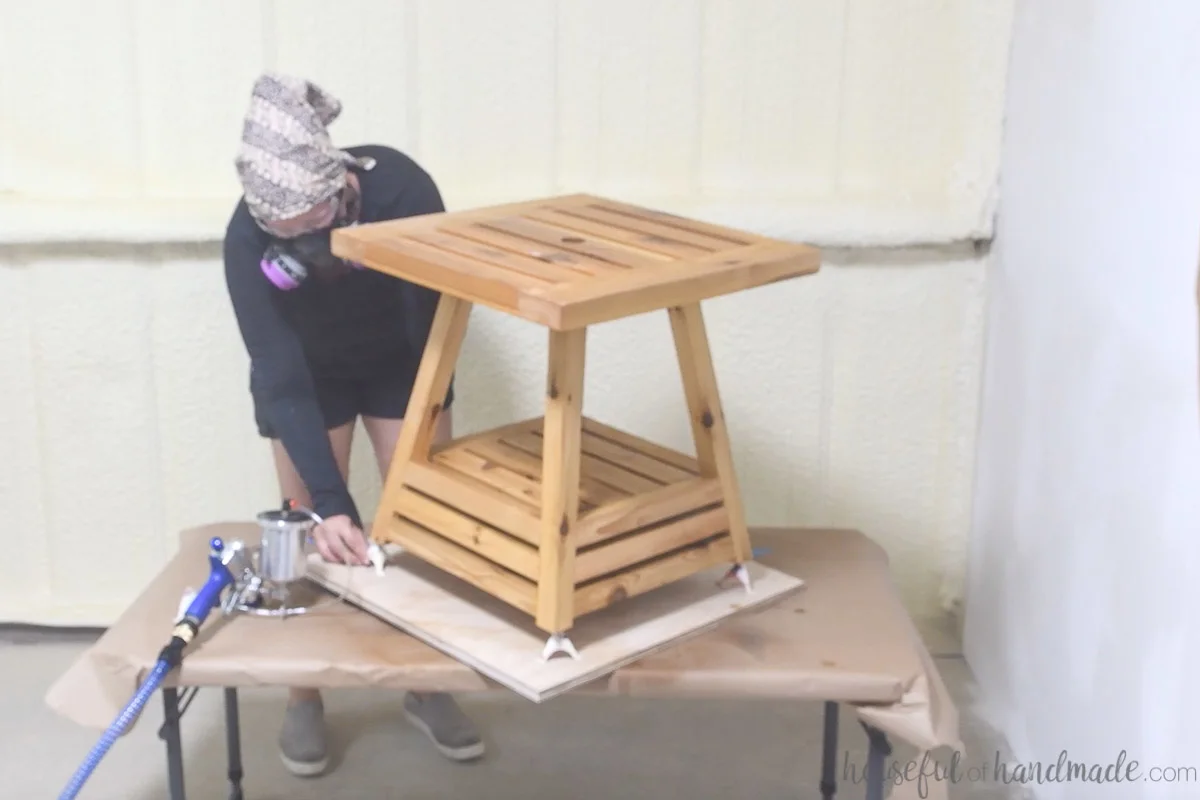
Spray the entire top, making sure to get the sides and top of the lower shelf.
Make sure you get a good solid coat of finish on it. If you look at it so you can see the reflection of the light in the we finish, you should see a continuous film, no spots not covered. That way you know that you have proper coverage.

Now it’s time to clean your sprayer.
Spray the Second Coat
Let the finish dry until it is no longer tacky. Then turn on some fans to allow lots of airflow. The marine finish also needs oxygen to properly cure. Open up the windows with the fans as well to supply the area with lots of oxygen.
Let it cure for at least 24 hours. Then apply the second coat.
You do not have to sand between coats. The Waterlox finish does not require it for adhesion. However, I prefer to sand after the first coat to remove any grittiness.
Just lightly sand the umbrella side table with a fine grit sanding block. Then clean it with a tack cloth.
Apply the second layer of finish the same as the first. This layer will not need as much finish to create a solid layer since it will not soak into the wood as much.

After spraying, let dry for 24 hours. If desired, you can apply a third coat. Softer woods will benefit from more coats.
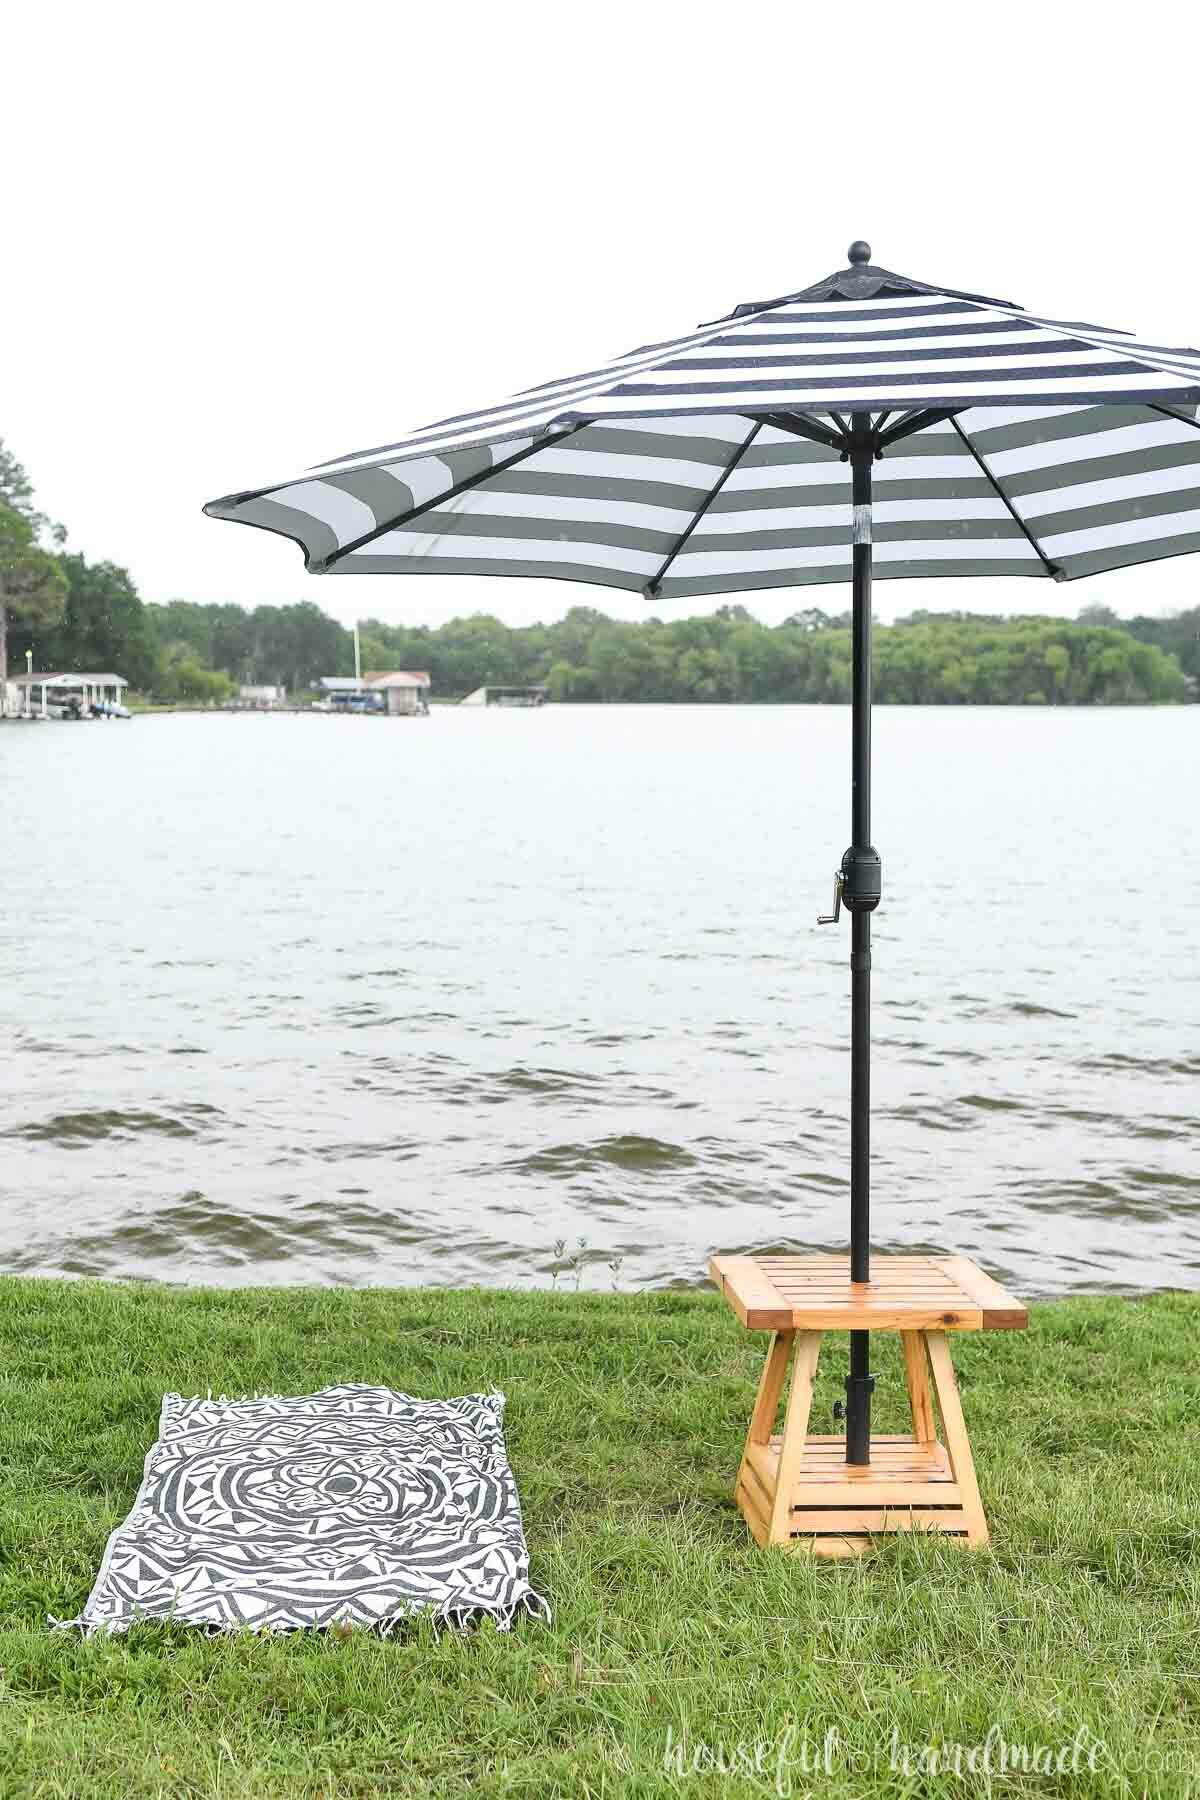
Now your outdoor side tables are all done. Place the umbrella stand in the bottom and secure your umbrella.
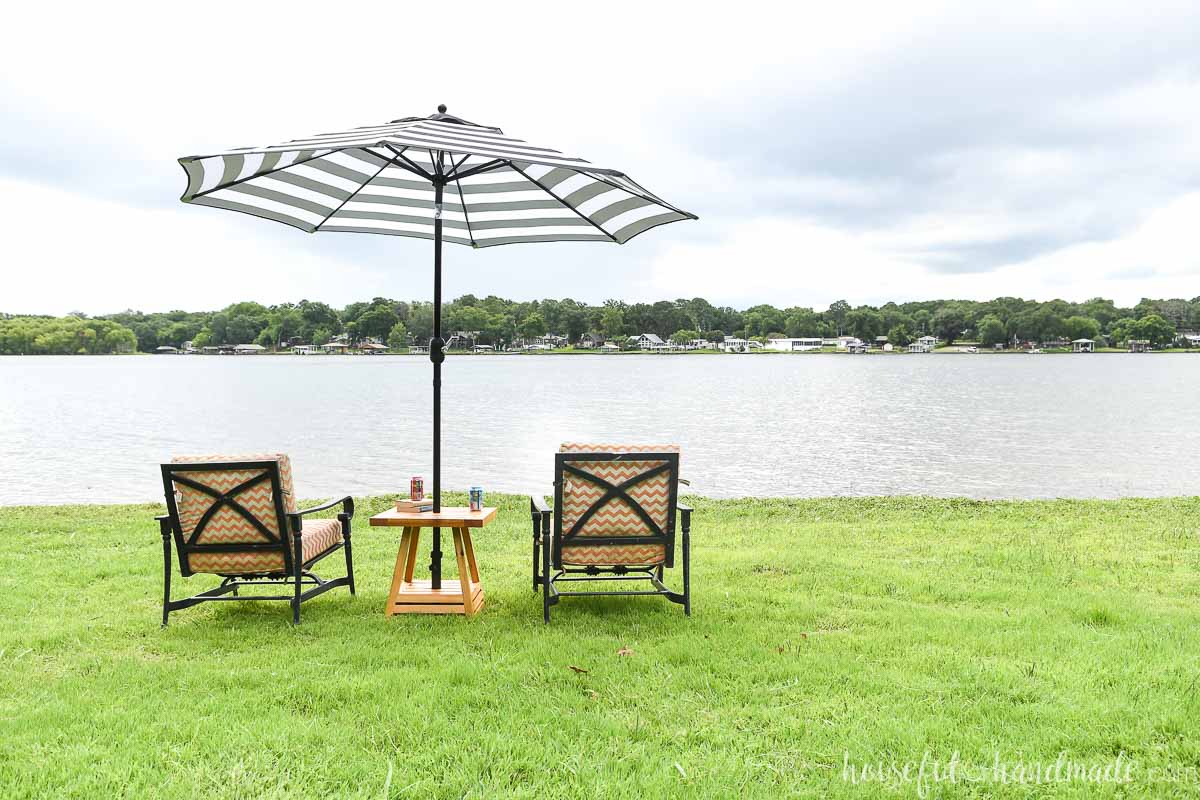
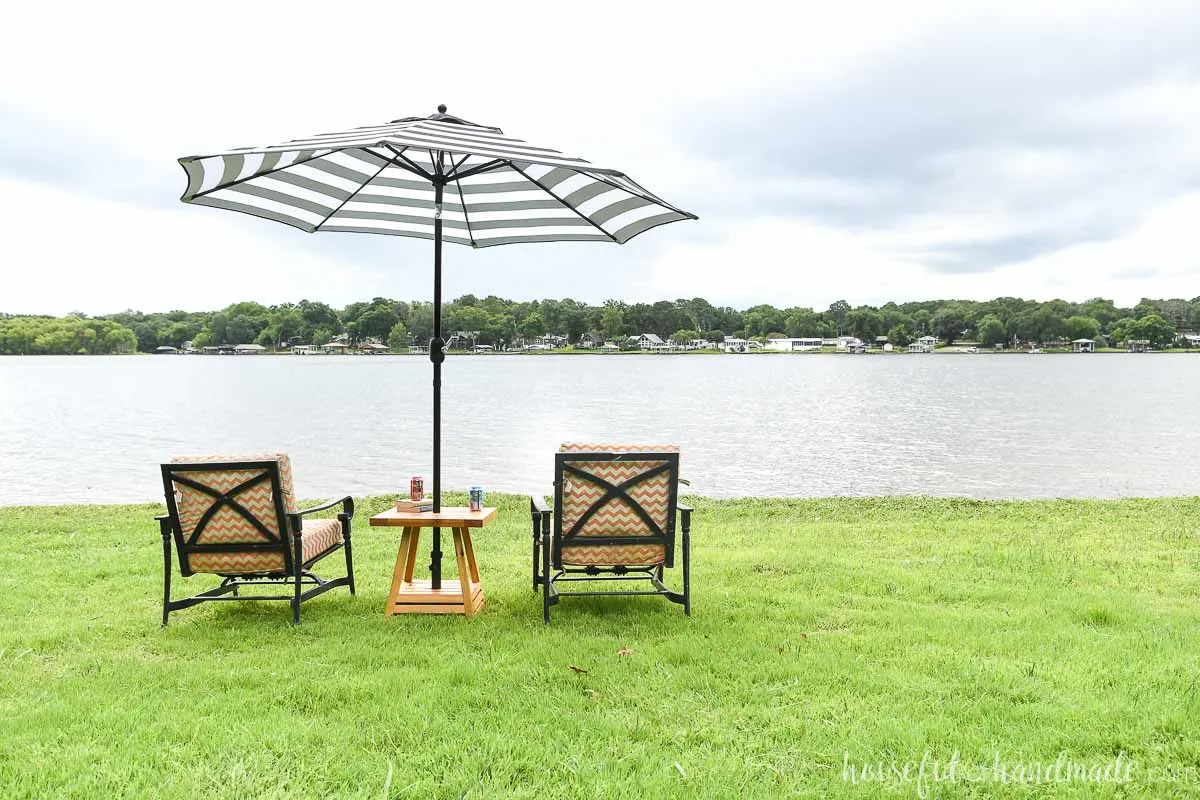
I can’t wait to use them for lots of shade to get us through the hot summer. If you need me, you can find me at the lake!
Happy building!


Thank you to Waterlox for sponsoring this post. I only recommend products that I use and love and all opinions are 100% my own. Click here to read my full disclosure policy.