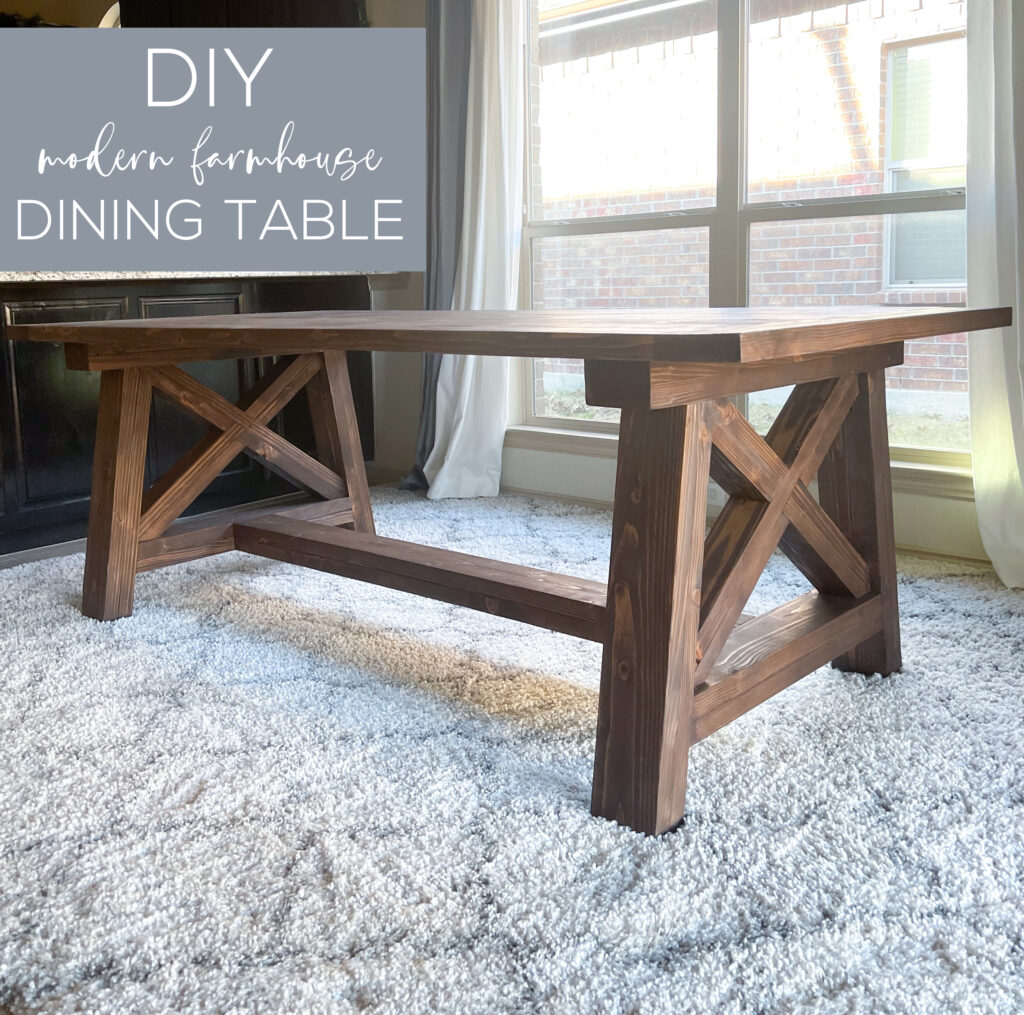
Hey guys! I recently built a sweet friend of mine a new dining table for her eating area. She’s a foster mama and she wanted a big table to seat her family and also her babies when she has them home with her. This was such a fun project and I love how it turned out in her space. The best thing about this table is that it uses 19 2 x 6 boards. That’s it! No other lumber is needed and the outcome is just so cute! You can get the free plans at the bottom of this post and I’ll walk you through the entire build here. First, look how cute it turned out in her kitchen!
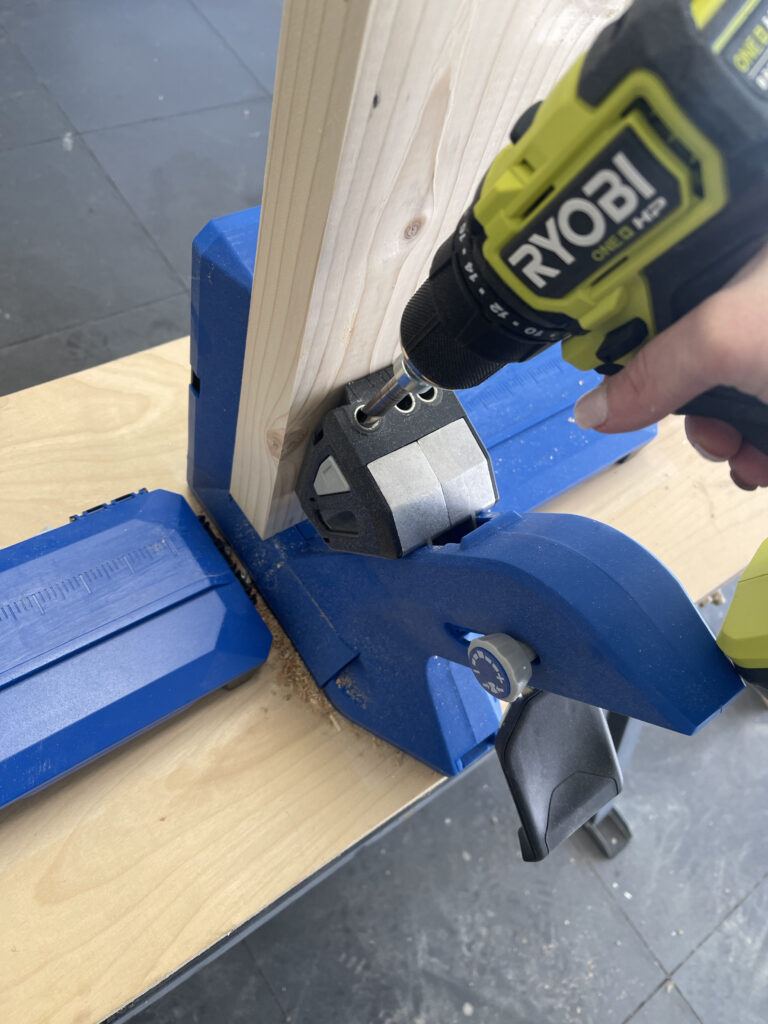
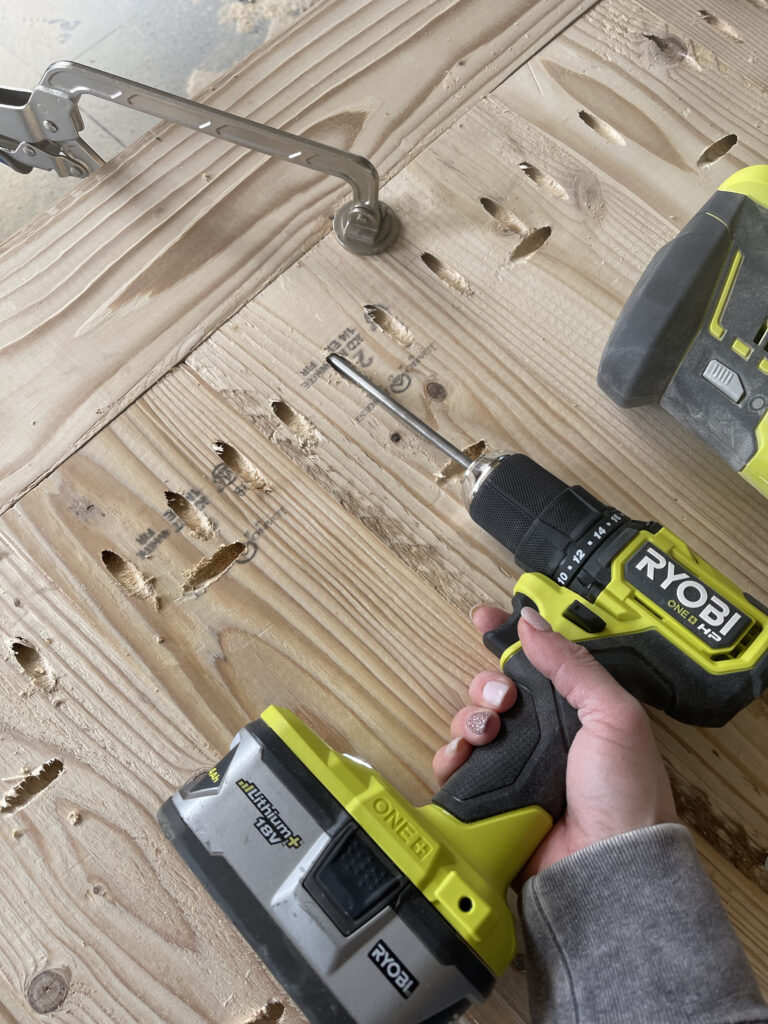
The first step to building this table is creating the table top. These are 2×6 boards that we ripped down to 5”. I used my new Kreg Jig 720Pro to add 1.5” pocket hole screws down one long side of all but 1 of the plank boards, and also at the ends of each plank board. They are such a great step up from the previous Kreg Jig K4 model. You can find it HERE on Amazon!
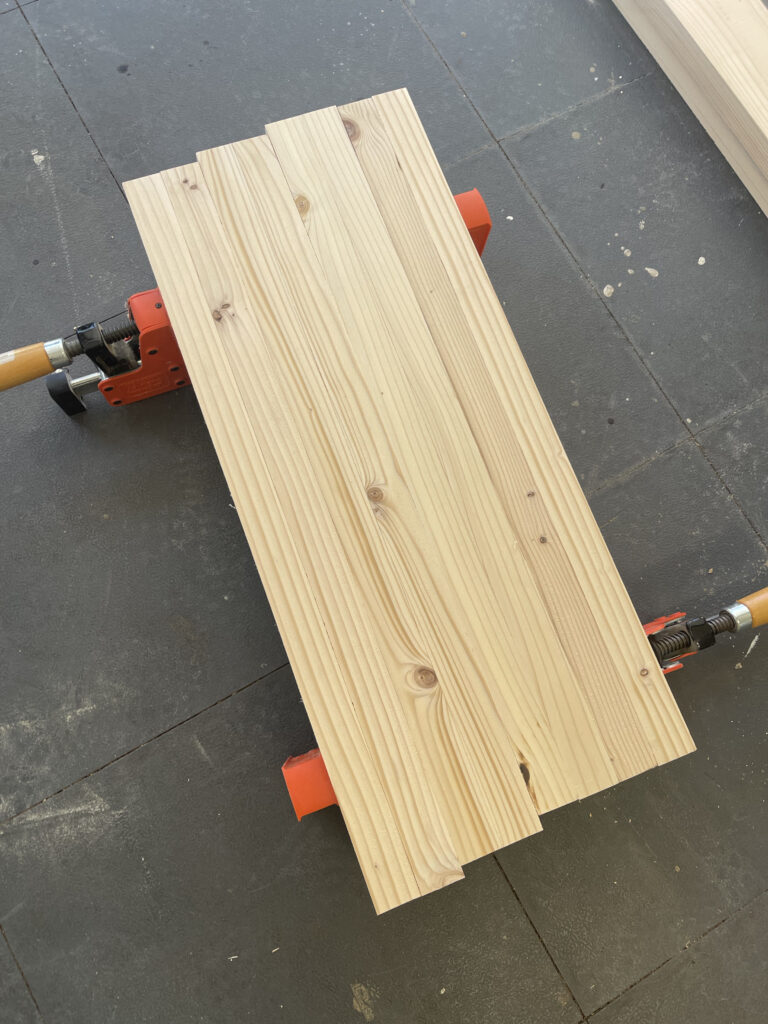
Attach the plank boards together first using 2.5” pocket hole screws.
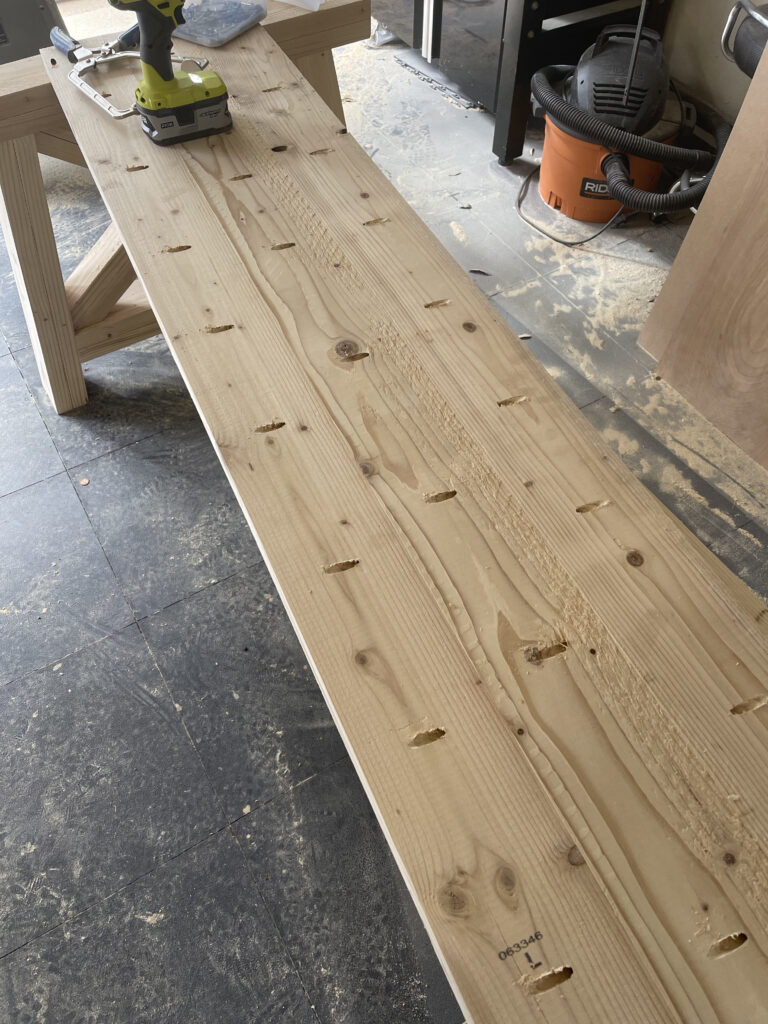
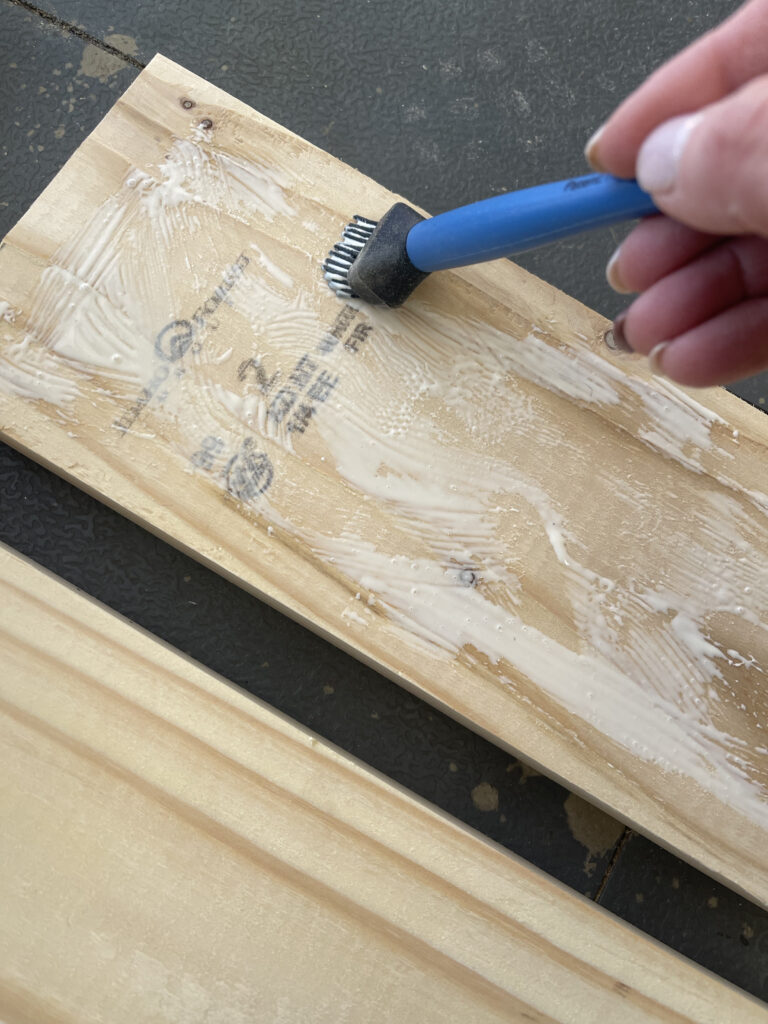
Once all plank boards are attached, line up the boards on each end and mark the exact measurement of the breadboards. Attach the breadboards using 2.5” pocket hole screws.
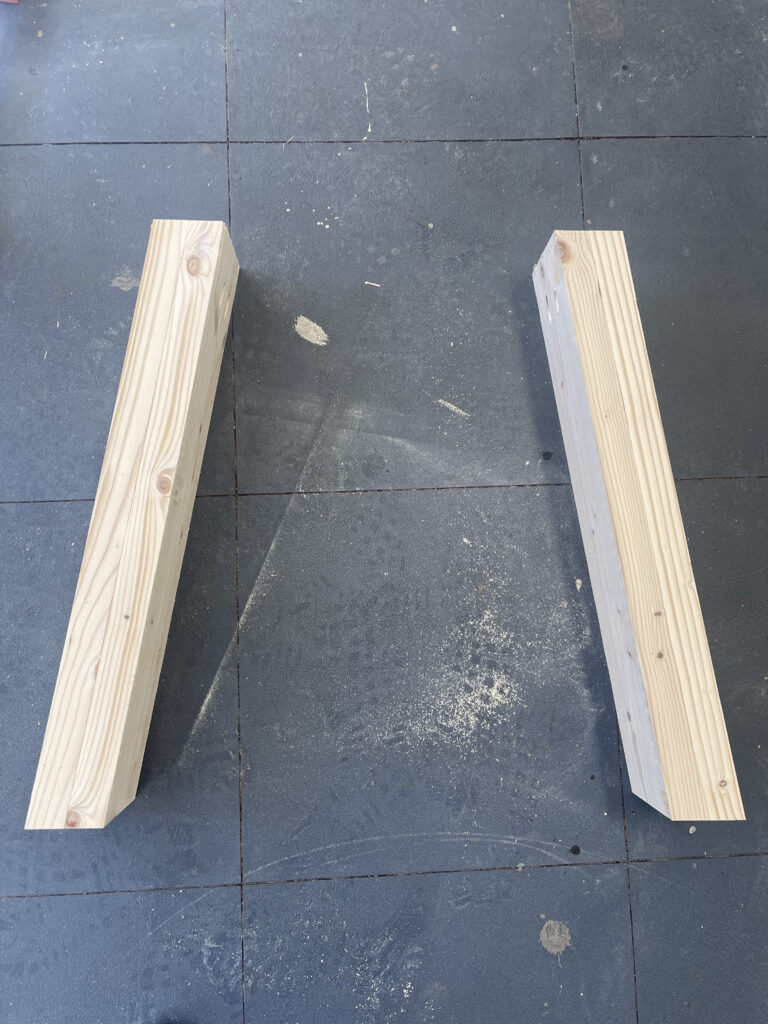
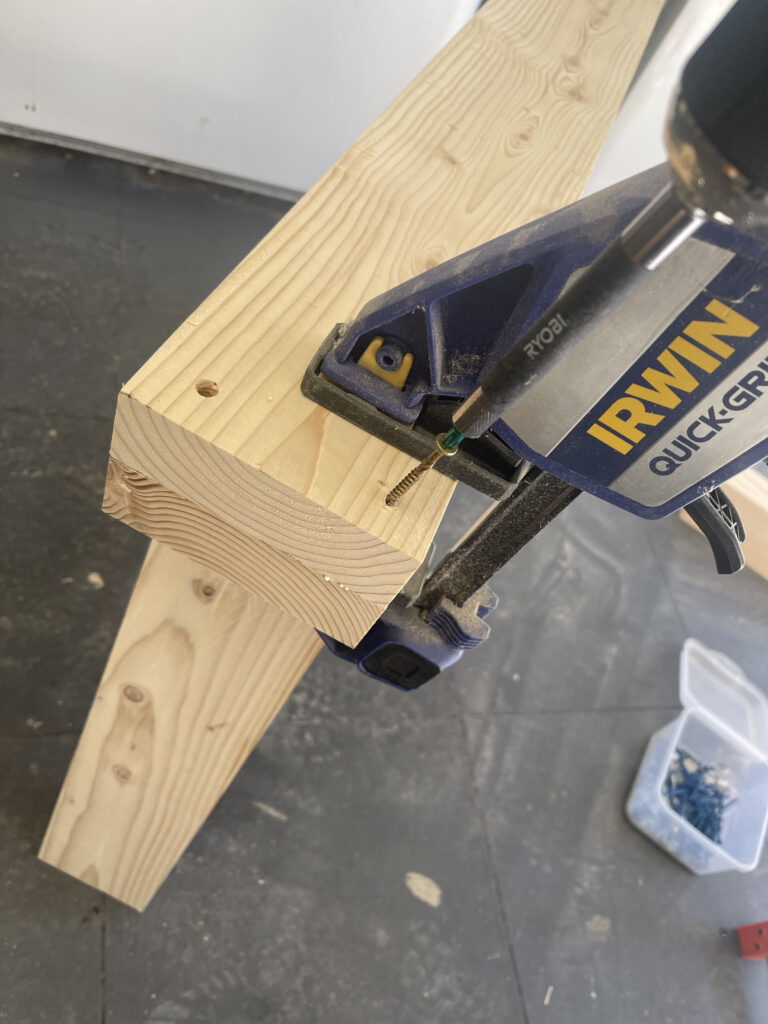
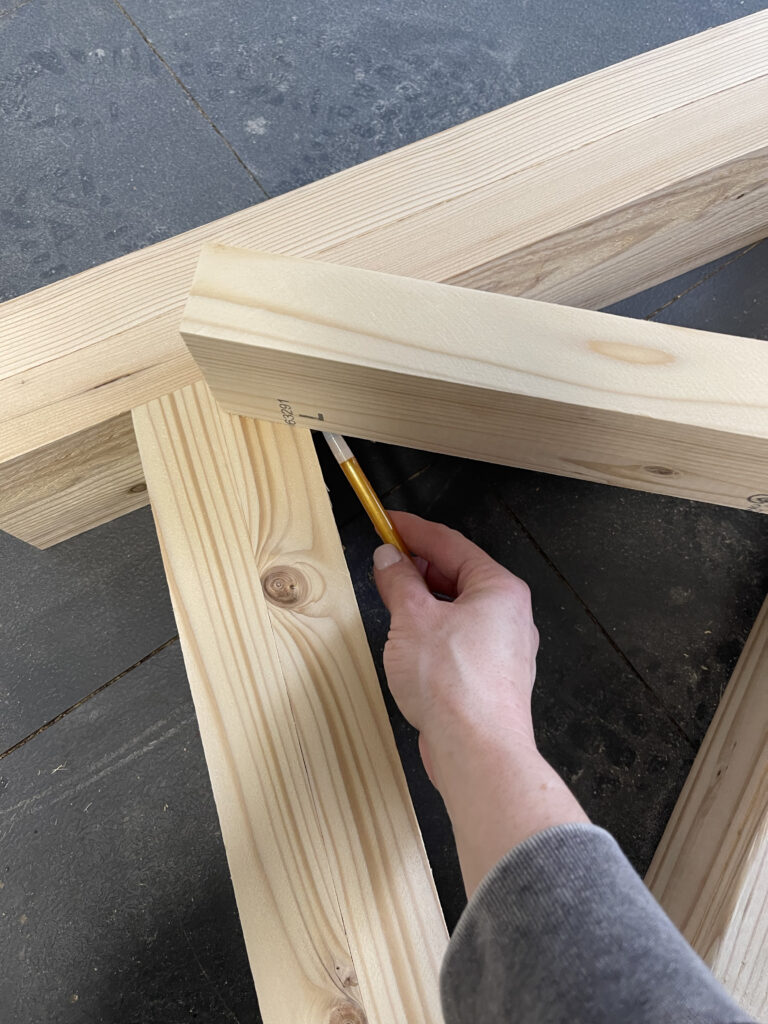
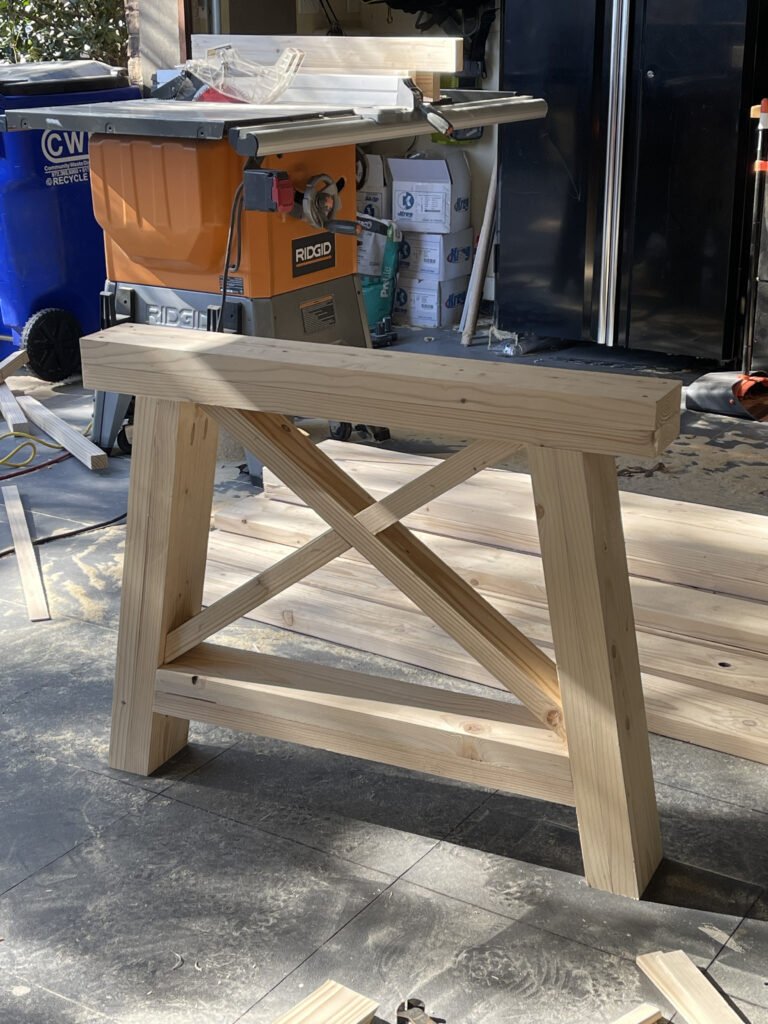
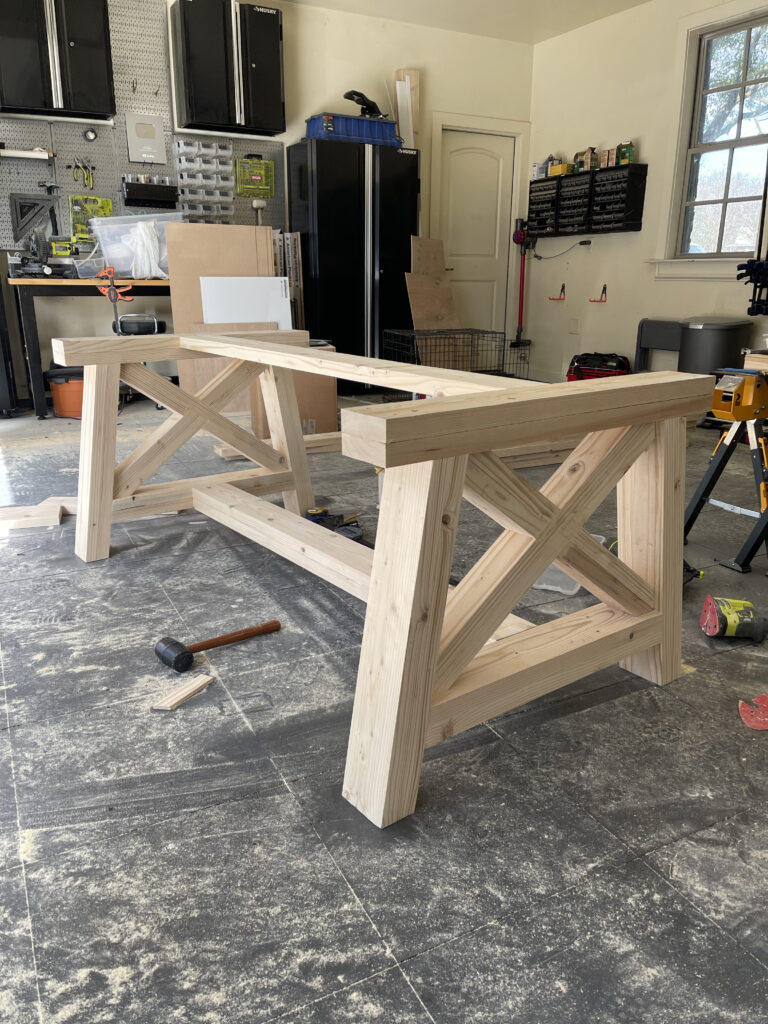
Next, create the leg pieces. These are 2 x 6 boards that I ripped down to 5” wide each. Cut to the correct length, and make sure each end is cut at a 10° angle. Add 1.5” pocket holes on one end of one board. The pocket holes will be on the inside and top of each leg, so be sure to glue each leg correctly.
Glue these boards together and tightly clamp them until they are set and dry. Each leg will use two boards and you will have four legs total.
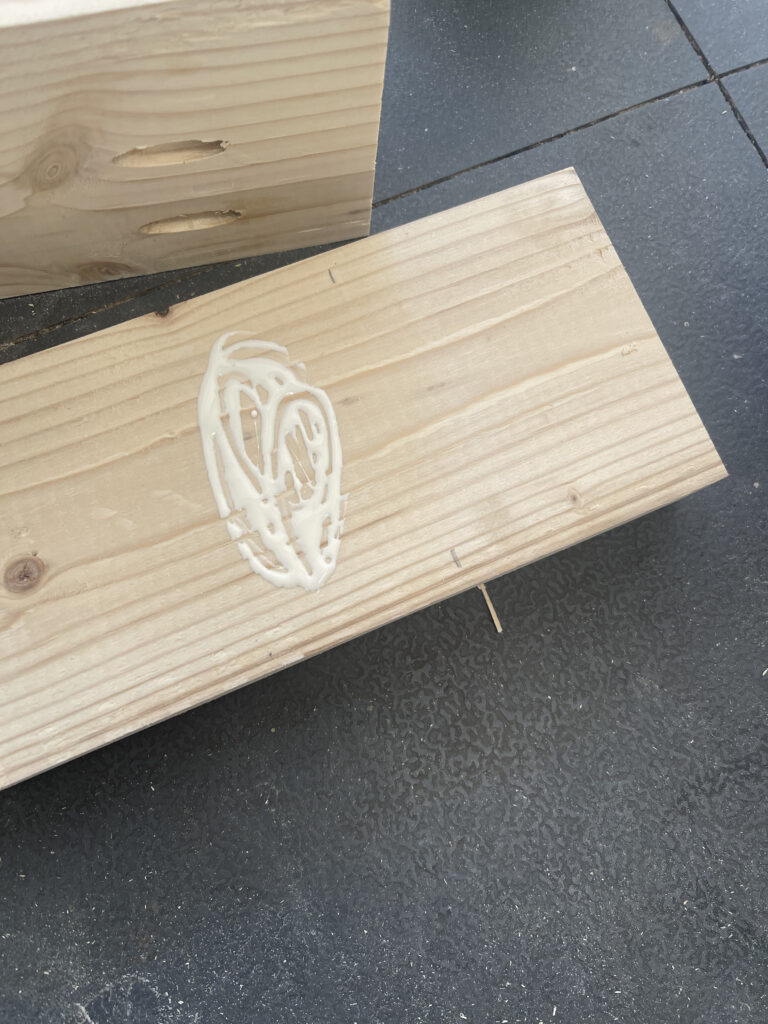
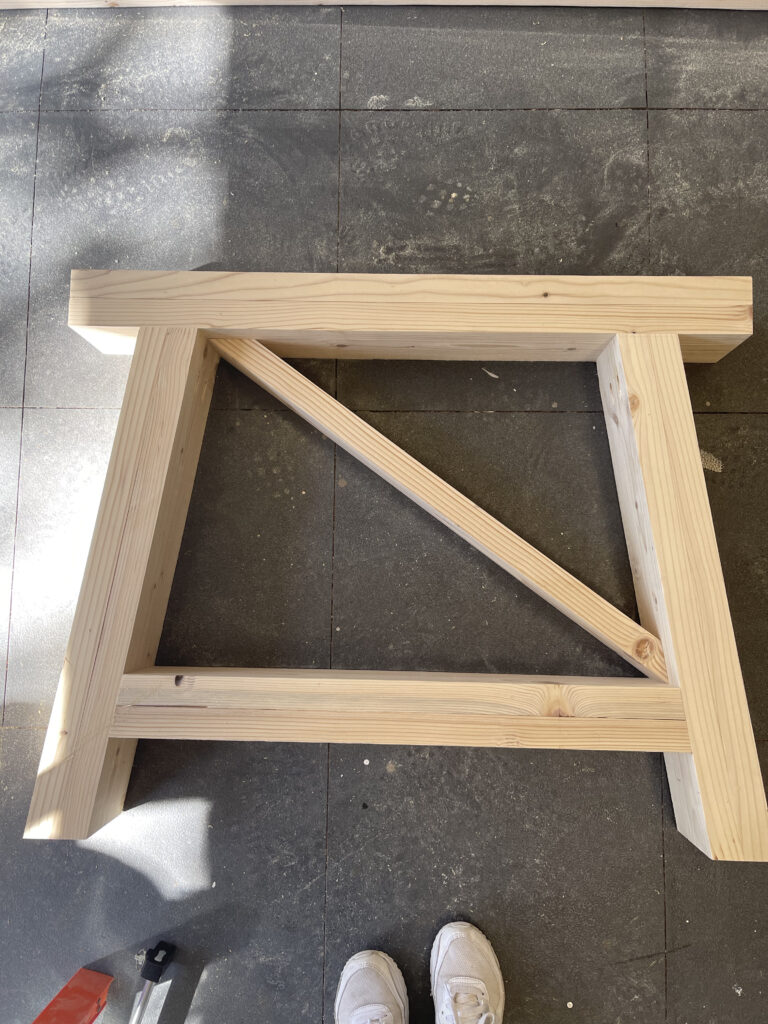
While the legs are drying, build the top horizontal supports for the leg pieces. These are also 2 x 6 boards that have been ripped to 5” inches wide each. Cut each to size and laminate them together using wood glue and clamps with all ends flush. I also added wood screws through the top boards and into the bottom boards on this part because it will be covered by the table top.
You will have two laminated horizontal pieces, one for each leg assembly.
Once all of the boards are dry, attach the legs to the horizontal support boards. Attach them through the pocket holes on each leg and into the horizontal support boards using wood glue and 2.5” pocket hole screws. You can also drive long 4” wood screws through the top of the horizontal boards and into each leg for added support.

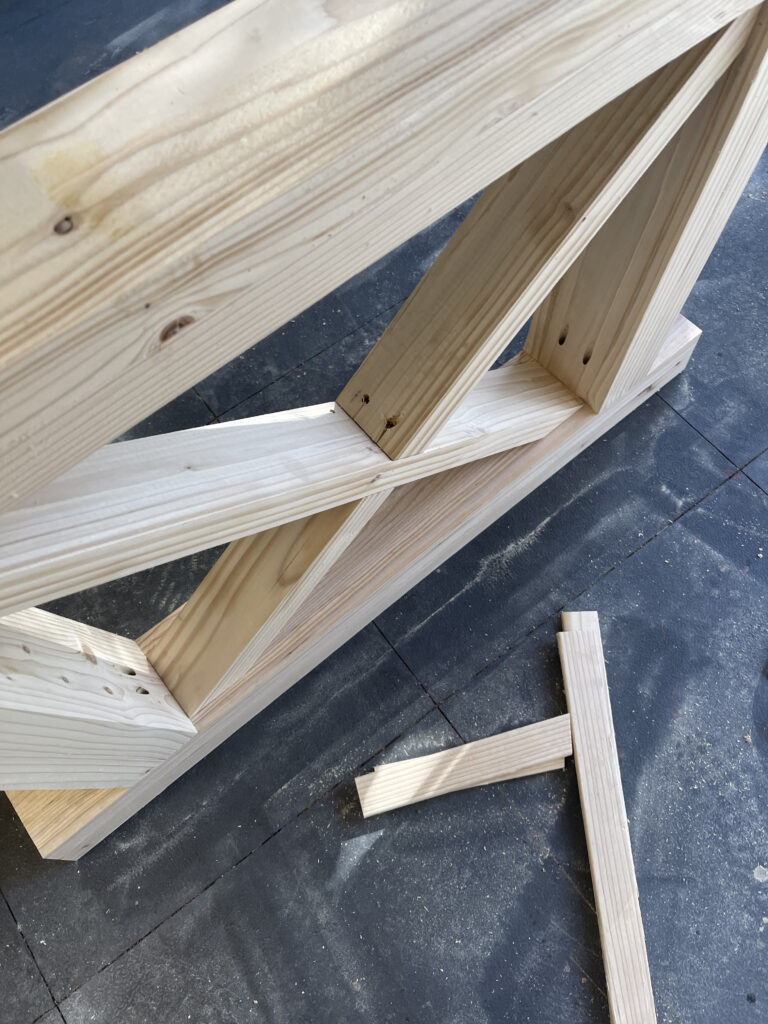
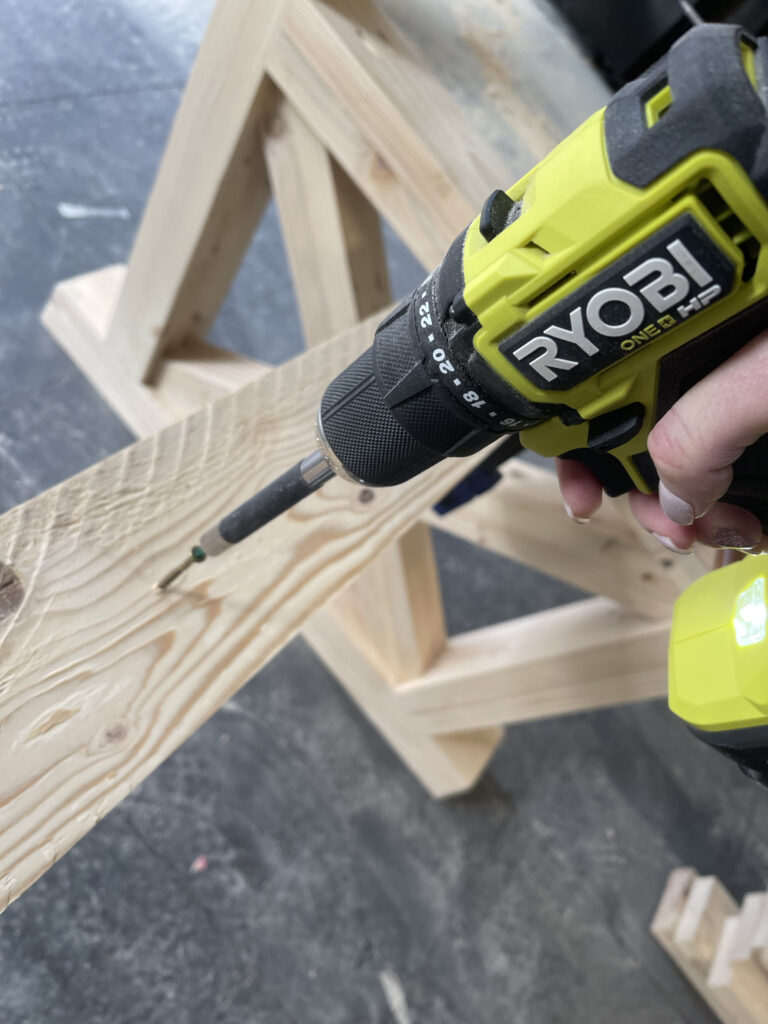
Now cut and build the bottom horizontal leg supports. These are also 2 x 6 boards ripped to 5” wide each. Cut each to size and add 1.5” pocket holes to the bottom longer boards. Each end is cut at a 10º angle. Glue the top board to the bottom board and attach using 2 1/2 inch wood screws through the bottom board and into the top board.
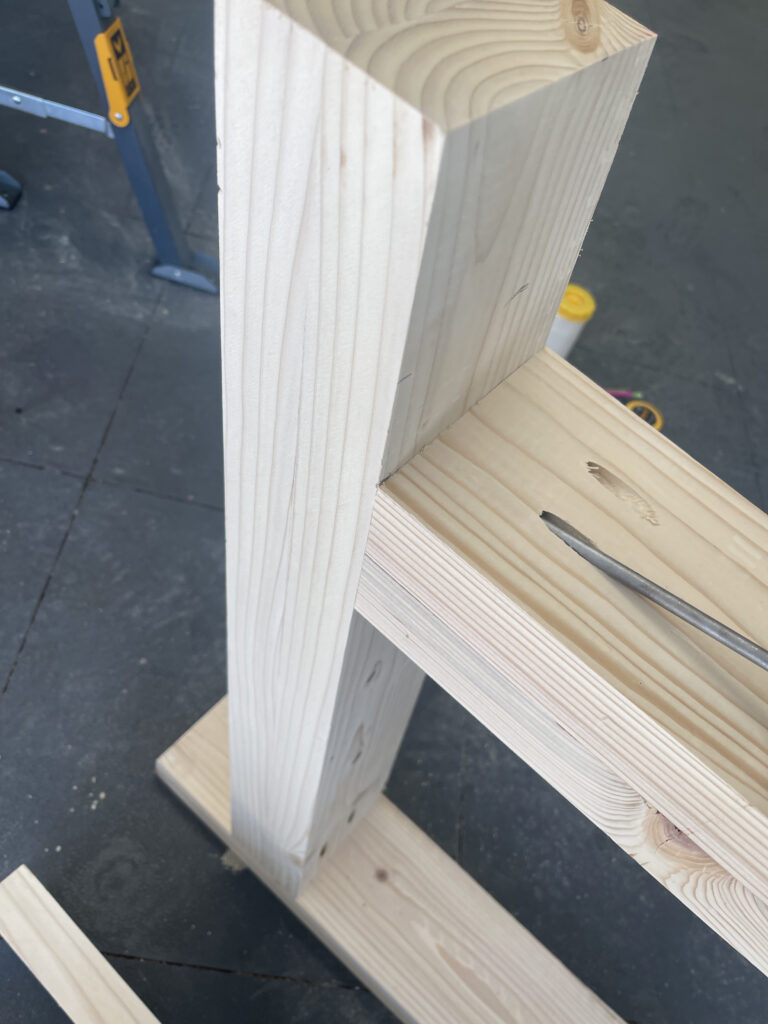
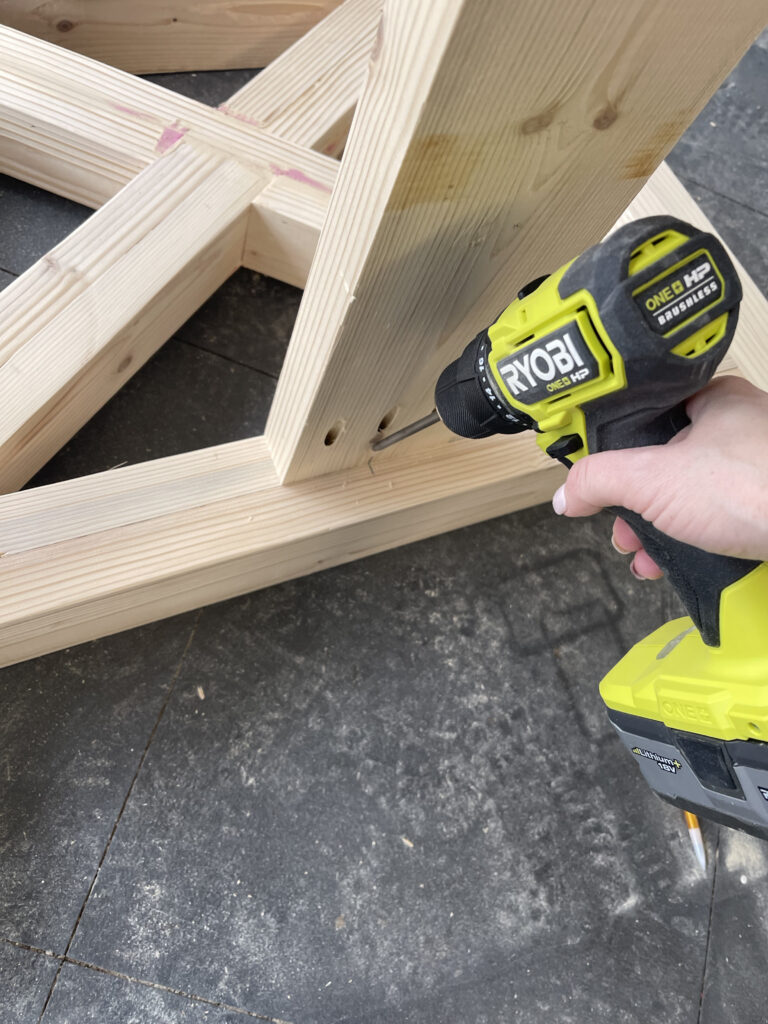
Attach the horizontal supports to the inside of each leg assembly using wood glue and 2 1/2 inch pocket hole screws. These will line up 4 inches from the base of each leg.
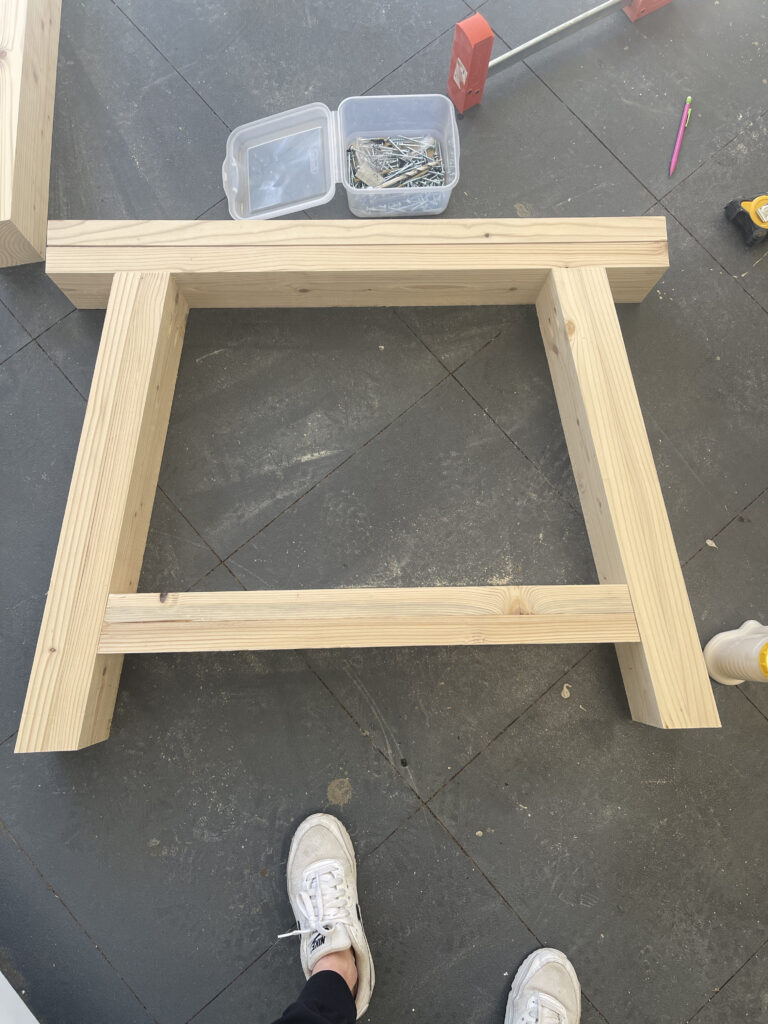
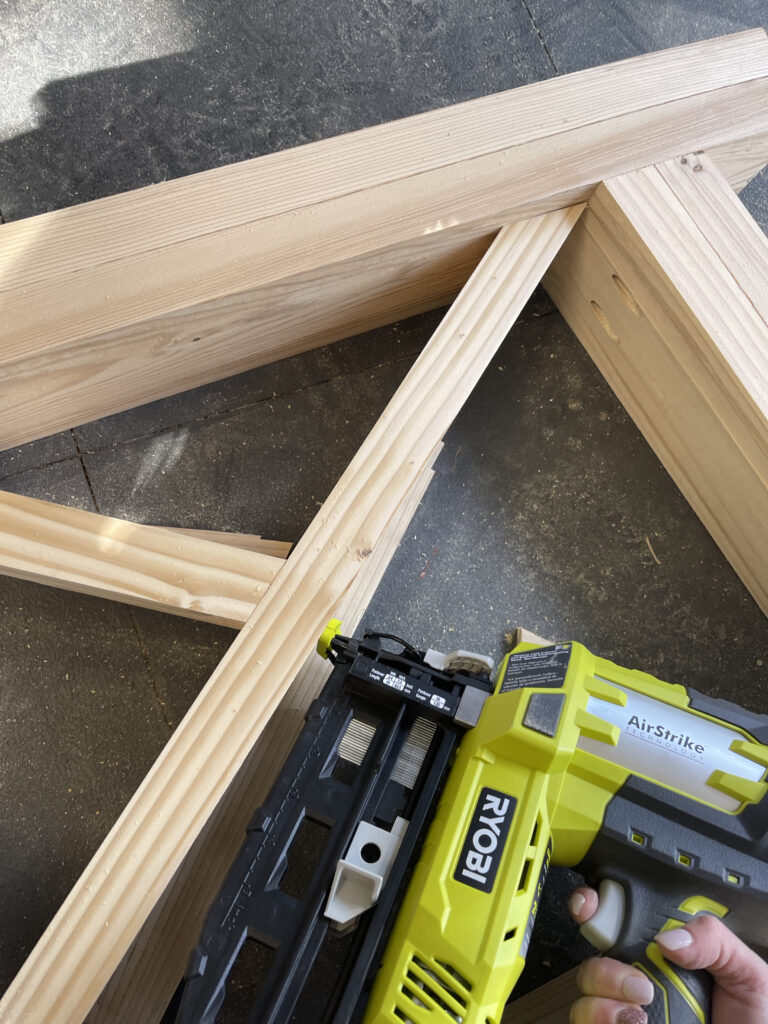
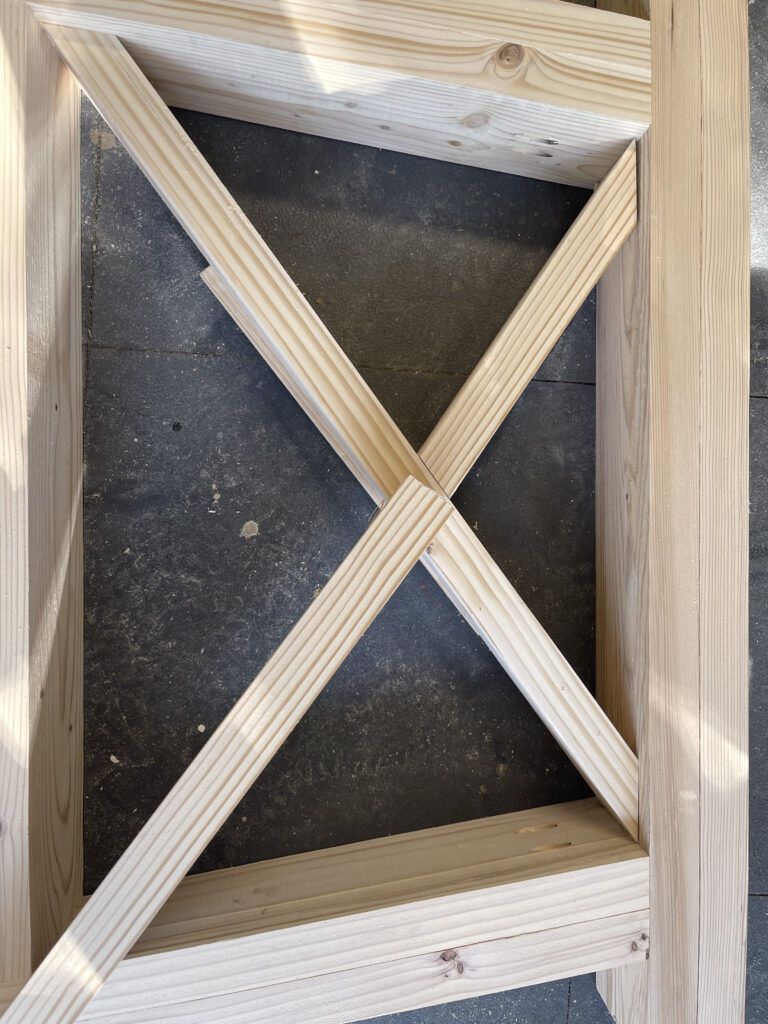
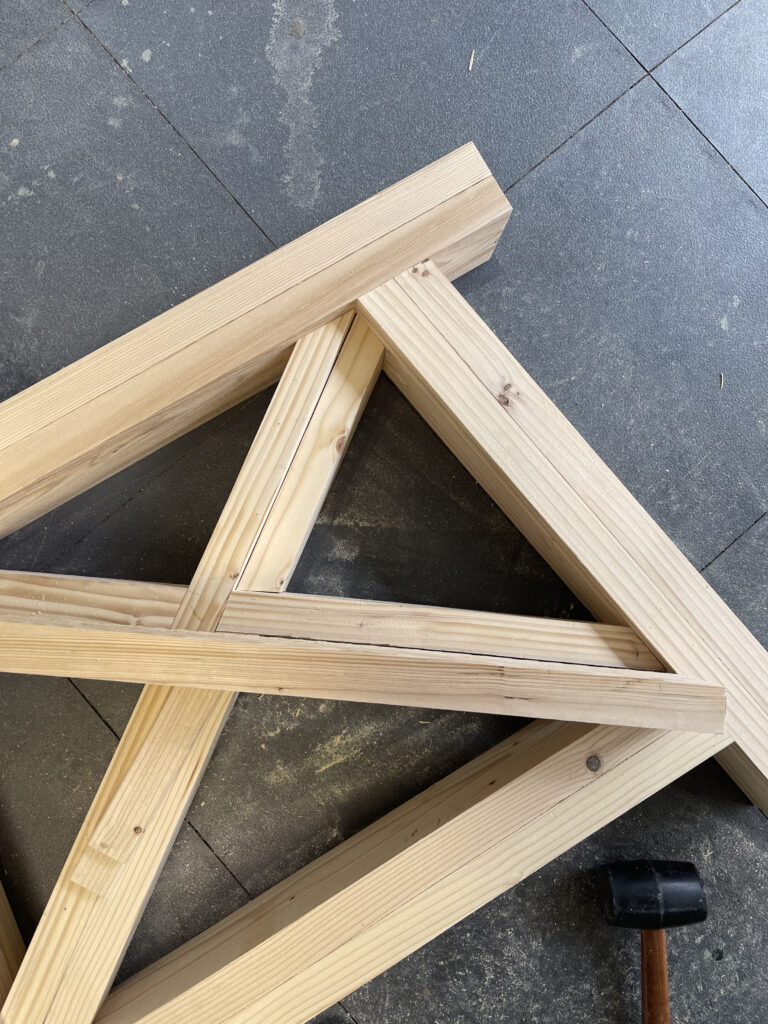
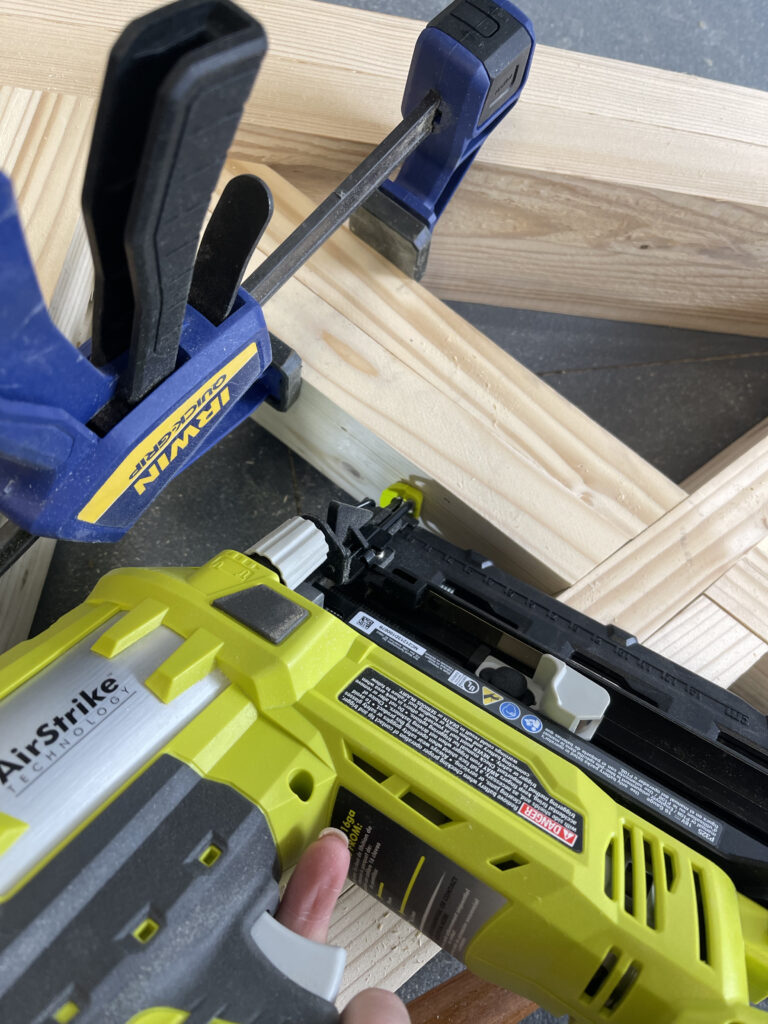
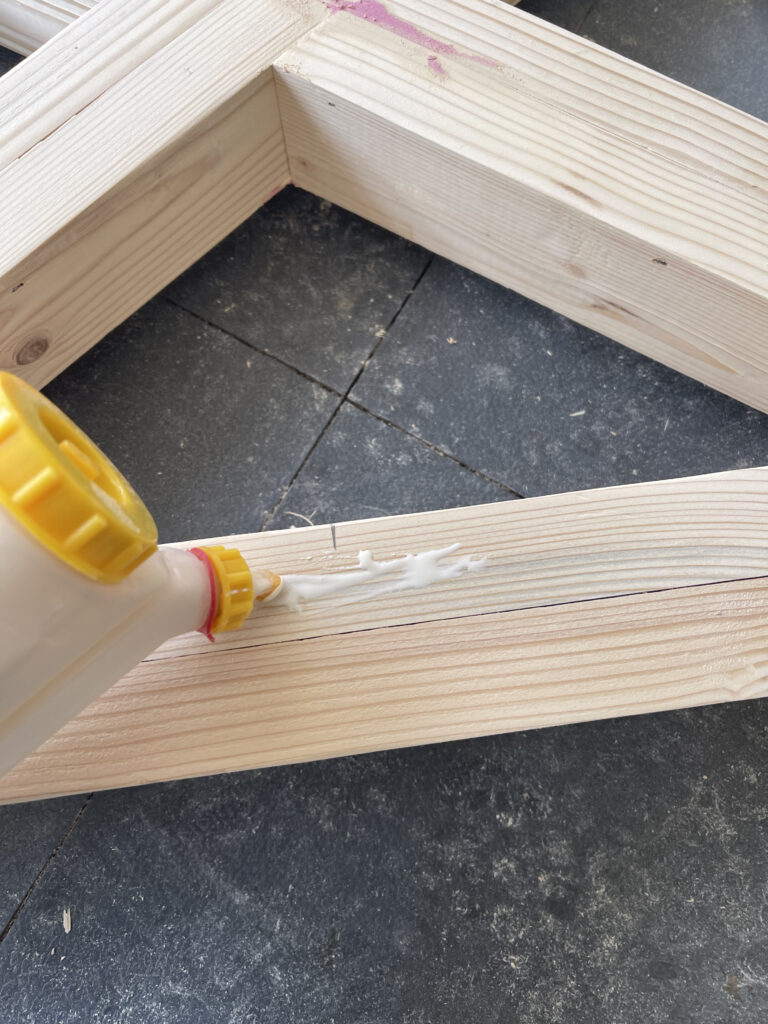
At this point, you are ready to create and attach your X pieces that will sit inside each leg assembly. Each of the X pieces are cut with a 2 x 6 board that have been ripped to 4” wide each. I did not add measurements or angles on this part, because the easiest and best way I have found to get proper cuts is to lay out each piece and mark cuts with a pencil and cut as you go. That’s exactly how I built both leg assemblies. I attached everything with wood glue, 2 inch finish nails, and also added wood screws where I could hide them to add additional support.
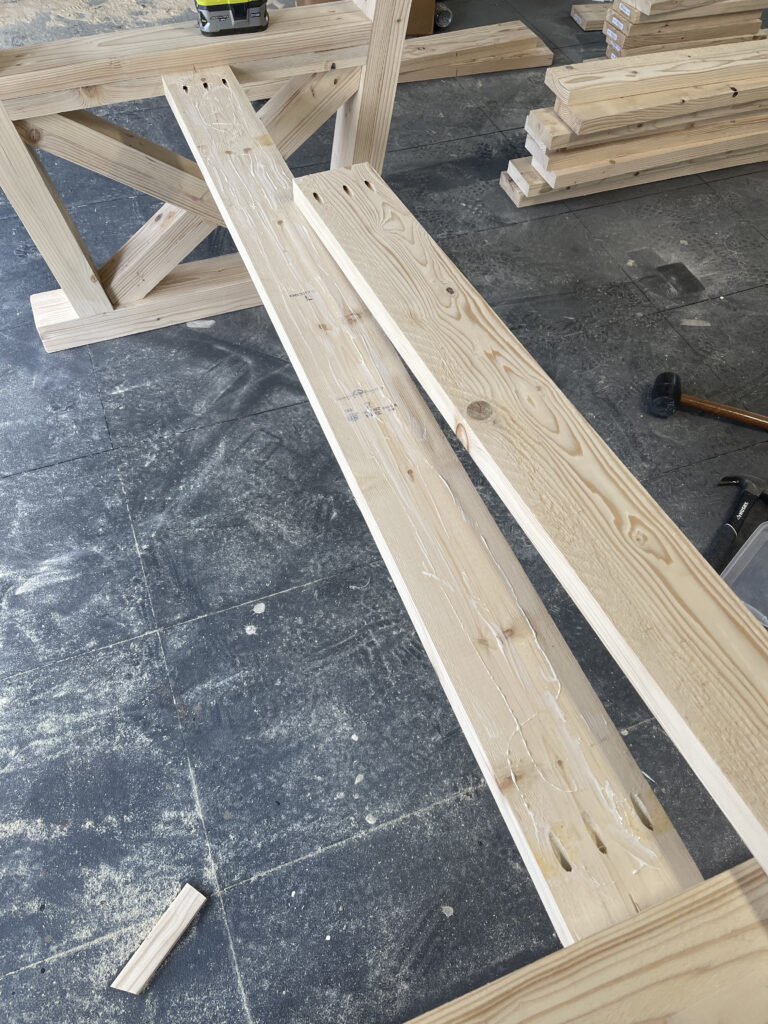
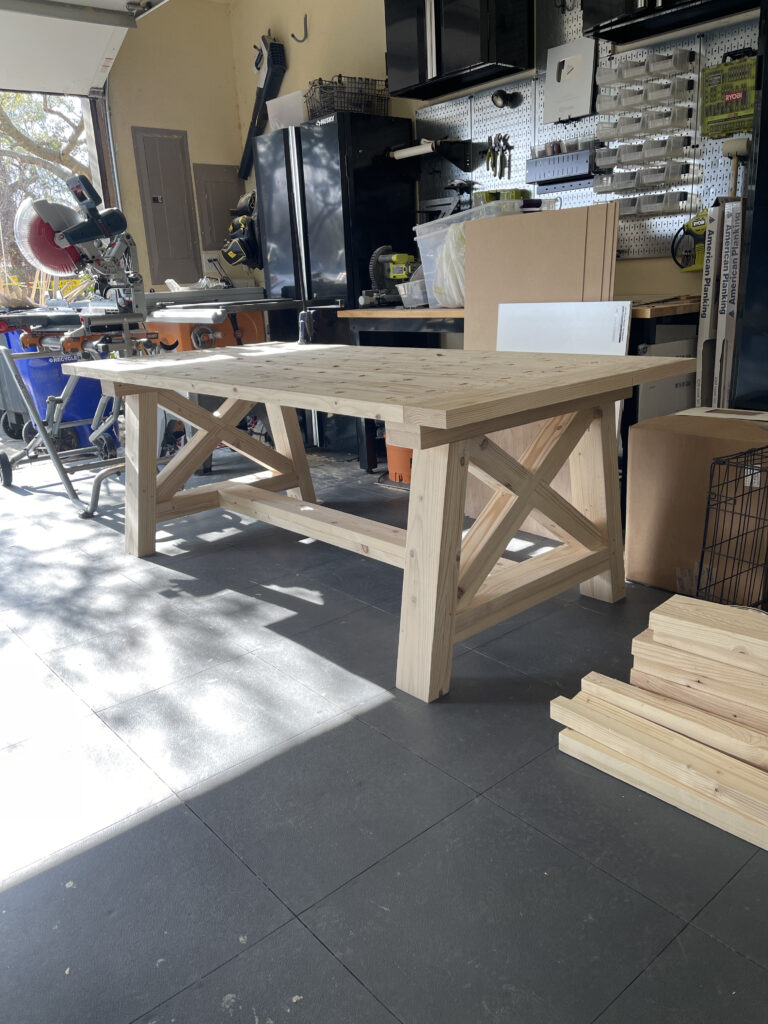
Once both leg assemblies are complete, it’s time to add the runners. The runners are 2 x 6 boards that have been ripped to 5” wide each. Cut three runners all at 59” wide. First, attach the top base runner using 2 1/2” pocket hole screws and wood glue through 1.5” pocket holes on the end of each runner. Make sure your pocket holes face down.
Next, attach the bottom base runner using wood glue and 2 1/2” pocket hole screws through the 1.5” pocket holes on the runner and into each leg assembly. Also add wood glue in between these two runners and secure them using 2 1/2” wood screws through the bottom runner and into the top runner.
Finally, add the last runner which will attach at the top of each leg assembly. Attach it to the leg assemblies using 2.5” pocket hole screws and wood glue through the 1.5” pocket holes on the end of the runner.
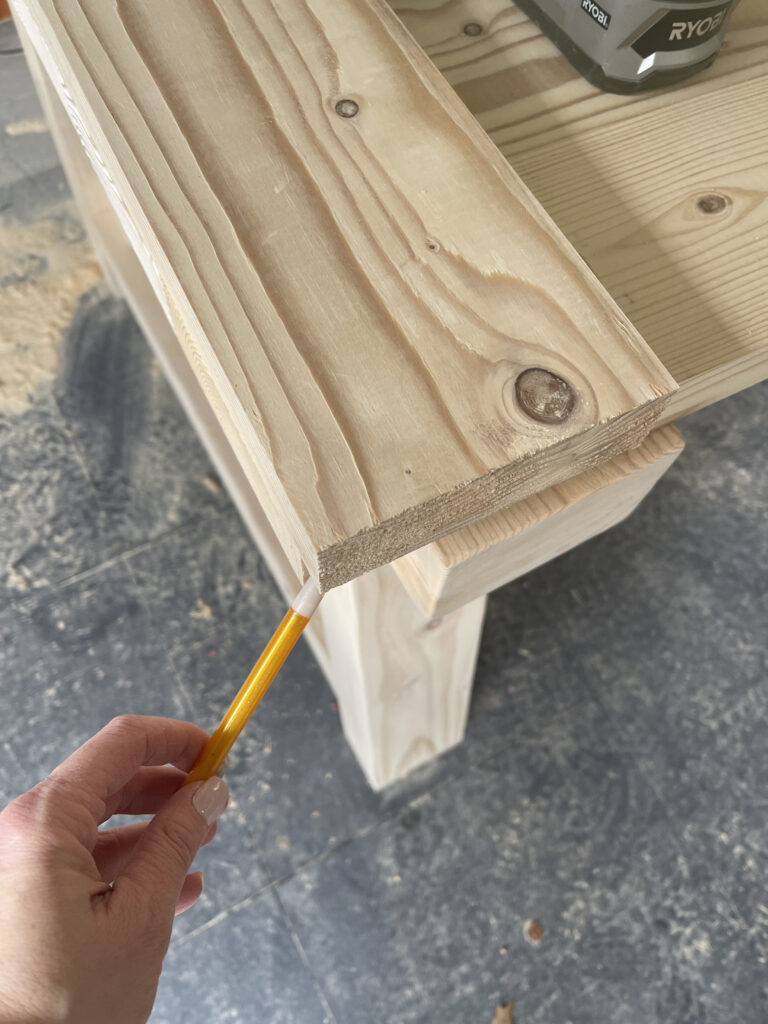
The final step is attaching the table top to the table base. There will be a 2 1/2” overhang on the longer sides of the table and there will be a 7 1/2” overhang on each end. I like to add my finish and move it into the house before adding the table top to make it easier to move. Attach the table top through the top of the leg assemblies using 4” wood screws and also through the middle runner using 2” wood screws.
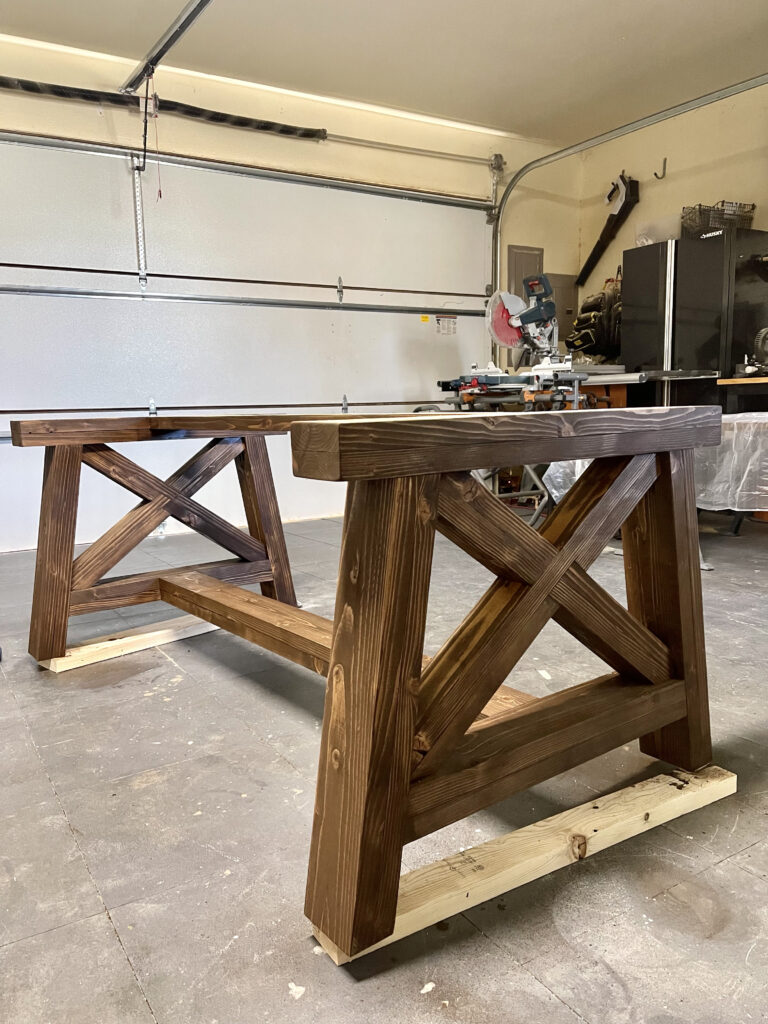
I stained the entire table with Varathane Dark Walnut wood stain. I love how it turned out!
Grab the FREE PLANS FOR THIS TABLE HERE!!
Do not use glue on this part if you plan to take the table apart and move it in the future. Be sure to share your builds with us on social media and #shanty2chic so we can share!


Thanks for sharing the clear pictures with your DIY guide. It can be a quite fun to set up dinning table. We can add different styles according to preference.
Thanks for sharing the clear pictures with your DIY guide. It can be a quite fun to set up dinning table. We can add different styles with it.
Has anybody built this and used a different method to attach the breadboards, to allow expansion and contraction of the table top as moisture content changes? Or is that not a concern?
I plan on doing wood magazine tongue and groove for breadboard.
Search “Five Ways To Slice Breadboard Ends”
What are the final dimensions of this table. Love the look
Hi I teach carpentry to high school students and and just saw your table on Facebook. I think it might be something I can get them to build.
Expressing gratitude seems inadequate for the brilliance you’ve written. Nevertheless, thank you!
Expressing gratitude feels insufficient for the brilliance you’ve penned. Still, thank you!
Thank you for the nice little collection of favorites! Is the X in the middle of the end legs necessary for construction?
I made this without the X in the leg assemblies. They are not necessary.
I wish I could make my own simple wooden table like this.
Would you be able to build this without the X in the middle of the end legs?