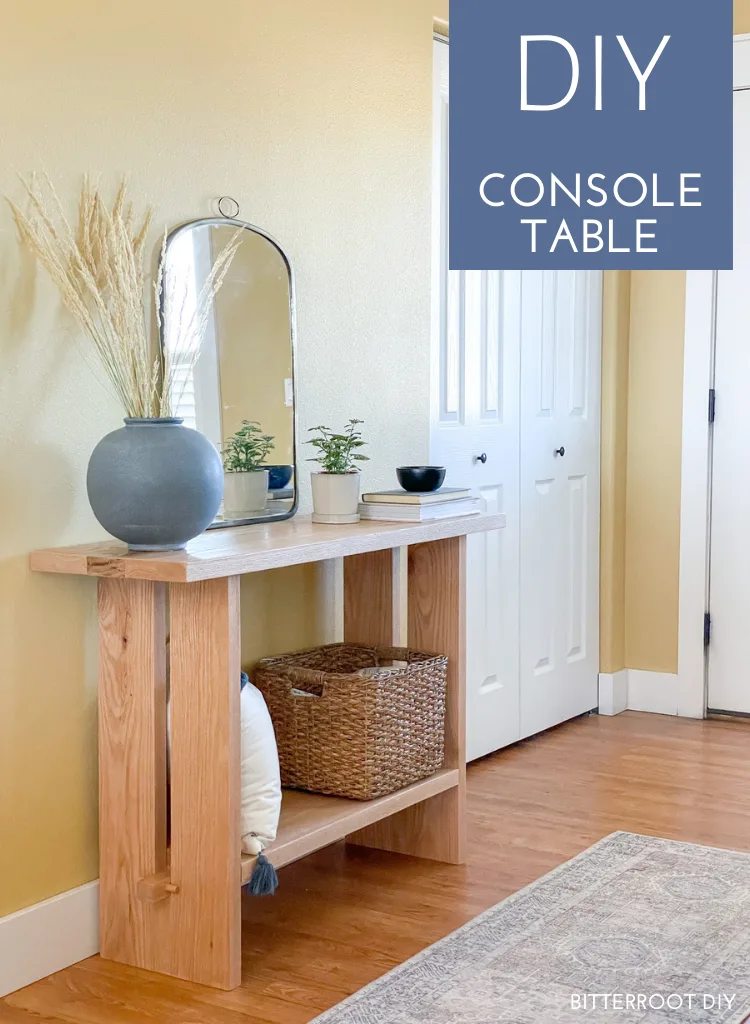
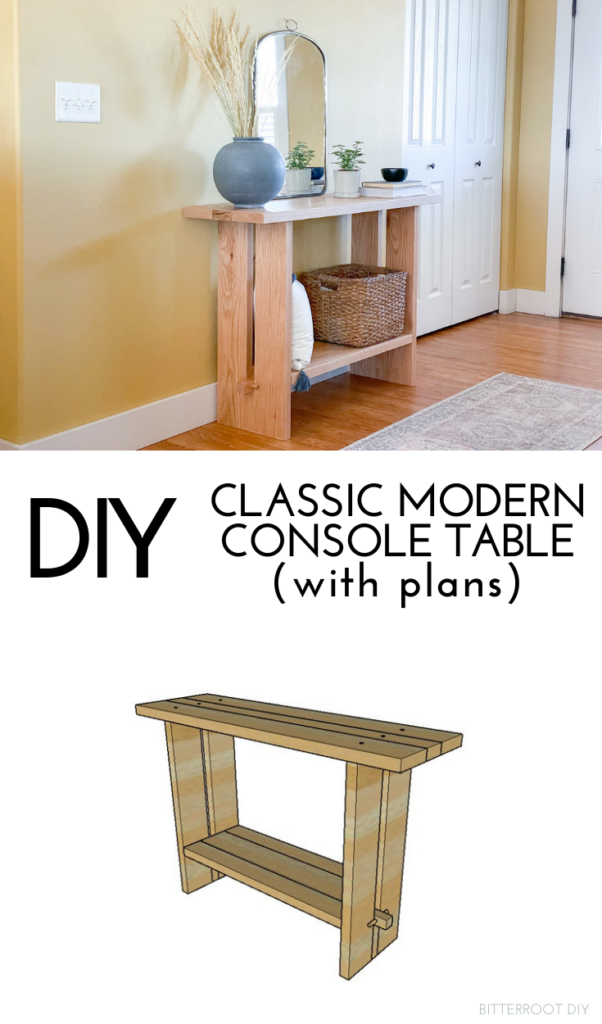
Plans to build a classic modern DIY console table.

This post may contain affiliate links. If you make a purchase from one of the links, I may make a small commission at NO EXTRA COST to you. This helps keep the tutorials and plans free here at Bitterroot DIY. Thank you for your support! See my full disclosure here.
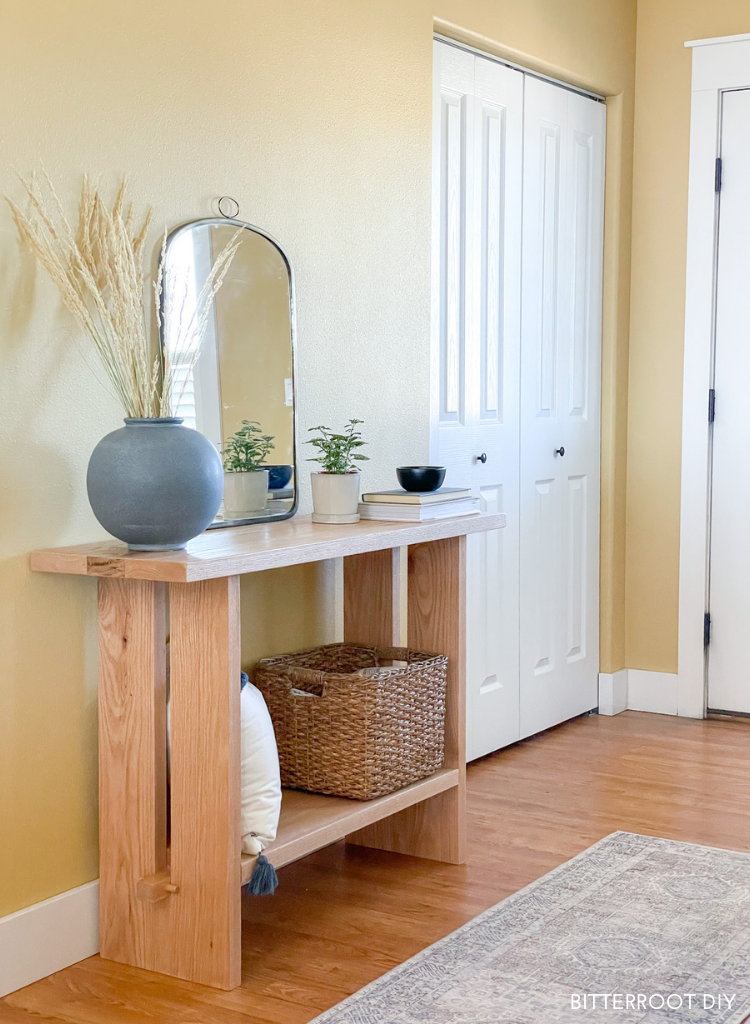
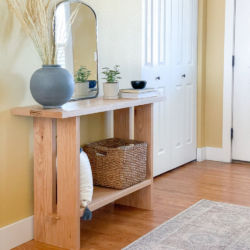
I’ve been waiting and waiting and waiting and hoping to SOMEDAY have an entryway big enough for a console table and guess what – TODAY IS THAT DAY.
*cue angels singing*
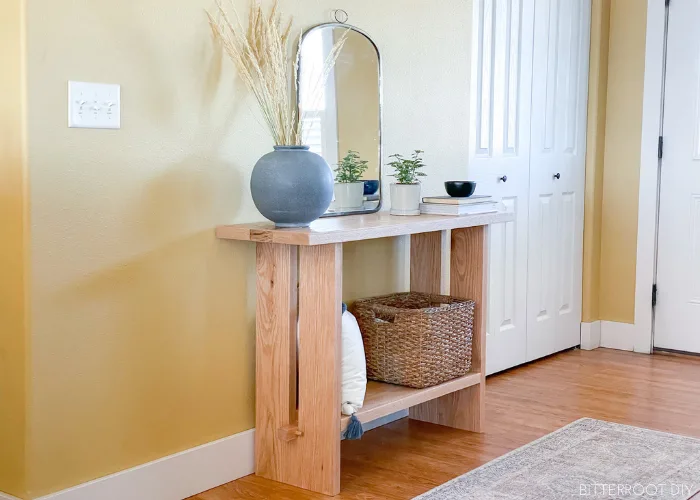
It might sound silly. But, for real, one of my favorite parts of the new house is this little entryway. It’s right in the living room (similar to our last house) but is wide enough for a table and walk way before you run into the back of the couch (un-similar 😉 to our last house).
I was browsing for the perfect piece and found these two from Studio McGee and Sixpenny:


They’re beautiful pieces but a bit on the spendy side. So I combined both looks and built my own!

I used red oak for this one. However, the dimensions are consistent with off-the-shelf lumber so you can build with whatever you’re comfortable with (hardwoods or off the shelf pine from Home Depot or Lowes).
Enjoy the plans!
- Kreg Pocket Hole Jig (there are lots of models, depending on your budget)
- Table Saw (optional)
- Miter Saw
- Orbital Sander
- Drill
- Tape Measure
- Drill Block
- 1/2″ Drill Bit
- 1/2″ Forstner Bit
- Wood Glue
- 2 1/2″ Self Tapping Screws
- Pipe Clamps (optional)
- Level
- Speed Square
- Pencil
- Safety Glasses
- Ear Protection
The lumber and cut lists for this classic modern DIY console table are available for purchase. Your purchase also includes a downloadable PDF of the plans. If you prefer, the plans are available for free in the post below – you simply have to calculate the lumber and cut lists yourself.

Step 1.
Start by assembling the sides of the console table. Apply a fair amount of wood glue to the sides of the 2×2, position it flush with the bottom of the 2x6s, and clamp tightly in place until the glue dries (typically 24 hours, but it depends on the type of wood glue).

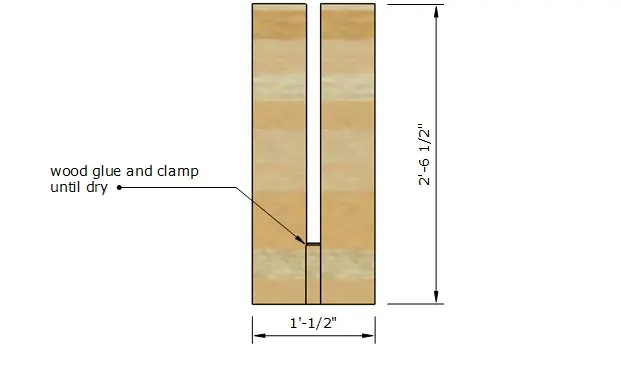
**NOTE: Use a scrap 2×2 at the top of the 2x6s to maintain proper spacing during the glue up. Just make sure NOT to apply any glue so you can pop the 2×2 spacer out of place once the bottom joint is dry.
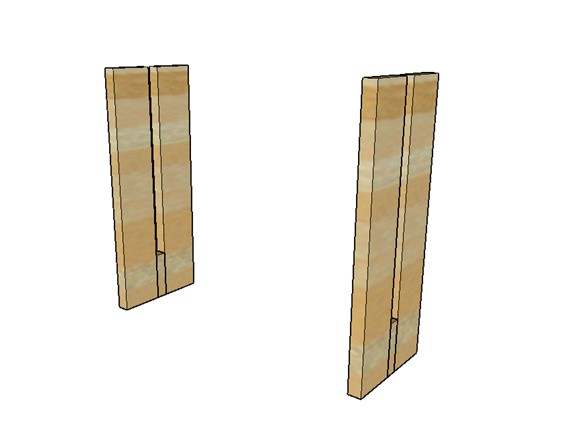
Repeat for the second side.

Step 2.
Build the bottom shelf. Apply wood glue to the long edge of each board, align the boards, and clamp until the glue dries.


If you prefer, or if you don’t have enough clamps to hold the boards until the glue dries, you can use pocket holes to join the boards together. To use pocket holes: stagger the pocket holes along the bottom of the boards and use wood glue and 2 1/2″ screws to join them together.
**see: how to build a tabletop
Step 3.
Repeat the same process to build the tabletop.


Again, you can use just wood glue or pocket holes and wood glue if you prefer.
Step 4.
Cut the bottom 2×2 to size. Drill 1/2″ dowel holes in both ends. Use a drill block (or drill press if available) to ensure straight drilling.
Dimensions shown are to the center of dowel hole.


Step 5.
Position the bottom 2×2 in place with both sides. The dowel holes should sit just outside the edge on each side.
Apply wood glue where the 2×2 intersects the sides.


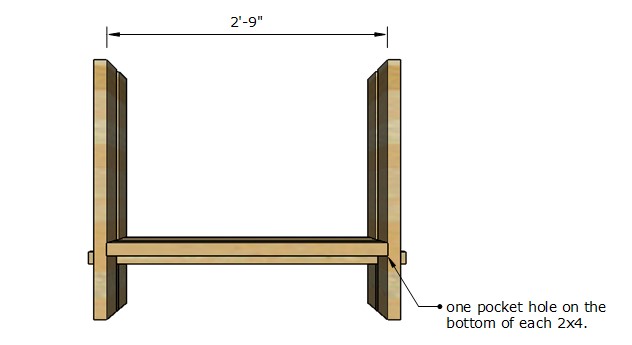
Step 6.
Put the bottom shelf in place on top of the 2×2.
Attach the bottom shelf to the sides with wood glue and 2 1/2″ pocket screws. Use one pocket hole on the bottom of each 2×4 for a total four pocket screws (two on each side).

Step 7.
Apply wood glue to the inside of the dowel holes and drive the dowels into place.


I held a scrap board on top of the dowel and hit it with a hammer to drive the dowels so I didn’t wreck the dowels or hit the sides of the table.
Step 8.
Center the tabletop over the base.
Pre-drill for screws on both ends of the 2x6s. Follow up with a 1/2″ forstner bit to drill a 1/2″ deep countersink hole.
If you want, you can also drill a 1/2″ countersink hole on both ends of the 2x4s (the middle board) and plug them with dowels. Just make sure NOT to drive any screws into the 2x4s since that’s where there’s a gap in the legs …
And yes, I may have driven a screw through my tabletop into nothing below it …
You can’t see it since it’s on the bottom, but, ya know, do as I say not as I do haha!
It ended up being a happy accident and I really like how the tabletope looks with plugs in each board. But it’s optional!


Drive 2 1/2″ screws through the tabletop into the base.
Once the tabletop is attached, plug the holes with a 1/2″ dowel. Put a dab of wood glue in the hole, insert the dowel, and use a flush cut saw to cut it off flush with the tabletop. Repeat for each hole.


Last but not least, sand and finish as desired.
I simply sealed the red oak with satin polycrylic to leave the natural red oak color.
I’d love to see your take on this modern DIY console table, so tag me over on Instagram @bitterrootdiy or shoot me an email at bitterroot.diy {at} gmail.com if you build it!
As always, please let me know if you have any questions and I’ll get back to you as soon as possible.
– Tylynn S
Don’t forget to pin for later!