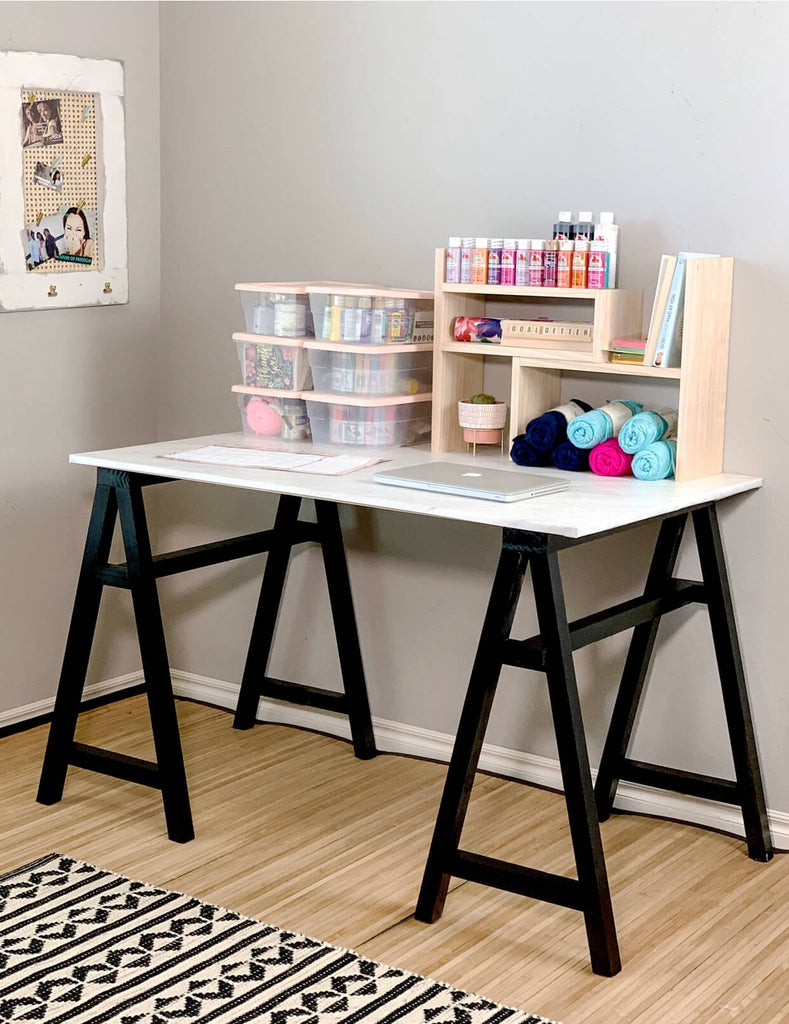
Sawhorse Craft Desk
"A Sawhorse Craft Desk to get your supplies in order."
Who doesn't like to get crafty? I'm excited to be sharing this fun crafty desk today and even better, I am partnering with my friends at Build Something to provide you the free plans for this sawhorse desk.
"This post is sponsored by Build Something."
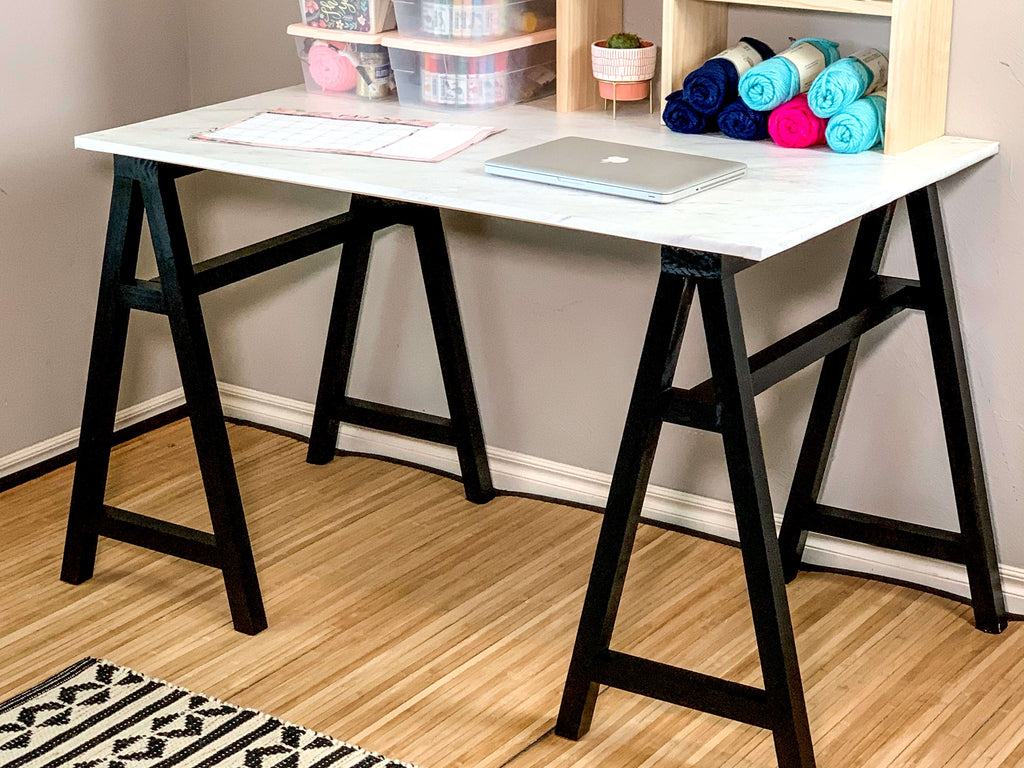
Being that this is a craft desk, I knew I had to do something fun with the legs, so I figured why not create a fun sawhorse design to make it interesting. I absolutely love how they came out!
"There are some affiliate links in this post, meaning I get a small commission if you purchase through these links, at no cost to you. Click Here to read my full disclosure."
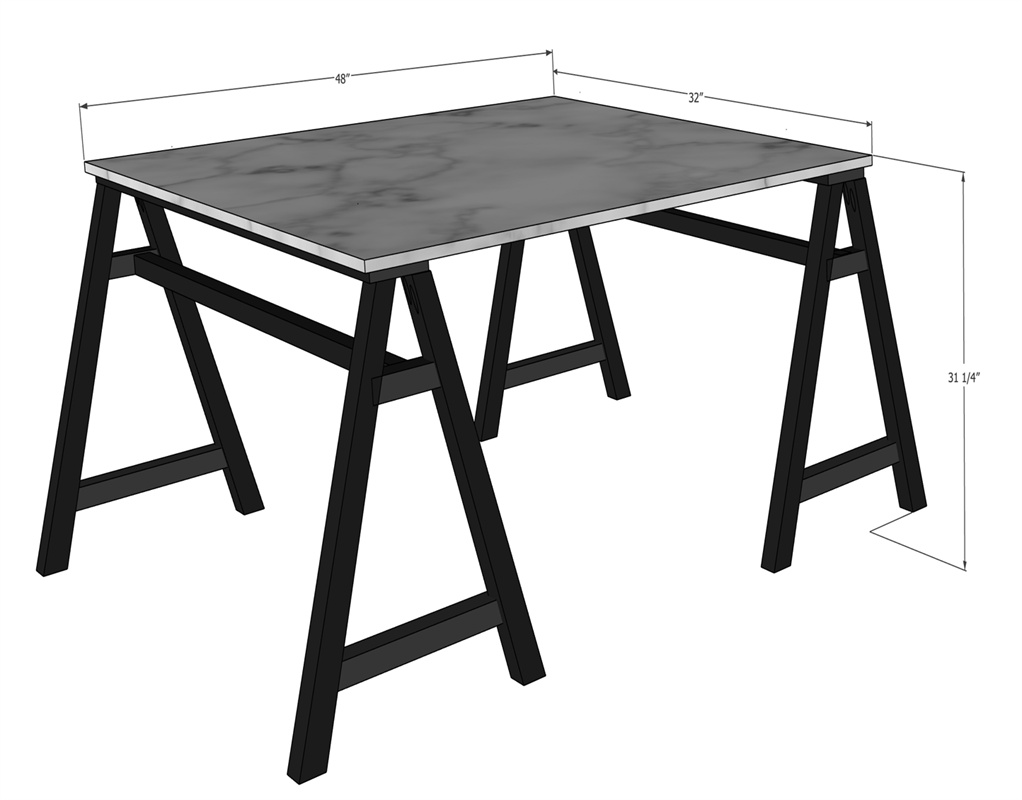
Dimensions
Materiels List
- 1 - 2x4x8
- 6 - 2x2x6
- 3/4" piece of plywood
- 2 1/2 Pocket Hole Screws
- Wood Glue
- 2" Brad Nails
- Black Spray Paint
- Contact Paper
- 3M Adhesive Spray
Tools Used
Step 1: Create Sawhorse Craft Desk Frame
First I started off with the sawhorse desk frame. You may need to plane down your 2x4s to make sure its straight. Once I had my 2x4s ready, I then used my handy dandy Kreg Jig to drill pocket holes into the sawhorse legs.
I made sure to drill the pocket holes on the inside of the legs to make sure the pocket holes were hidden.
I then attached the legs to the sawhorse using my impact drill and pocket hole screws. I made sure to add four legs to each sawhorse.
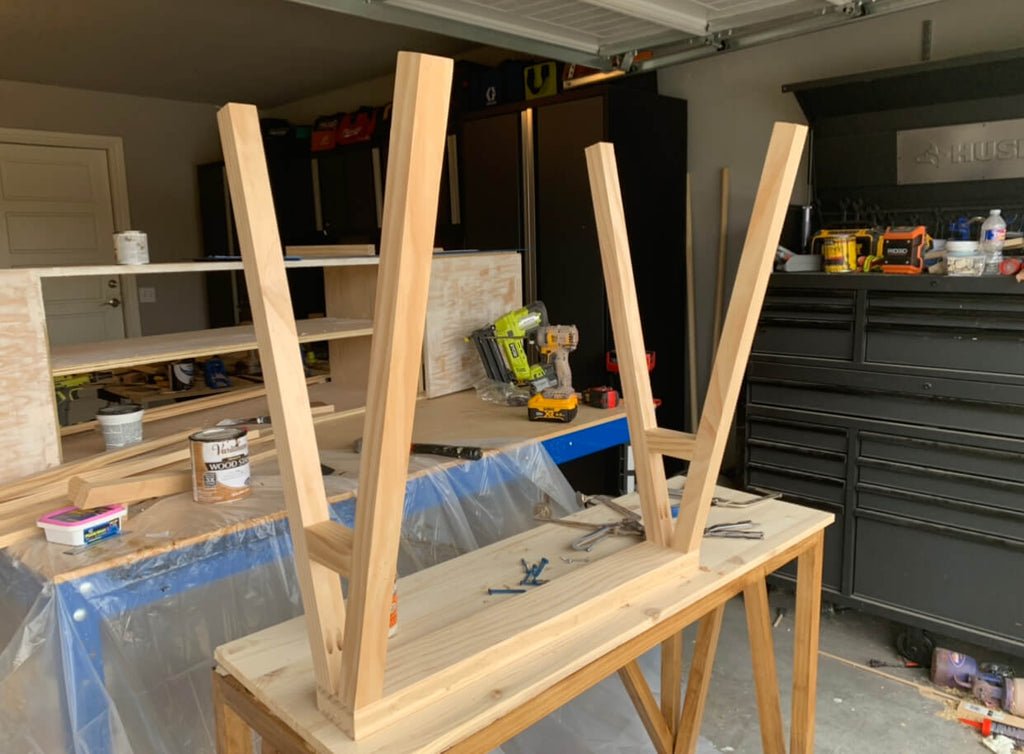
To make sure the legs sit straight on the floor, I had to make sure to angle the top and bottom of the legs. Once the legs were attached. I used my right Kreg Clamps to help add in the side pieces. I always rave about these clamps. If you build by yourself often, these clamps come in handy if you use pocket holes often.

Step 2: Attach Middle Sawhorse Support
Once I got the frame all assembled, I added in the middle support. I attached the middle top support to the outer frame using pocket hole screws and used my right angle clamp here again to hold it into place while I drilled in the pocket hole screws.
I made sure to use a lot of wood glue on the places where I joined the wood together to make sure the desk had extra strength. You can never have enough wood glue!
The sawhorses were super simple to make, I knocked this out in about 30 minutes. If you are a beginner woodworker, this would be a great project for you to try.
Step 4: Cut out Sawhorse Desk Top
Once I had the sawhorses complete, I used my Kreg Adaptive Cutting System to cut the desktop down. I absolutely love this system; if you don't have a table saw this is a great alternative to have to cut down sheet goods.
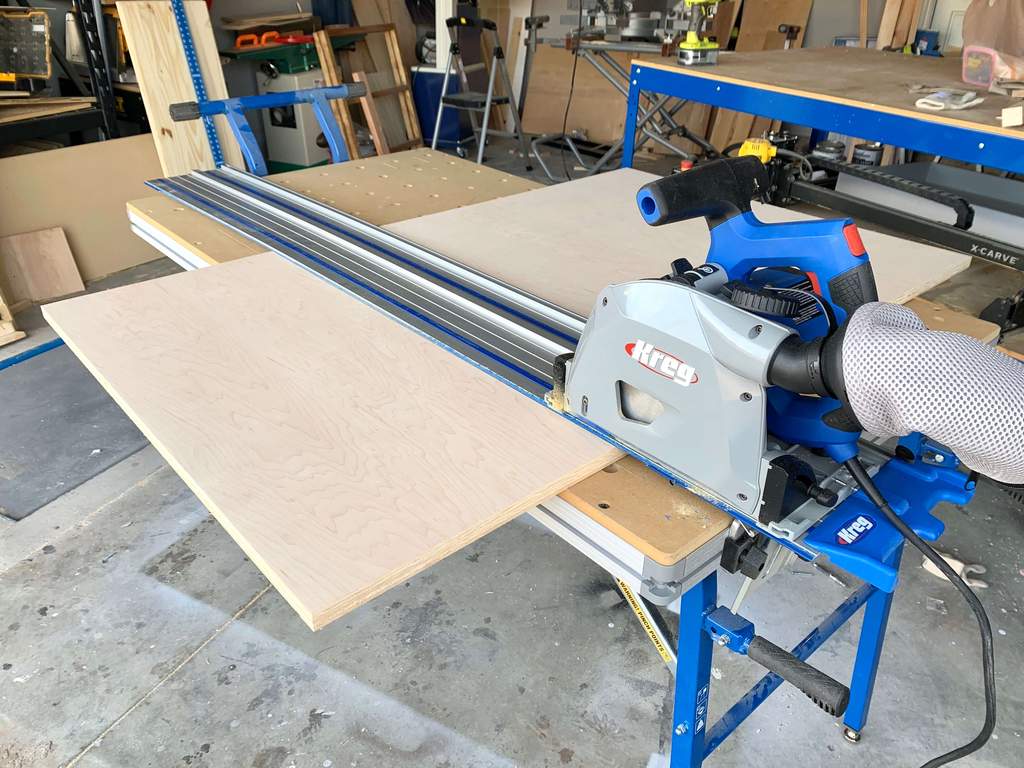
I cut down a 3/4" piece of plywood for the desktop easily with this system. If you are debating whether to get this tool, let me save you some time, you should definitely invest.
Step 5: Prep and Paint Sawhorse Desk
I opted to go with all black for the legs because I wanted a more modern feel and Im so glad I did. For this particular project, I wanted to try out this COLORSHOT Spray Paint so I decided to coat the legs with it.
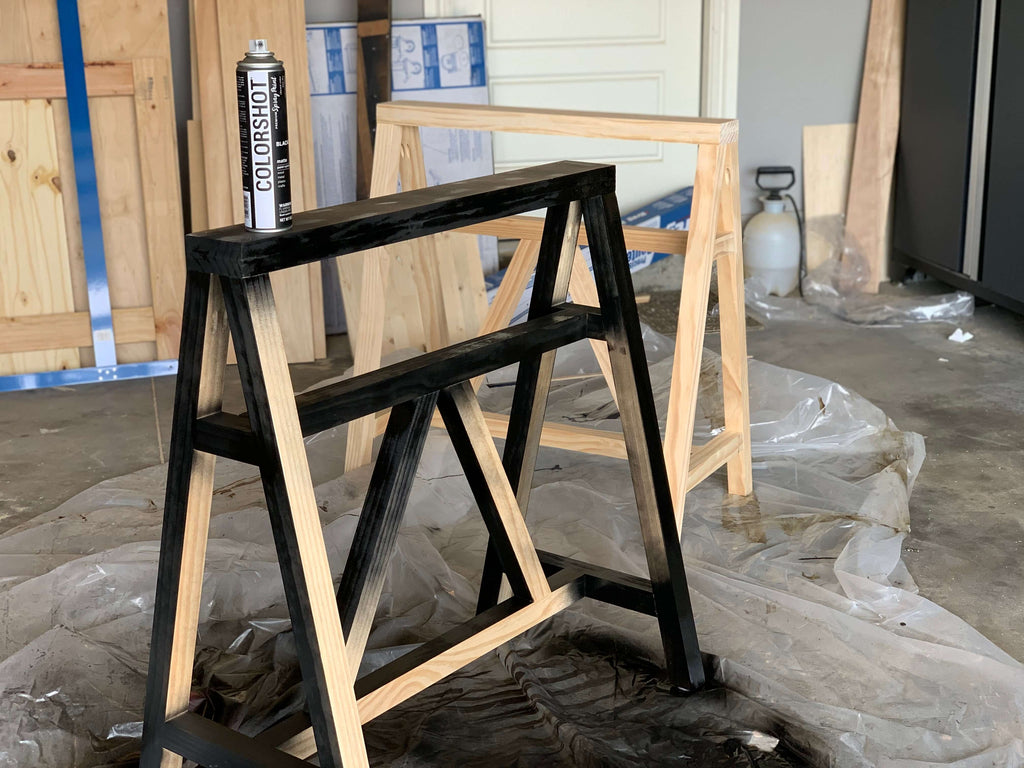
It did give it a good coat, but it took quite a bit of spray paint for the legs to look completely black. Next time, I think I may try painting it with a white primer first, but it still would likely equal the same amount of paint.
Another alternative could be using interior paint and a spray painter, either way there are many options to achieve this look, so are your pick.
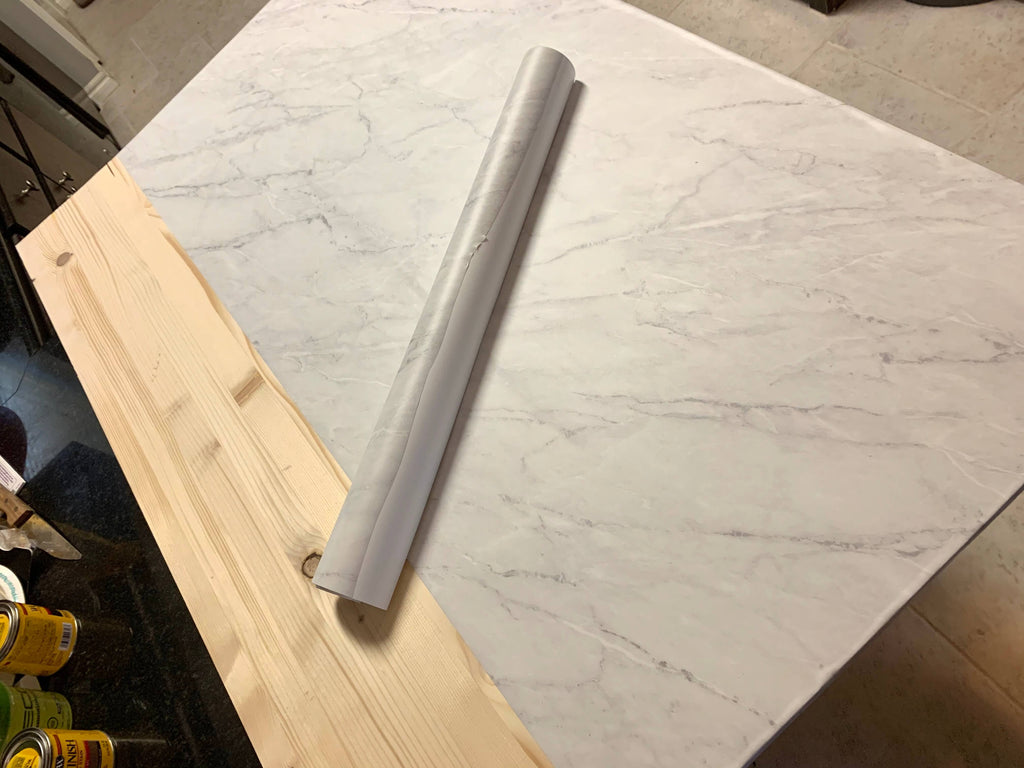
Step 6: Apply Contact Paper
For the desk top, I wanted the look of marble but the easy way, so I decided to add contact Paper to the top. I started adding the contact paper to the desktop. One of these rolls covered the desk but I had to cut the last row in half for it to fit.
If you want the second row to be completely seamless, you will likely need to get two of these contact paper rolls. I also decided to add a little 3M Adhesive to the sides for more stick. The adhesive is great on the top of the desk, but the adhesive allowed the contact paper to hold on to the sides a lot better than without.
This contact paper was a super easy way to give a modern marble feel. Once the contact paper was set, I screwed a few screws through the legs to attach the desk and WAA-LAAH, here we have it, a modern DIY Sawhorse Desk.
I can't wait to see you guys tackle this project. If you want to get the free plans for this desk head on over to build something for the free plans.
Click Here for Free Plans at Build Something!
Even better news, if you don't quite love this design, I've built a similar sawhorse desk to this one! If you like the alternative below, you can check that one out here.
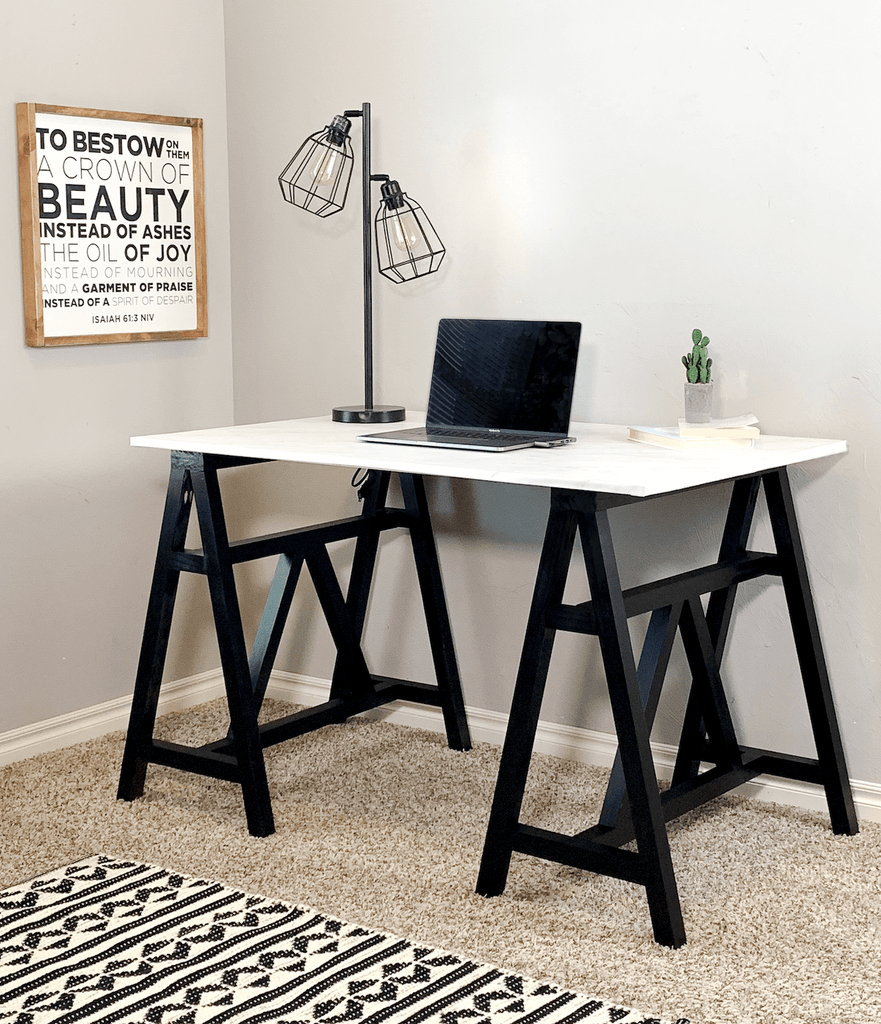
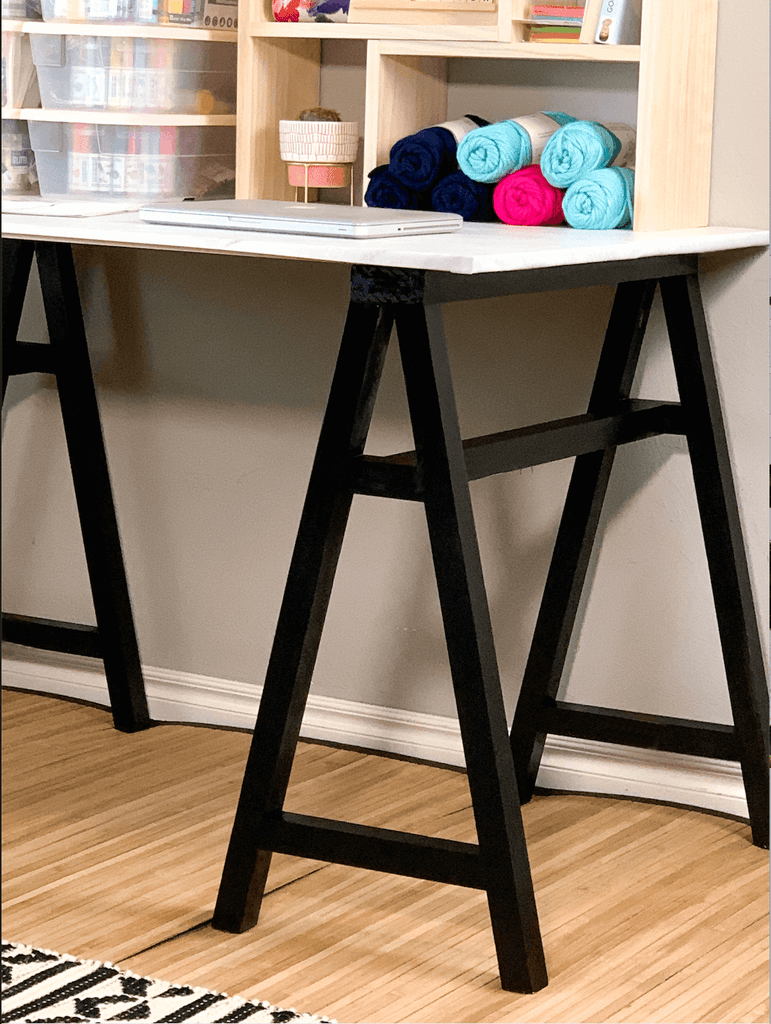
But before you go, let's take one last look at this design!
As always, thanks for reading guys, XOXO Ashley.