
Learn how to make a French cleat to hang anything! You can use a jigsaw, circular saw OR table saw to cut these custom brackets yourself!

Hanging bulky or heavy items on the wall can be a challenge. You want to do it safely, and you want it to look good and not cost a small fortune! A French cleat solves all these problems, and all you need is a few pieces of scrap wood!
This post contains affiliate links for your convenience. Purchases made through these links may earn me a small commission at no additional cost to you. Please visit my disclosures page for more information.
What is a French cleat?
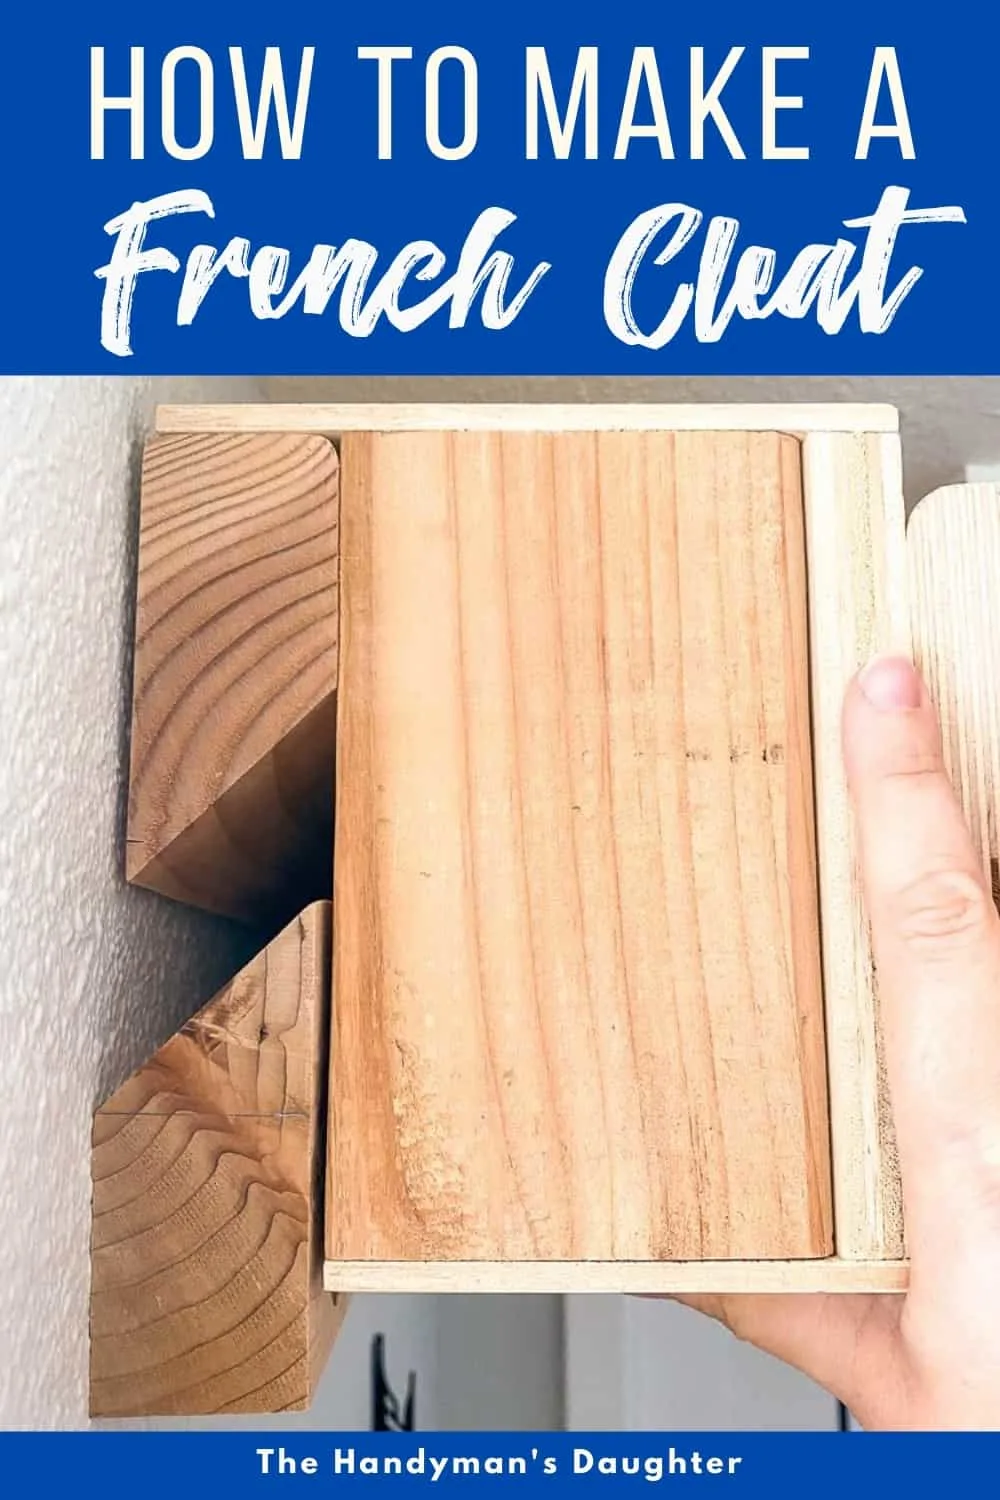
A French cleat is a simple bracket made with interlocking 45 degree angles.
One side is attached to the wall with the angle facing up, and the other side is screwed to the back of the item you want to hang, facing down.

The two sides lock together against the wall and form a secure, strong bracket. The weight is evenly distributed along the entire length of the cleat, which is attached to the studs, so it can support heavy items easily.

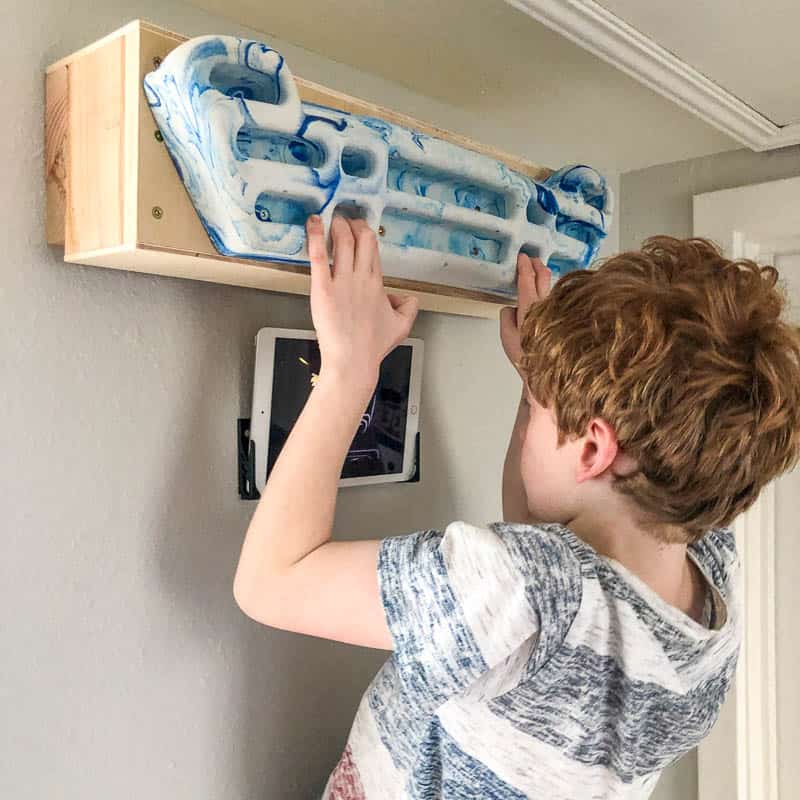
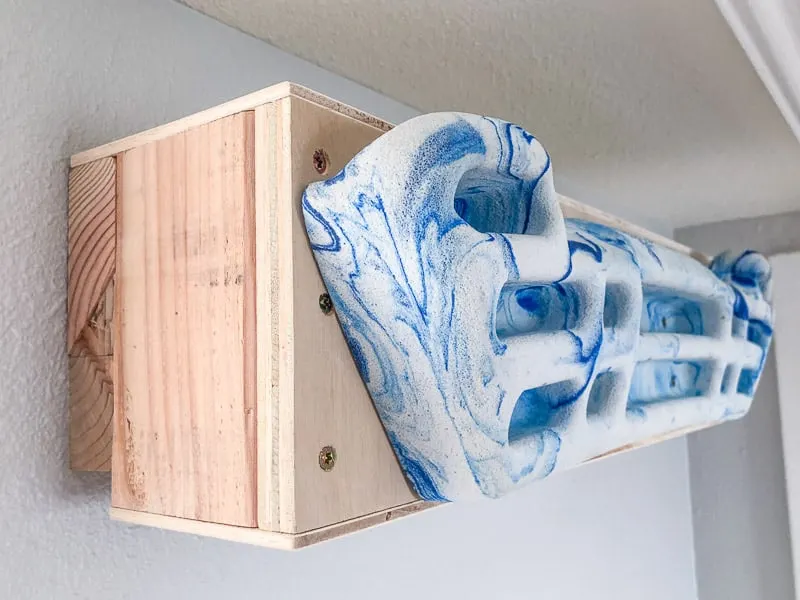
For example, I used 2x4s to install a hangboard mount for my son. It holds his weight easily, even as he does pull ups! He has two different hangboard styles, and the French cleat allows him to switch them out in seconds.

Ready to start hanging? I'll show you two different methods for making a French cleat, depending on which tools you already have in the garage.
How to Cut a French cleat
Mark the cut
I'm starting with 5" wide strips of ¾" plywood. This gives me plenty of room to drill two countersink holes per stud later on. I like to mark the angle in the middle of the end of the board with a speed square , then transfer the mark to the top.
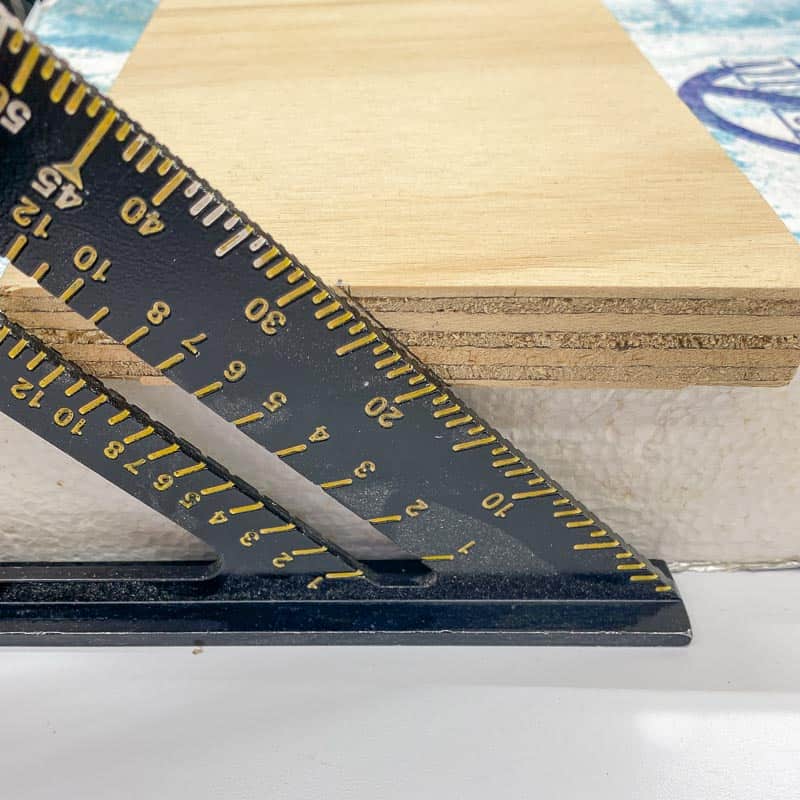
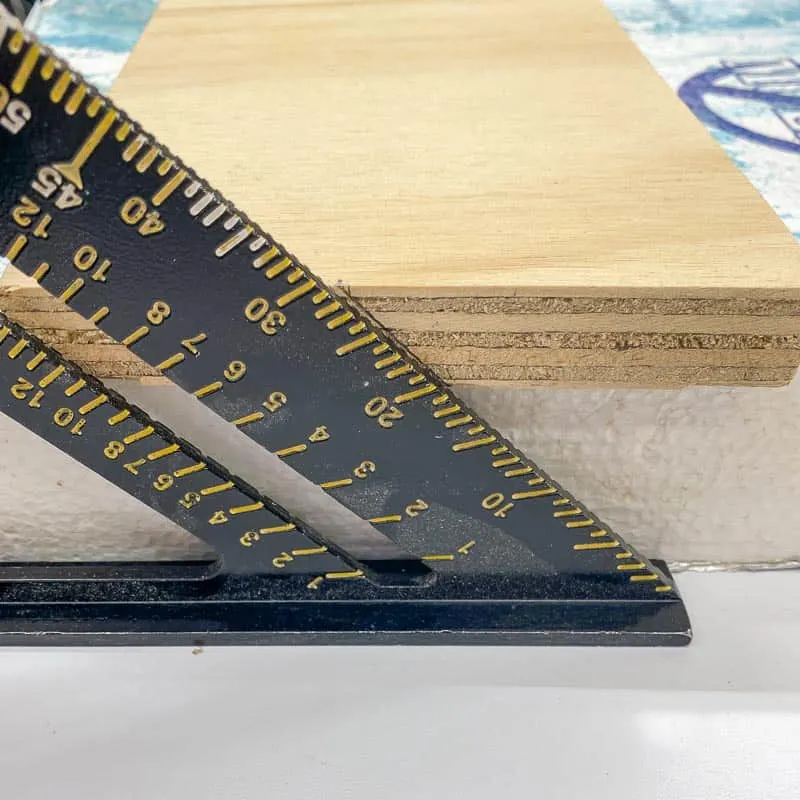
Measure the distance from the edge of the board to the mark. If you're using a table saw, set the fence to that distance. For a circular saw or jig saw, draw a line down the length of the board.
Use an edge guide for circular saw or jig saw
To get the most accurate cuts, I recommend making a circular saw jig, using a circular saw guide, or just clamp an extra board down to guide the saw in a straight line. These methods can work for a jig saw as well. A crooked cut will make your cleat hang crooked!
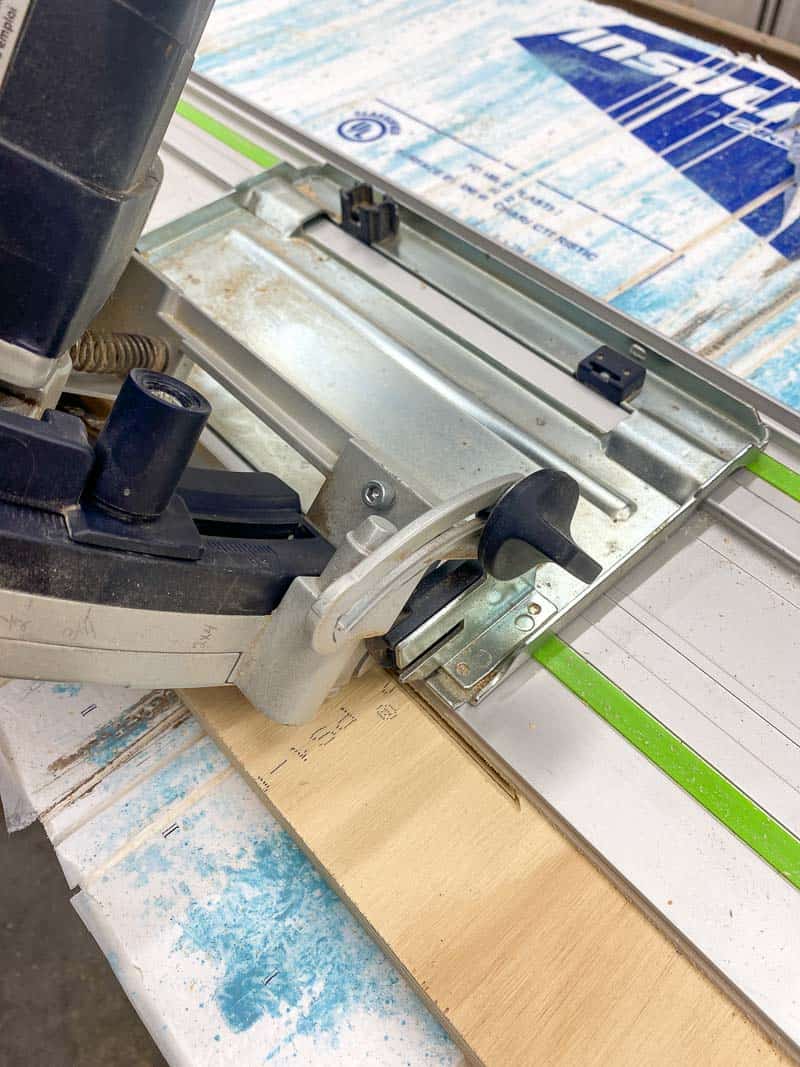
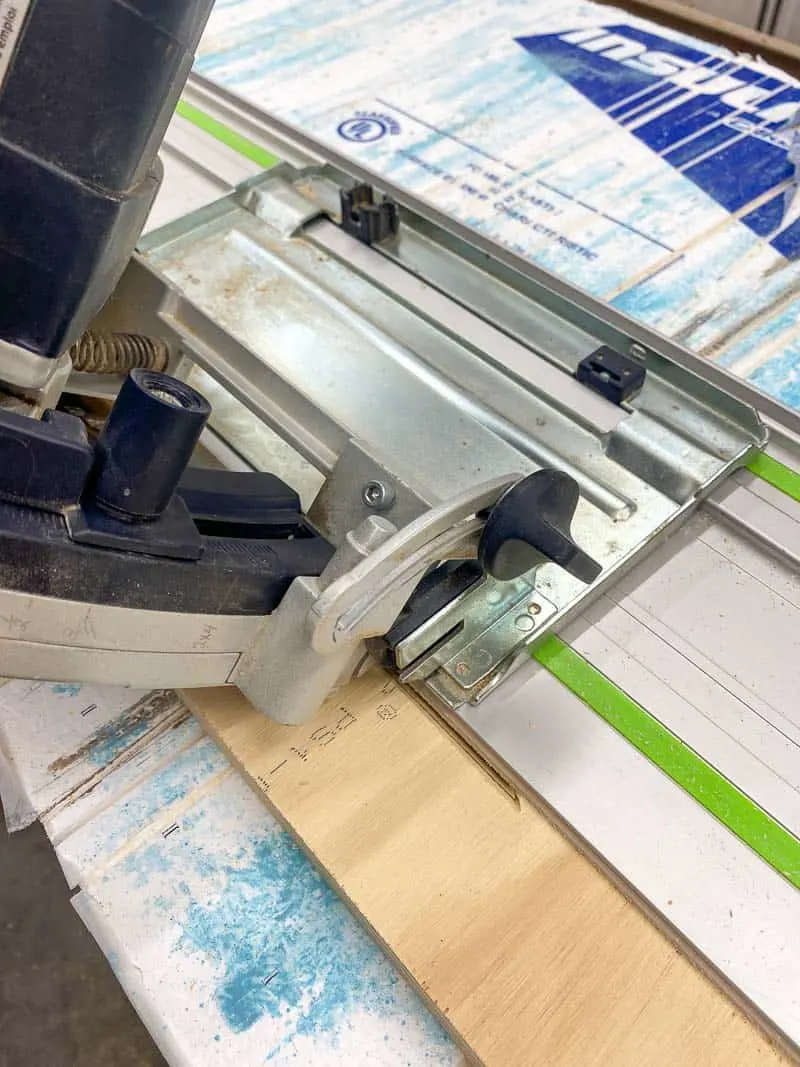
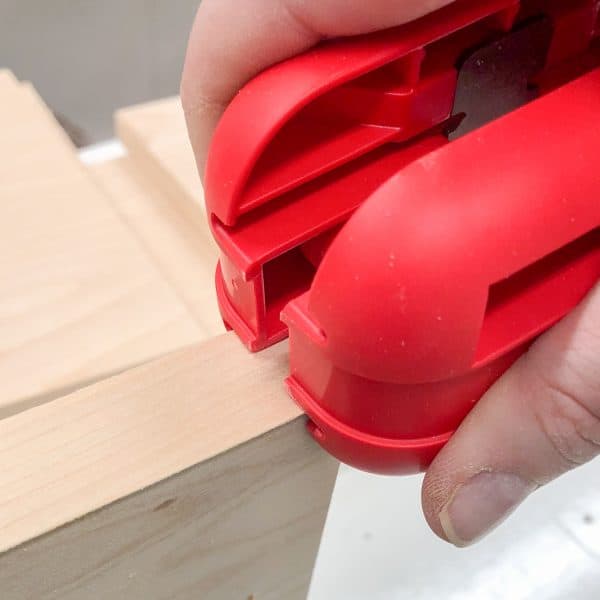
I'm using a track saw here, but the process is the same for a circular saw or a jig saw. Line up the guide with the marks, then clamp it down so it doesn't shift during the cut.

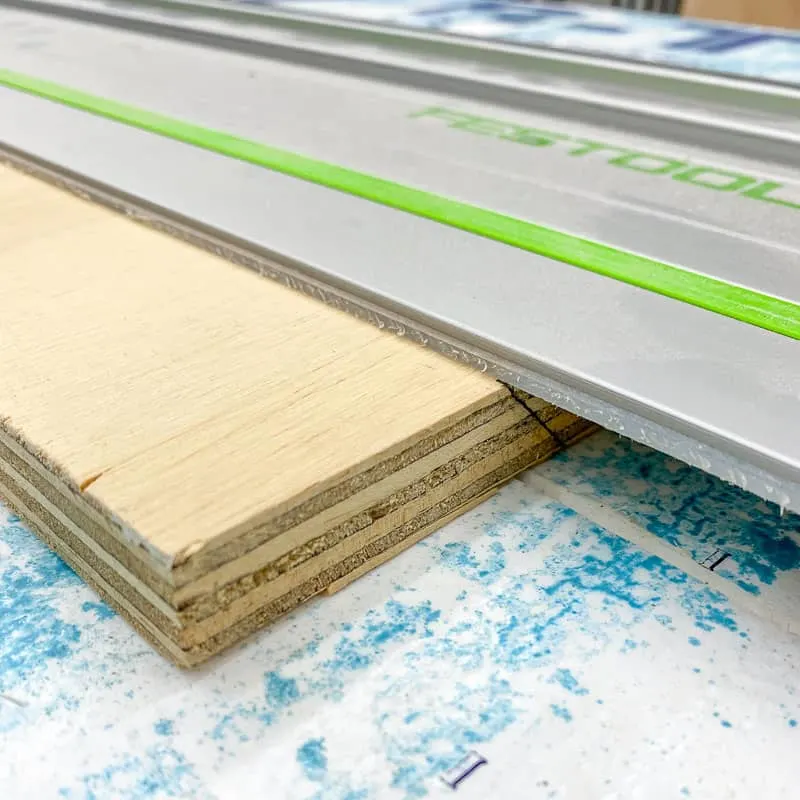
I like to make these cuts on top of a sheet of foam insulation that I keep around just for this purpose. It keeps the entire board supported, and I can cut into it without damaging my workbench underneath!
Set the blade angle
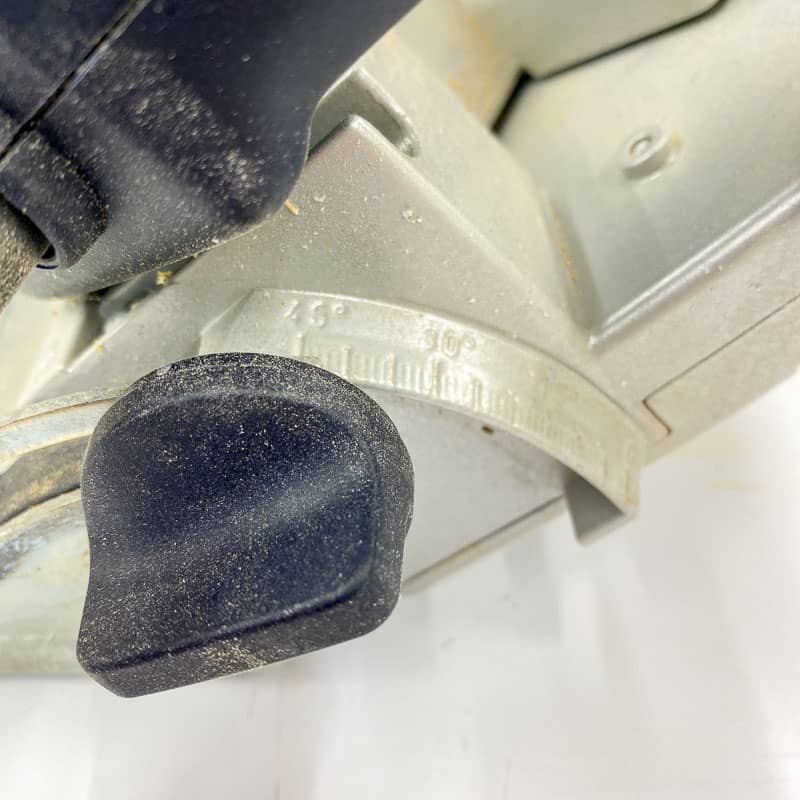
Somewhere on your saw, there should be a knob that allows you to tilt the blade. Loosen the knob, then set the angle for 45 degrees.

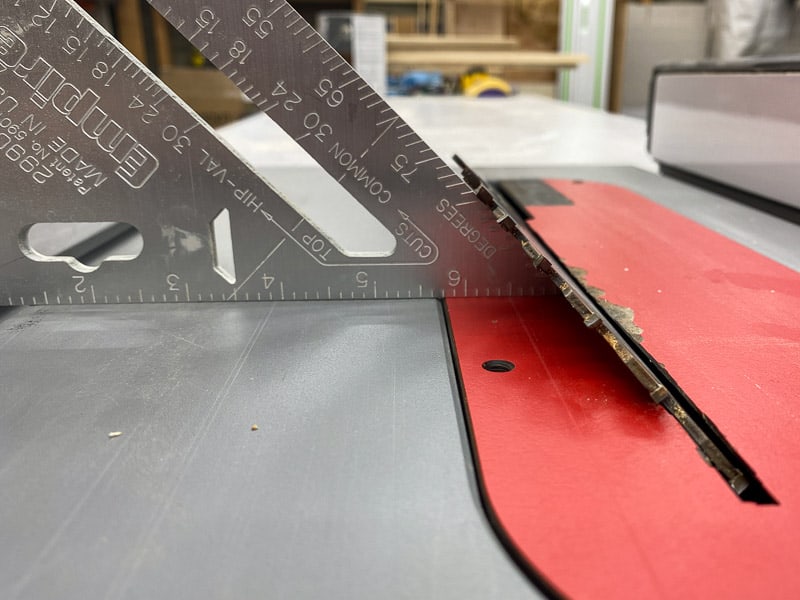
It's easy to check the angle on the table saw blade with a speed square or combination square.

You can learn more about how to set up your jigsaw for a bevel cut in this tutorial!
Double check that your blade lines up with the angled mark on the end of the board. If the angle is facing the wrong direction, flip the board around and set up the guide again.
Make the Cut
After all that preparation, it's finally time to make the cut! Take your time and keep it straight. You can always sand off the burn marks if you go too slow, but it's much harder to fix a crooked cut! I stopped the saw and backed it up a few inches so you could see how the cut is being made.
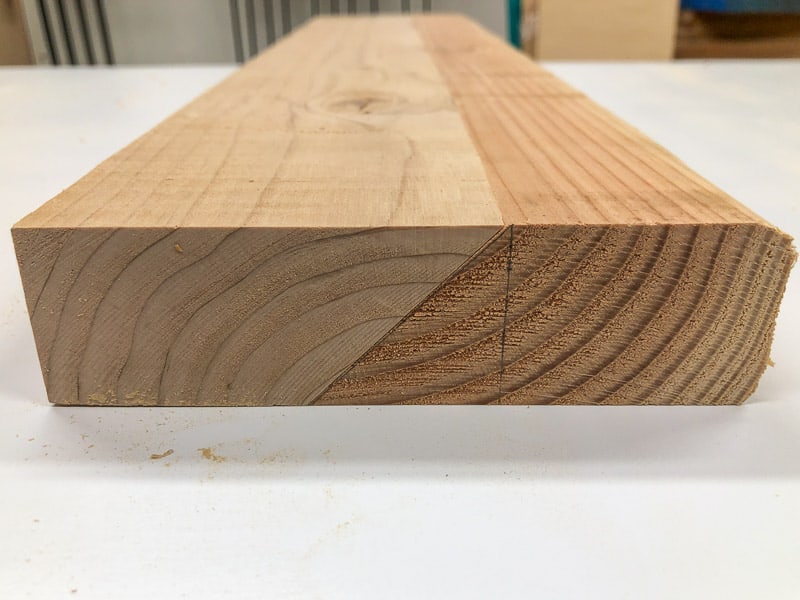
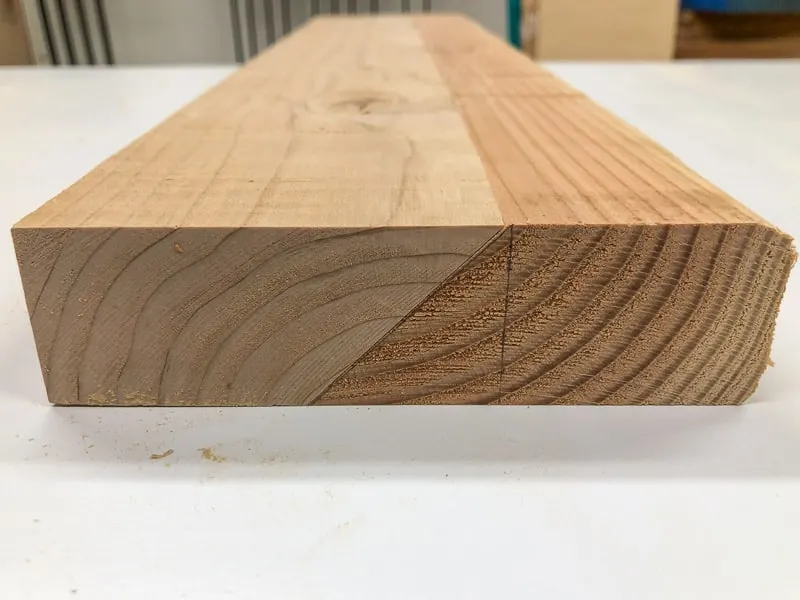
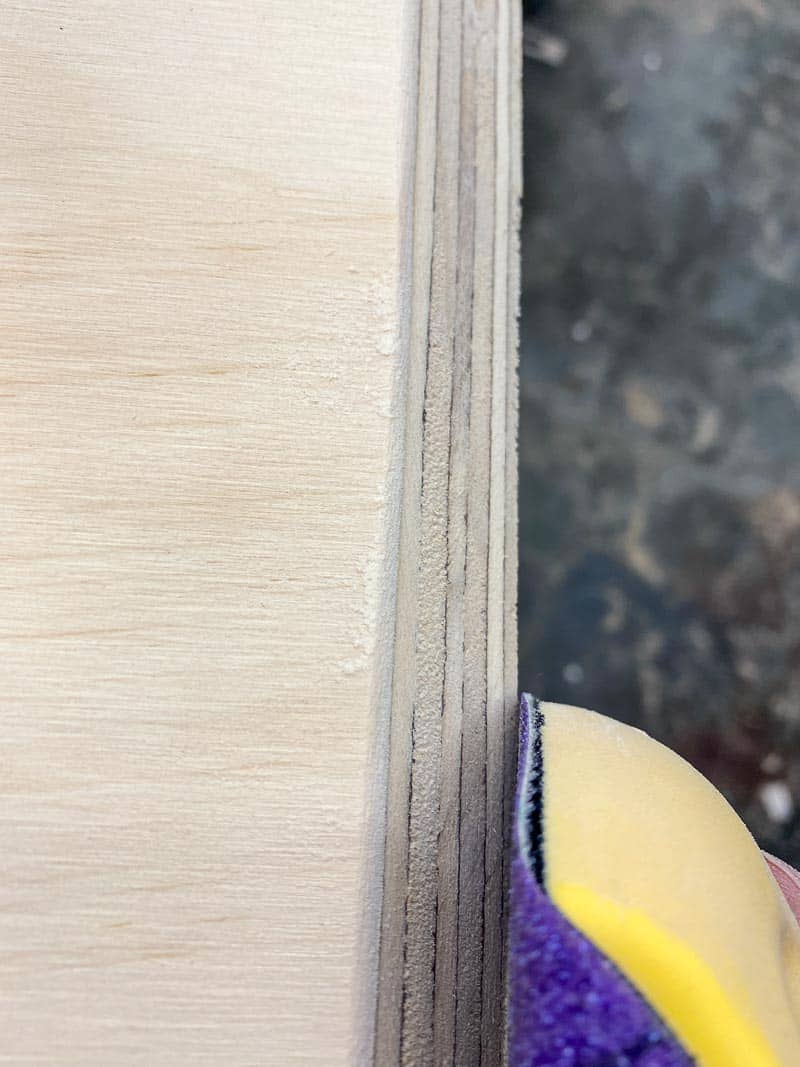
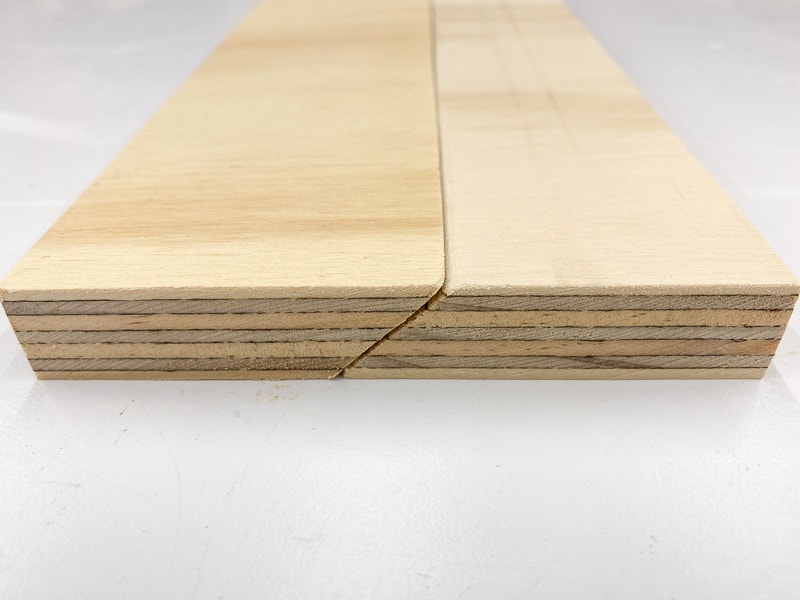
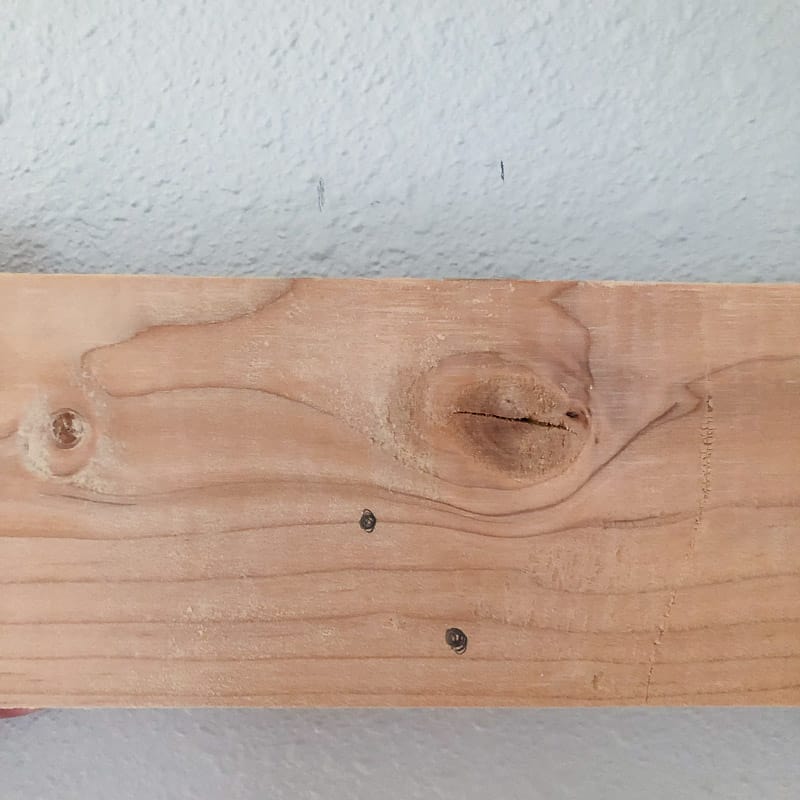
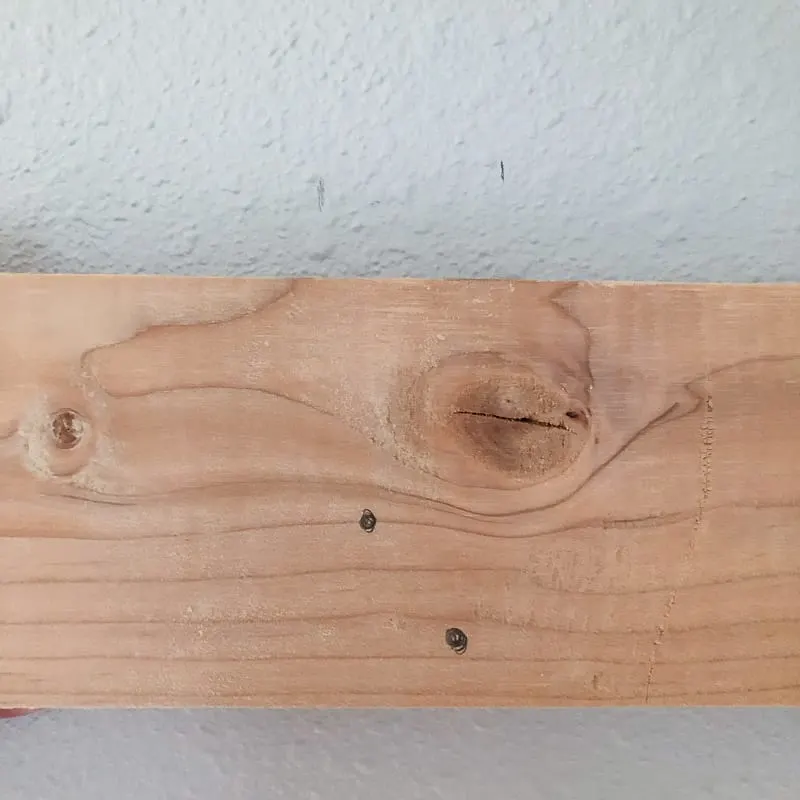
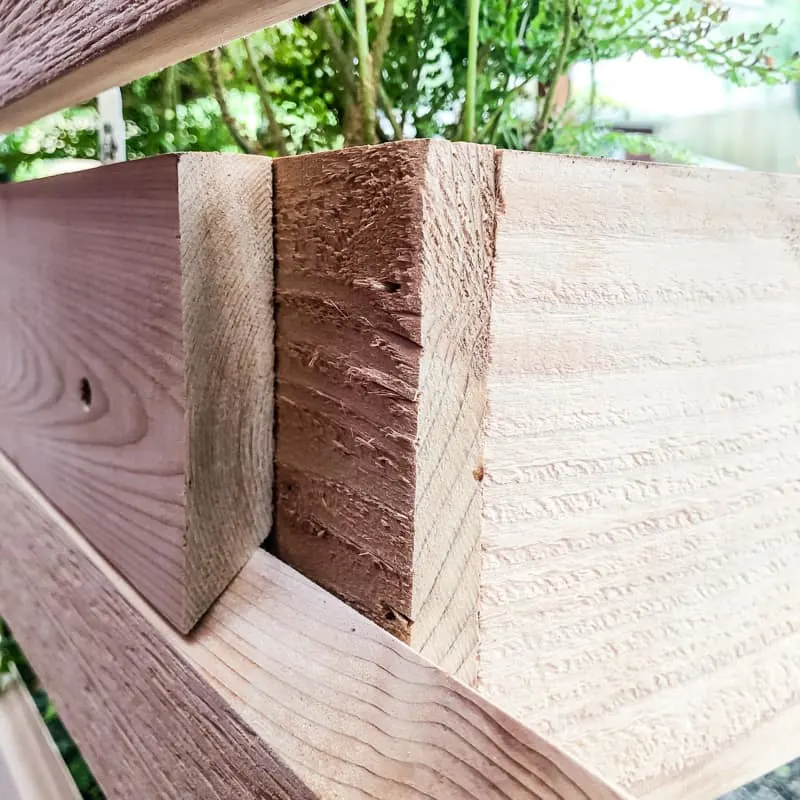
Sand the point
Once the cut is complete, you'll be left with two angled halves that fit together perfectly. But that thin corner is prone to cracks or splinters, which can weaken the cleat. Use a sanding block to round over the point slightly and clean up any ragged edges.

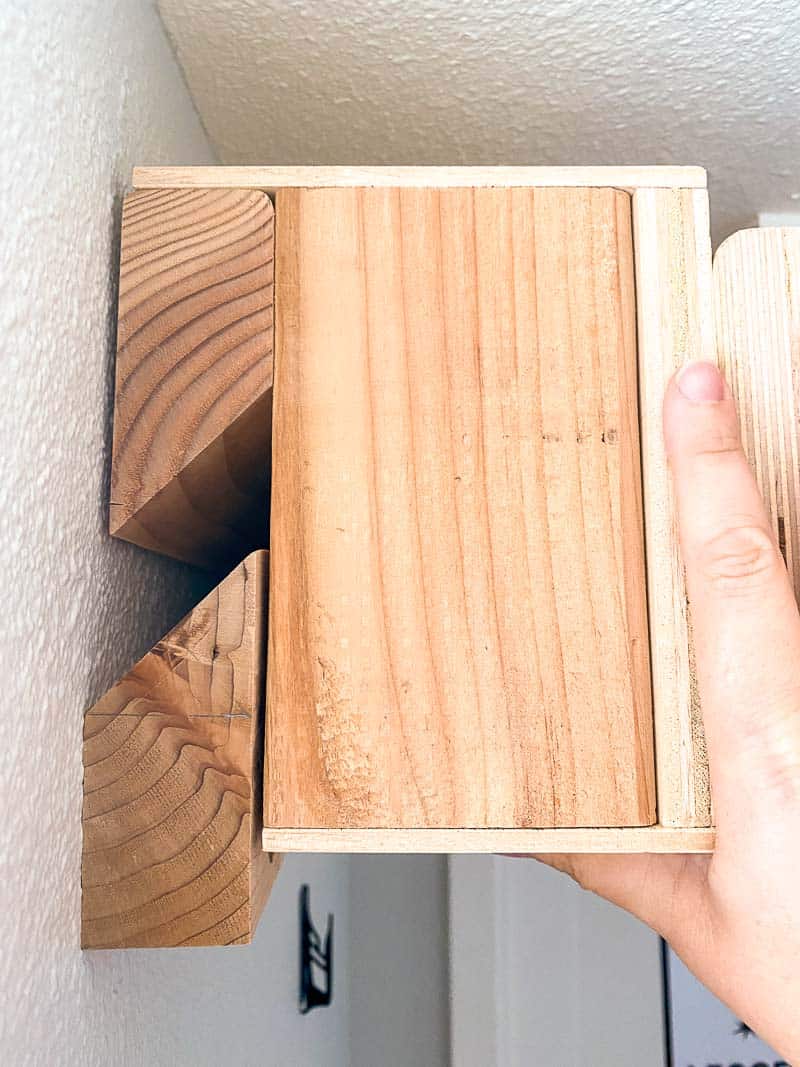
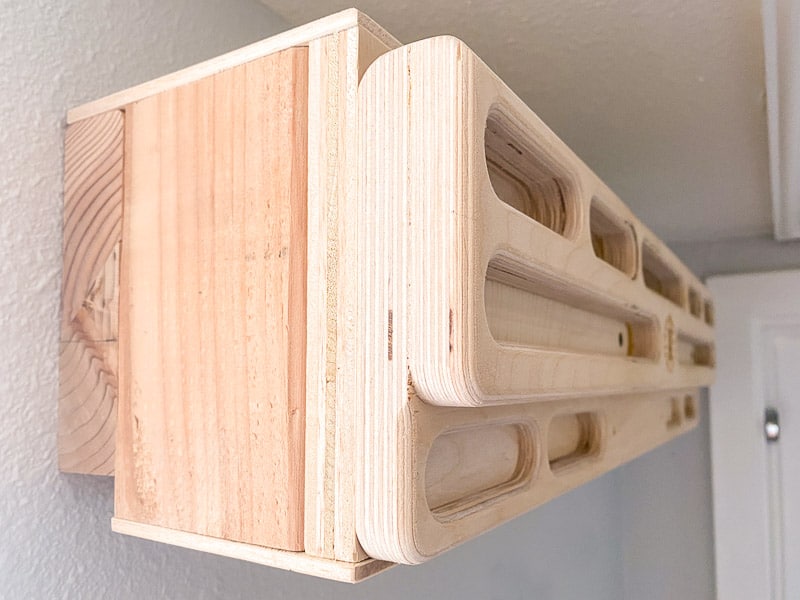
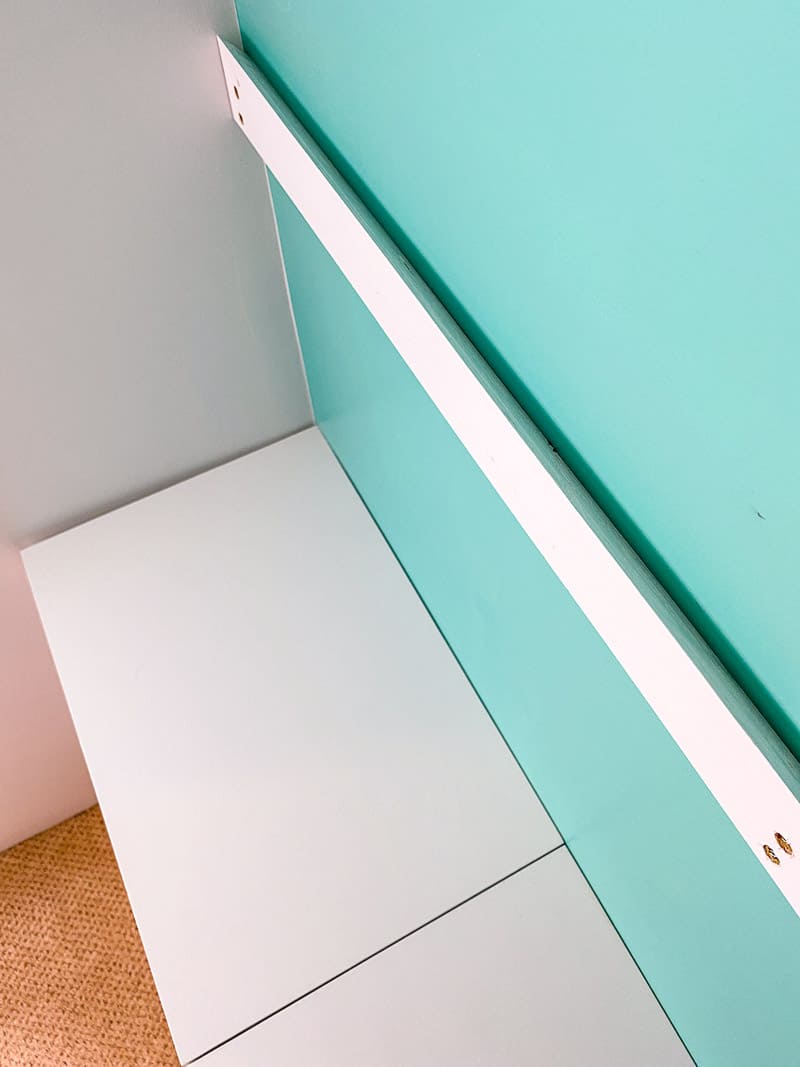
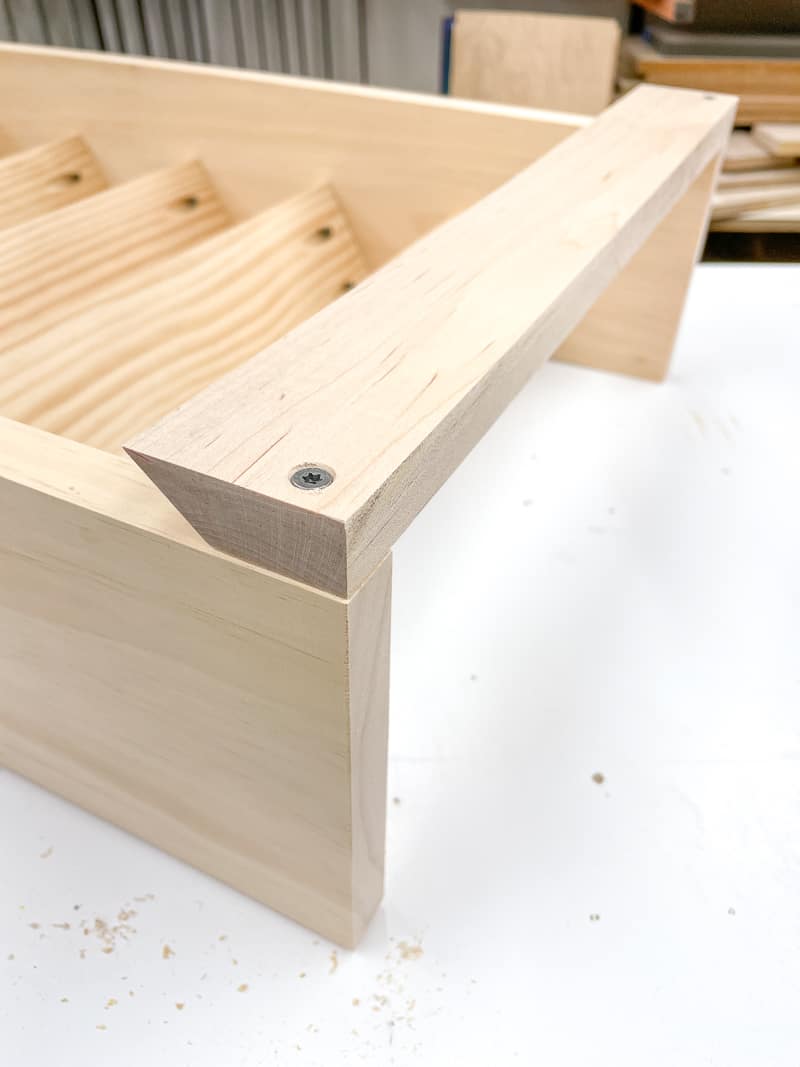
These pieces will be used in my custom closet makeover.

It features wall mounted storage bins and floating shelves that all hang on French cleats! Both of the drawer units shown below hang on a single French cleat to ensure that the tops are perfectly even.

How to install a French cleat
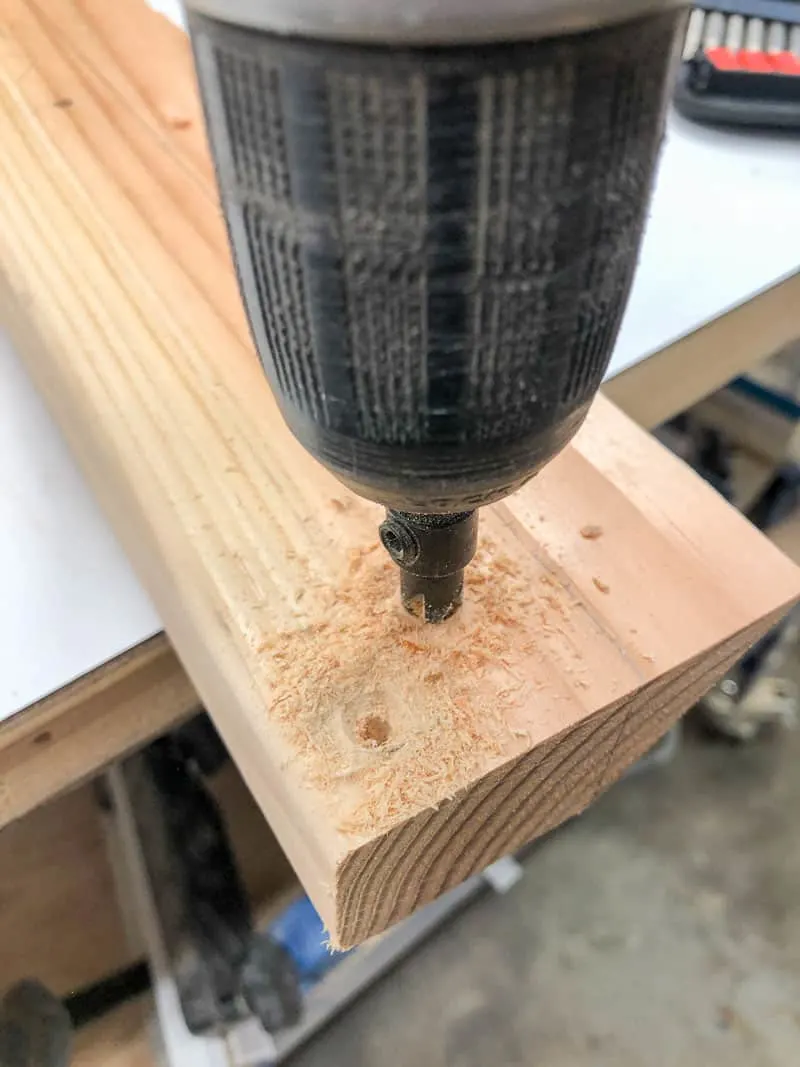
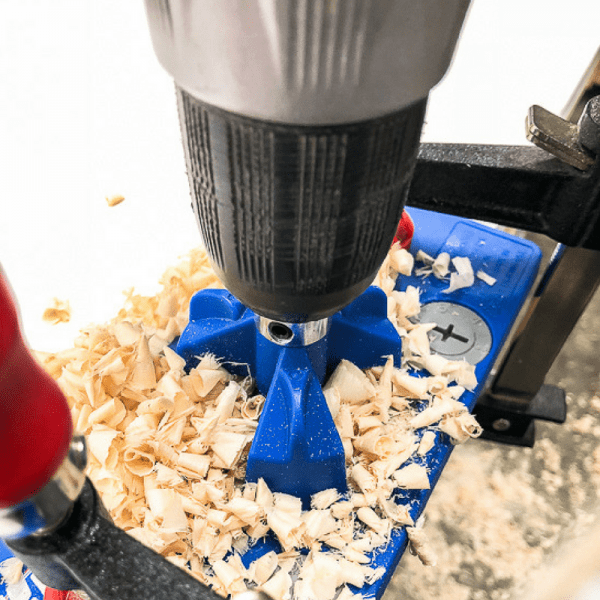
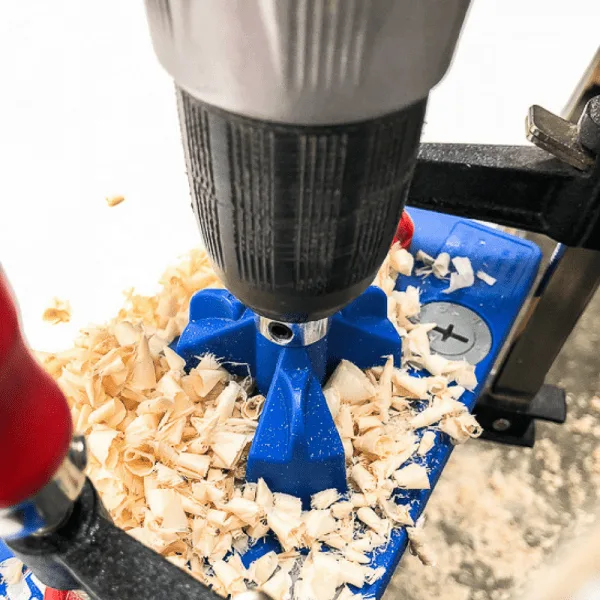
Locate the studs in the wall where you plan to install the French cleat. Then drill countersink holes in one half of the cleat where it will line up with the studs. It's important to countersink the screws so the two sides can slide past each other without the screw heads getting in the way. Make sure the holes are in the thick part of the cleat, not the angled part.

The half of the cleat that attaches to the wall should point up and away from the wall. Use a level to check that it's straight, then screw the cleat to the studs with 3" flat head screws.
Attach the other half of the French cleat to whatever you want to hang with the point facing down and away from the back with flat head screws.


Now you can just hook the two halves together! The opposing 45 degree angles lock them together, so the only way to get them apart is by lifting the hanging item up and over the point, or sliding it to the side.

French Cleat ideas
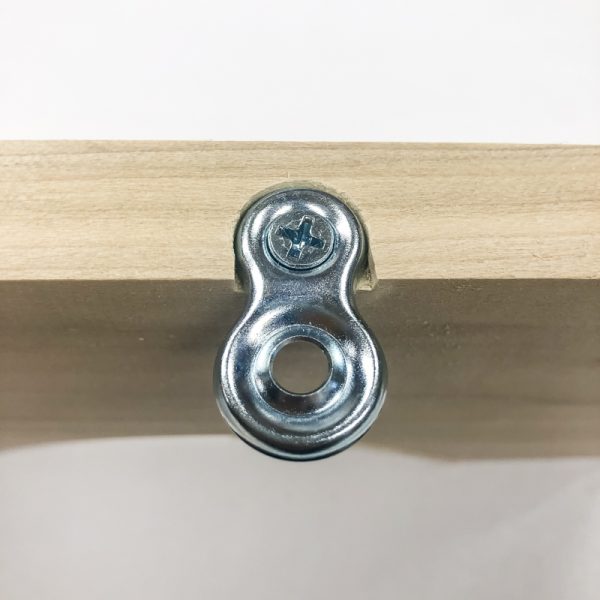
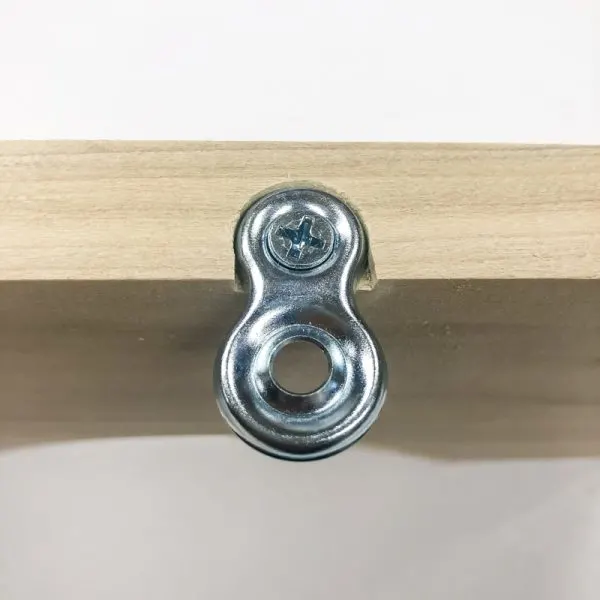
I've used French cleats, both these wooden DIY versions and metal store-bought ones, for a variety of different projects over the years. Here's some ideas for how to use them around the home.
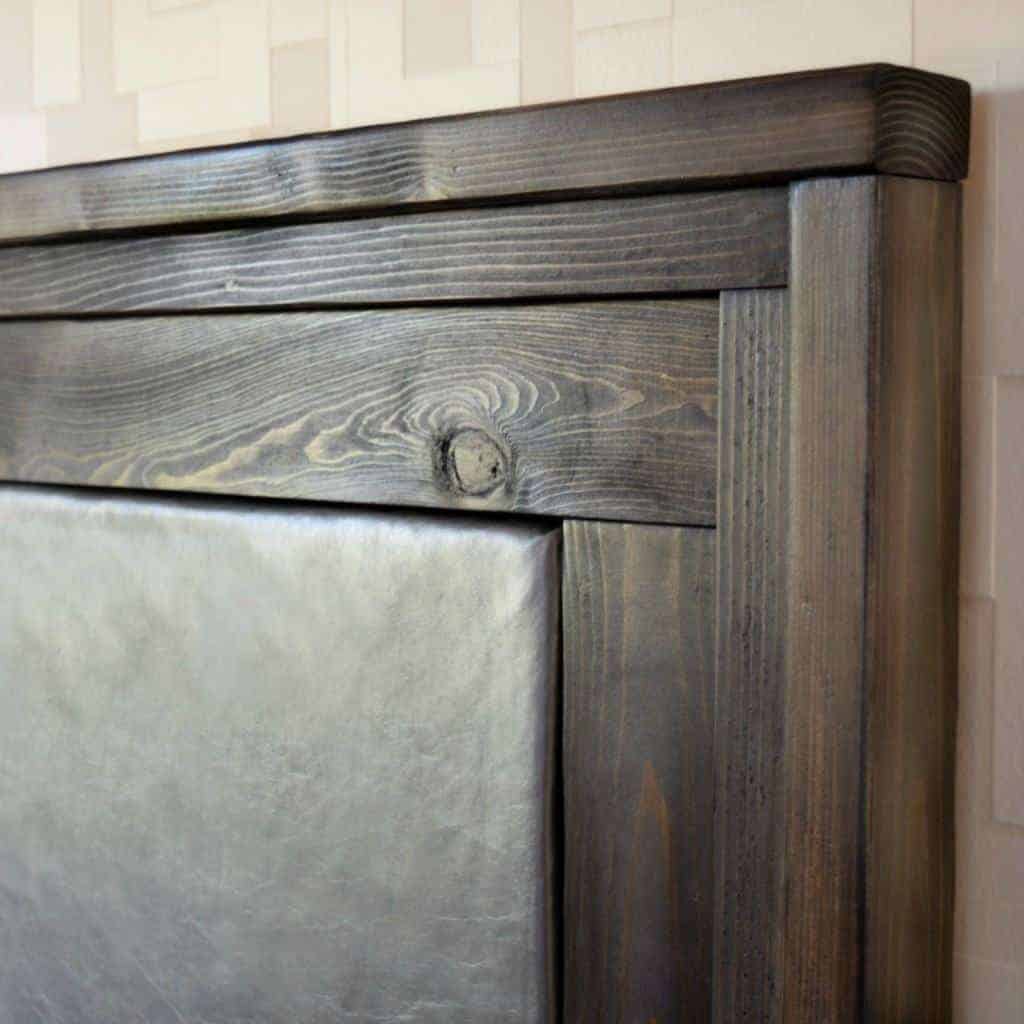
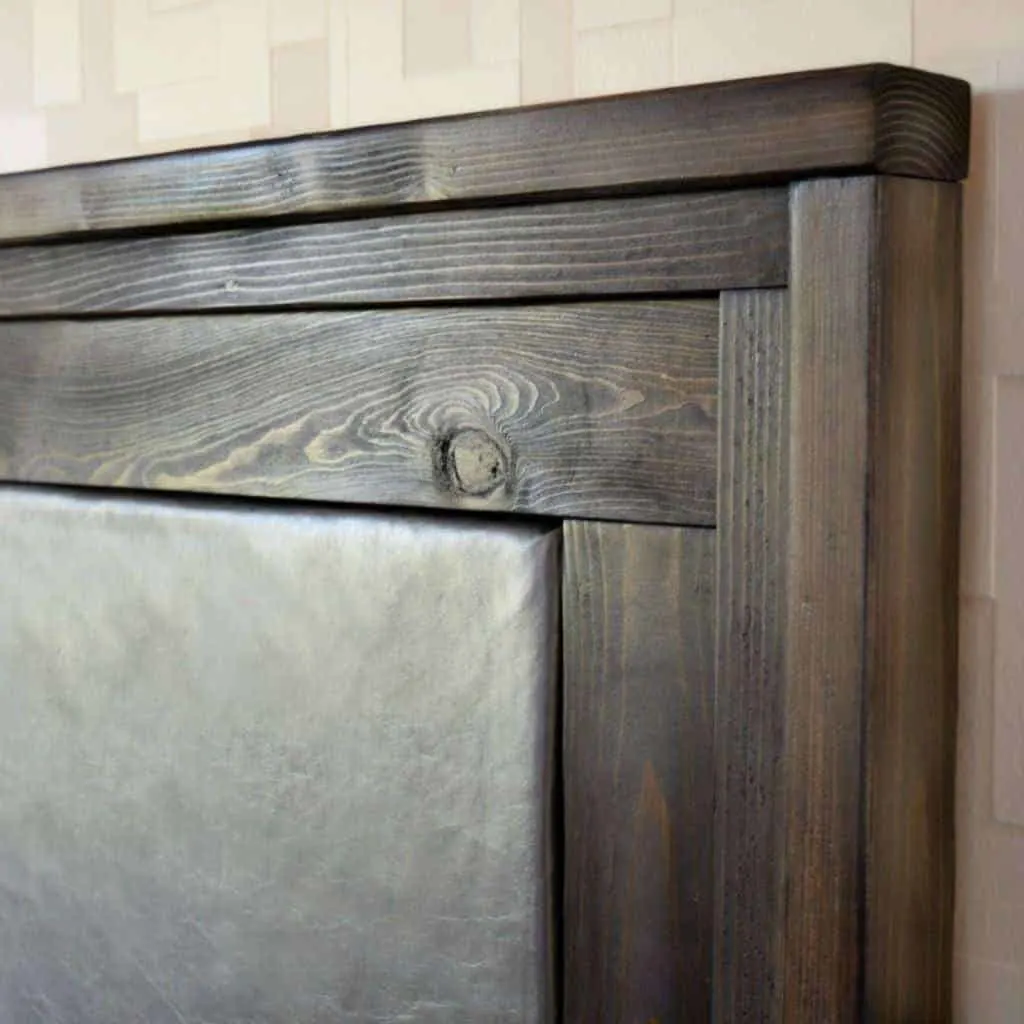
Headboard
I built this upholstered headboard for our bedroom, and used a metal French cleat to hold it close to the wall at the perfect height. This is also the recommended way to hang a heavy mirror or artwork.
Flower Boxes
These railing flower boxes hang off the side of our deck, and can be easily removed when it's time to switch out the plants. I also built this vertical planter wall with interchangeable boxes that can be moved around as needed.

Tool Storage
Keep your tools neat and organized with a French cleat tool wall! It's sturdier than pegboard, and you can make custom hangers for each tool. This video shows you how to make your own.
I've used them on this spray paint storage rack and a small set of shelves for holding quarts of paint and finish.

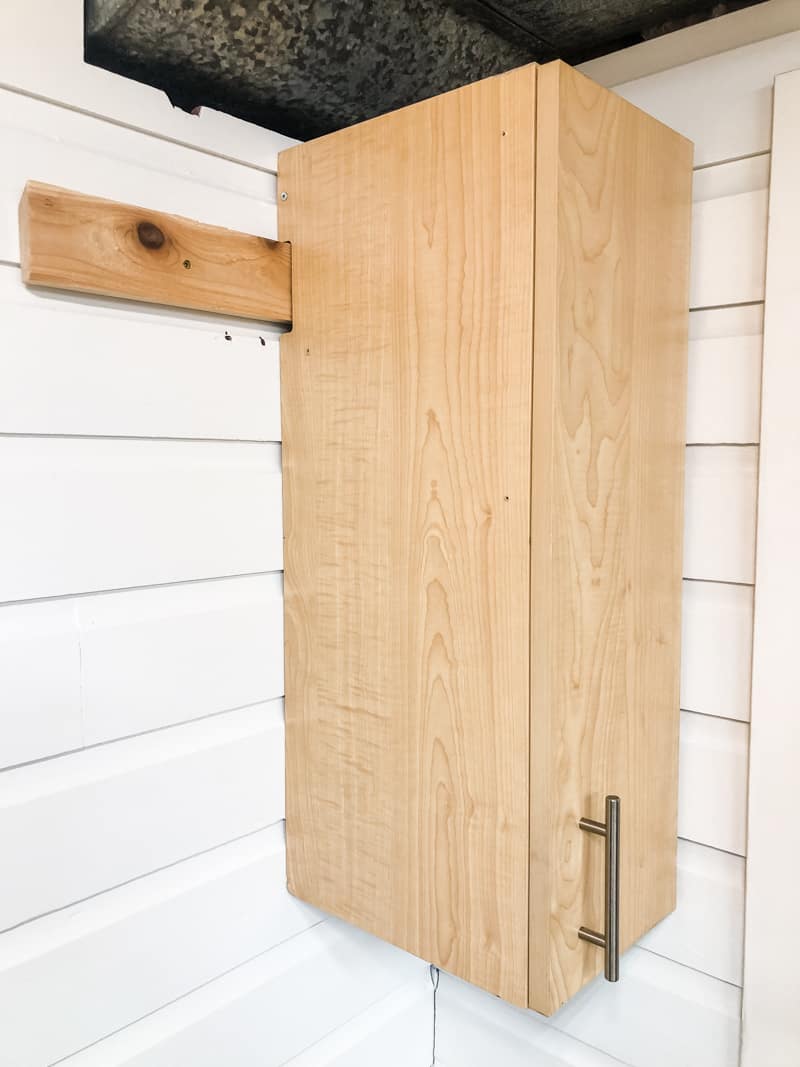
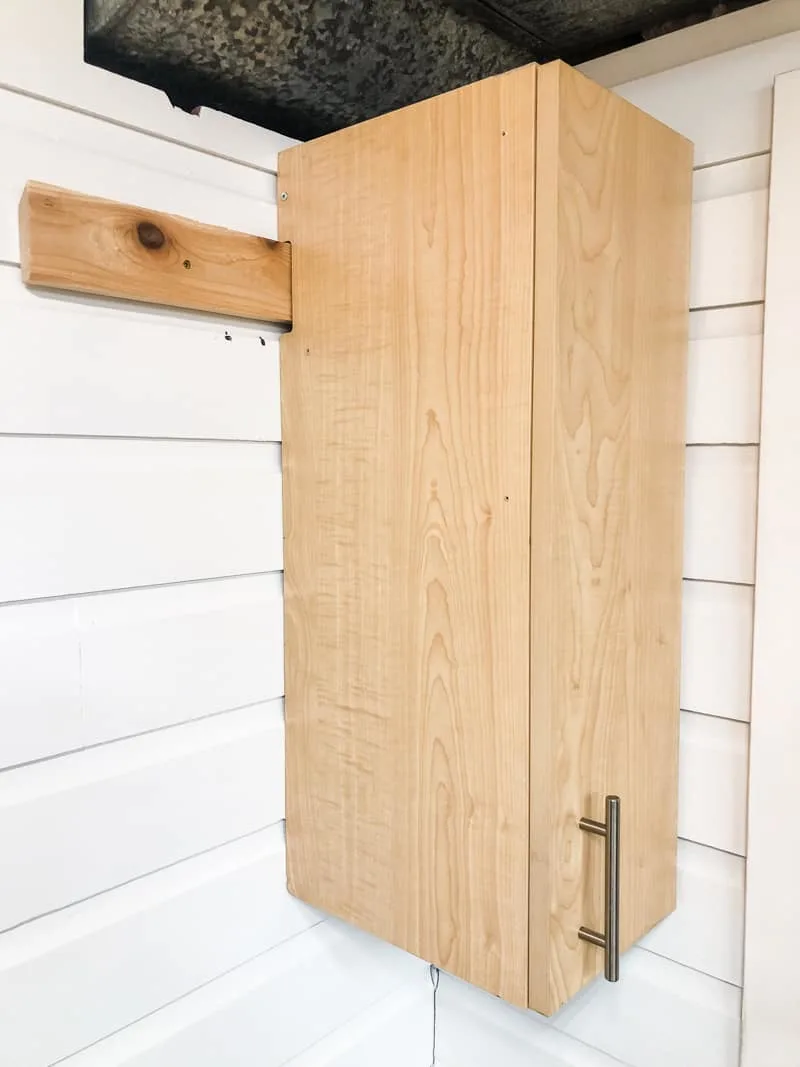
Cabinets
A French cleat makes it easy to install a long row of upper cabinets that all line up perfectly! I picked up these small cabinets from my local architectural salvage store, and I was able to hang them in my workshop easily thanks to the French cleat on the back.
Making French cleats yourself is a cheap and easy way to mount heavy items securely. What do you plan to hang in your home?
Check out these other handy tutorials!

Chuck
Friday 27th of November 2020
Greetings! Thanks for the french tutorial, very informative. When using the cleat to hang cabinets do you need to add a spacer the same thickness of your cleat to make sure the cabinet hangs plum?
Vineta
Friday 27th of November 2020
Yup! You can see how I did an external version (just nailed to the back of the frame) in my spray paint rack. You can also recess the cleat into the back of the cabinet (between the sides and under the top) and cut the wall cleat to the same width. Then the back of the cabinet would be flush against the wall and you wouldn't see the cleat.