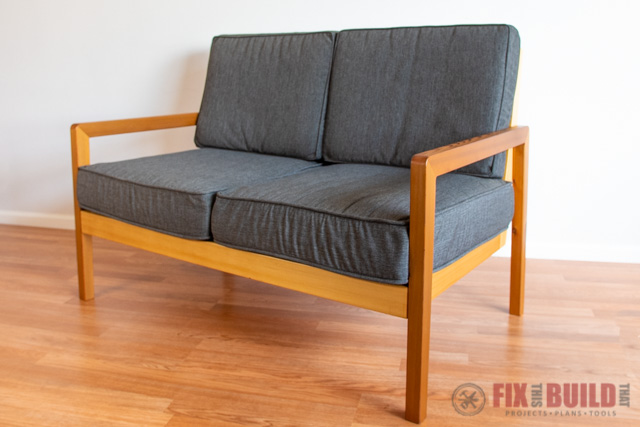
This DIY Sofa Modern Outdoor Sofa has a sleek design that will look great in your space. Want to know how to build a couch? You’ve come to the right place! This DIY loveseat can be used indoors or outside on your deck or porch.
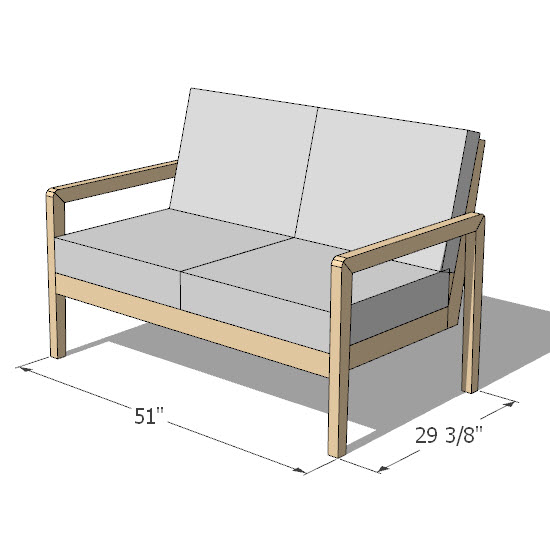
The modern DIY sofa can be customized to fit your cushions, and is currently set for a 24”x24”x6” seat cushion. I used cedar 2×4 and 1x4s but other wood can be substituted to fit your style or budget. A table saw and miter saw will do the majority of the work and will give you great looking outdoor furniture.
Tools Used
- Table Saw
- Miter Saw
- Router
- Cordless Drill
- Dowel Jig
- Pocket Hole Jig
- Sander
- ISOtunes Bluetooth Earbuds
- Miter Saw Stand
- Flip Top Tool Stand
Materials/Supplies
- (5) 8’ Cedar 2×4
- (5) 8’ Cedar 1×4
- 2-1/2” Exterior Pocket Screws
- 2-1/2” Exterior Deck Screws
- 1-1/2” Exterior Deck Screws
- 1-1/4” Exterior Deck Screws
- Exterior Wood Glue
Affiliate links are used on this page. See my disclosure page for info on affiliate programs.

How To Build a DIY Sofa
- Prep the Wood
- Build Sofa Base
- Attach Sofa Sides to Base
- Apply Finish
- Assemble Sofa
1. Prep the Wood
I’m building the DIY Sofa from rough lumber, which means I had to take a few extra steps to get the wood milled and ready. If you’re planning to use 2x4s and 1x4s you can skip this step completely.
Milling the Rough Lumber
I had two huge beams set aside for the outdoor sofa and I used my milling machines to get them ready for this project. This process involves my planer, jointer and bandsaw, and I go over it all in the video. That’s where you should look if you want to know more about how to mill your wood.
2. Build Sofa Base
The DIY outdoor couch is a two seater loveseat and the cushions are held up on wooden slats that are attached to the base.
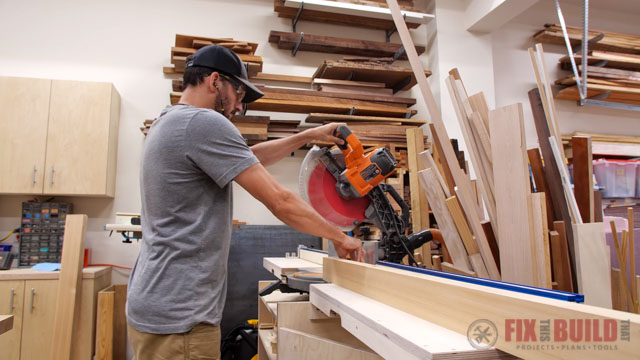
I cut the front, side and center parts to size using my stop block to get repeatable cuts as needed. The base is attached with a series of pocket holes which are all on the underside and won’t be seen on the final piece.
Once the base was secured I started on the back of the loveseat, which has three uprights connected by a top rail and a bottom rail. The top rails are 1.5” on each side for a slimmer look. I ripped these parts from wider boards and then cut them to size on the miter saw.
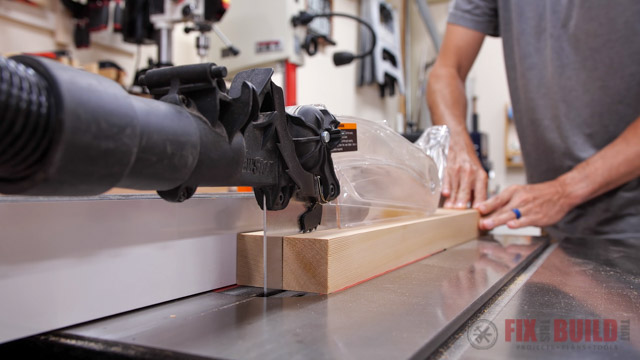
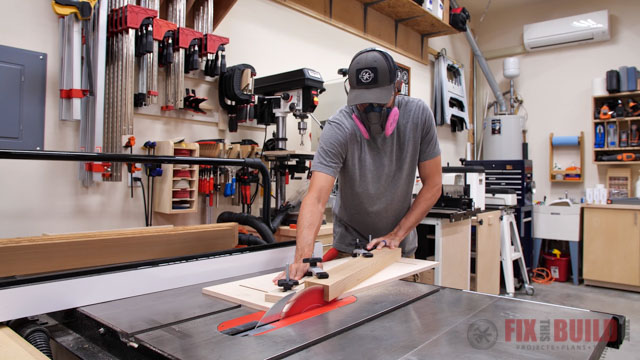
Next I cut the angles for the uprights using my miter saw and table saw. Shaping them on the table saw was easy with my new fancy tapering jig.
Want more details on how to build this project? I have step-by-step plans available that you can use to build your own DIY outdoor couch.
I attached the top rail and the bottom rail to the uprights which formed the back of the DIY outdoor sofa. Then I was ready to attach the back to the base of the couch. I made sure to dry fit these parts together to make sure everything looked good, then I glued and screwed it all in place. The angle on the back worked out to be about 12 degrees which was just right.
3. Attach Sofa Sides to Base
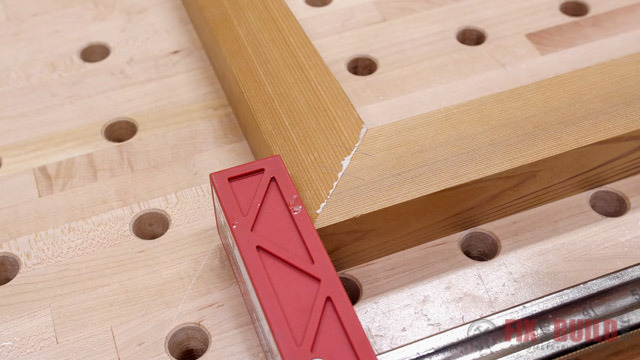
Each side is pretty simple, it’s just two legs connected by an armrest; the legs and armrest are also joined with 45 degree miters. I wanted them to be a little thinner than the base and have a taper to them as well.
After I ripped the wood to size on my table saw, I moved on to cutting the miters. I like to set up a stop block on my miter saw so that once the cut is dialed in, I can make repeatable cuts on all of the parts. 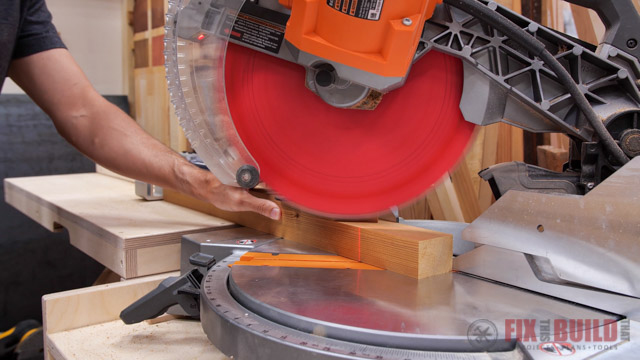
Once all of the legs were cut I used my tapering jig to add the taper, and then I cut the armrests.
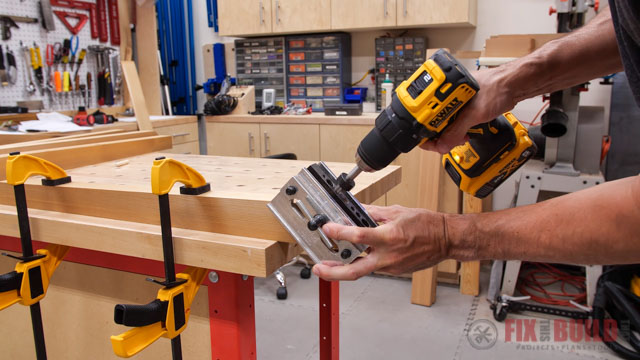
I decided to use dowel joinery for added strength to these joints. I used a self-centering jig to drill the holes.
Then I glued the joints, inserted the dowels and used clamps to pull it all together.
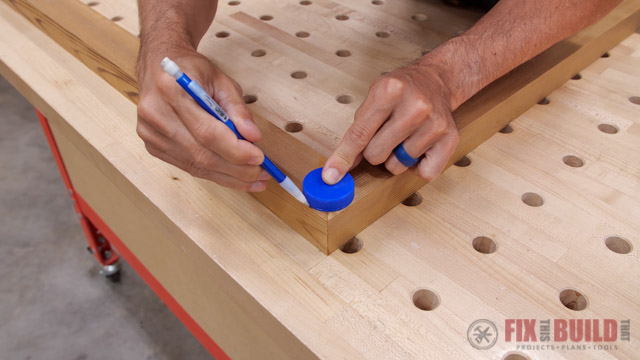
After letting the sides dry overnight, I laid out rounded corners on the armrests.
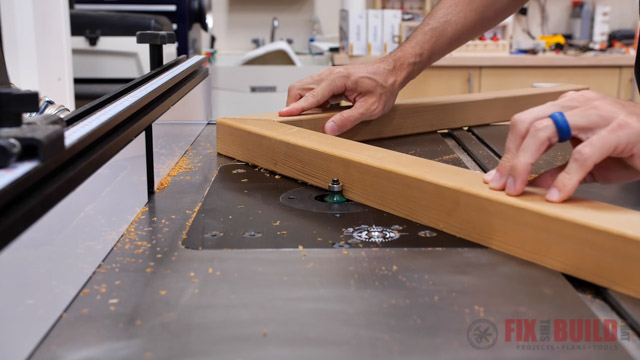
 Next I used my bandsaw to take off most of the excess wood, and then sanded the rest down with my oscillating spindle sander. Finally I took the sides to my router table to put a roundover on everything.
Make Slats for Sofa
My milling machines came in handy again by allowing me to turn 2x4s into 1×4 slats with a nice rounded edge. This was easy to accomplish by using my bandsaw, planer and router table. If you don’t have milling machines you can use 1x4s to make your own slats. Finally I cut some small parts to create cleats, which I’ll mount the slats on.
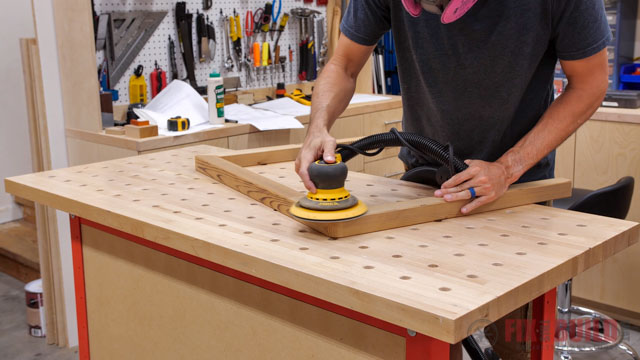
Next I added roundovers to the seat assembly with a palm router and sanded everything to 220 grit. I used the random orbital sander where I could and smoothed over everything else by hand.
4. Apply Finish to DIY Couch
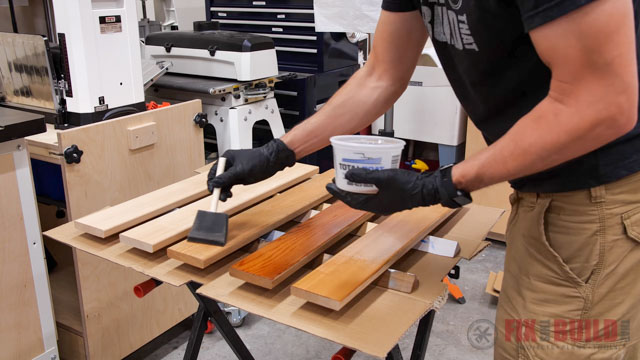
I spread all of the parts out and applied finish to the DIY Sofa by hand because I couldn’t spray the finish on. It’s more work upfront this way, but the assembly and final finish will be much better. If you plan to spray your finish, you can assemble the DIY couch first and you should be good to go.
The finishing was a three step process. I started with a coat of Total Boat Gleam 2.0 in Gloss thinned 50/50 with Total Boat Brushing Thinner. This is just to seal the wood and get a good base for the next coat.
After that coat dried (which took about an hour) I applied a coat of full-strength Gleam 2.0 Gloss.
Another couple hours later I came back with a full strength coat of their Lust Matte Finish.
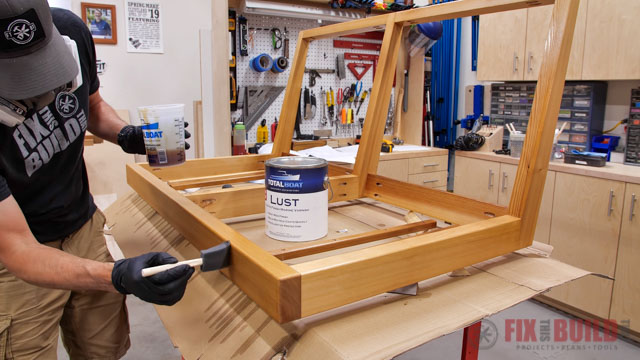
This is very thick so have a raking light to check for dry spots, and it’s very strong. I highly recommend a VOC mask when applying all these finishes or doing it outside.
5. Assemble DIY Sofa
Finally I attached the sides to the base of the DIY sofa. I planned out how high I wanted the base to be off the floor, marked that spot with painters tape and clamped everything into place.
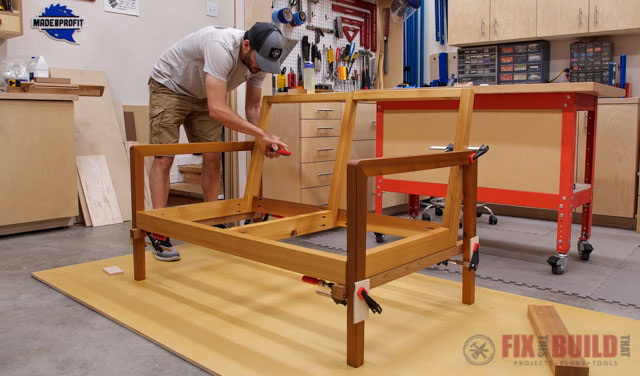
The whole assembly was squeezed together with a long clamp, and I connected the base to the legs with 2-½” pocket screws.
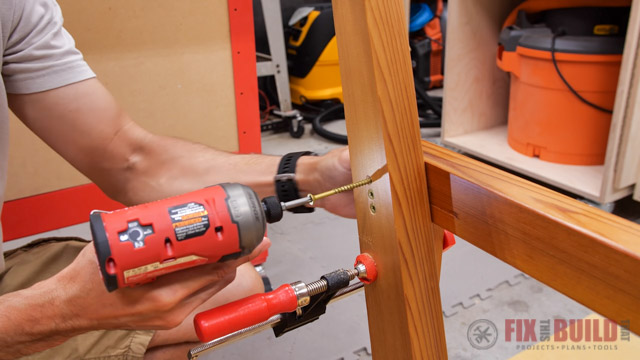
Then I attached the upright to the side by pre drilling the holes and countersunk them so the heads would be below the surface. Check out the plans for detailed assembly instructions.
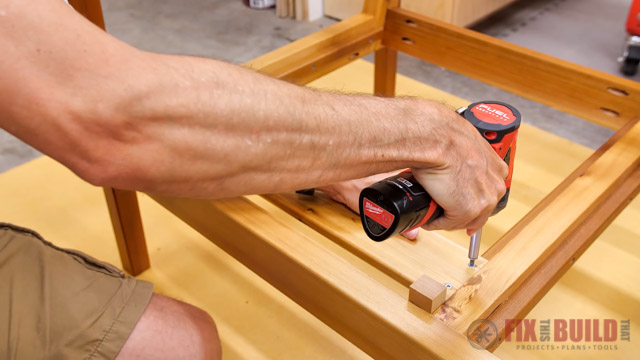
Finally I put the slats on to support the cushions. I drilled countersunk holes in the slats at the drill press. Then I attached the cleats with 1-½” screws to the sides and uprights. To easily place the slats on the cleats I used a small spacer and then screwed them down with 1-¼” screws.
Finally it was time to add the cushions, which we got at At Home back when I made the matching DIY Outdoor Chairs. And with that, I was done.
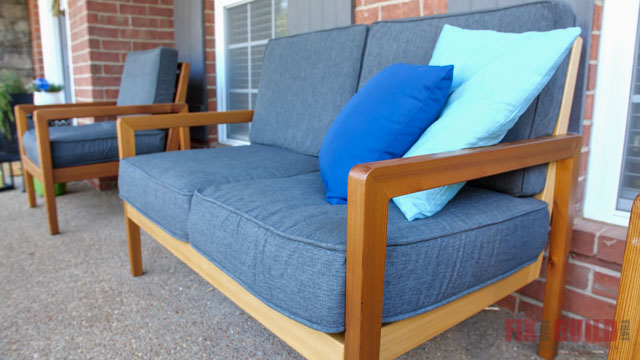 The DIY Sofa is complete and looks great on our porch. The clean lines and tapers make it hard to believe that this DIY outdoor couch was made from 2x4s. Do you want a whole set of outdoor furniture? Take a look at the Modern DIY Outdoor Chair. This chair was the inspiration for the DIY Sofa and they look perfect together.
JET provided me with product and/or monetary compensation as a sponsor of this build. All opinions are my own and are not filtered by the sponsor.


