
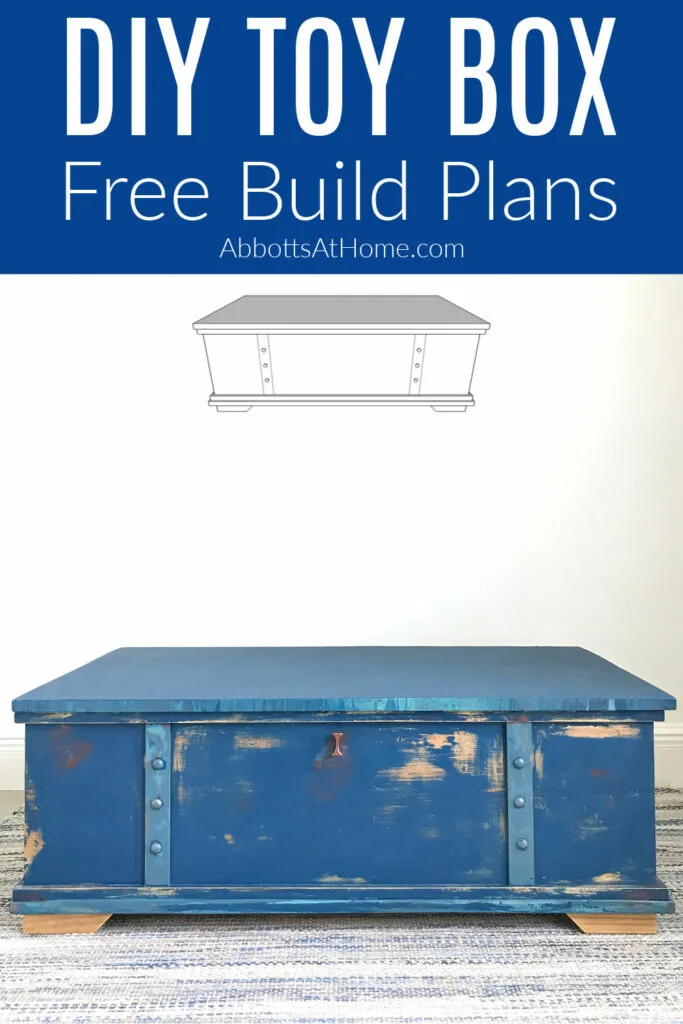
Grab the printable DIY Toy Box Build Plans for this beautiful extra large storage chest. This build is easy enough for beginner woodworkers.
DIY Toy Box Build Plans
Who always needs more toy storage and never has enough? This girl! That’s why I built this large and beautiful DIY Wooden Toy Box.
This toy box made from 3/4″ thick lumber and pine trim is built to last for decades. Kids can bang their toys on it, sit on it, stand on it, whatever.
It won’t fall apart like some of those cheap particle board or laminated MDF toy boxes you’ll find in most stores. And, this sweet toy box holds SO, SO MANY TOYS, guys.
Even those extra large toy cars and trucks my little boys love.
This Toy Box would make a great coffee table with storage in smaller spaces too. Use it to set drinks on when the kids are playing. Then just flip the lid to put everything away when you’re ready to clean up.
More Style Details on this Toy Box
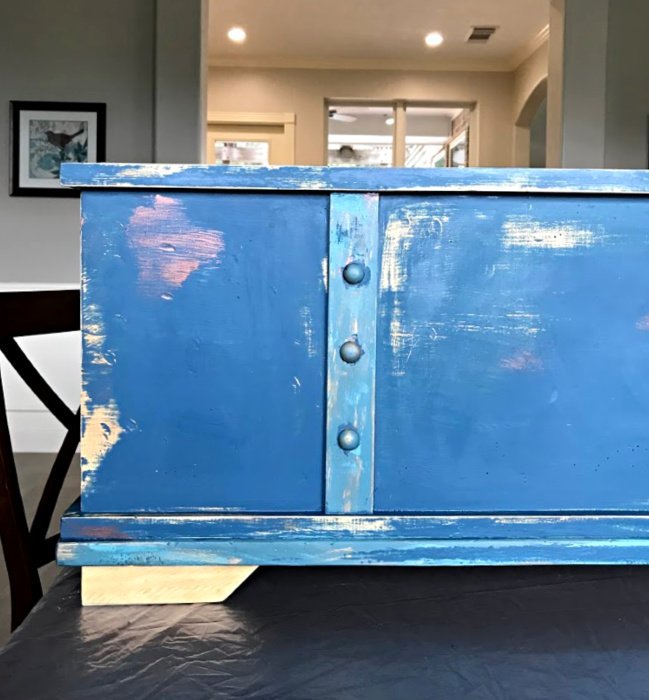
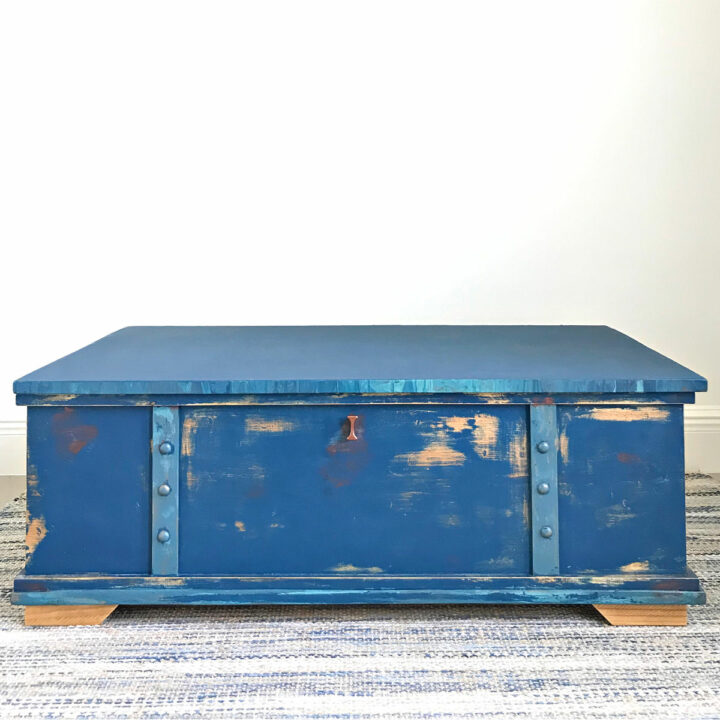
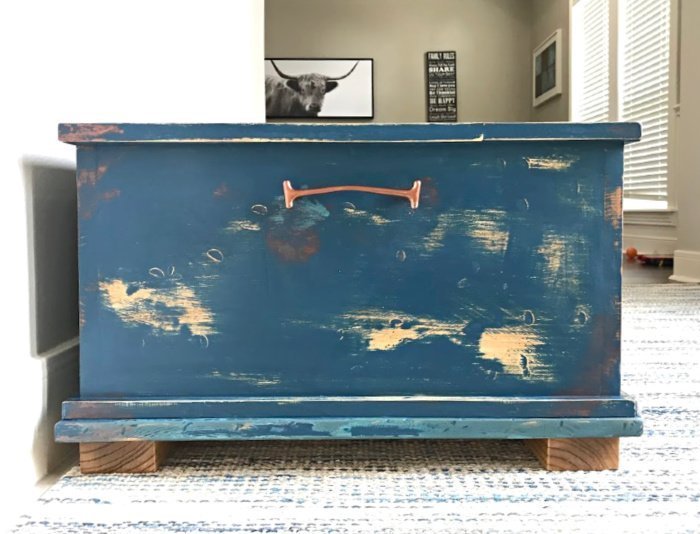
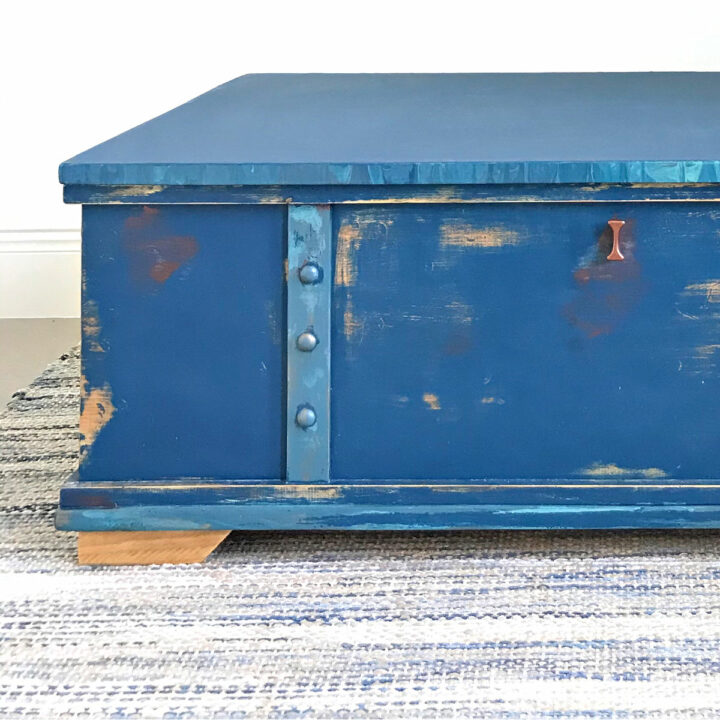
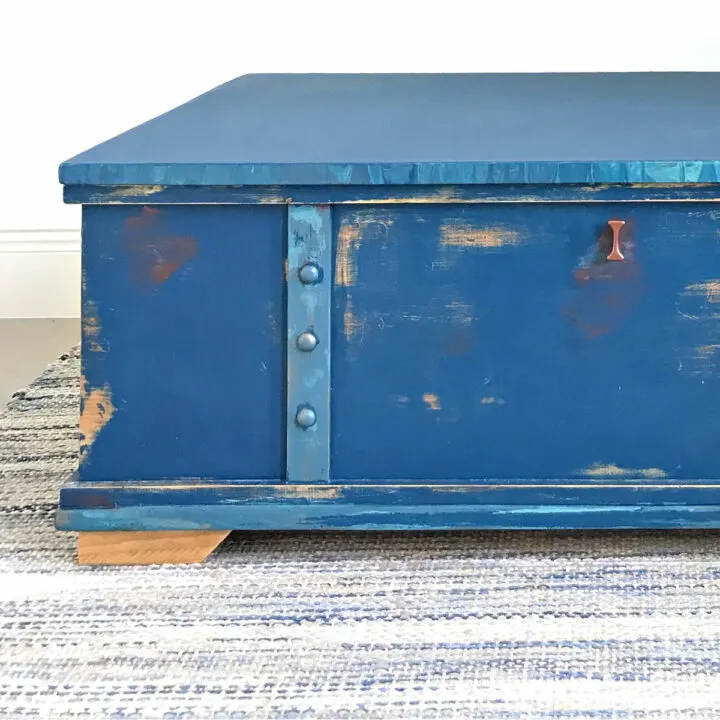
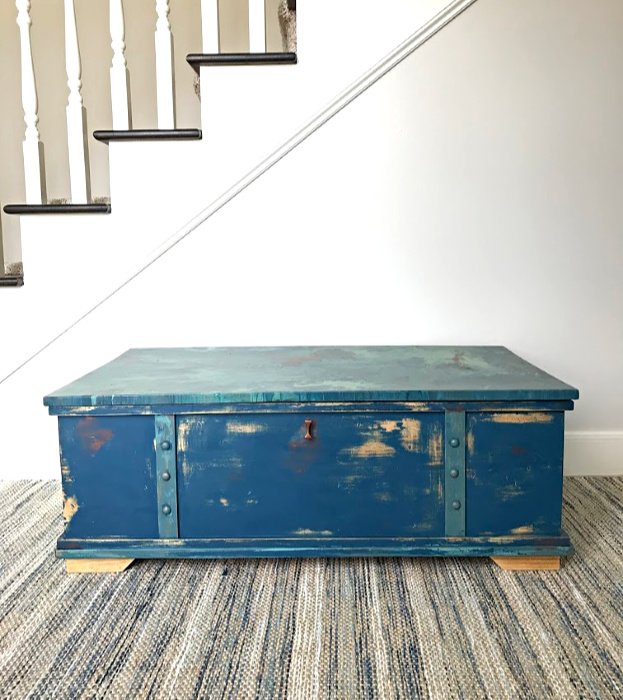
I’m very excited about how the extra details I added gave this Toy Box a vintage trunk or storage chest look. Adding lattice with wood button plugs looks like straps on the front and back.
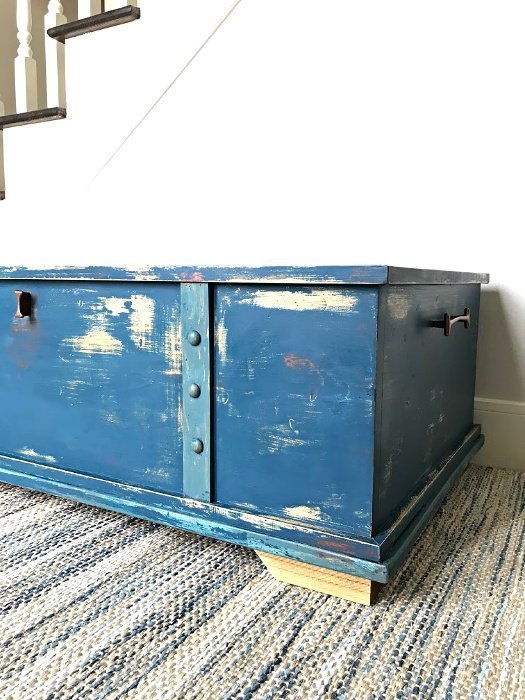
The handles on the sides and the little drawer pull that looks like a keyhole adds even more cool vintage trunk style.
Those are optional additions to this DIY Toy Box. You can always skip that step on the Toy Box build plans. You can even add your own extra style or a fun paint job to give your toy box build a custom look perfect for your house.
The 1/2″ x 3/4″ pine molding that wraps around the top and bottom adds a chunkier, more polished look to this DIY Toy Box Build Plan.
And, since I wanted this toy box to have a vintage storage chest look, I banged it up a bit with a hammer and screwdriver to distress the wood. But, again, that’s absolutely optional.
This DIY Toy Box Build Plan would look fantastic with just a simple paint or stain finish.

Check out my big list of 30+ Beginner Furniture Painting Tutorials for more ideas about how you might want to finish your toy box build.
Build Overview Video
Watch this video to get a good look at how quick and easy this DIY Toy Box build is. 🙂

Tools Needed
- Kreg Jig & Screws
- Drill
- Miter Saw or Circular Saw
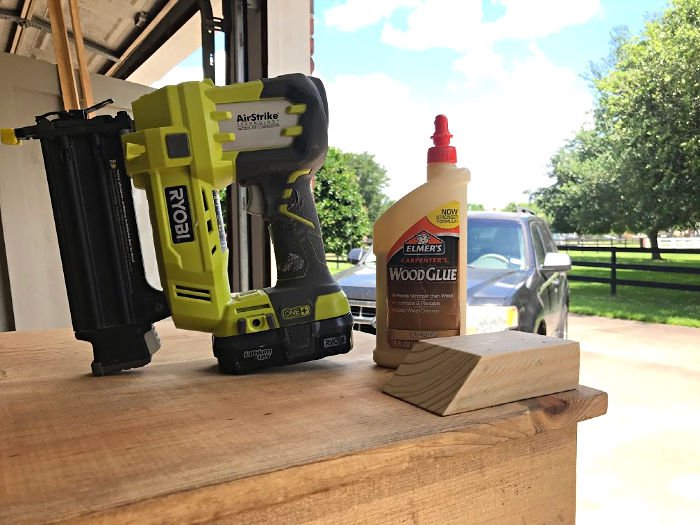
- Ryobi Brad Nailer and Nails
- Sander and 120-grit and 180-grit sandpaper
Materials Needed
- 17’ of 1×12 dimensional lumber (DL), like Select Pine
- 17′ of 1/2″ x 3/4″ Pine Moulding
- 2’ x 4’ of 3/4″ Plywood
- 2′ of 2×4″ Construction Grade Pine (Not Pressure Treated)
- 2 – Hinges
- Wood Filler, Wood Glue, and Good Paint Brushes
- Optional Detail: 4 – 9 3/4″ long primed lattice boards, 12 wood buttons, 2 handles and 1 keyhole
- Optional Hardware: Add Lid Support/Shocks to keep the lid open and close it safely around little fingers
Hello, DIY friends! You can download the FREE DIY Toy Box build plans here. These plans are currently free to email subscribers and for personal use only. They cannot be shared or sold without my permission. Please let me know if you have any questions and enjoy your build! 🙂


DIY Toy Box – Steps to Build
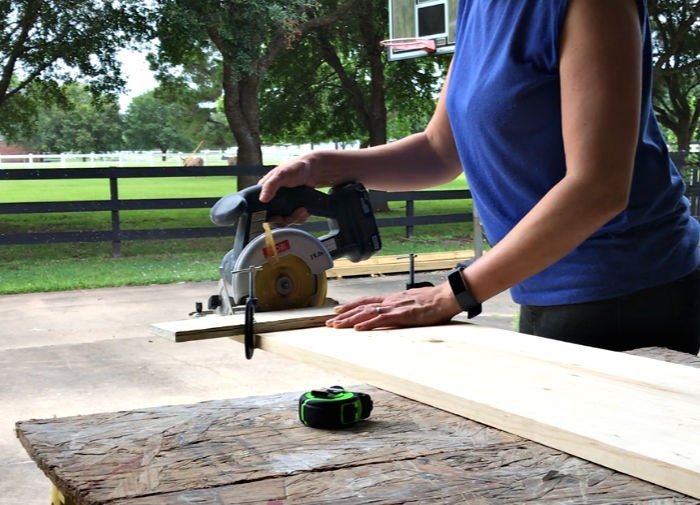
Step One
Start by making these cuts with your Miter Saw or Circular Saw.
- Cut the 1×12 dimensional lumber to these lengths: 2 – 38 1/2″ pieces, 2 – 19 1/2″ pieces, and 2 – 40″ pieces.
- Cut the 2×4 into 4 – 6″ lengths for feet. Cut a 45-degree angle on 1 side of each foot. Optional: Use a table saw to saw (resaw) the rounded edges off each side of the 2×4 for a squared look (like I did).
- Cut the 1/2″ x 3/4″ Pine Moulding to these lenghs: 4 – 39 1/2″ pieces and 4 – 21″ pieces.
Step Two
Let’s start by assembling the box sides of this Wooden Toy Box Build Plan. Put 1 Kreg Jig pocket hole about 3″ from each end of the 11 1/4″ end of the 2 – 19 1/2″ boards. So, that’s 4 pocket holes on each board, 8 total pocket holes.
Then glue and screw the sides to the front and back boards. Make sure everything is straight and square using clamps and a Speed Square.
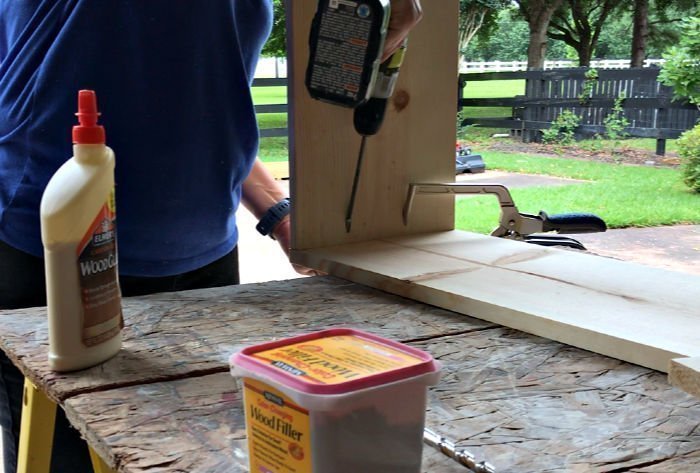
Step Three
Make the bottom of the box by gluing and screwing the 2 – 40″ long boards together. Do this with 5 pocket holes across the length of the board.
Step Four
Attach the frame to the bottom with 2 pocket holes on the short sides and 3 pocket holes on the long sides. Use glue and screws here too. Be sure to center the frame on the bottom.

Step Five
Now, let’s add that 1/2″ x 3/4″ molding to give the toy box some pretty, chunky style. Start with the short sides. Glue and Brad Nail the pine molding to the top and bottom of each short side. Then glue and brad nail the molding to the top and bottom of each long side.
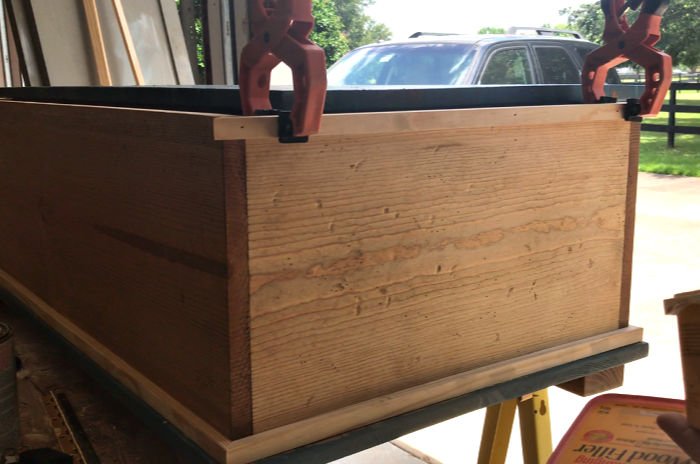
Step Six
Now it’s time to add the feet to your DIY Toy Box with Glue and Brad nails too. I lined up the feet so that the outside edge lined up with the outside edges of the 1×12 D.L. That kept the line of the foot even with the box for a more polished look.
Step Seven
Apply wood filler to the pocket holes and anywhere else that needs it. Let the wood filler dry. Then sand everything with 120-grit sandpaper. Once smooth, you might want to sand again with 180-grit if you plan to stain your toy box. The finer grit helps give you a nicer finish, when staining.
Step Eight
Now to add the top to this wood toy box. I used a 22 1/4″ x 40″ plywood top. Plywood is better for the top with hinges because it won’t bow as easily at the little extra height from the hinges. Apply edge banding with an iron to give the plywood edges a finished look. Sand this with 120 (and maybe 180-grit) too.


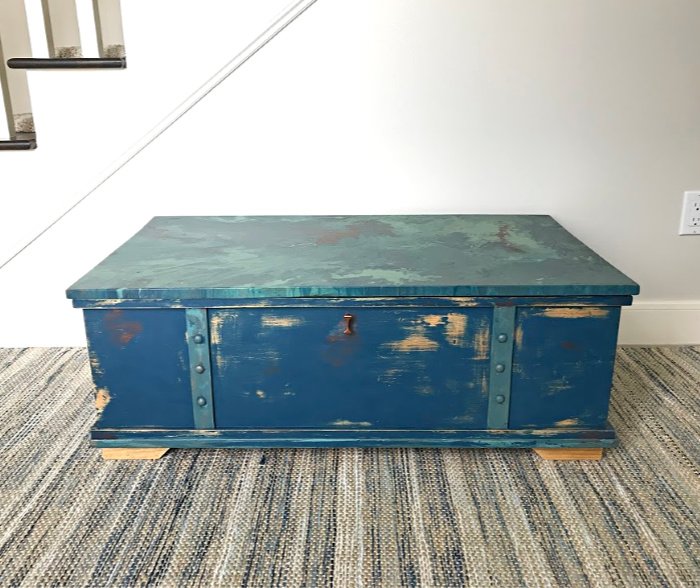
Use this Toy Box as a Coffee Table
Huge side note, guys! I think this toy box would make a great coffee table with storage too.
In fact, if I ever get around to remodeling the play room with built in storage, I’m going to switch the top on this DIY Wood Toy Box to a 2x Stained Pine Top and move this sweet table to my Modern Farmhouse Living Room. This would be great storage chest coffee table to use for blanket and board game storage.
Finishing this Toy Box
If you watched the build overview video above, you’ll see how I added extra detail with lattice and button top wood plugs. 2 on each long side adds a bit of a vintage trunk look that I am loving on this DIY Toy Box.
But, it’s totally optional. Attach the lattice with glue and brad nails after drilling holes for the plugs. A little glue and a rubber mallet will put those in place.
Adding old handles to the sides and front also amped up that vintage trunk style. I just happened to have these handles from a 70’s style dresser that I cut in half to make a vanity and toy storage (yep, we have too many toys).
Good news though! Amazon has some very cool and pretty keyhole style cabinet pulls that would look great on this toy box.
I originally tried just a stained look on this Toy Box. I almost always use Watco Danish Oil when staining because it is easy to apply, dries fast, and slightly hardens the wood as it dries. But, this time I thought that was a bit too boring. So, I added a fun DIY Vintage Distressed Paint Finish.
Hello, DIY friends! You can download the FREE DIY Toy Box build plans here. These plans are currently free to email subscribers and for personal use only. They cannot be shared or sold without my permission. Please let me know if you have any questions and enjoy your build! 🙂
That’s it! You’ve finished this DIY Toy Box Build Plans. Step back and admire your amazing talent and beautiful new toy box. 😉
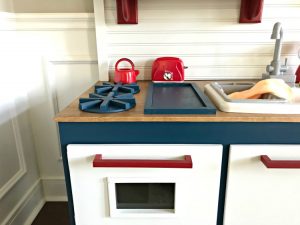
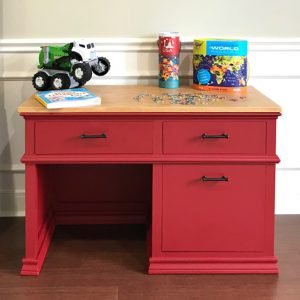
If you’re looking for more DIY Woodworking builds your kids will love, check out my DIY Kids Desk Plans, DIY Nerf Gun Target, and the DIY Wood Kids Kitchen my kids play with all the time!
Don’t forget to follow my channel on YouTube to see my latest DIY woodworking, home decor, and home maintenance projects. You can always ask questions there, if you need extra help. 🙂
How about another DIY Furniture Build Plan? Check out this DIY Wood Play Kitchen.
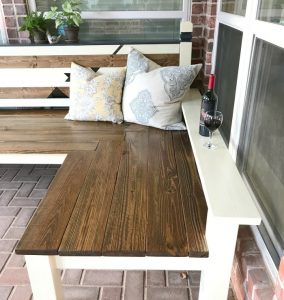
Or this beautiful, large L-Shaped Bench for your backyard.
And, this DIY Table Over Washer and Dryer is always popular.

If you need a great little desk for your elementary age kids. Check out this DIY Childrens Desk with Storage Drawers.
Or, this easy DIY Kids Play Tent from PVC Pipes.
Feeling inspired? Get out there and build your own with these DIY Toy Box Build Plans. Follow the links above to get the things you’ll need.
Have fun and let me know if you have questions. Or post pictures of your work and tag Abbotts At Home on FB, I’d love to see it!


Stephanie Abbott has been remodeling homes, updating & building furniture, and working on DIY home maintenance and cleaning tips for over 20 years. Her remodeling has been featured in Better Homes and Gardens Magazine. And, her DIY YouTube channel has had more than 8 million views.
Most of the DIY tutorials and videos on this site focus on beginner to intermediate level DIY Projects that can be done in an affordable way without high-end, expensive tools. All of the cleaning tips on this website have been tested in her home.
Robin
Wednesday 23rd of October 2019
Love the distressed blue, it would go perfectly with my decor! Thanks so much for sharing your talent with us at the Creative Muster. Looking forward to seeing what you'll be sharing next week. Pinning! Robin😊
Stephanie
Thursday 24th of October 2019
Thanks so much, Robin!