
I absolutely love building little toys for our son and this DIY magic tissue box toy has definitely been the biggest hit so far!
This is the perfect wooden Montessori toy for your toddler and can be made quickly and easily.
I promise you they will get a kick out of it.
The popular wooden toy subscription Lovevery has made these toys very popular again.
If you want a magic tissue box for a fraction of the cost, you can easily make your own DIY version!
Here’s how we did it.


Magic Tissue Box Montessori Toy
The magic tissue box is a popular Montessori toy that people often make for their kids.
What is a magic tissue box toy for?
It helps a child learn about spacial awareness and helps with dexterity as they learn how to pull things out of a small space and put them back in.
People often make these by stuffing tissue paper into an actual old tissue box.
The problem with that is that an actual cardboard tissue box is going to break down quickly with a toddler ripping things out of it and chewing on it.

We actually gave Luke an empty tissue box and he LOVED putting toys in and out of it.
However, it ripped, he tried to eat the cardboard, it got mushy, and we decided to make a wooden version.
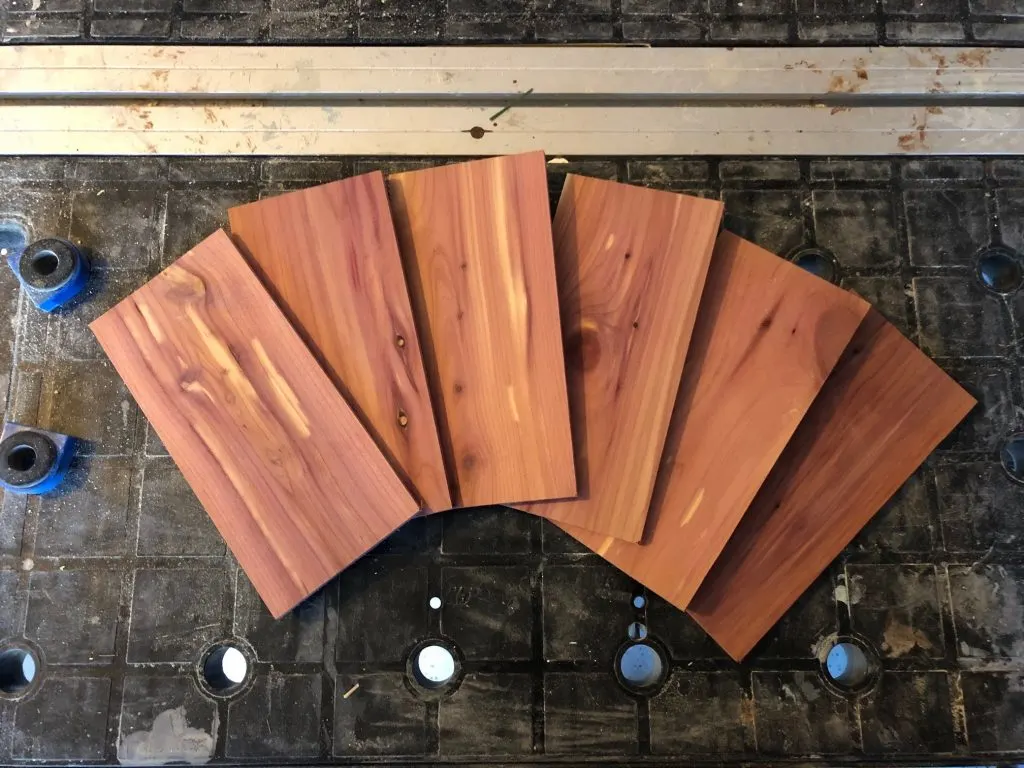
To make this DIY version, we used thin, 1/4″ cedar planks that we had leftover from our guest bedroom ceiling. You can also use 1/4″ plywood.
The reason to use thin wood is to make sure that it is light enough for your baby or toddler to hold and play with.
Don’t want to build your tissue box toy from scratch?
Here are pre-made wooden tissue boxes on Amazon!
How to Build a Magic Tissue Box
We built this by cutting down our planks into six pieces.
Four identical longer pieces and two that were half the length.
Everything was the same width.

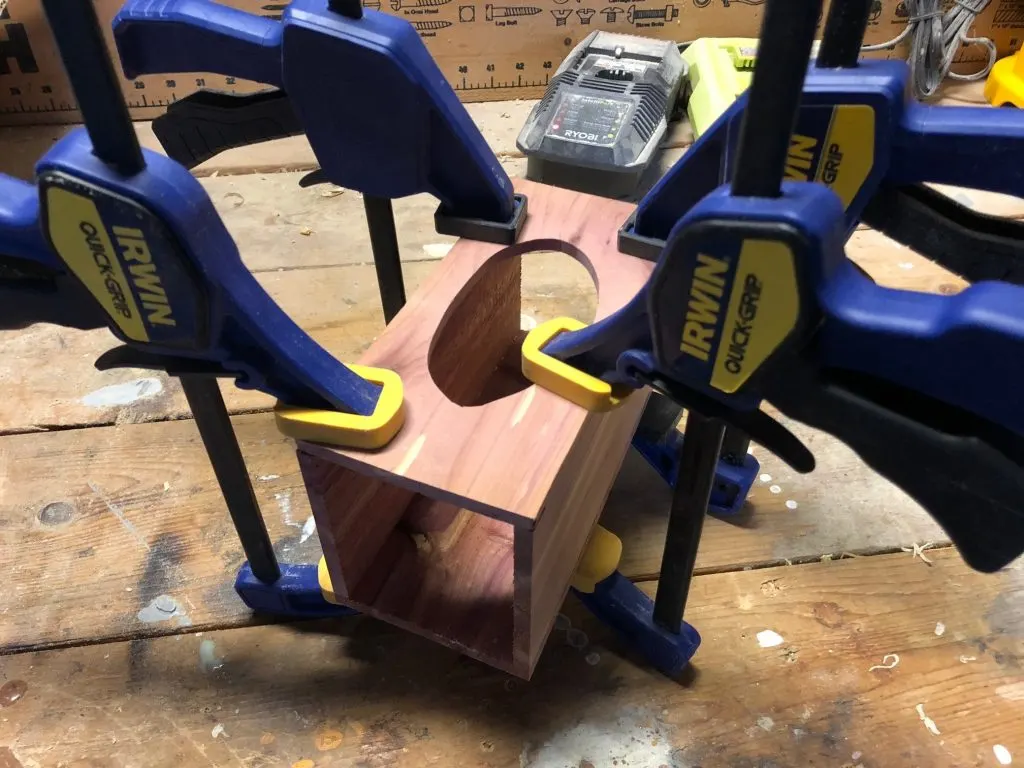
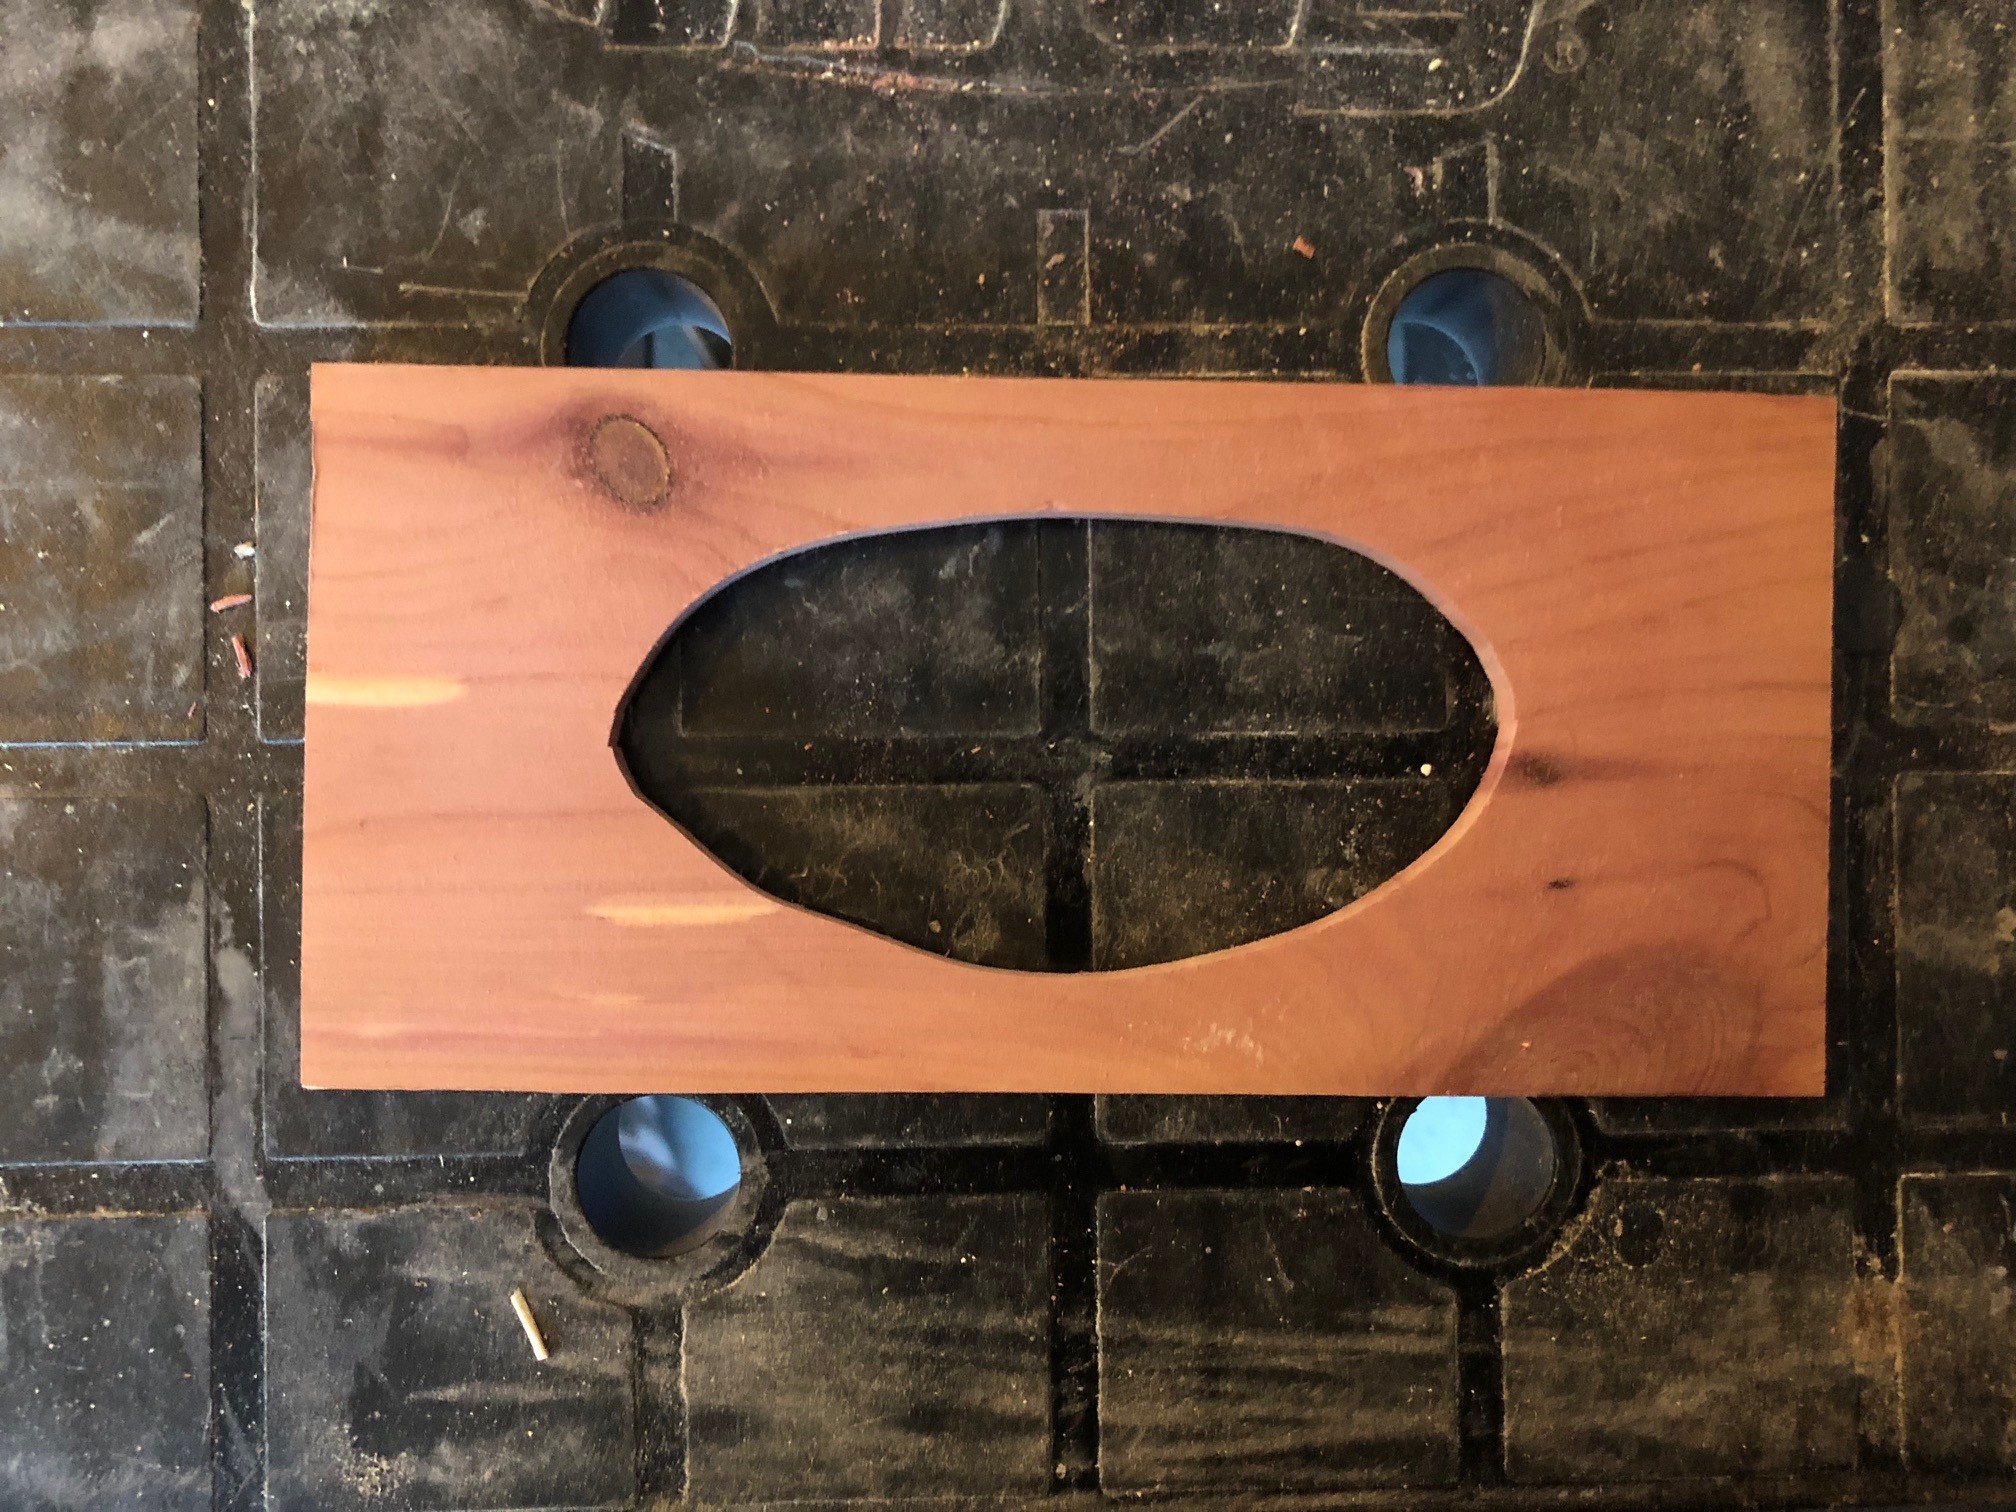
On one of the long pieces, we cut out an ovular hole, similar to the look of a… tissue box.
The easiest way to cut this hole is to use your drill to drill a hole, then stick in the blade of a jigsaw and cut out the hole shape.


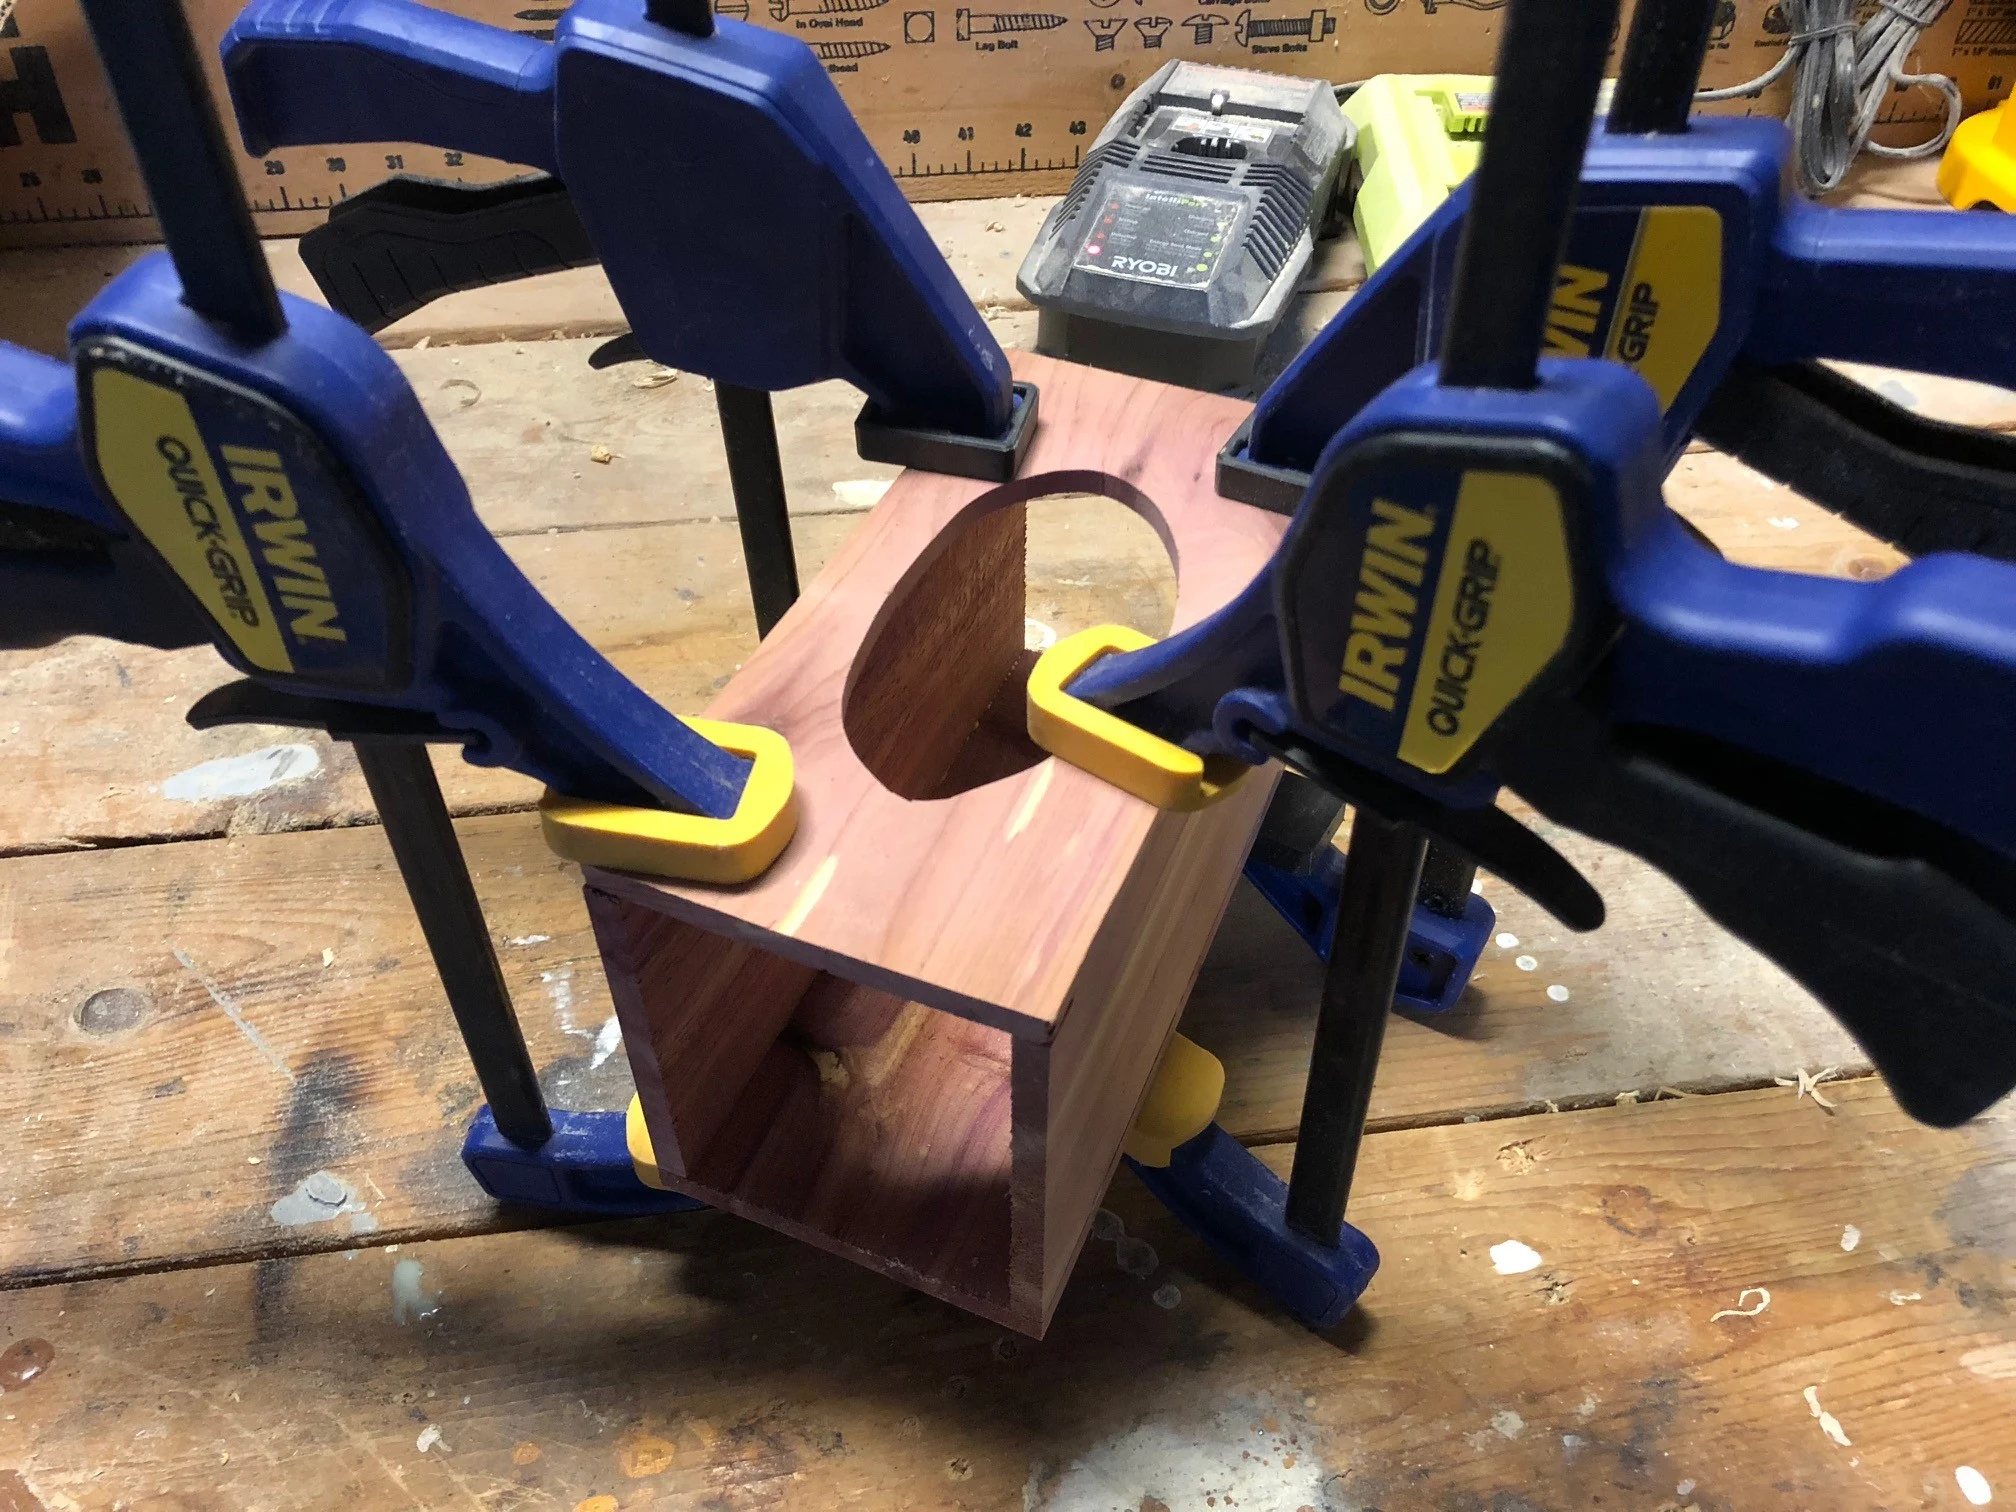
Since our kid would be playing with this, we didn’t want to use any nails, so the whole thing is held together with wood glue.
We clamped together the four long pieces with the two sides lined up on the inner edges of the top and bottom.
Then we clamped the two short sides to the outside of the whole thing.

Gluing was so much easier using my new GluBot wood glue dispenser!
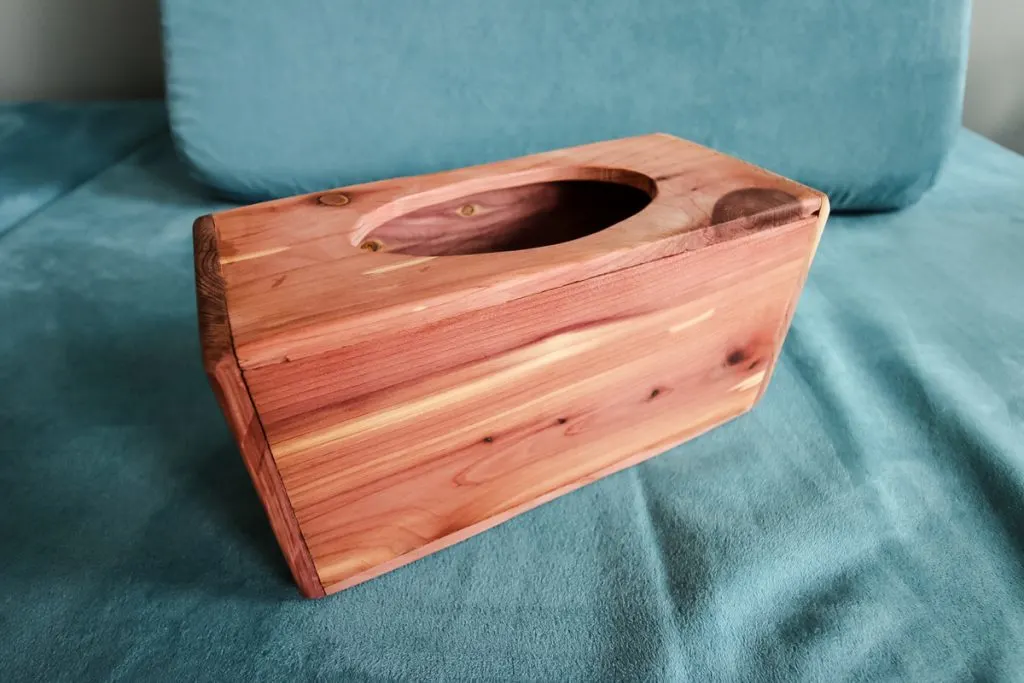
Once the glue was dry, we sanded the whole thing down, rounding the corners and edges and removing any glue that seeped out.


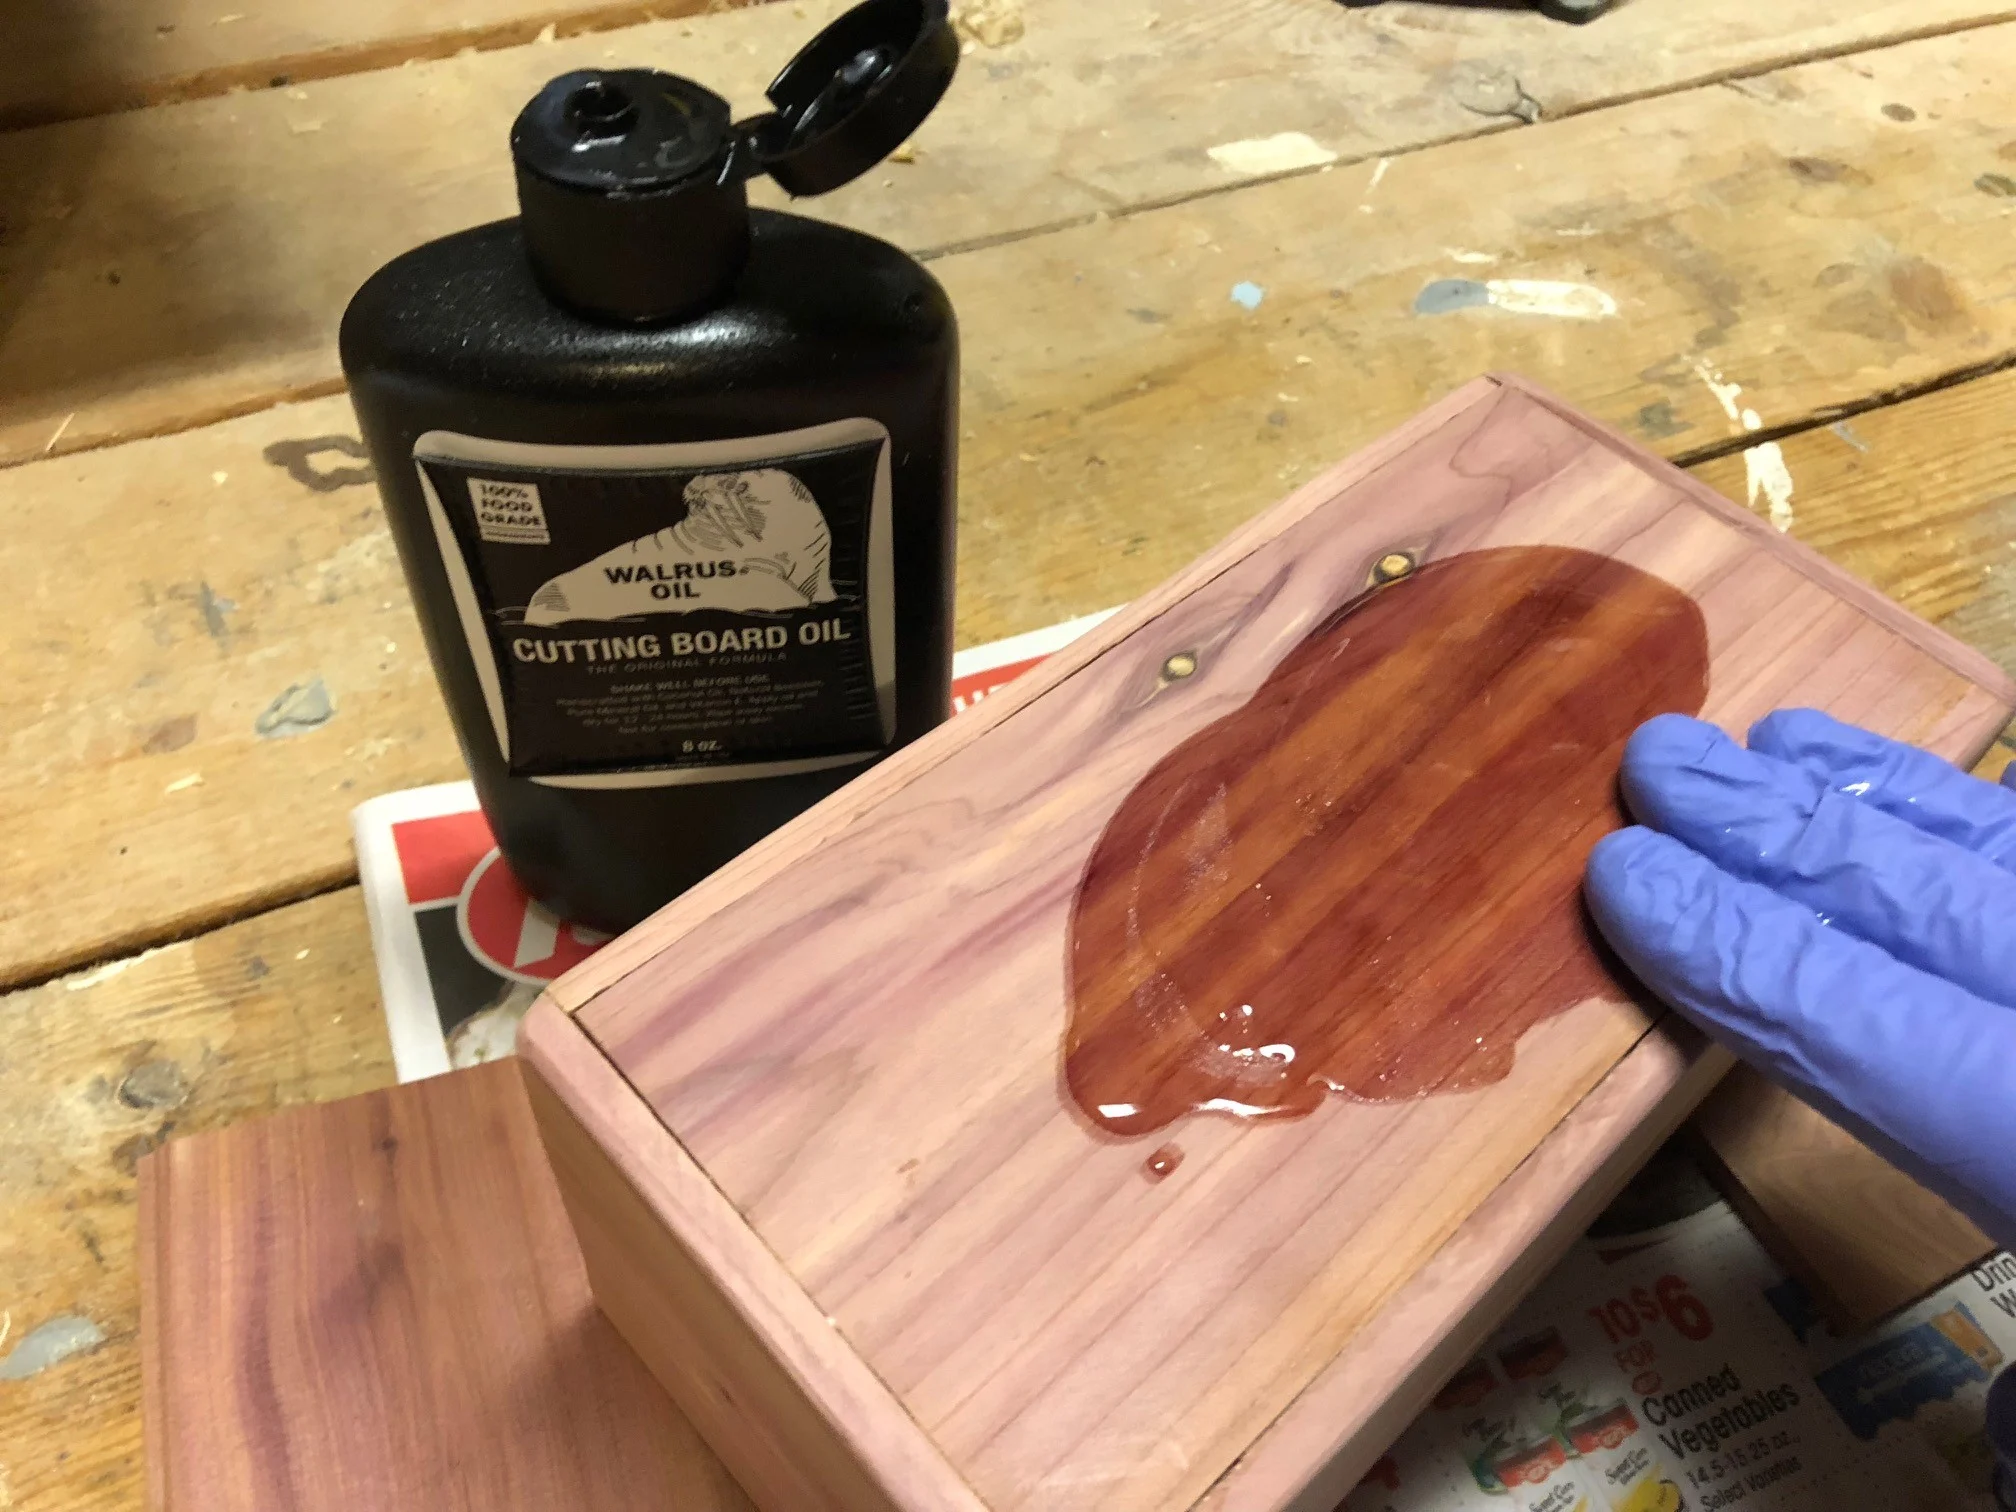
Finally, we coated the whole thing in food-safe Walrus Oil cutting board oil since we knew he would end up chewing on it at some point.
Check out our full Walrus Oil cutting board oil review.

Final Playtime Results
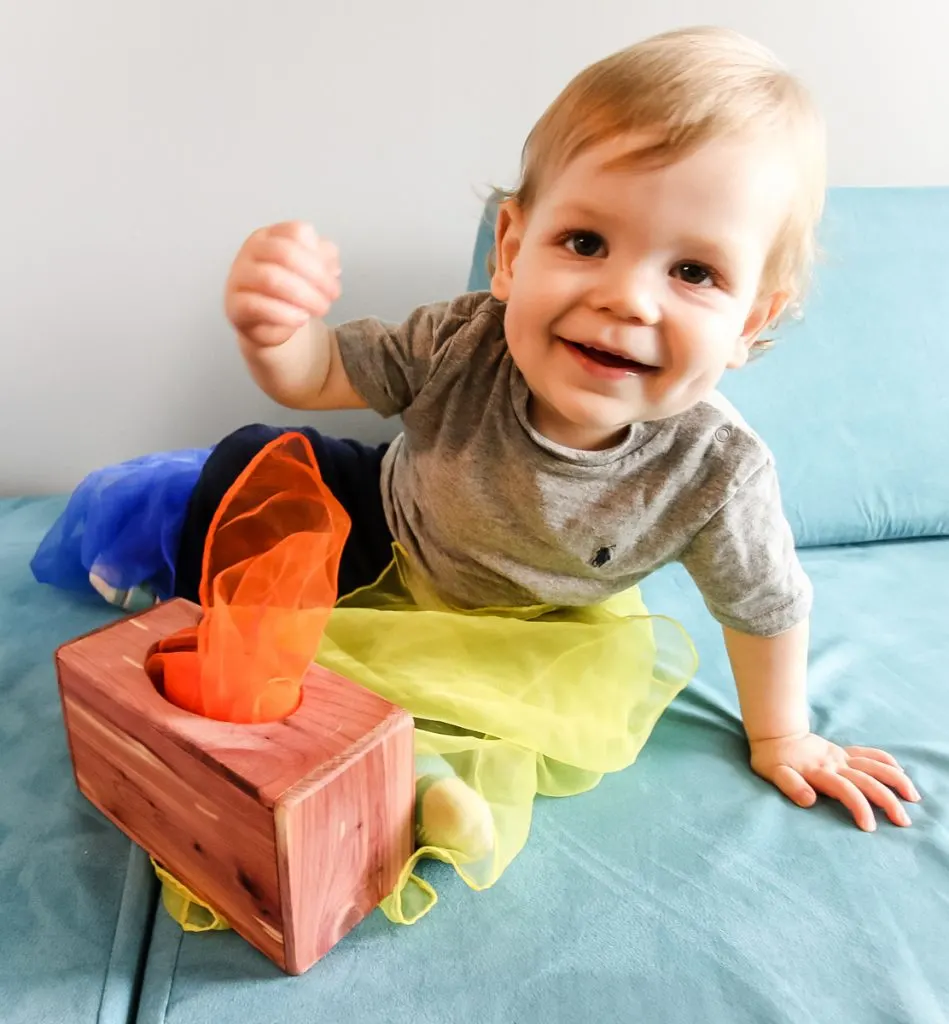
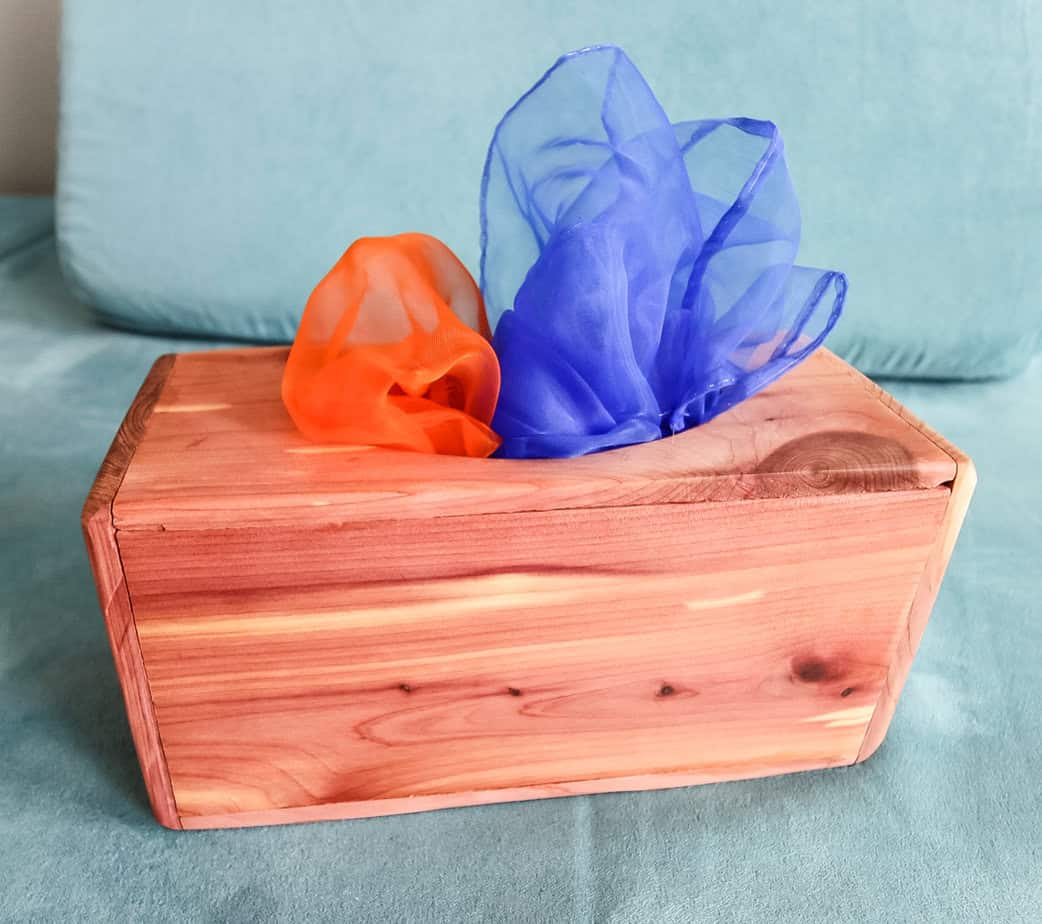
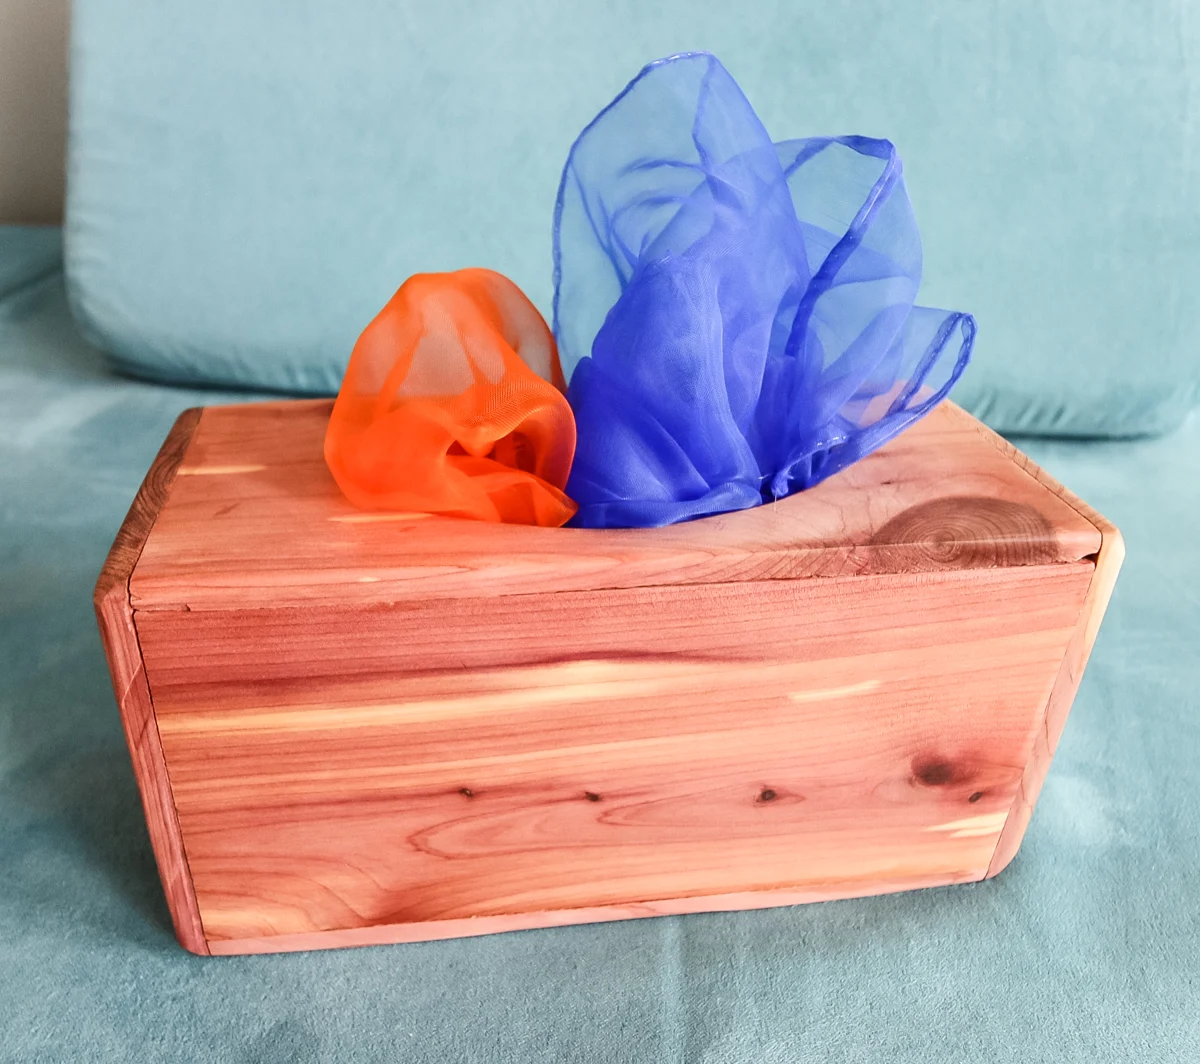
The final step was to stuff the tissue box with juggling scarves. We stuffed these inside the box for our son to pull out and stuff back in.
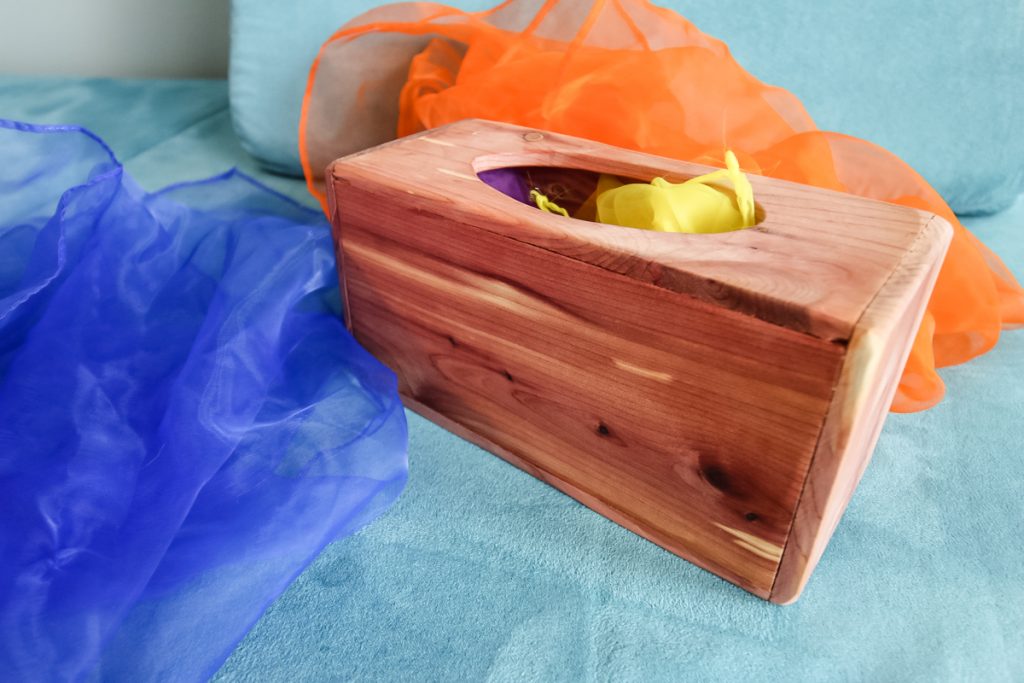

Our son absolutely loves playing with his new magic tissue box. He pulls scarves out one at a time and is in awe that they just keep coming.


Keep your kid entertained by building them a DIY magic tissue box today!
Want to build more wooden kids toys? How about a DIY pikler triangle!
Here’s our tip for dying wooden toys with non-toxic food coloring!


How to Make a Magic Tissue Box
This DIY Magic Tissue Box is the perfect Montessori toy for your toddler. It's quick and sturdy and will hold up to your kid throwing it around. This magic tissue box is perfect for helping your child understand spatial awareness and will provide tons of fun as they learn to pull scarves and push them back in the hole.
Materials
- 5' of 1/4" thick wood
Tools
- Saw
- Clamps
Instructions
- Cut four planks to 3.5"x7"
- Cut two planks to 3.5"x4"


- Cut an oval out of the middle of one of the longer planks

- Glue the four long planks together in a rectangle
- Glue the two short planks to the outside of the rectangle

- Sand smooth and round edges
- Add food-safe oil

- Fill with juggling scarves
Need to get your playroom organized?
I get it – it is SO HARD to keep play spaces clean and tidy! In my FREE 6 Day Playroom Organization Challenge, I walk you through exactly how to purge and clean up your playroom!


Looking for something?
We’ve been doing this since 2012 so we have a LOT of blog posts!
Search stuff like: Ceiling Projects | DIY Plant Stands | Thrift Flips


Hey there, I’m Sean, the woodworking enthusiast and builder behind CharlestonCrafted.com! Since 2012, I’ve been sharing the magic of turning raw materials into beautiful creations. I love teaching others the art and satisfaction of woodworking and DIY. I try to inspire fellow crafters to make something extraordinary out of nothing at all.
Magic Tissue Box for Babies – Free Woodworking Plan.com
Monday 30th of March 2020
[…] magic tissue box is designed for babies or toddlers. It can help a little one learn about spacial awareness and […]