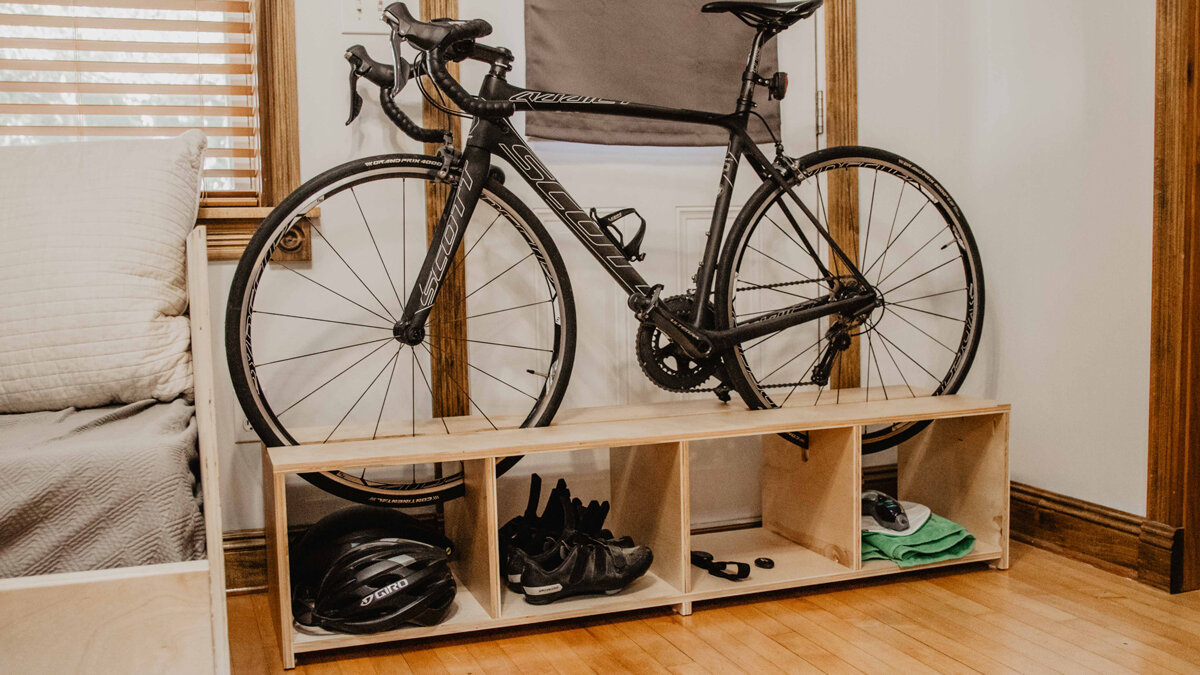
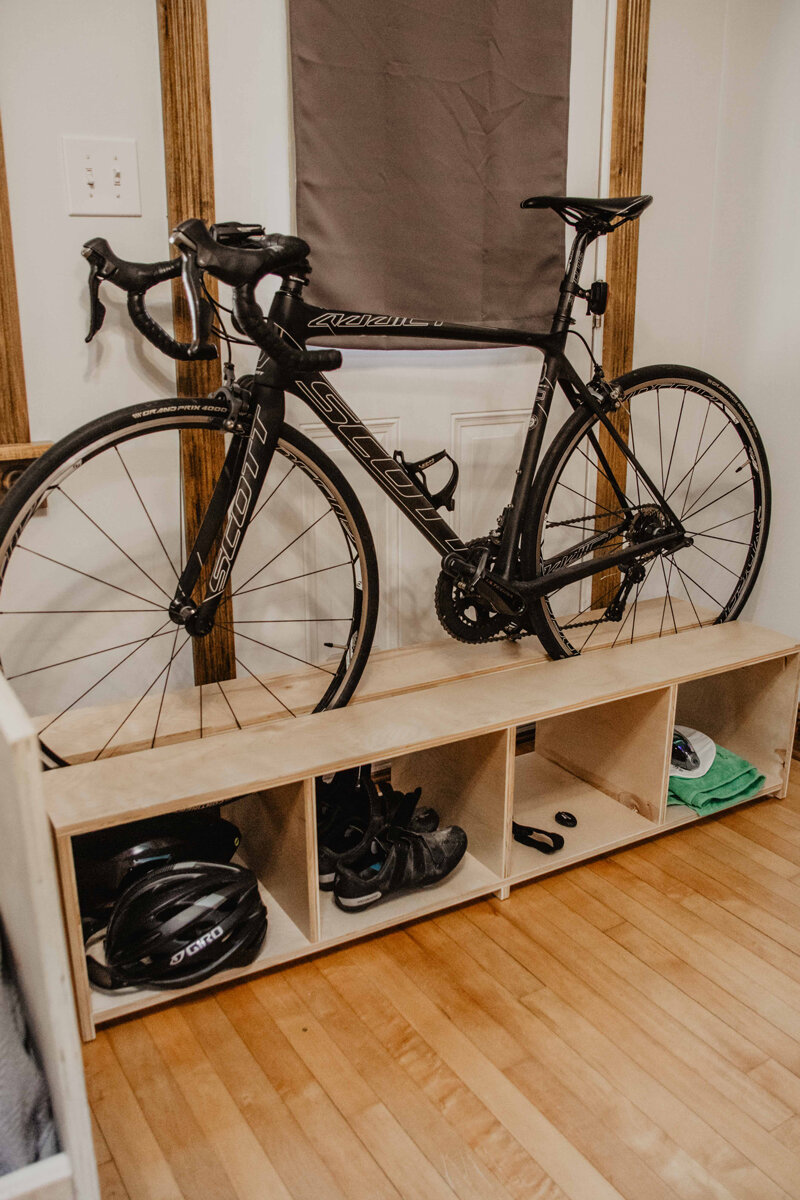
DIY Bike Rack with 1 Sheet of Plywood!

This project is sponsored by SketchUp!
We are building a DIY Bike Rack today, but first, just a quick tip on how we design our projects.
We love a good tip. We love some good learning. Do you? If you do, check out the video above to learn some really cool things in SketchUp! You can also use the code "WOODBREWCREW" to get $20 off SketchUp Pro! GO GO GO! Click here! Thanks to SketchUp for sponsoring this project we were able to offer Free Plans!
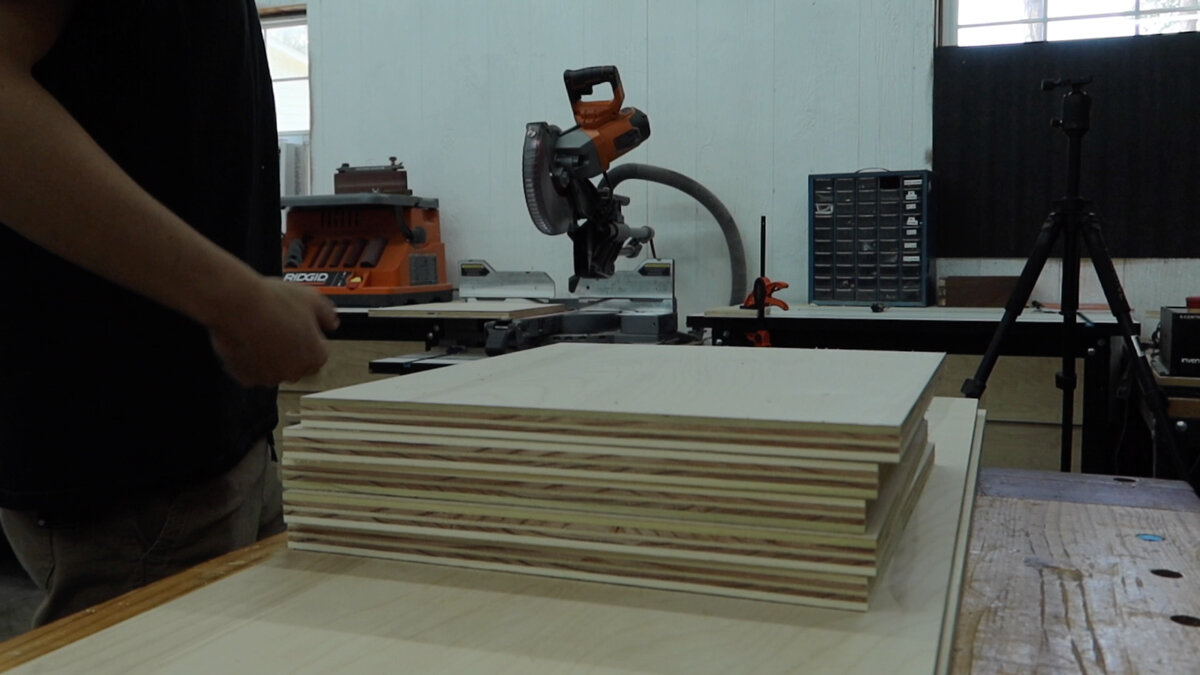
Ok, get this. We only need 1 piece of plywood for this DIY bike rack! We are going to go ahead and rip this down on the table saw into 3 pieces that will become the top, bottom, and all the dividers. This week we actually have a free set of plans for this build with the cut list and layout, so you can check that out here!

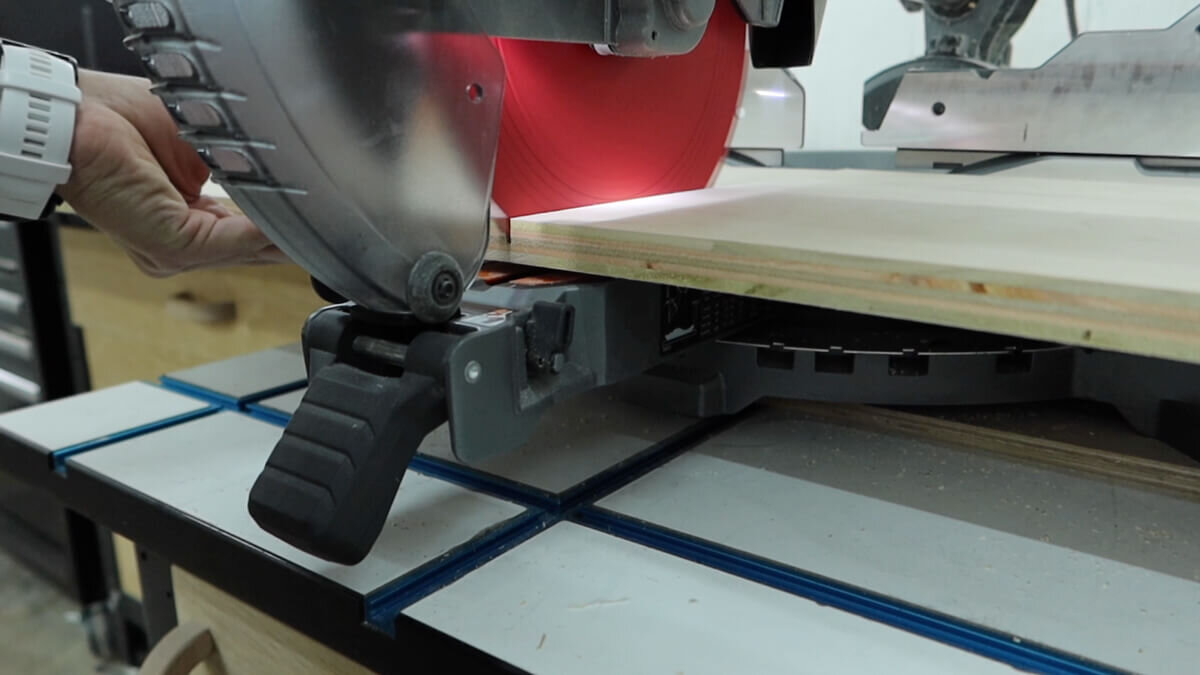
Then moving over to the miter saw we are taking one of those pieces and breaking it down into each divider. We need 5 of them. Three of those five pieces need to be a little shorter than the other two because they won't be going all the way to the ground like the other two. This is shown more in detail in the plans here.
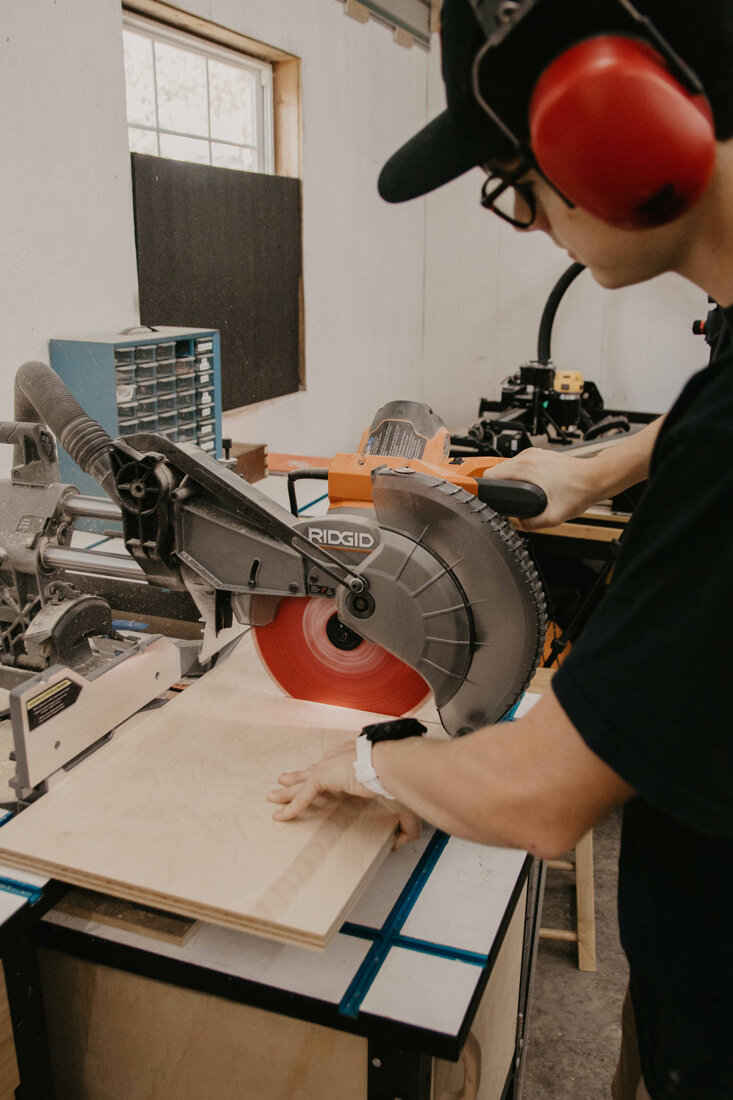
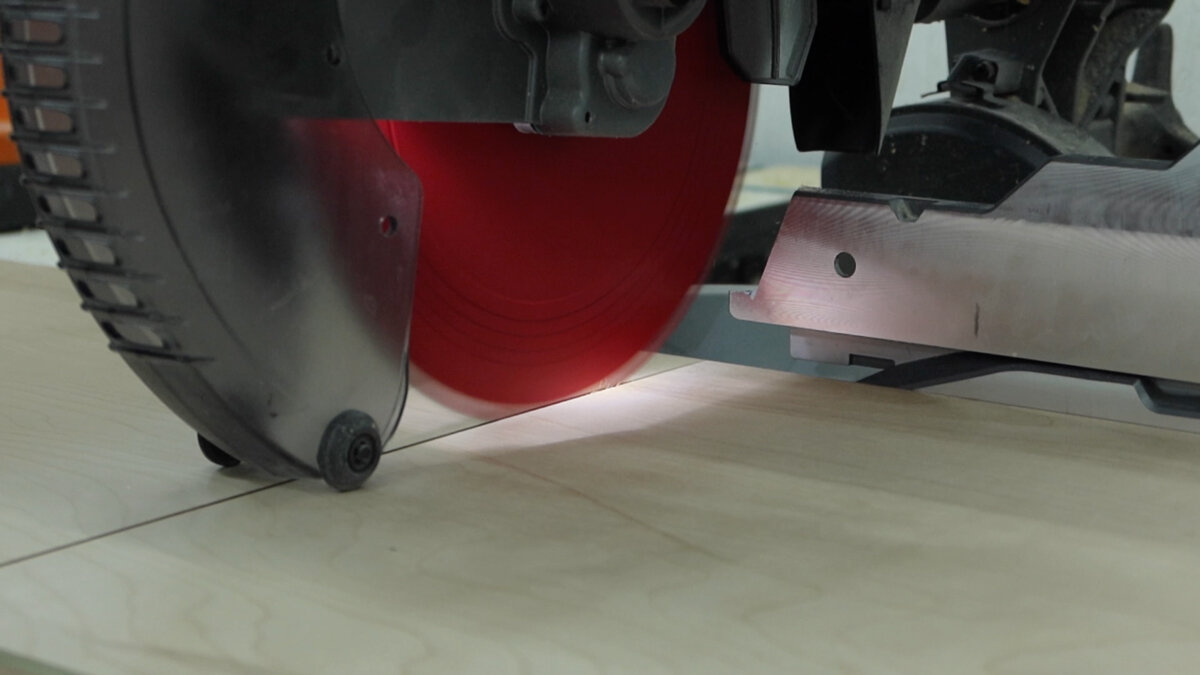
Sometimes you get tear out when cutting plywood on a miter saw, especially a sliding one when you're pulling it back through. so if yo just cut a very small amount which is the top veneer first, then cut through the whole thing, you wont get tear-out on the top.

These boards were just a little to long for the miter saw, but they weren’t so long where we had to flip the board, we can just lift the board up a little bit to complete the cut. Feel free to try this, but only if you are comfortable.
It’s always a good idea to use a stop block when making repeating cuts, just to save you some time on measuring.
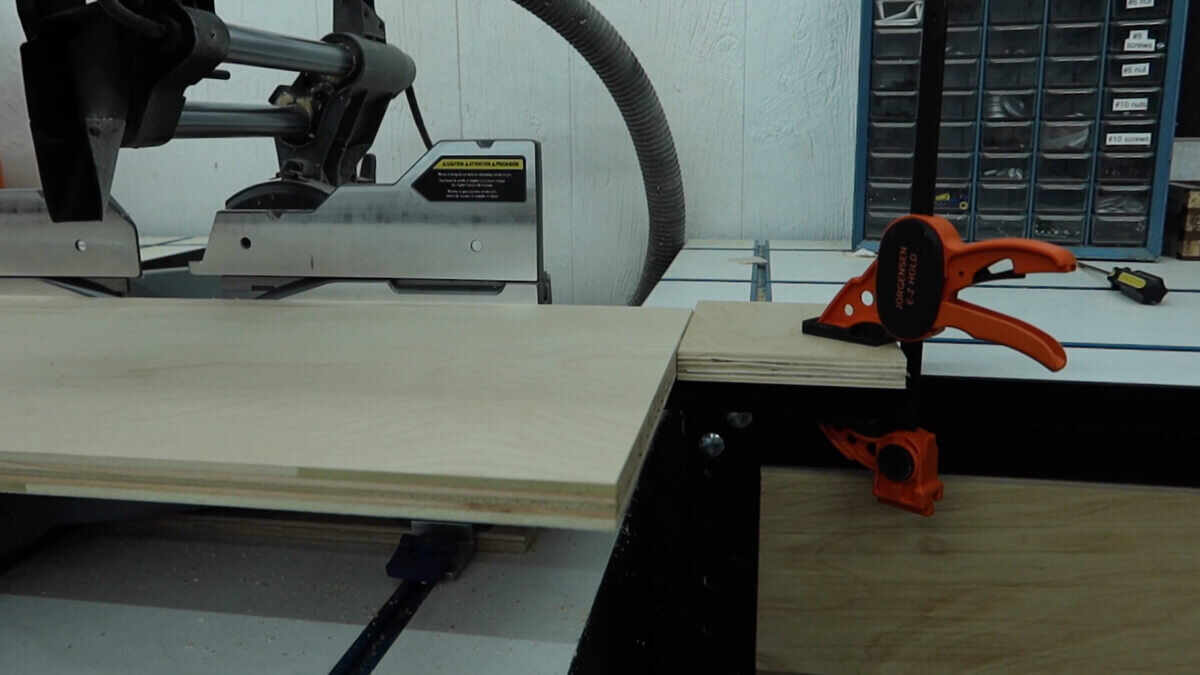
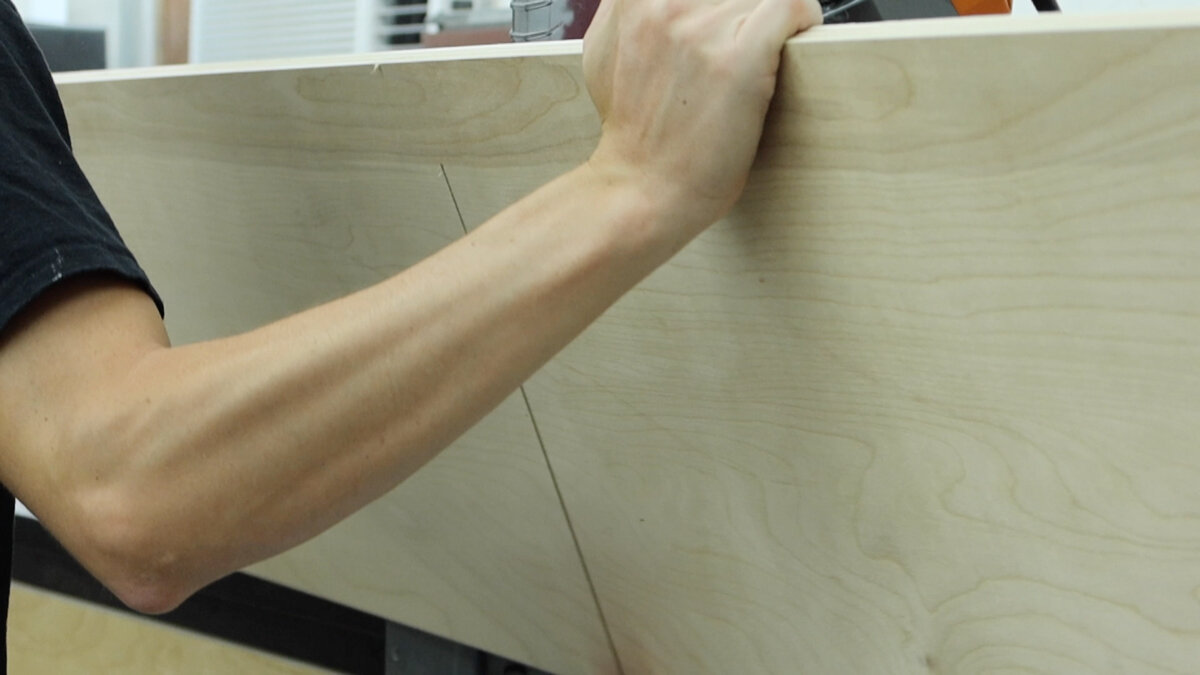
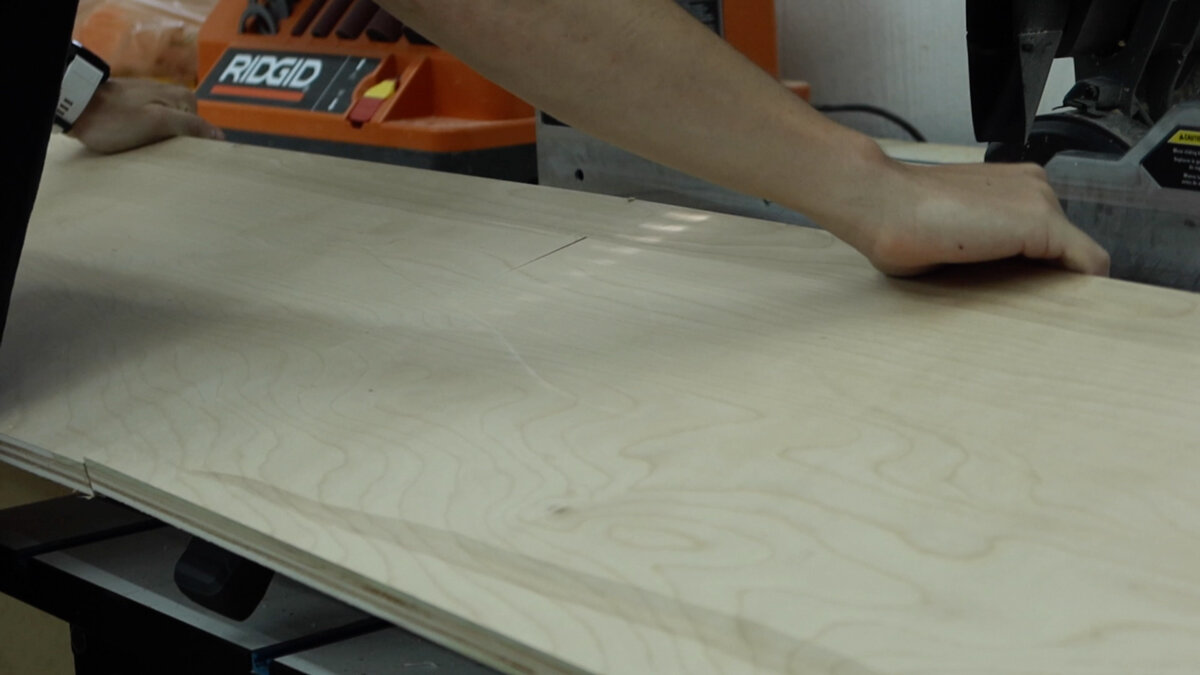
Now we need to grab the next board and cut that down to length for the top. We also need to rip it in half for the bike to rest in between.
This board here was actually too wide to make the cut, so we did have to flip this one completely over, line it up as perfectly as you can, and finish it.
Then it’s just the bottom to be cut to length.
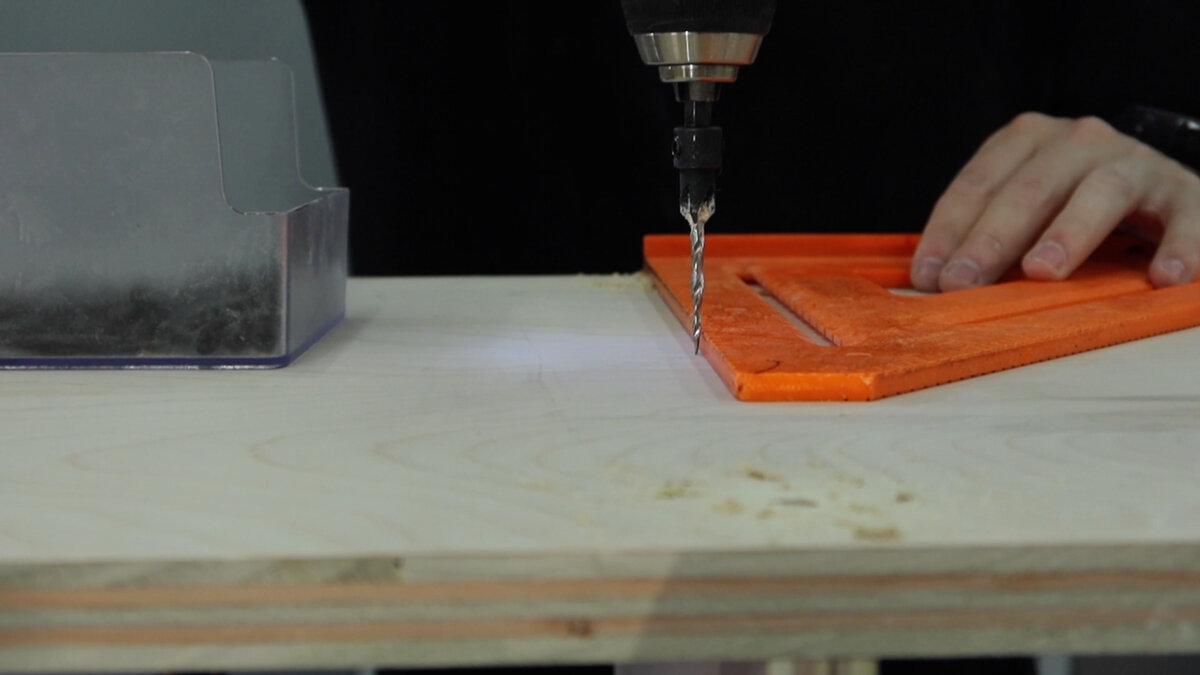
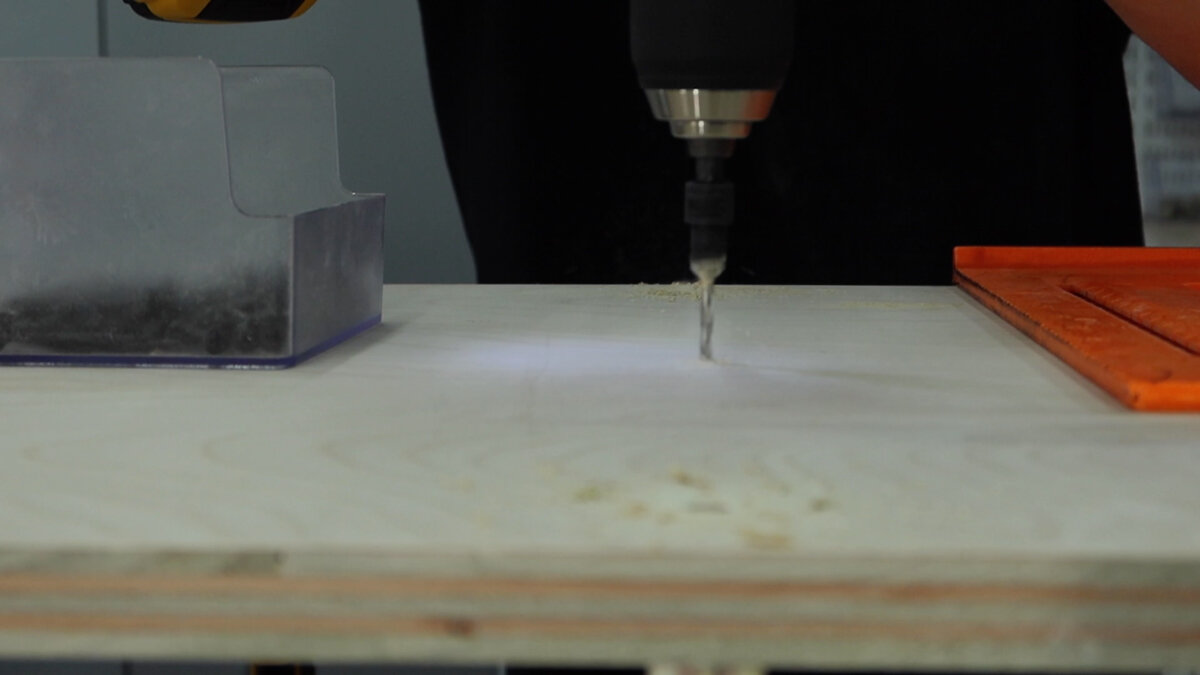
Starting with the bottom piece, we will be pocket holing this to the side pieces, so we are going to drill out those pocket holes here and on all 5 of the dividers, but only on one side of these.
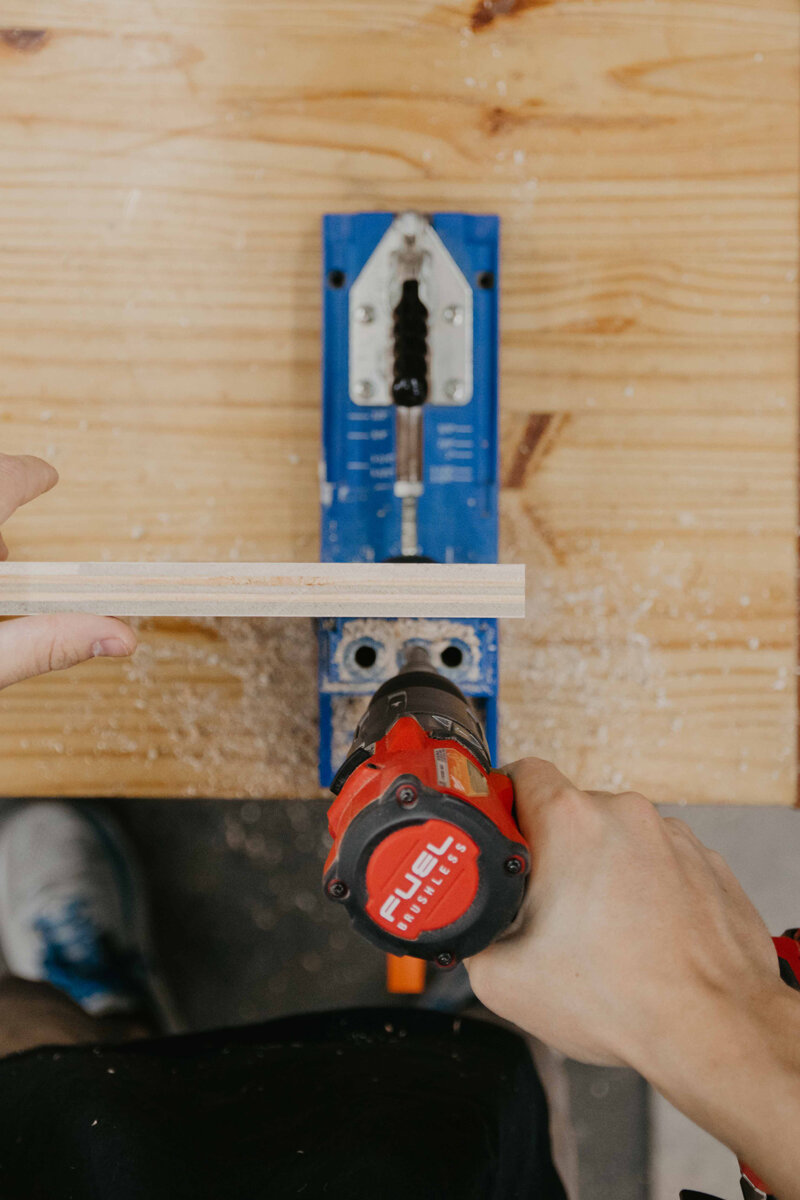
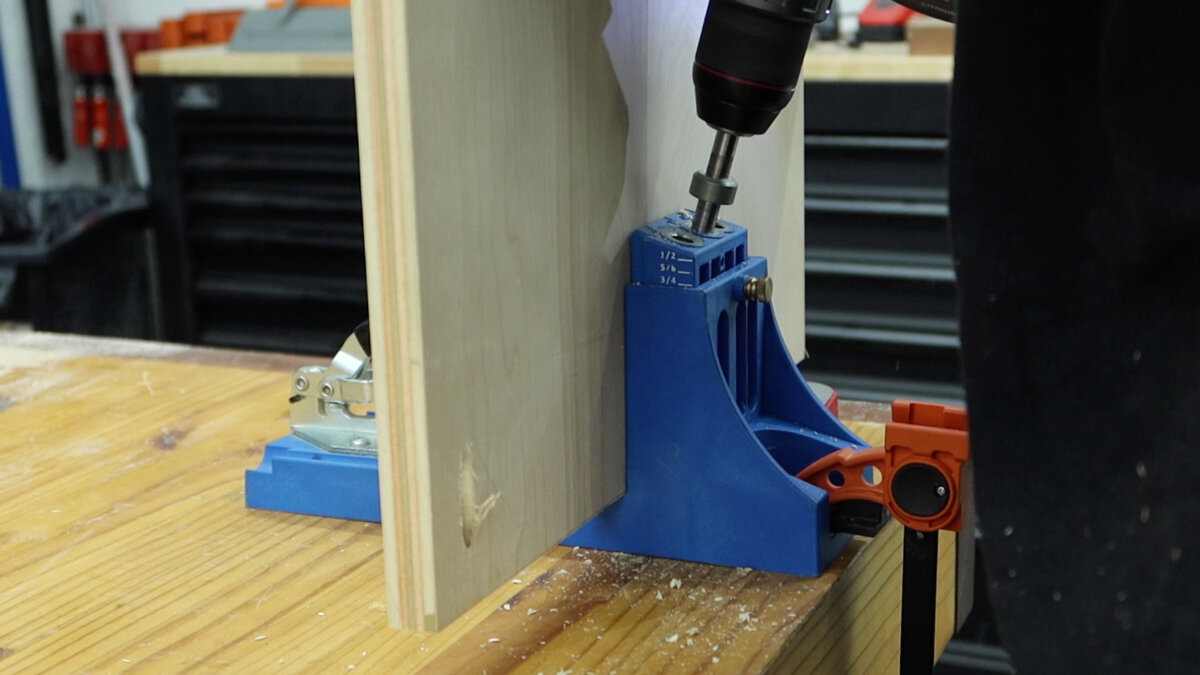
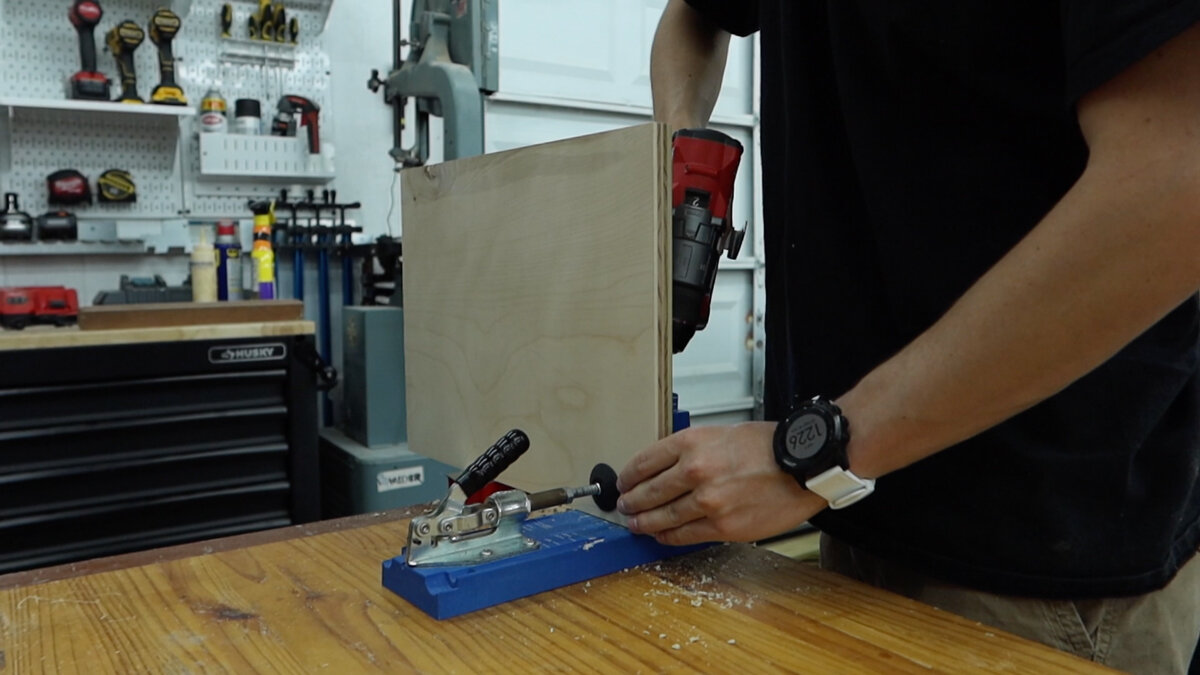
As you can see we have the spacers on the on the sides, and this just helps keep the board flat and keep the pocket holes going in straight. This just makes life a lot easier.
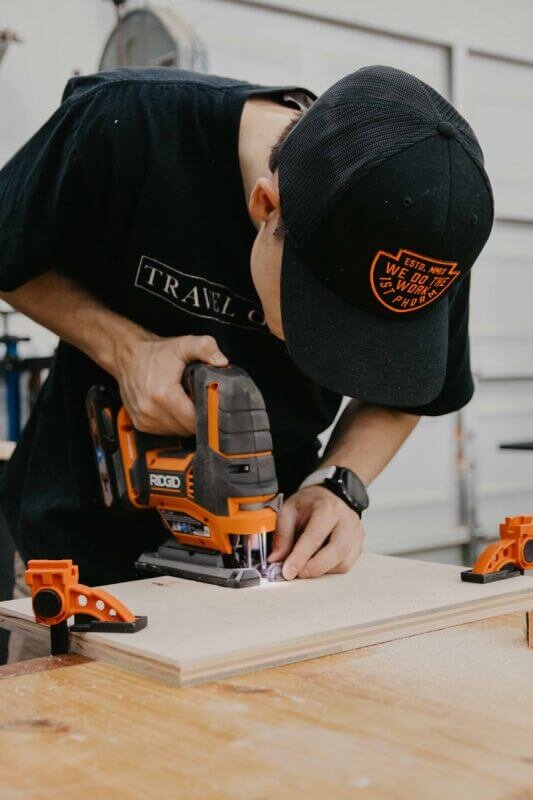
We need to make a cut out for the bike wheels to sit in, so we are using our drill press for this, but you can totally just use a drill. Here's a quick tip though! When drilling these holes with a forstner bit, you will most of the time get blow out out the back with ugly splinters. To avoid this, drill out a small hole all the way through the board first. Make sure that hole is where you want the center of the bigger hole to be. Then get you forstner bit, start drilling out the hole just a bit, maybe 3/8". Then, flip the board over, line up the forstner bit to the small hole you drilled earlier and finish out the hole! No splinters!
After the holes were done, we used the jigsaw to cut out the rest.
We went ahead and sanded everything down now before it was all put together.
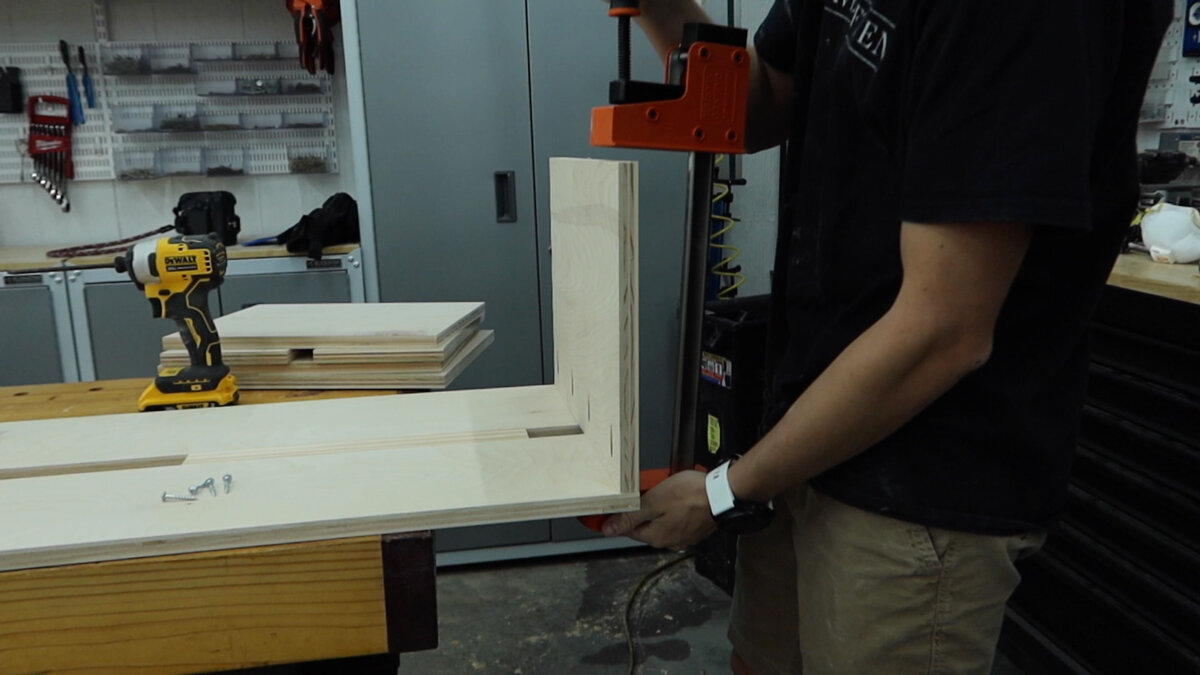
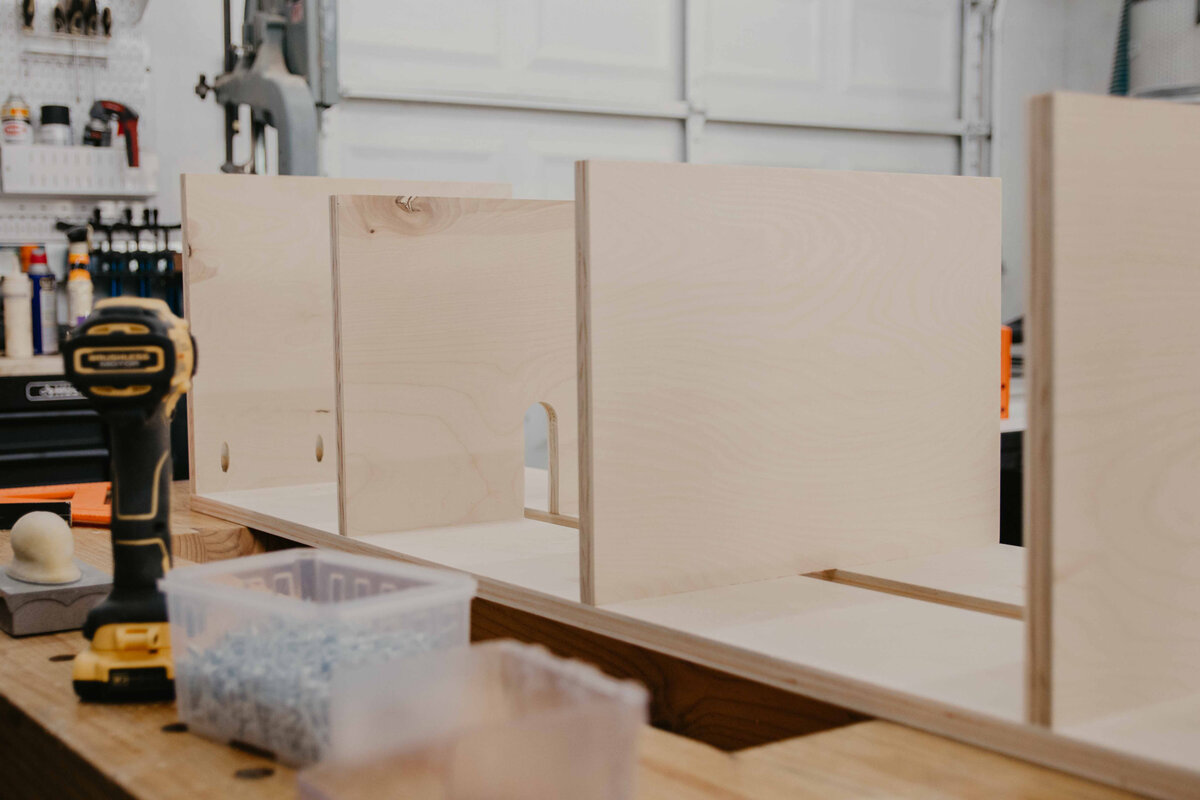
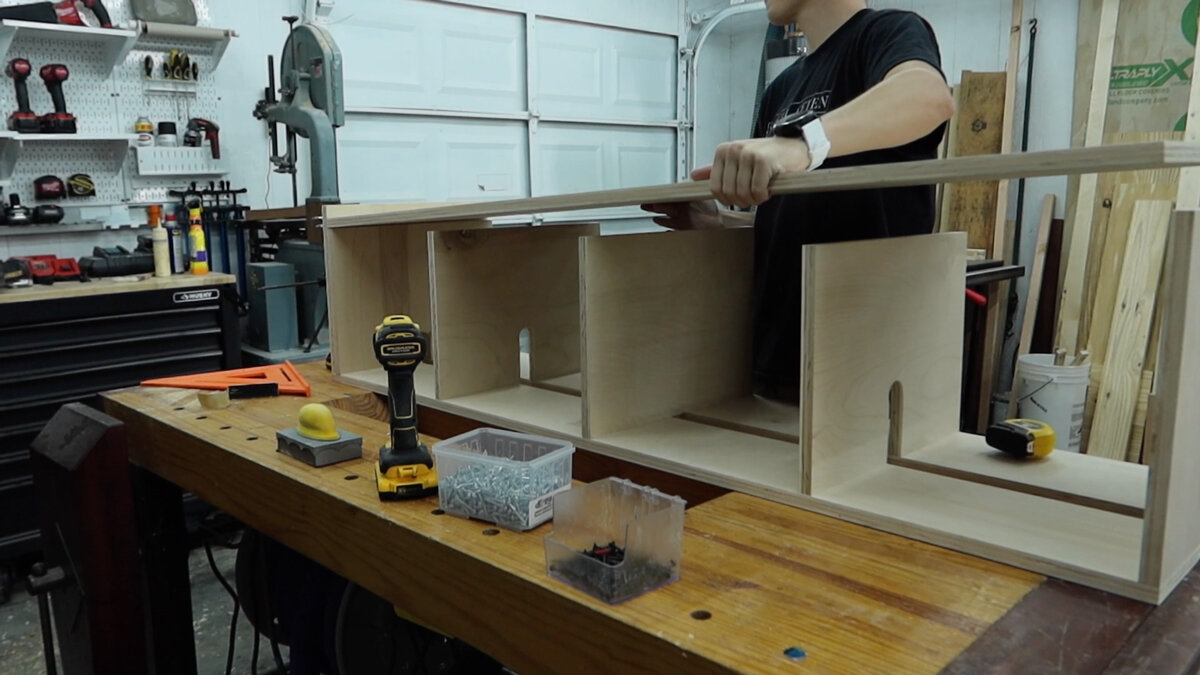
Now we can go ahead and start assembling. We have the top boards down on the workbench because we are attaching the side pieces and the dividers with pocket holes to the top.
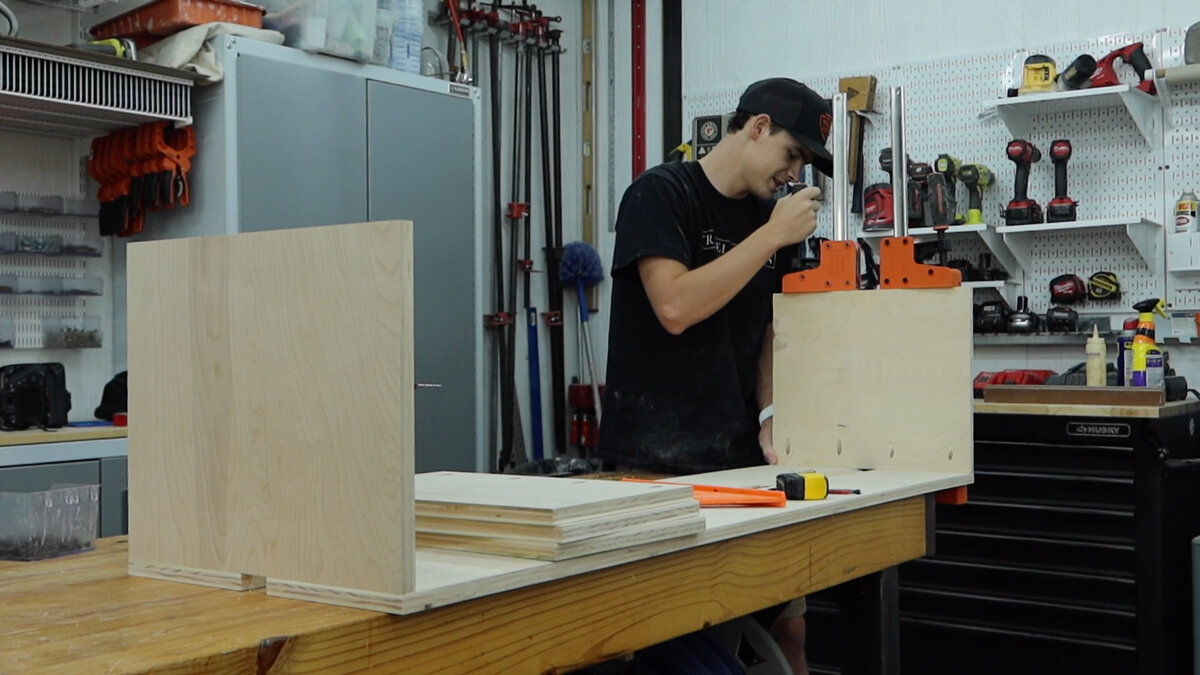
After the middle piece is screwed into place, we measured to the middle of one of the openings, then half of 3/4” is 3/8”, so we came over 3/8” to our right, made a line, and now we can put the boards with the cutouts to the left of the line so it will be centered to the opening.
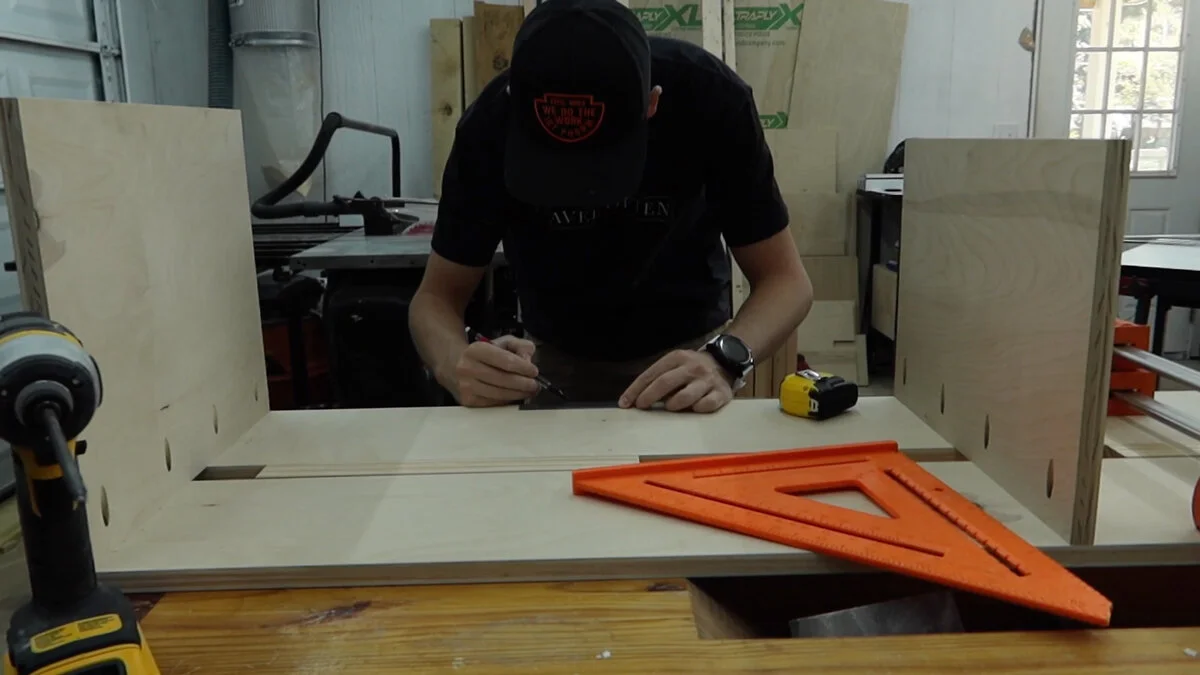

We are also putting all the pocket holes facing one direction, so at one view you wont be able to see any at all.
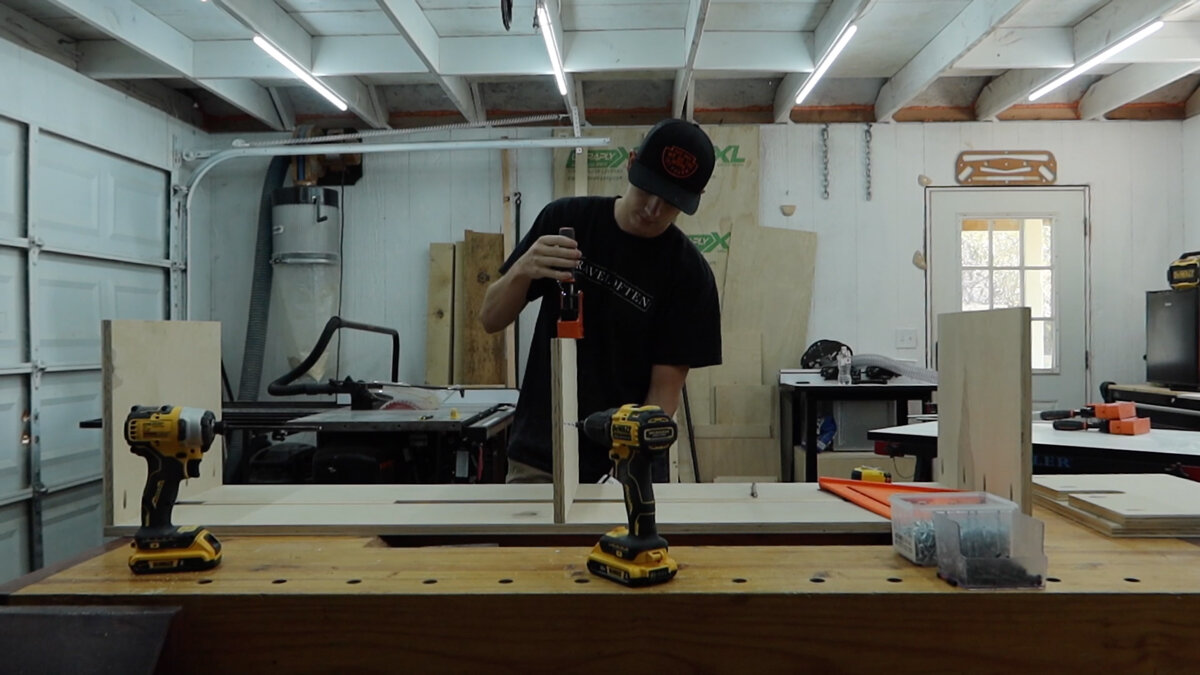
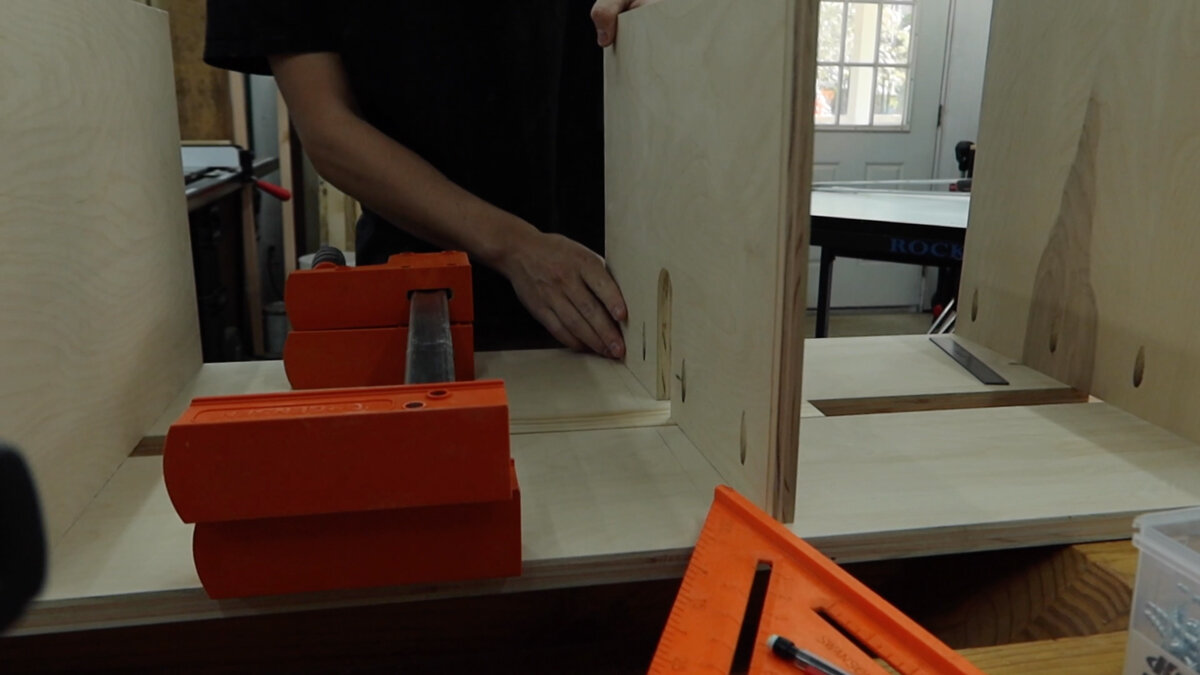
Now just for the bottom piece. We put a scrap piece against the two sides, which is the same size as the middle dividers, so the bottom piece can rest on top of them as we screw it in place.
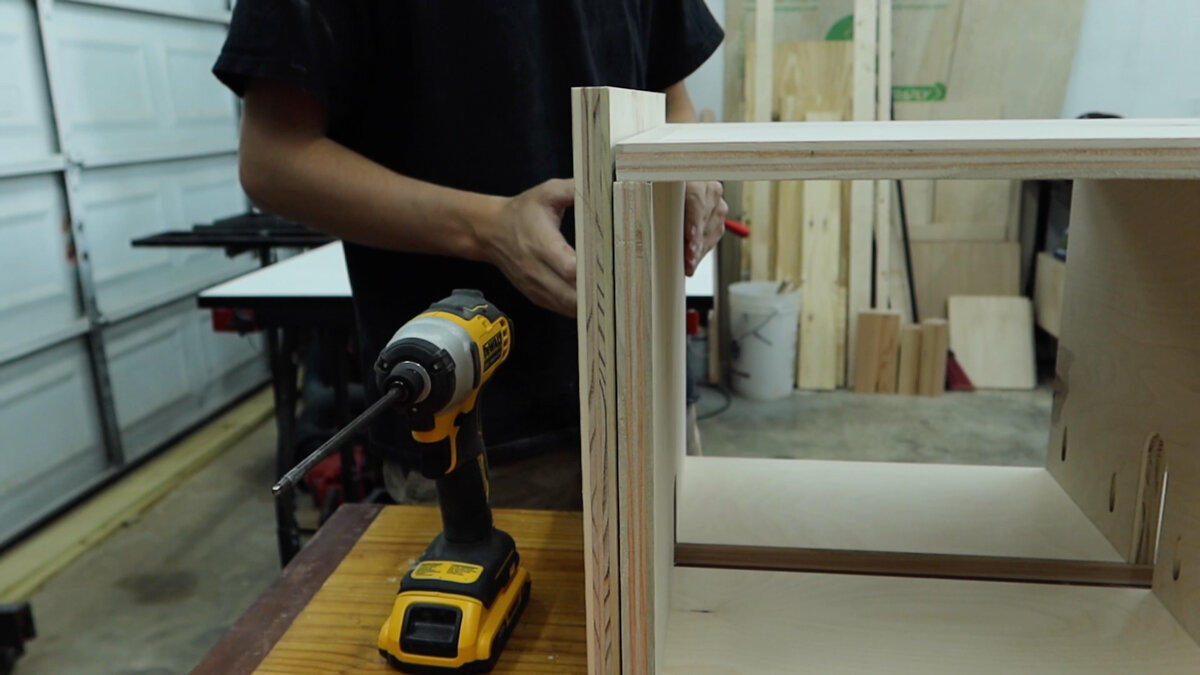
We also need to screw the bottom piece into the dividers and we just used a countersink bit and normal wood screws for this.

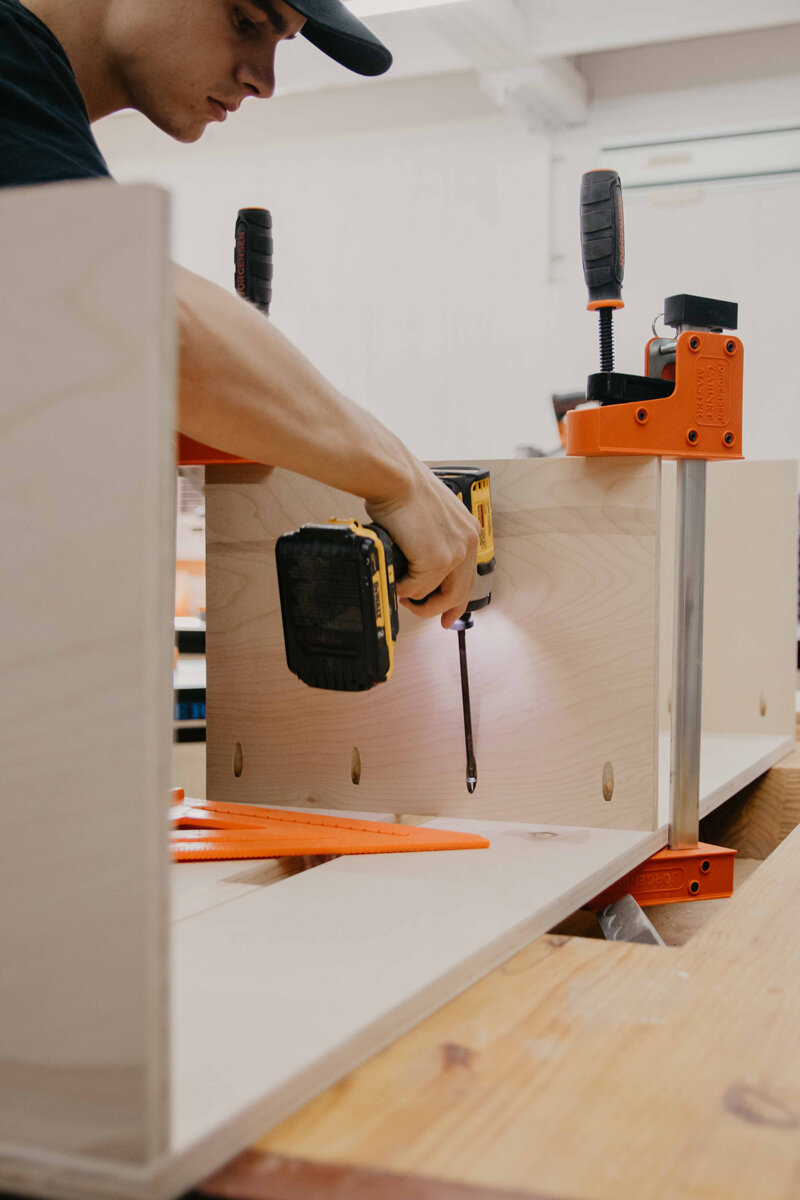
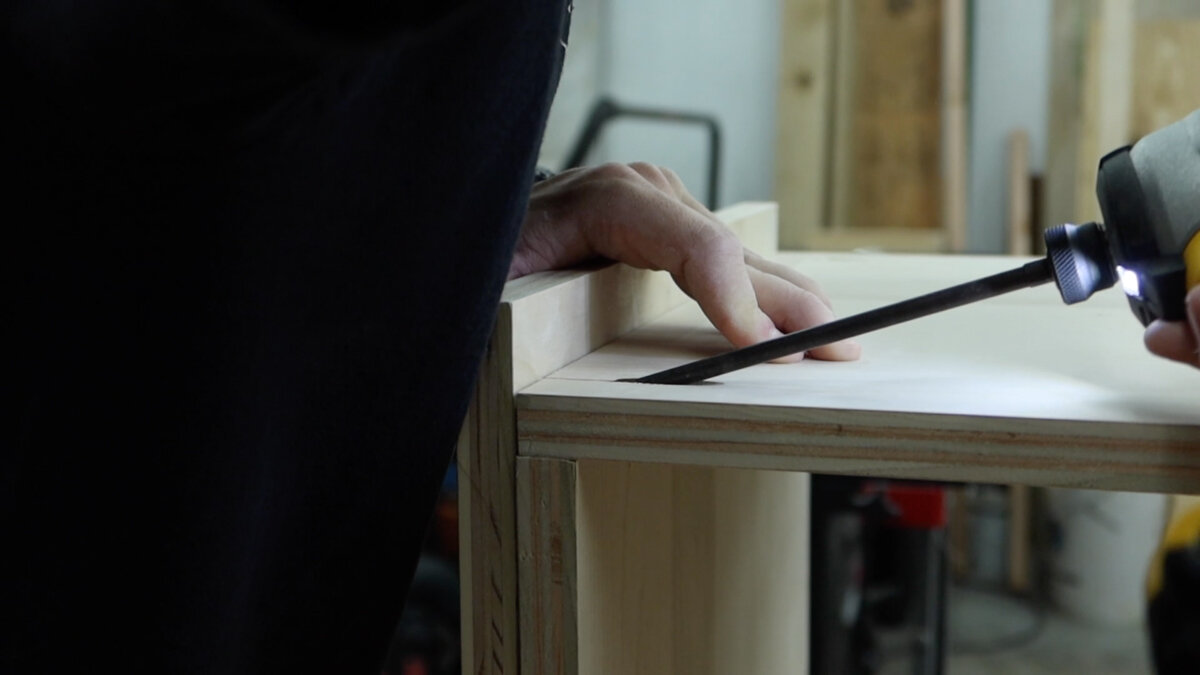
We also need to attach the bottom to the dividers from the middle of the board, so we are lining the square up with the screw that we already screwed in place, moving up 8” which is the center of this and starting there. This is so all of the screws are in the exact same spot and we know they are perfectly centered in the divider.
We did add a small piece to the bottom of the rack, in the middle so it can rest on the floor and won’t sag.

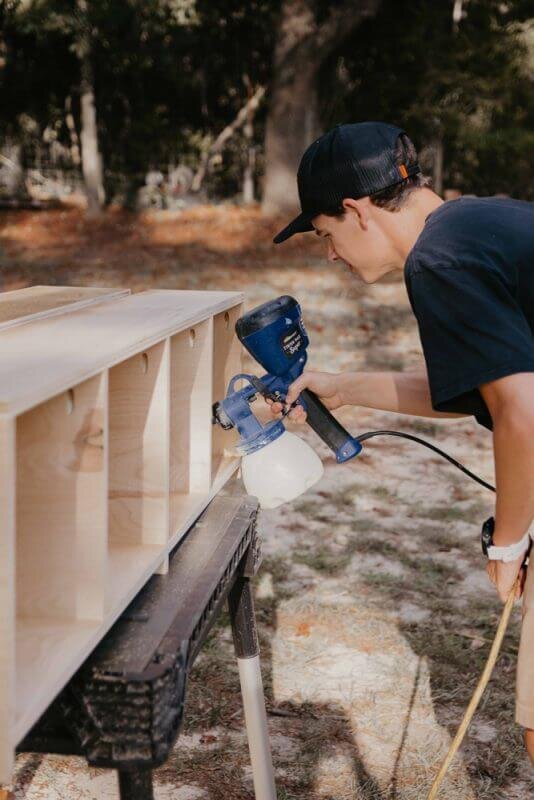
All that’s left is finish and you know we just have to use the Total Boat Halcyon Clear varnish.
That is going to wrap up the DIY Bike Rack! This is something we have needed for a long time because the living room has been looking like a garage with all the bikes laid up everywhere. It’s nice to finally have a nice looking rack to put a bike in and all the gear.