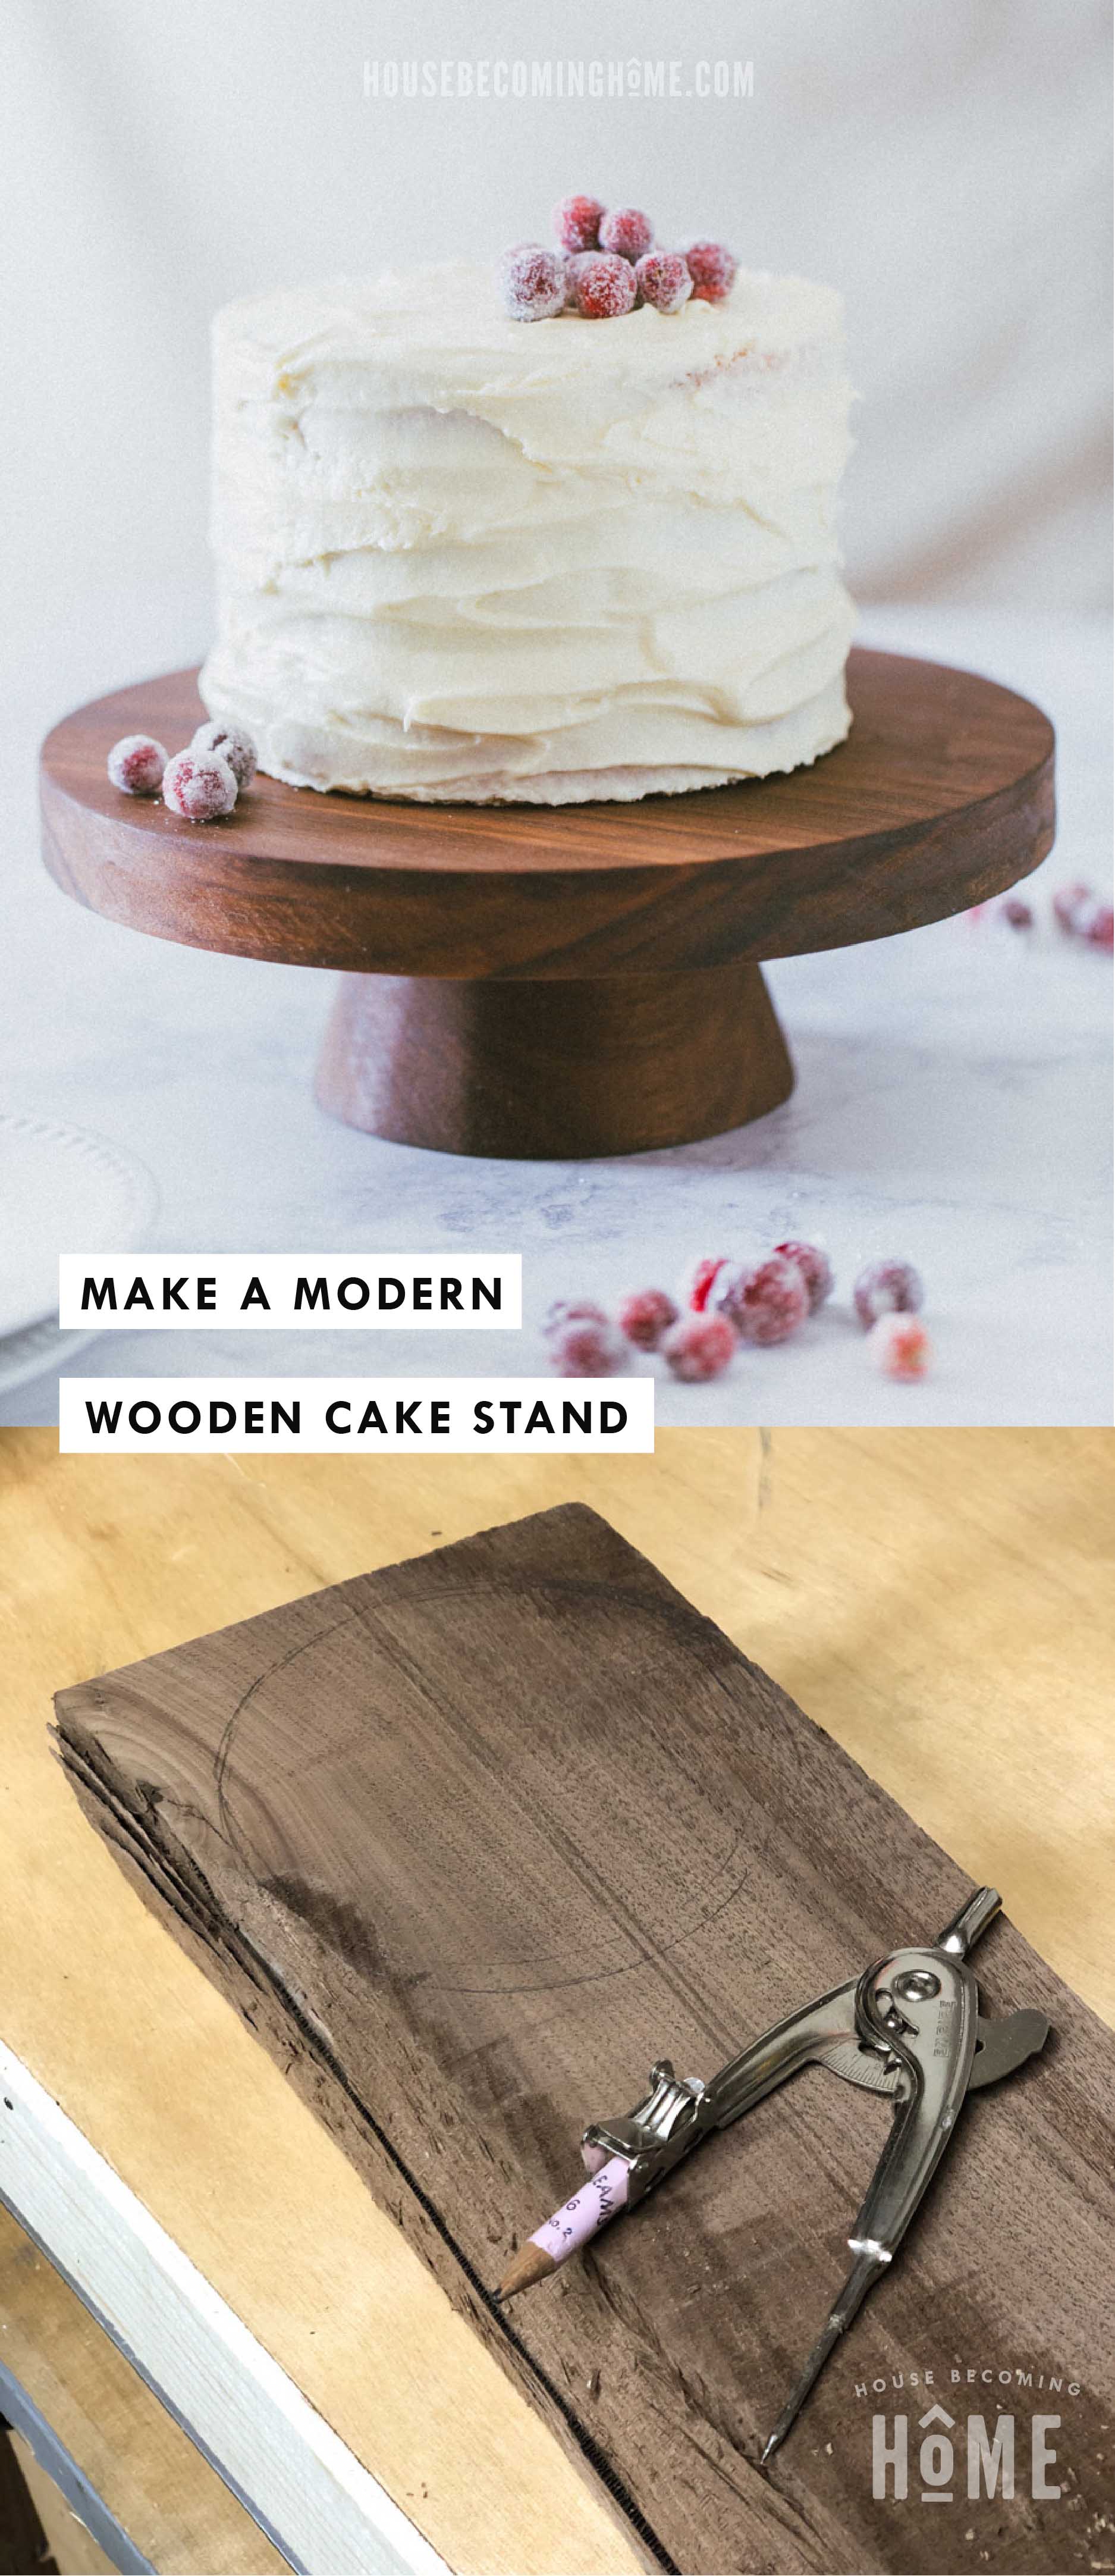
Earlier this year when I made dip-dyed stools, a friend mentioned that the walnut I used might make a pretty wood cake stand. I rushed back to the consignment store where I found the scraps of walnut, and bought several (ahem, eight) more. Of course they have sat on a shelf for nearly the entire year as I’ve been busy building all kinds of organization systems for my garage workshop.
This month I’m participating in the Handmade Gifts Challenge with several other DIY bloggers. Time to take a break from garage organization builds and make a walnut cake stand. It’s a lovely handmade gift, if you ask me. 🙂 Wouldn’t you just love to receive one of these simple, modern wooden cake stands???
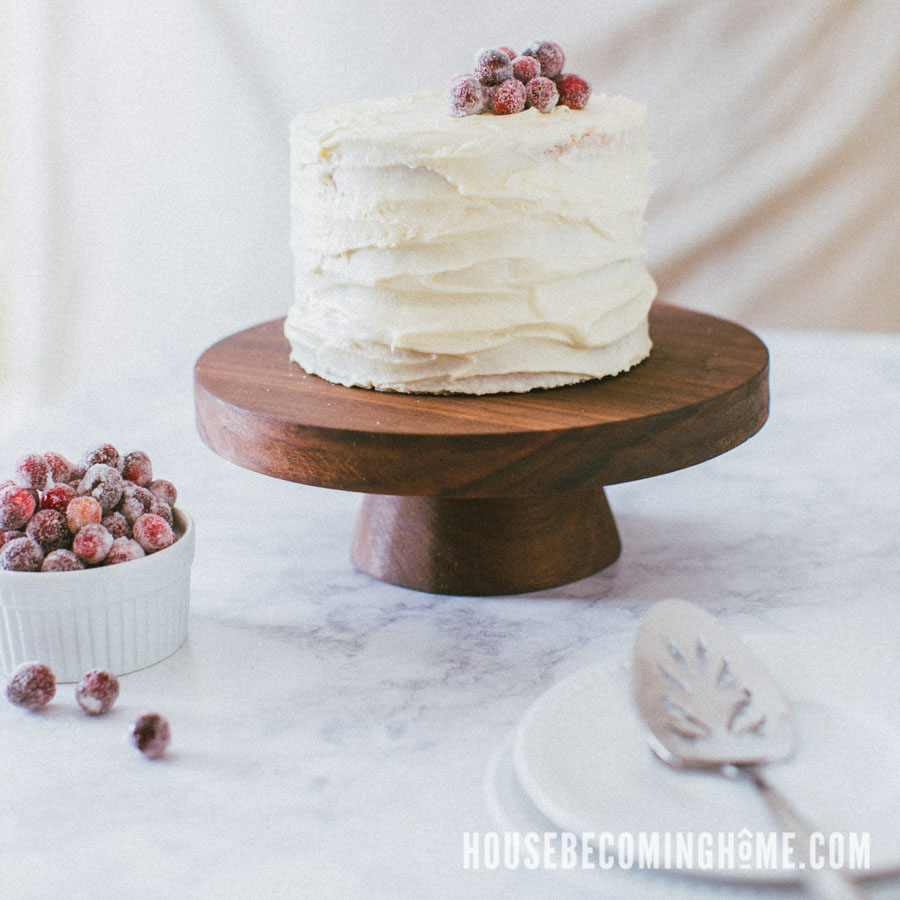
Make a Wood Cake Stand
This is a simple project – a tapered cylinder (base), glued to a wooden circle (top). There are SO MANY different tools/methods you could use to cut these pieces. A lathe is probably the most ideal choice, but at the moment I don’t own one ( but hey, speaking of gifts . . . Christmas is coming . . .?. . . )
I used my bandsaw to cut the base, and my table saw to cut the top. In the past I’ve also used my router + DIY circle cutting jig to make a perfect circle for a modern clock, which would be another good option. There are usually multiple ways to get the same result, so try and make it work (safely!) with the tools you’ve got.
* This post contains affiliate links for your convenience. Read my full disclosure policy here. *
Materials
- Two scraps of wood
- 1 – 3/8″ wooden dowel (a larger diameter dowel would also work, but 3/8″ was the size I had on hand)
- Wood Glue
- Mineral oil, or another food-safe finish to protect the wood
Tools
Again, there are multiple ways of cutting circles and cylinders, but I used:
- Bandsaw with a tilting table (I found a killer deal on craigslist for this Laguna bandsaw, but any bandsaw with a tilting table that can accomodate the height of your base (~2-3″) will work)
- Table Saw
- DIY Circle Cutting Jig (scrap plywood + a short length of T-Track)
- Sander and sandpaper
- Vice, wood clamps, or a makeshift clamp
Determine the Size of your DIY Cake Stand
Typical diameter sizes for cake stands are anywhere from about 8″ to 14″. I love making 6″ cakes, then layering three of them to make a cute little dessert with lovely proportions. With that in mind, I wanted to make a stand that would work well for 6″ layer cakes.
Cake Stand: 9.5″ diameter, 3.5″ tall
Base: 2.5″ tall, 4.5″ diameter (measured from the bottom, larger side)
Top: 9.5″ diameter, 1″ thick
Make the Cake Stand Base
Selecting Wood for the Cake Stand Base
I was lucky to get these thick scraps of walnut at a local consignment shop, but if you don’t have access to thick wood like this, you’ve got other options! Glue and clamp together three or four pieces of 3/4″ lumber to create something thick enough to make the base of the stand (my base is 2.5″ tall).
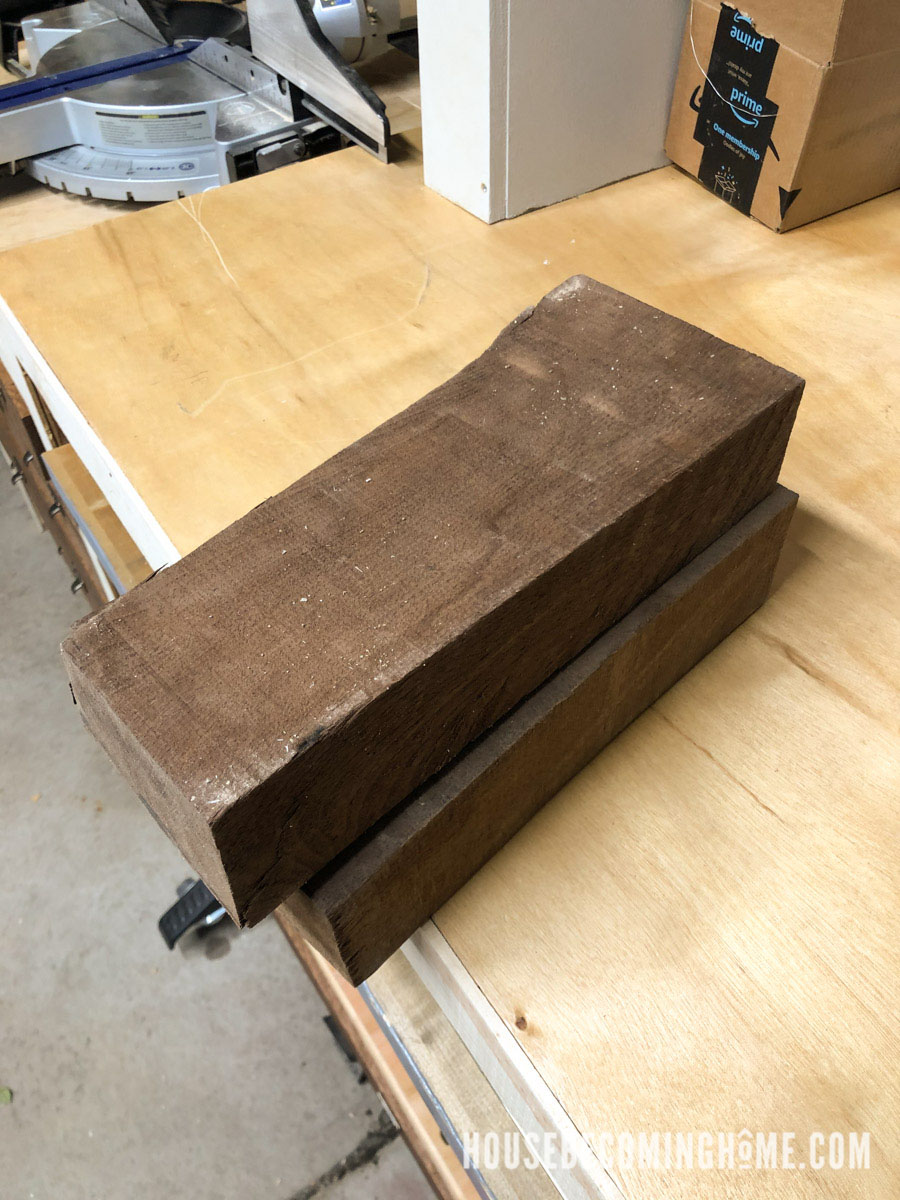
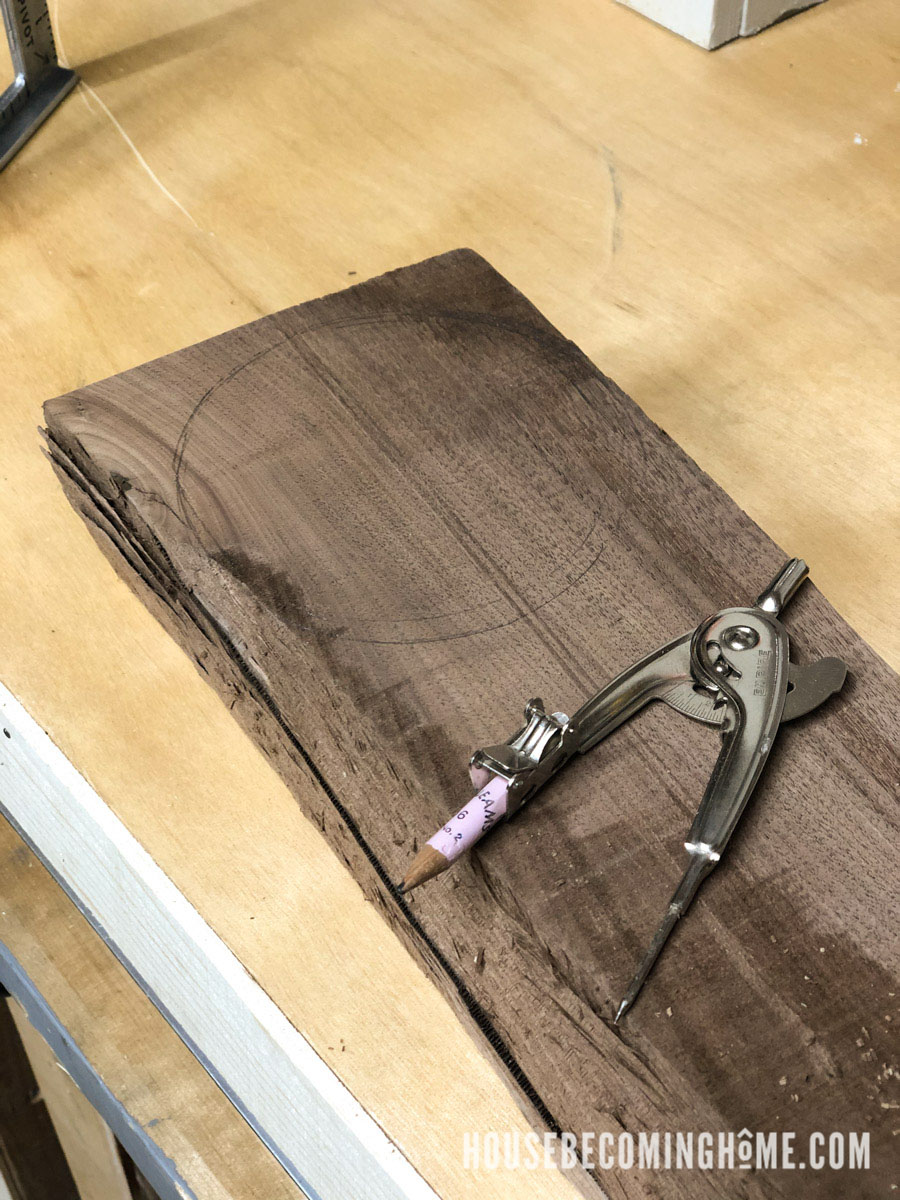
I wanted to get an idea of how big of a circle I could cut on this scrap of walnut, so I used my good old 5th grade compass to see.
Then I trimmed it down on the miter saw.
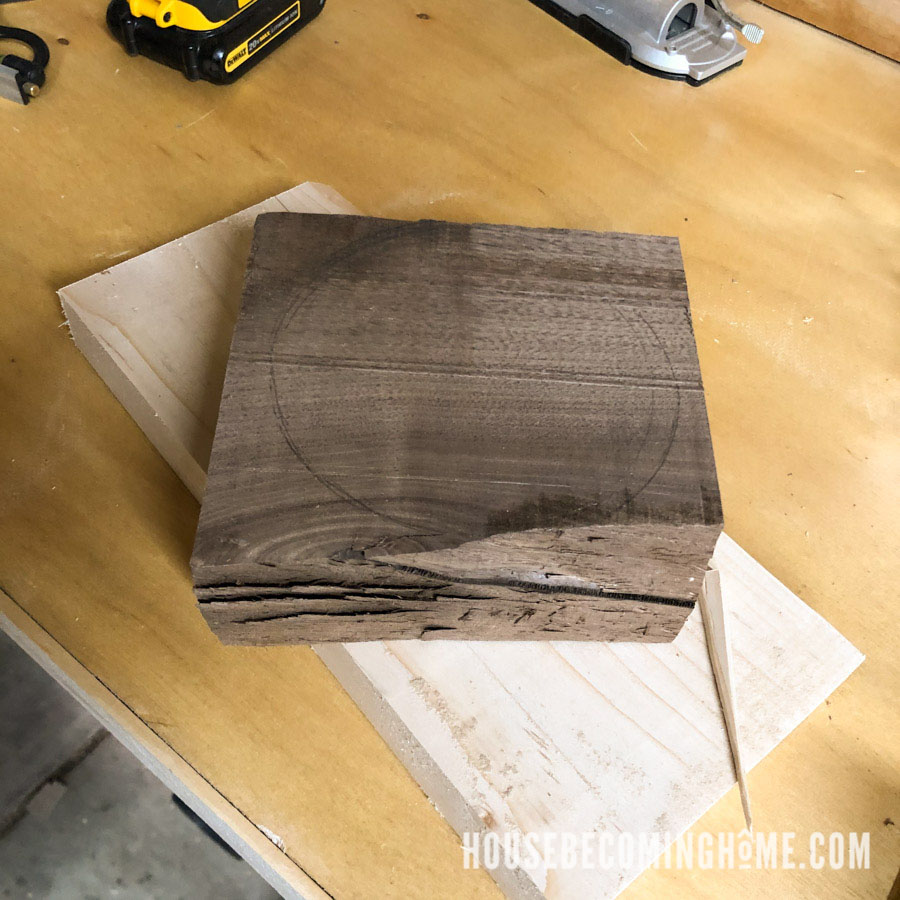
Next, I used a 3/8″ bit to drill a hole into the center of the wood, a little more than 1″ deep.
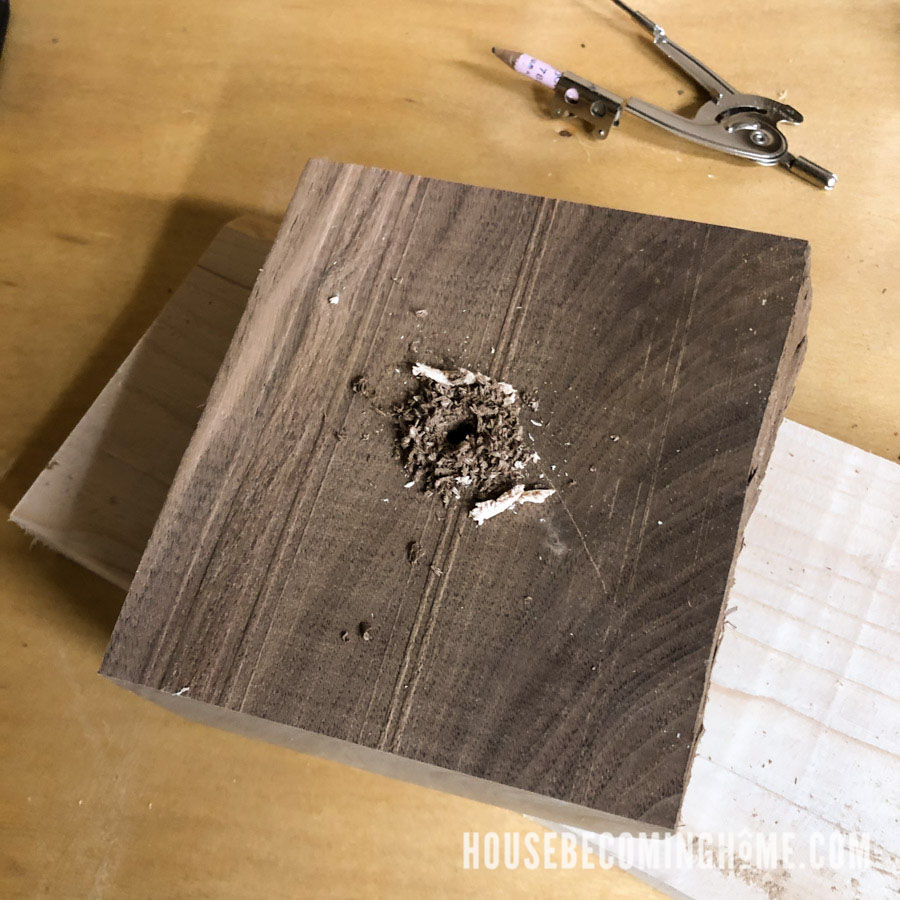
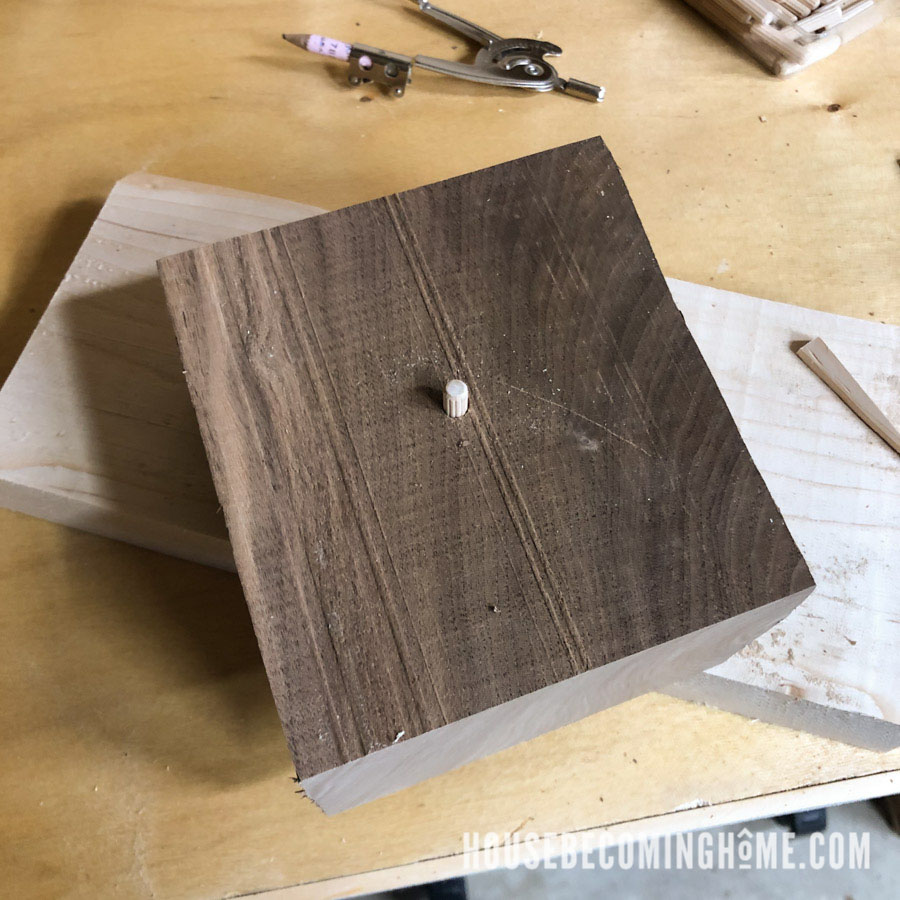
Make a Circle-Cutting Bandsaw/Table Saw Jig
Next, make a circle-cutting jig for your bandsaw (this jig also works on a table saw). I made mine from a scrap of 3/4″ particleboard. I screwed a 15″ length of t-track to the bottom of the particleboard. This slides into the bandsaw’s miter slot and keeps the jig a consistent distance from the bandsaw blade.
Determine the radius of the top (smaller) end of the base (let’s say that’s 1.75″). Slide the t-track of the jig into the bandsaw’s miter slot. With the jig in place, measure 1.75″ from the blade, and mark where that falls on the jig. At that mark, using a 3/8″ bit, drill about 1/2″ into the jig. The distance from the bandsaw blade to the hole you drill should measure same as the radius of the base (small end).
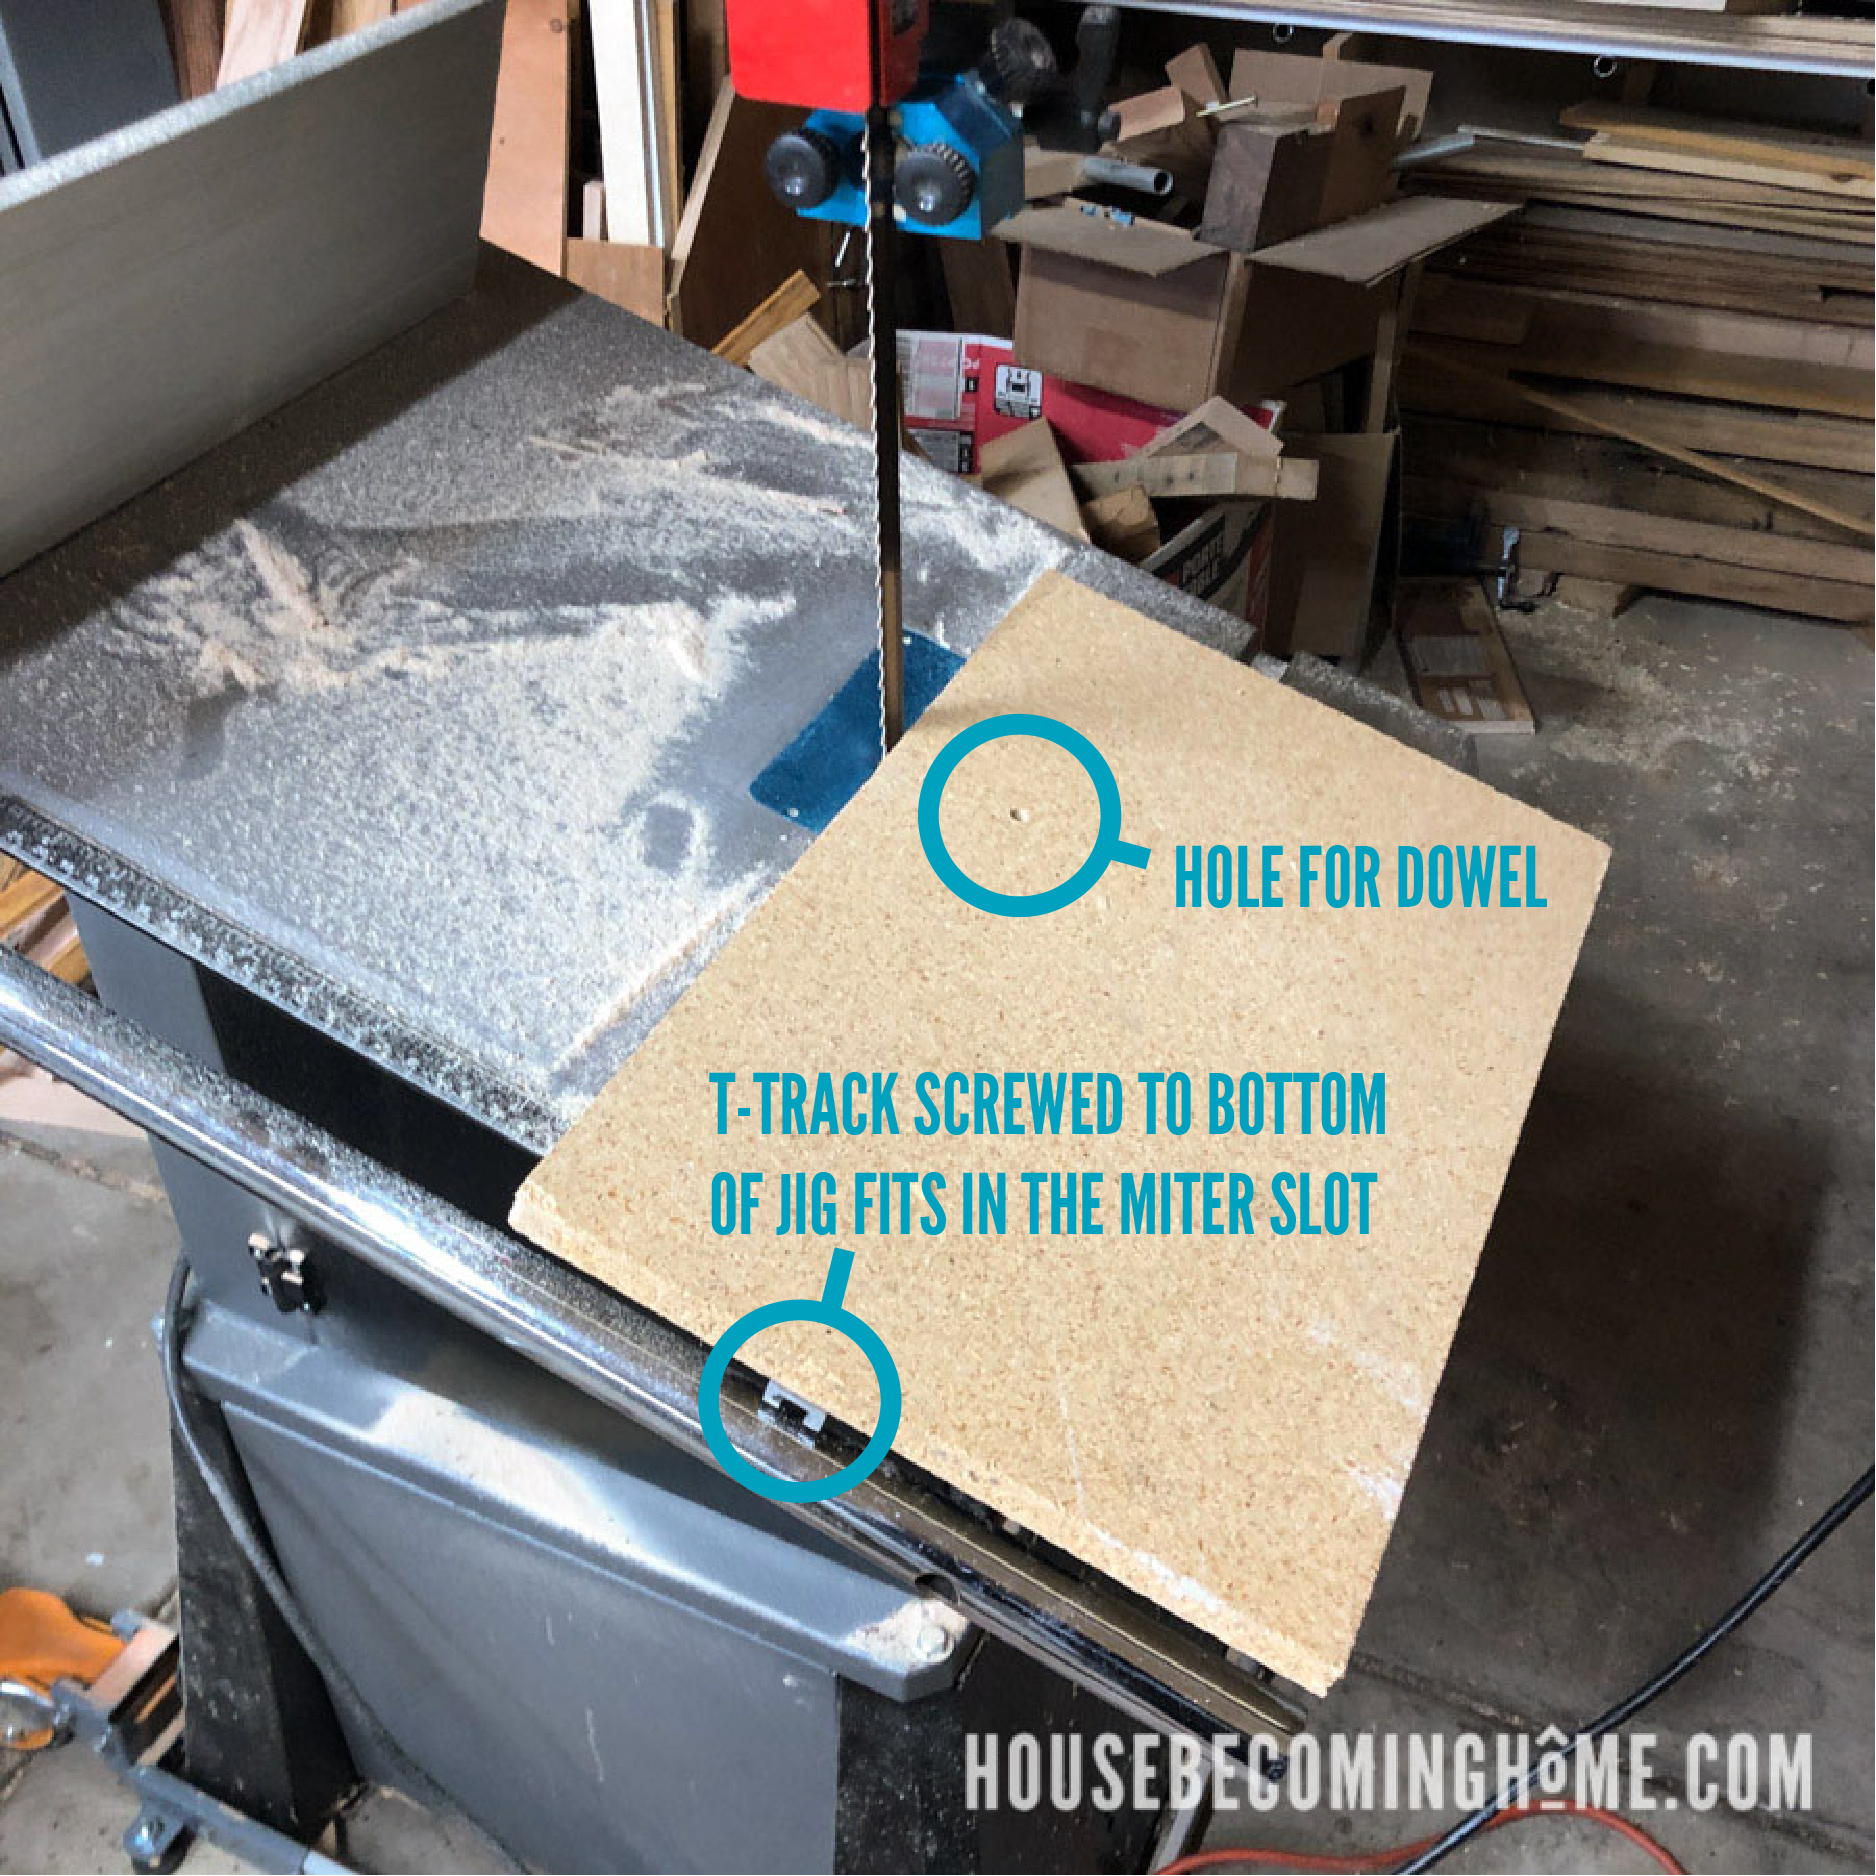
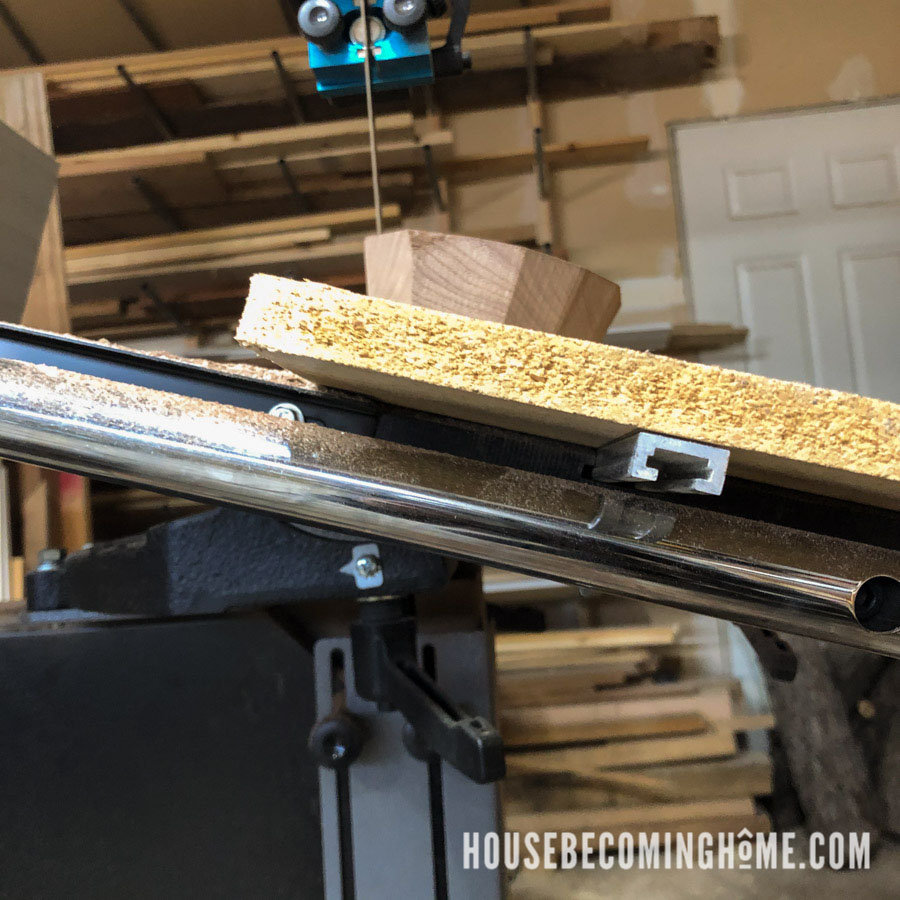
Tilt the table of your bandsaw to whatever feels right. The more you tilt it, the greater the taper will be on your cake stand base. The photo below shows where I had mine (though initially it wasn’t tilted this far, which is why I suggest you cut a scrap piece first).
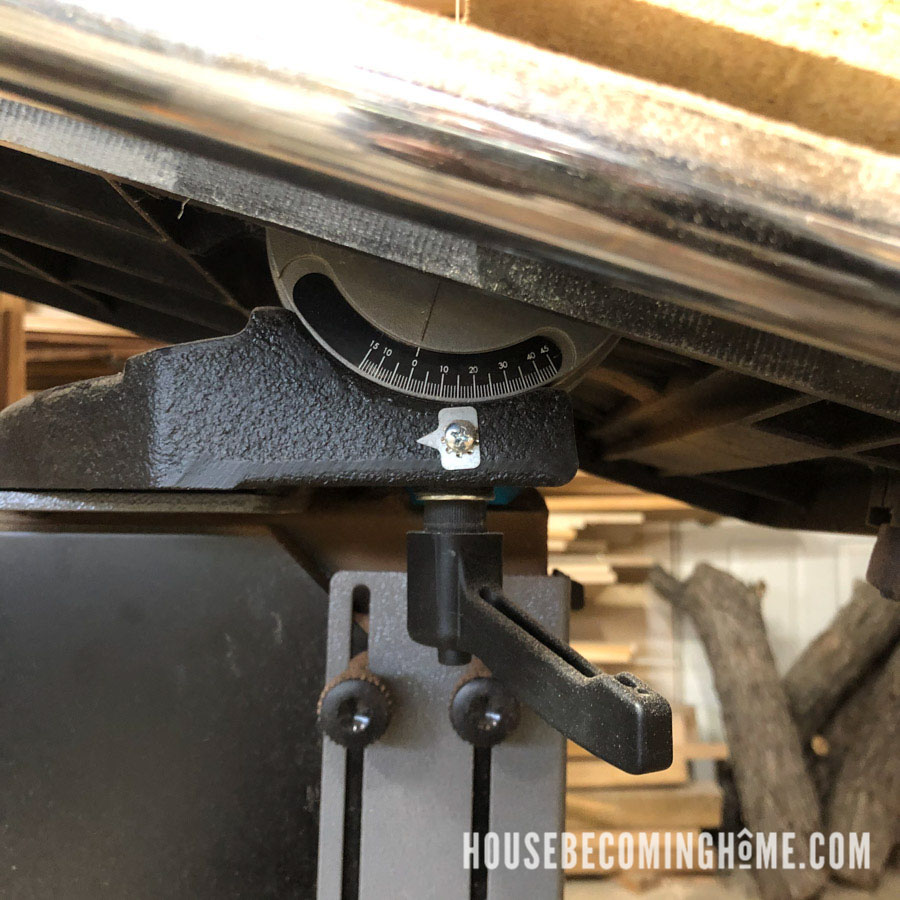
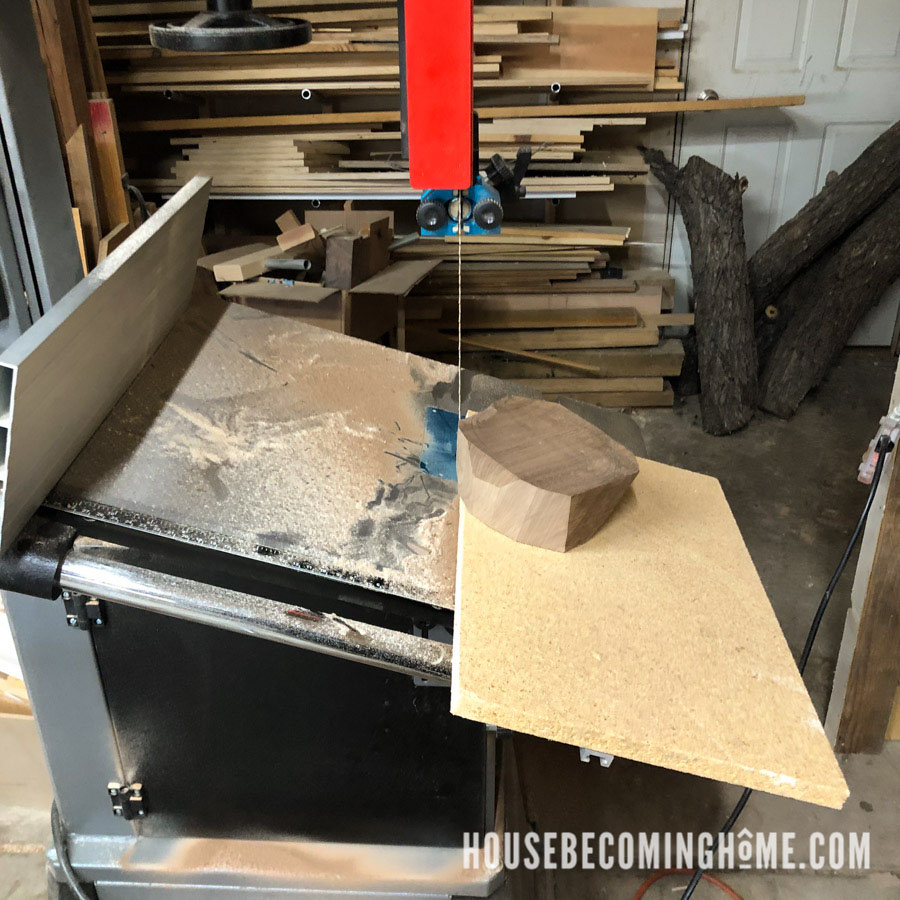
Push a 3/8″ dowel (1.5″ length) into the jig, then set the wood base onto the jig through the dowel. The walnut should rest flush to the jig. If it doesn’t, make the hole in the base piece deeper until it sits flat. The walnut should be able to rotate 360 degrees on the dowel. Though it can rotate, it should still be a snug and secure fit.
With the walnut secure on the dowel and the bandsaw running, push the jig across the bandsaw’s table. Remove small pieces of the base at a time. Back the jig out, rotate the lumber, and continue cutting. After eight cuts you will have an octagon.
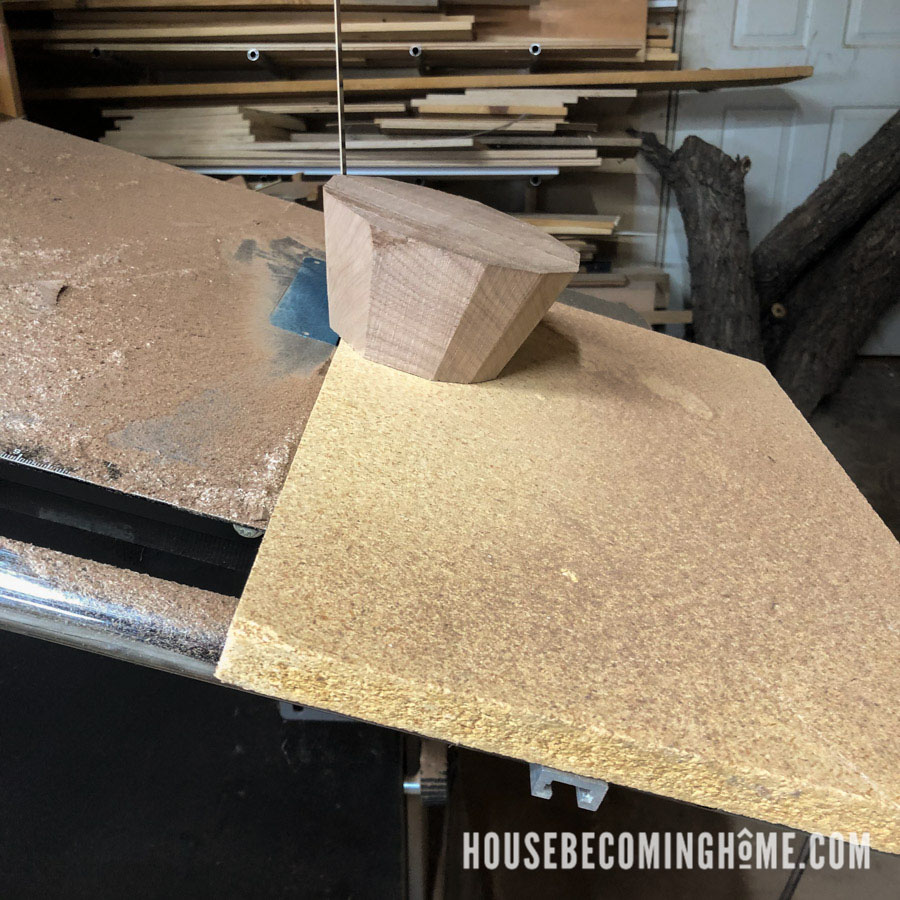
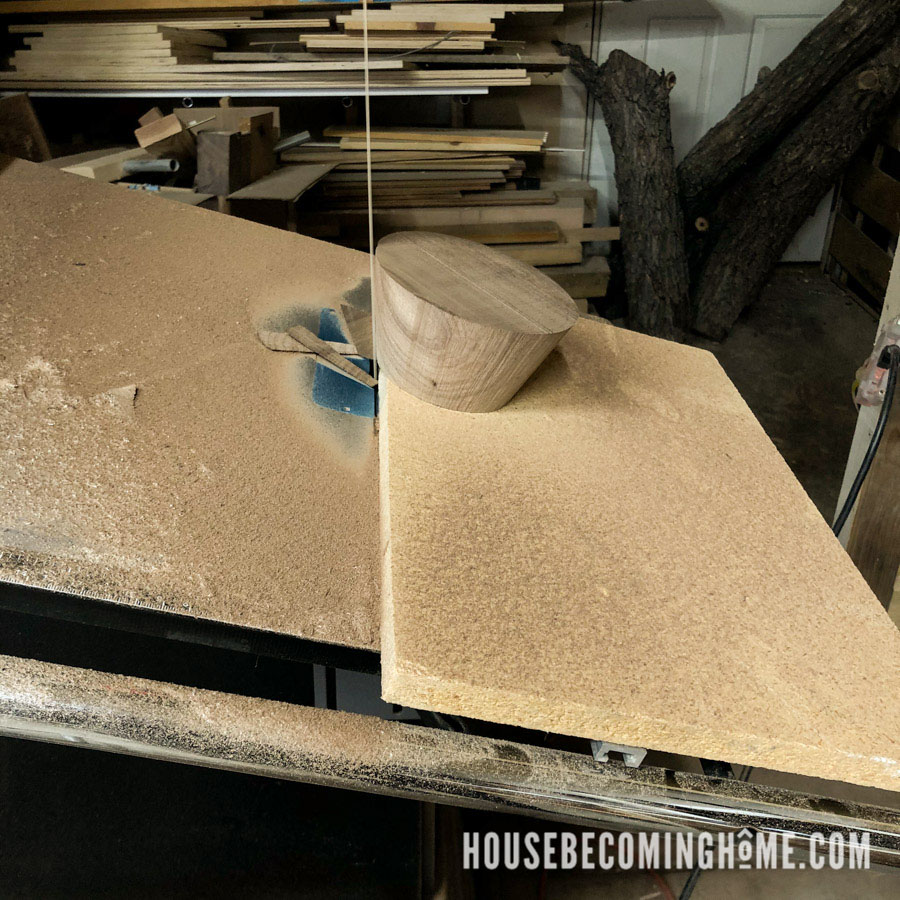
Continue removing small pieces until the base is completely smooth.
Make the Cake Stand Top
Selecting Wood for the Cake Stand Top
Again, I was lucky to find these pieces of walnut, which included a piece wide enough to use as the top. If your lumber isn’t 9.5″ in width, you can edge glue pieces together.
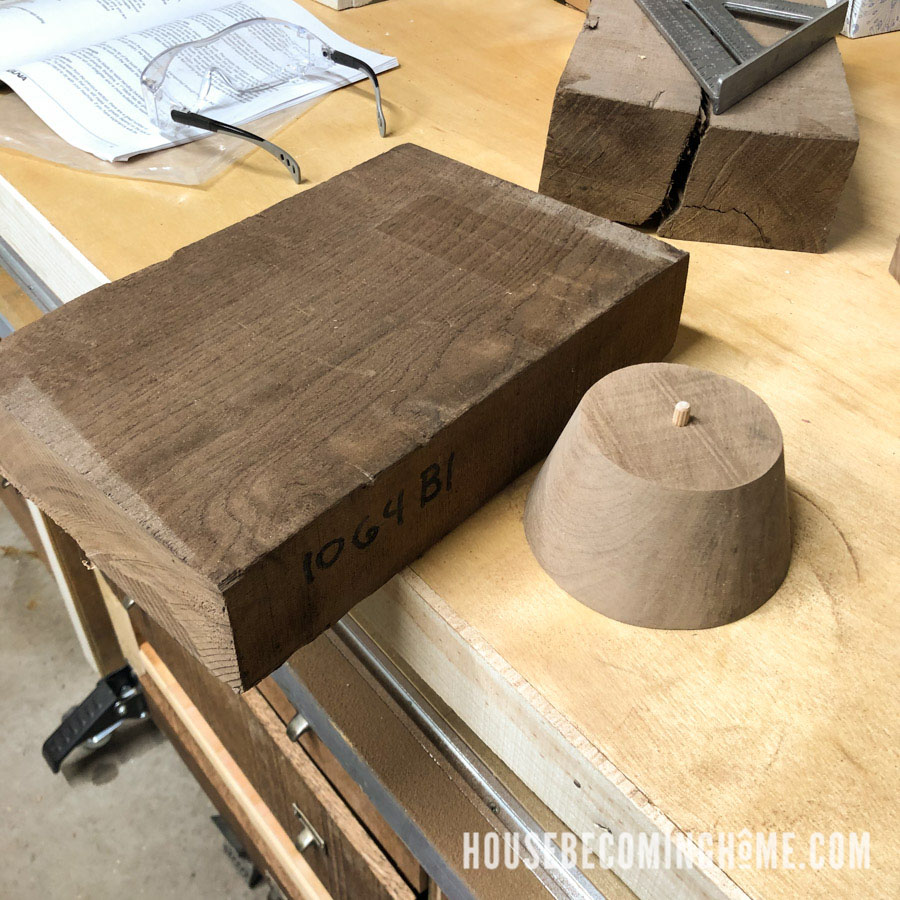
My walnut was a bit too chunky, however, at over 2″ thick. I used my bandsaw to make a 1″ slice.
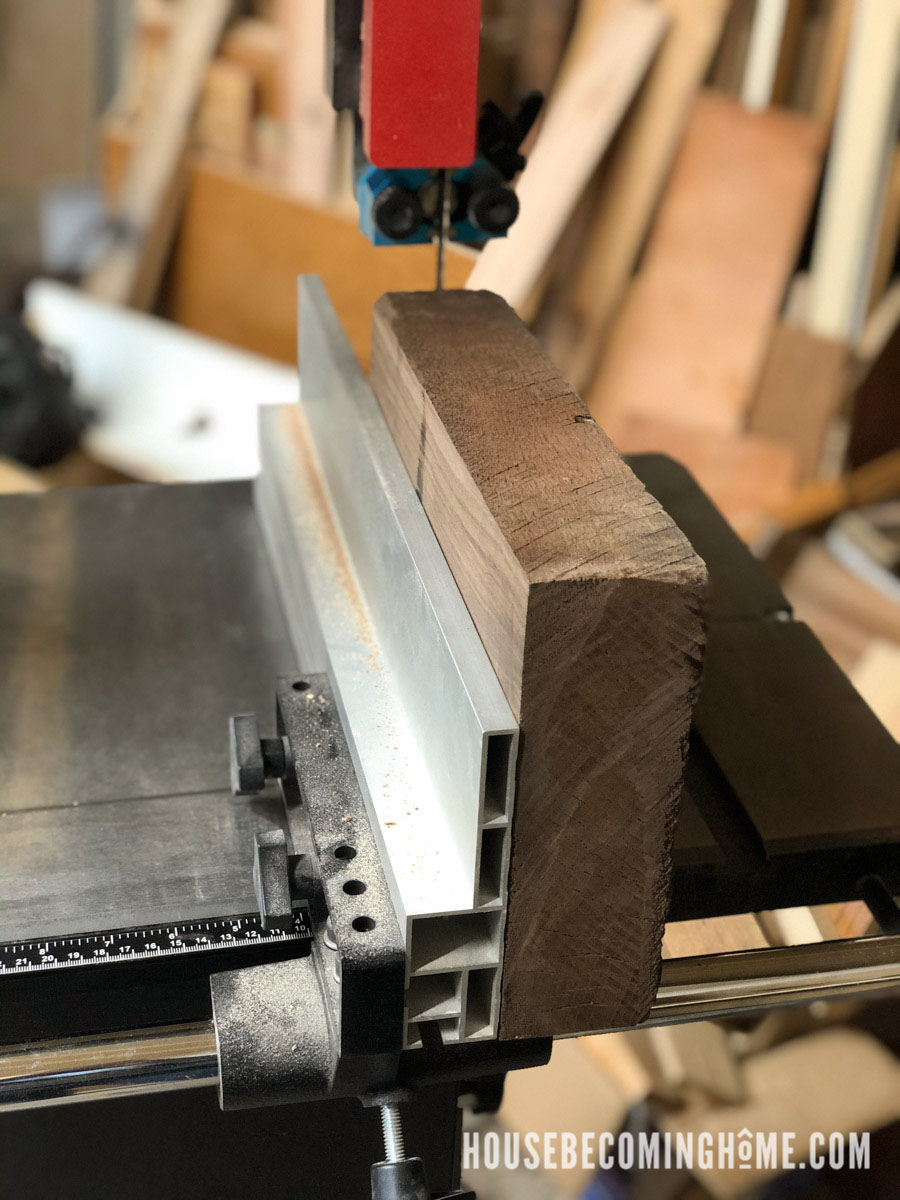
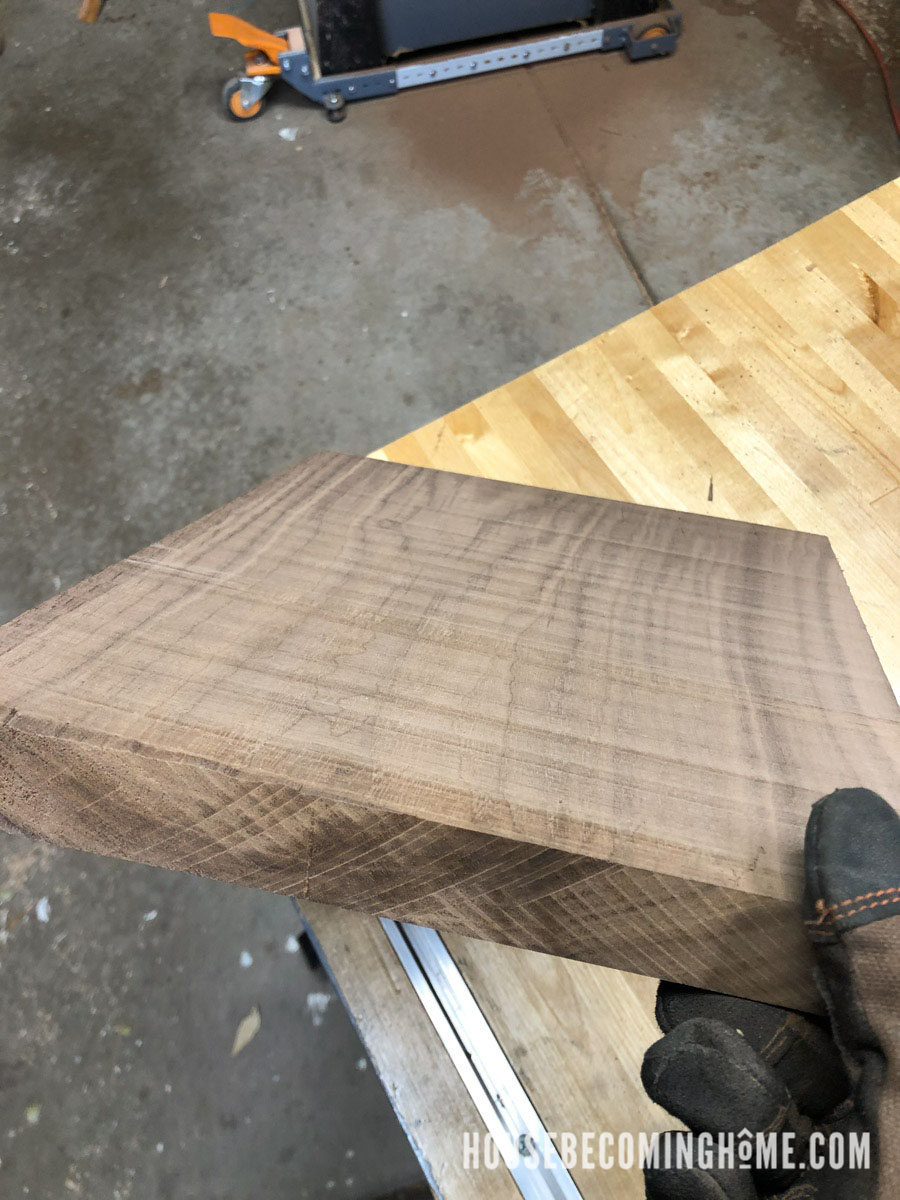
The bandsaw left a pretty rough finish on it, so I ran it through my planer a few times to save myself from hours of sanding.
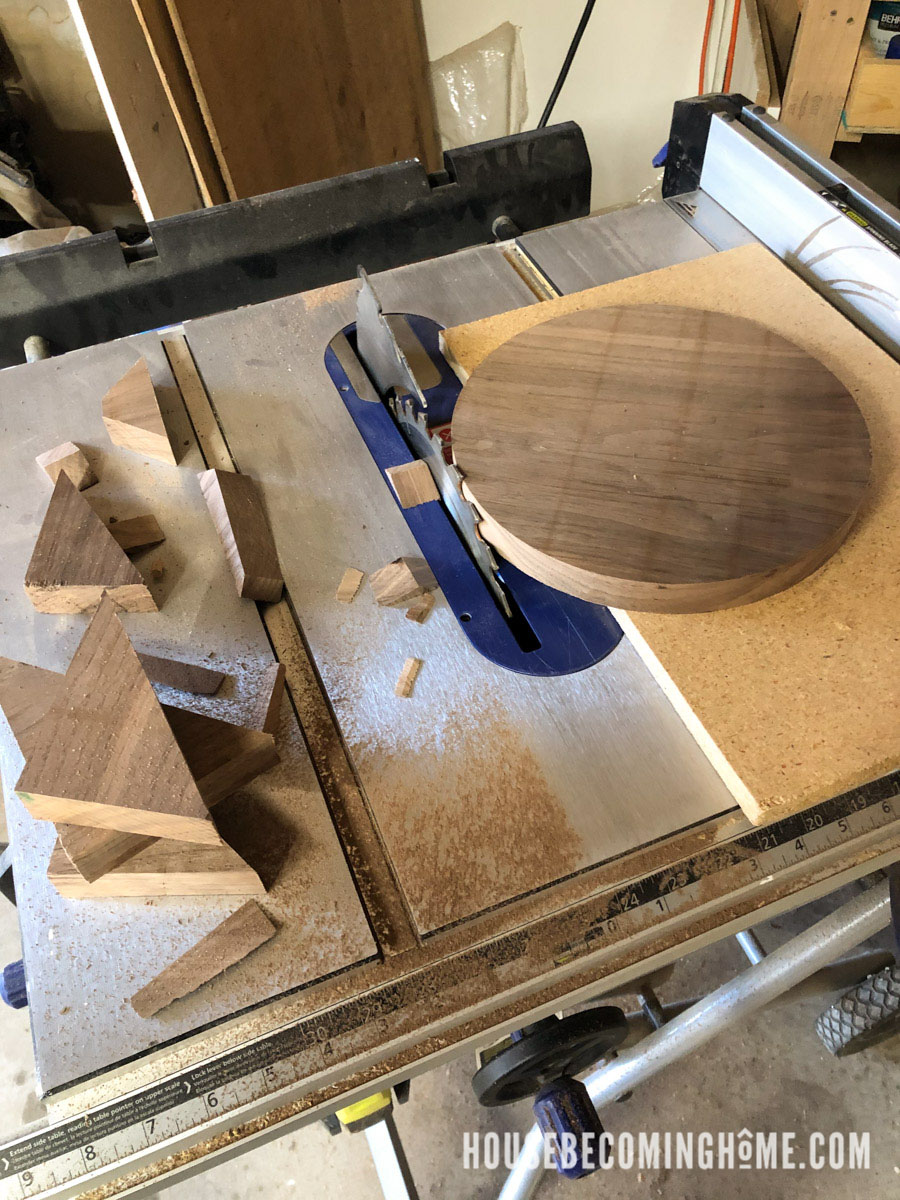
Next, cut the wood into a circle. There are multiple ways of doing this. I used the table saw + the same circle-cutting jig I used on the bandsaw (I just drilled a second dowel hole further out since this radius is larger). If you want to see a video of this process in action, check out the short video clip tutorial in my DIY walnut stool post:
Using a Tablesaw to Cut a Circle
Assemble the Cake Stand
Working your way through the grits, sand both the top and bottom pieces of the cake stand. Wipe clean.
Join the top and bottom with a 3/8″ dowel (the one you used in your circle-cutting jigs will work just fine!) and wood glue. The holes you made in the walnut for the circle cutting jig make this super simple. Fill both holes with wood glue, then spread glue on the dowel and the faces that will meet.
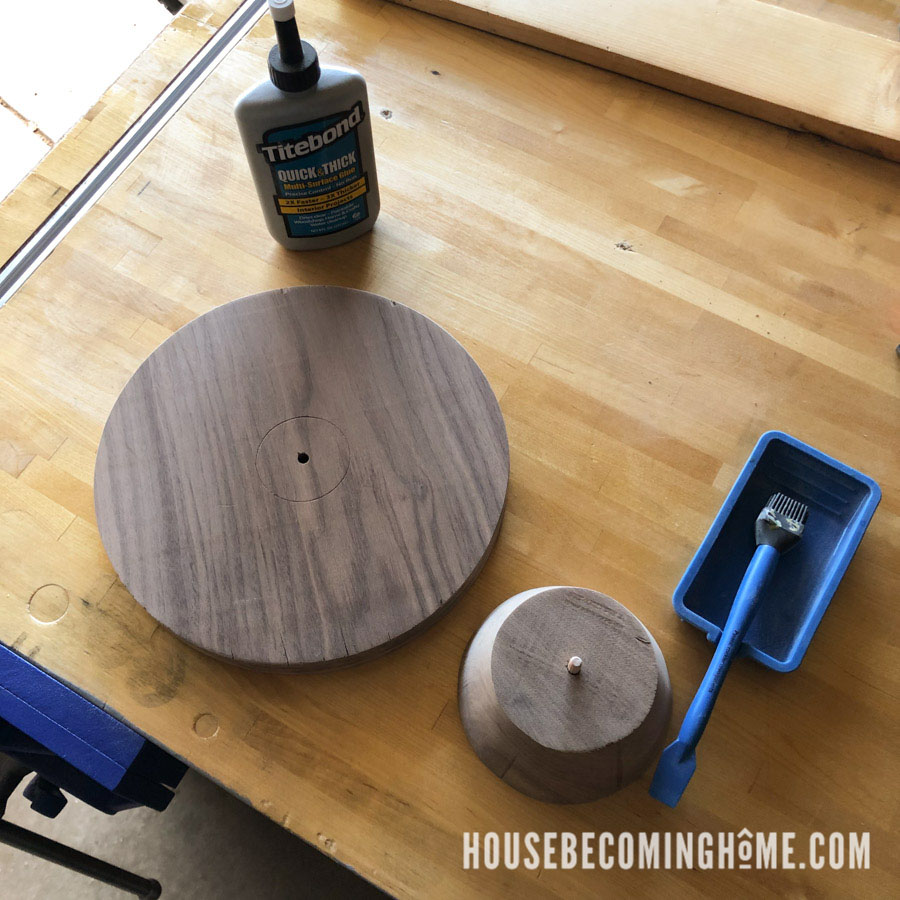
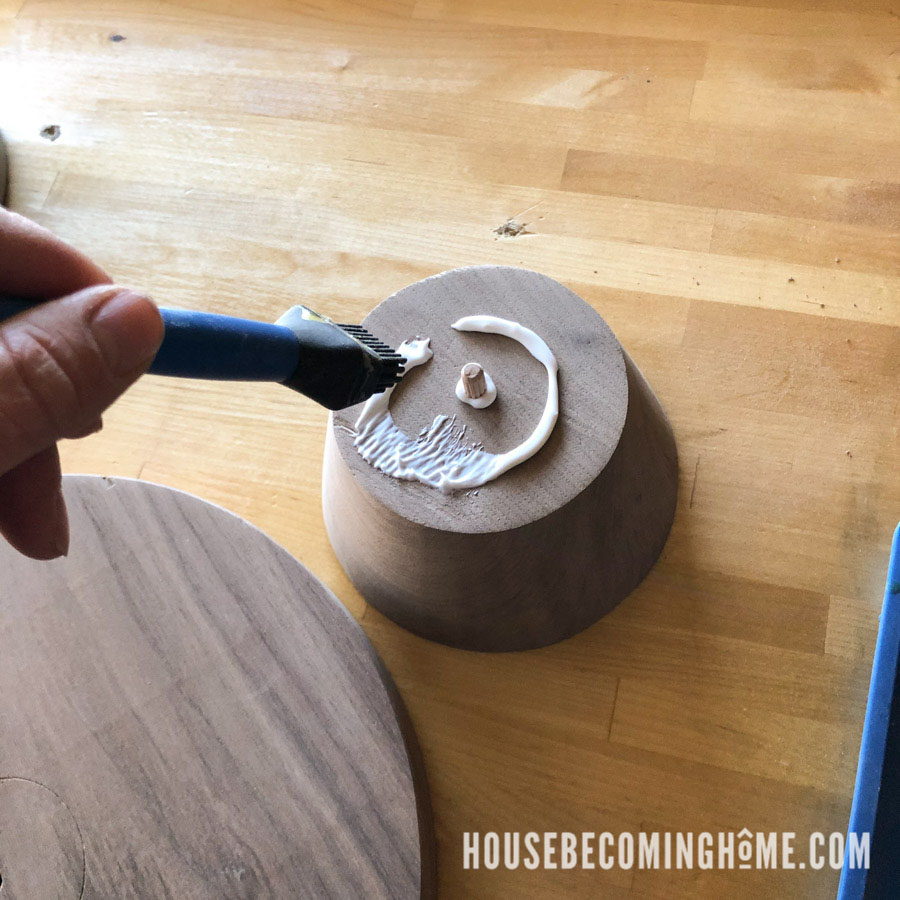
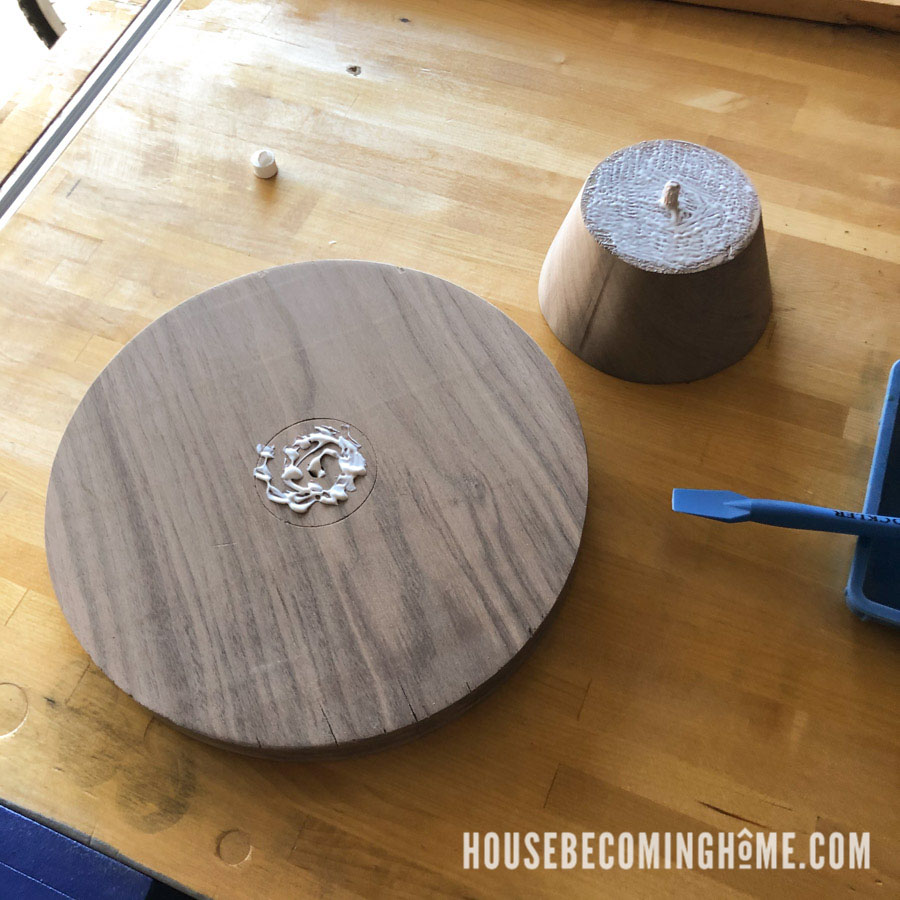
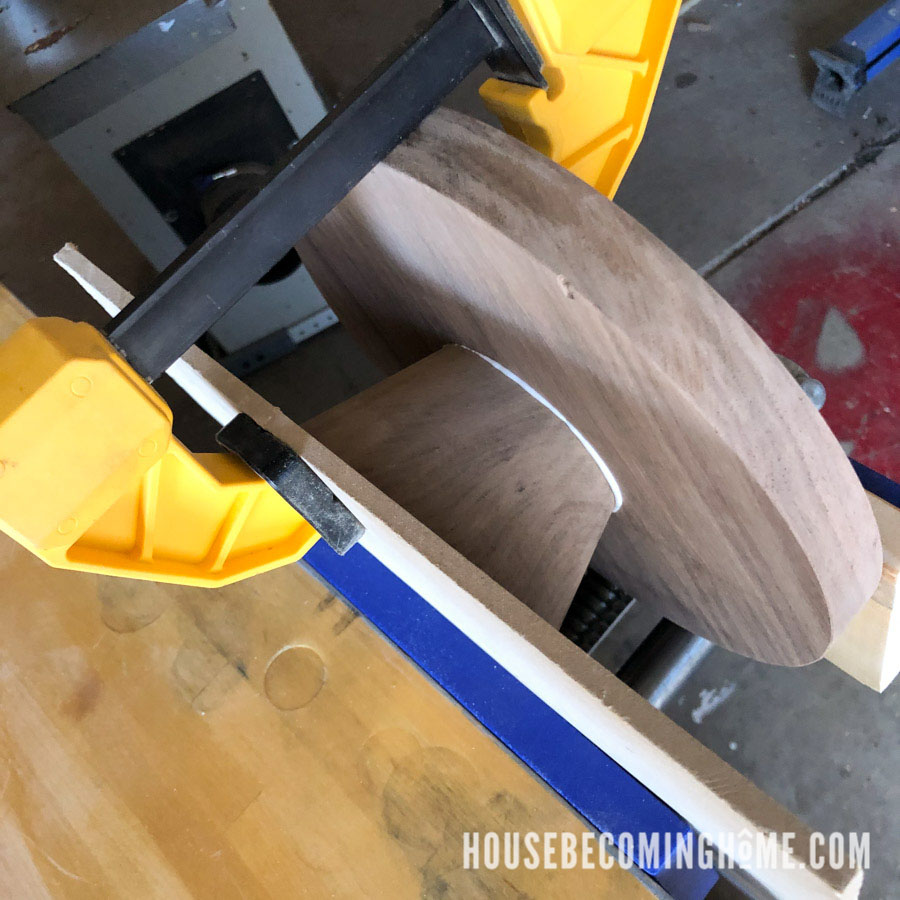
Join the top and bottom together. As the glue dries, the two pieces need to be clamped. Though this image is a little tough to understand, I’ve got my cake stand sandwiched in between two scraps of wood in my bench vise. The extra clamps at the top prevent uneven pressure since half of the stand fits in the vise, half does not.
Another easy “clamping” option would be to add a scrap piece of plywood to the top of the stand, then add heavy items to weigh it down.
Wipe away any glue squeeze out, then finish the cake stand with a food-safe finish. I used this mineral oil.
Walnut Wooden Cake Stand
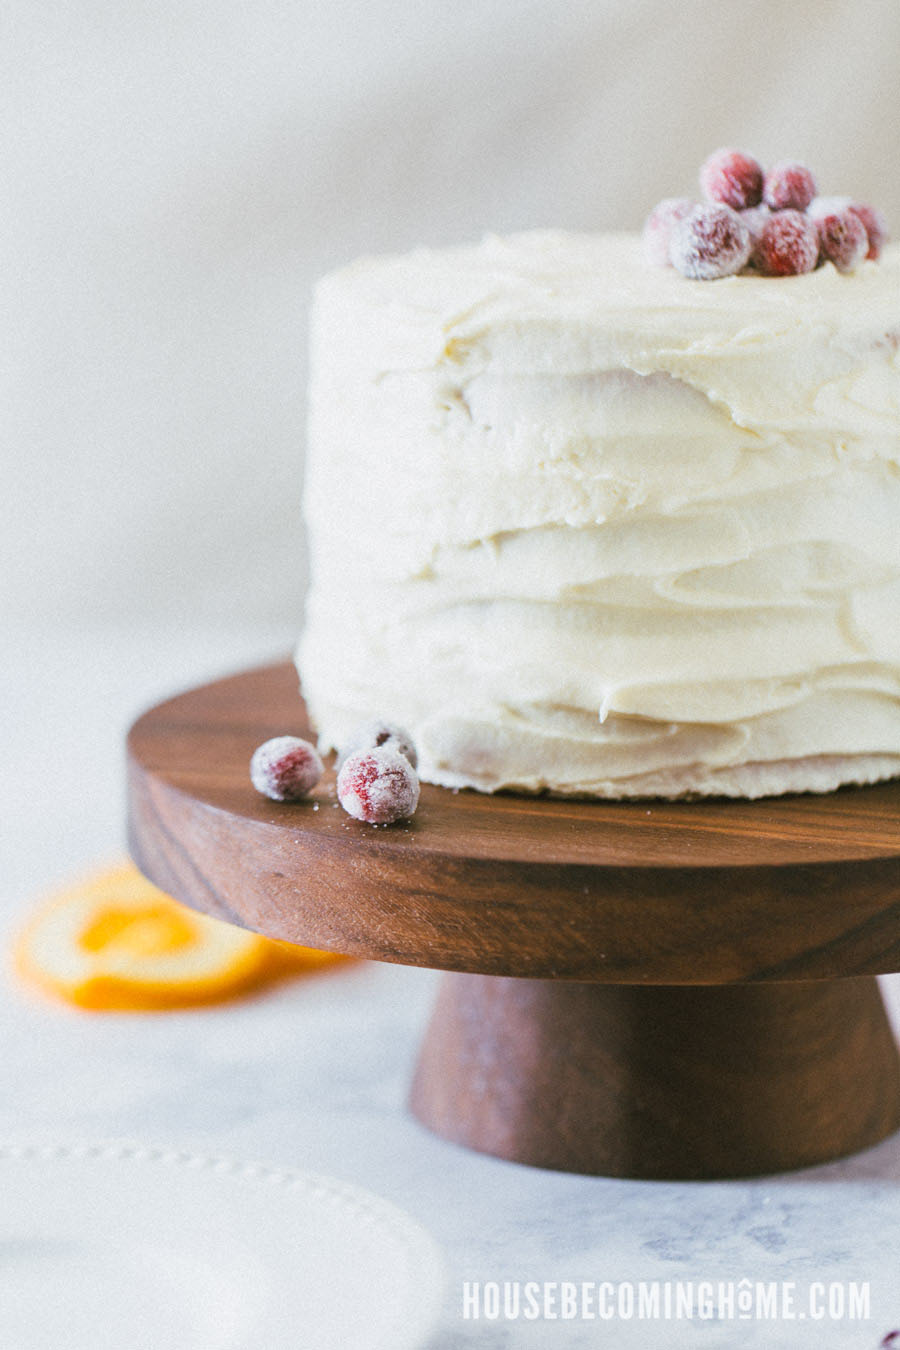
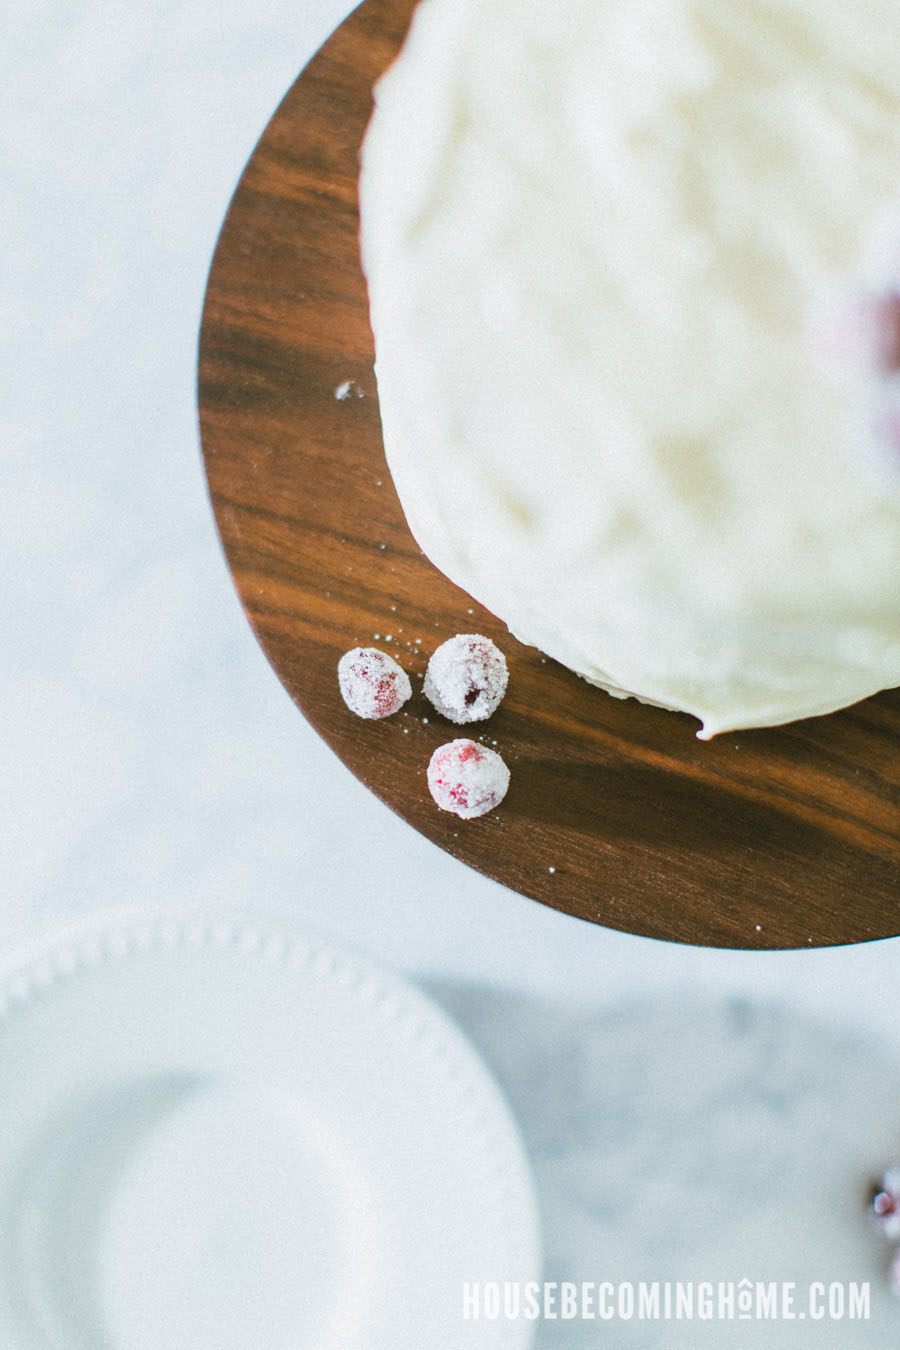
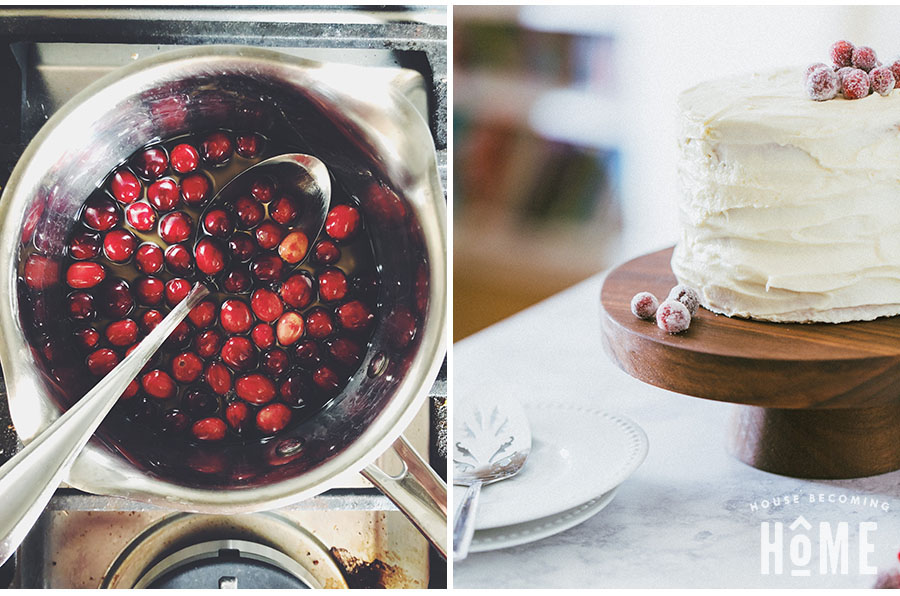
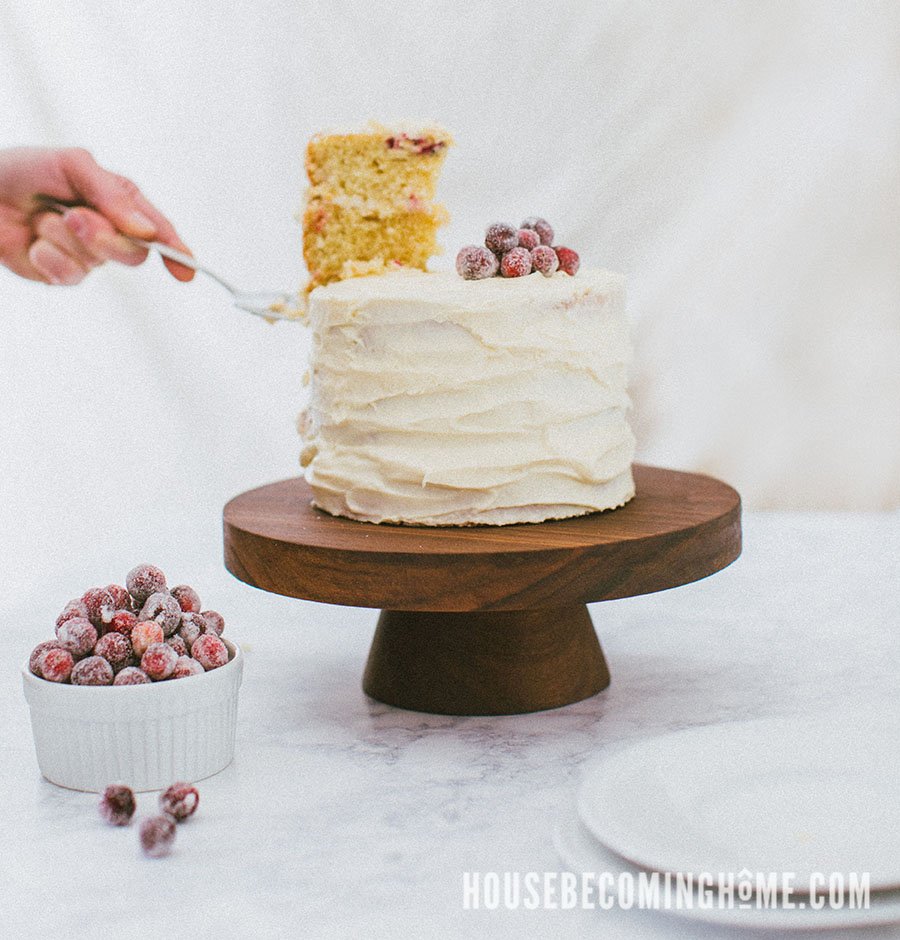
After the finish has cured, it’s time to make (and display!) a cake. With the snow falling in Colorado I’m ready to start celebrating winter; I made an orange-cranberry layer cake topped with sugared cranberries. To be honest, it quite possibly took longer to make the CAKE than it took to make the CAKE STAND.
Handmade Gift Challenge
Be sure to swing by these DIY blogs to check out more ideas for handmade gifts:
- Addicted 2 DIY : Handmade Gift Challenge
- RemodelaCasa : DIY House Advent Calendar
- Jaime Costiglio : DIY Handmade Wood Gift Box
- Anika’s DIY Life : DIY Wood Tray
- DIY Huntress: Easy Concrete Planter
- Reality Daydream : Hanging Macrame Planter
- My Love 2 Create : DIY Step Stool
- Ugly Duckling House : Desk Planter Card Holder
- My Repurposed Life: Tree branch log projects
- 100 Things 2 Do : DIY Charging Station
- The Created Home : Service Spoons
- The Inspired Workshop : DIY Wine Dispenser

Wow this is stunning! And your skills with the band saw are pretty dang impressive! Love!
Angie, this is just gorgeous!! I want one!
THIS IS PERFECTION!!! I want one! It is absolutely beautiful!! You knocked this challenge out of the park!
Your cake stand (and the cake!) is stunning! I love cake stands and I think I need to make some of these!
Amazing! I think I need a band saw!!! 🙂
pinning!
I love it! So simple but it’s really gorgeous with that cake.
Angie this is beautiful!! That walnut and the circular shape together are simply perfect.
This is simply GORGEOUS! You make it sound so easy! (Visiting from Remodelando la Casa)