


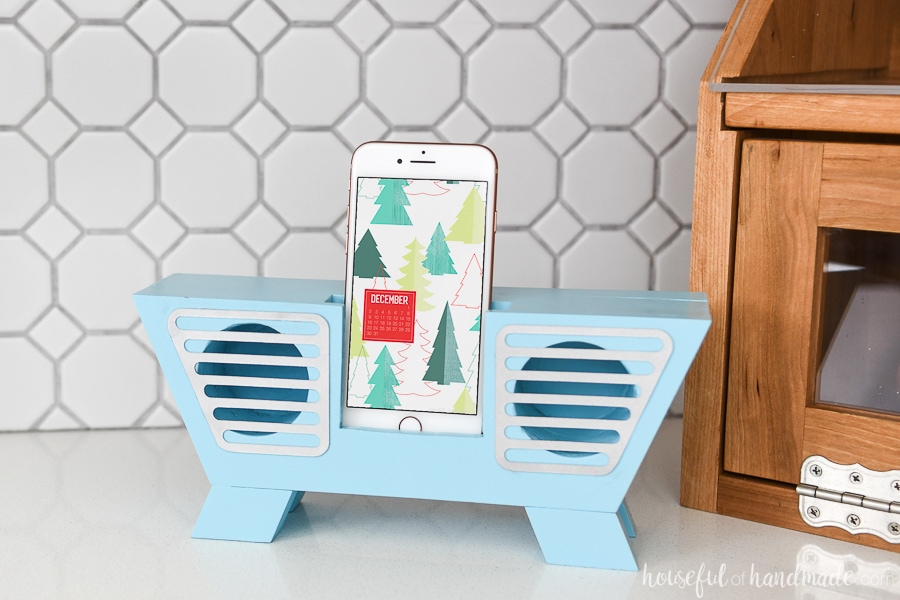
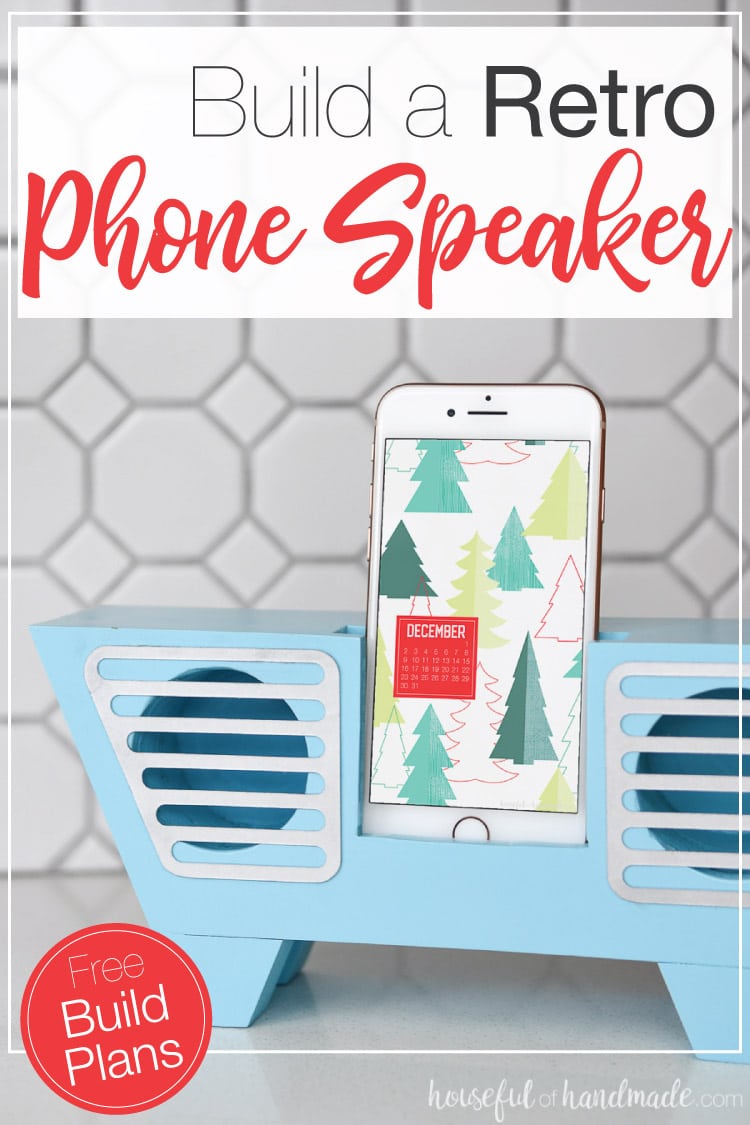
Build a retro wooden speaker for a phone out of scraps! It’s a great DIY gift idea for teens or adults.
Who doesn’t love all things retro? The reminder of a simpler time is so nostalgic. And the teens love it! So when I was trying to think of a fun DIY gift idea that would work for a teen, I knew I needed to make a wooden speaker for their phone but make it retro and fun.
The idea behind a wooden phone speaker is that the sound waves travel through a channel and amplify in the holes to make the phone naturally louder. No batteries. No bluetooth. Just amplifying what is already there.
And they work!
This post may contain affiliate links. As an Amazon Associate I earn from qualifying purchases. Click here to read my full disclosure policy.

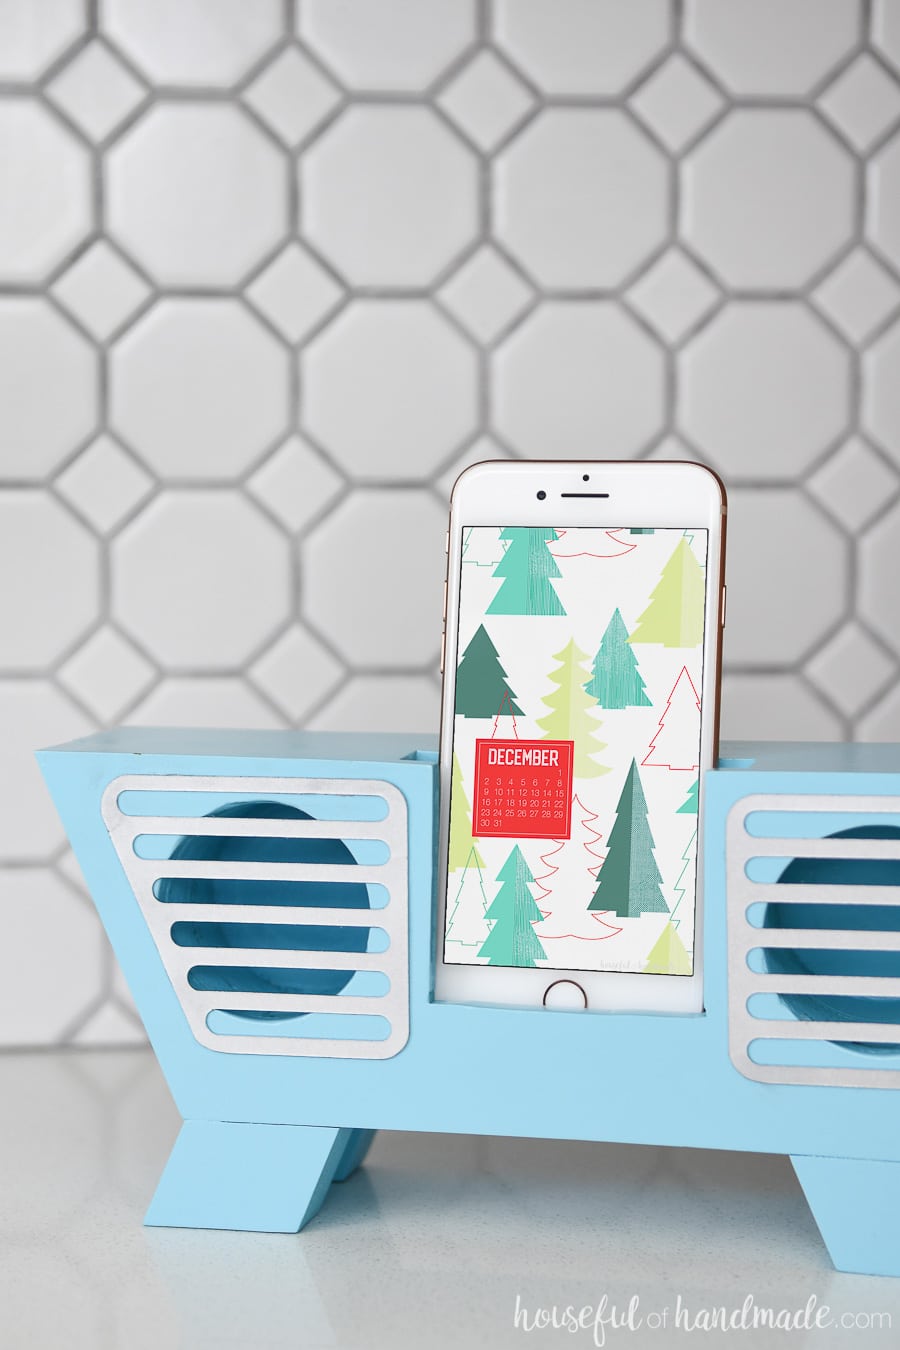
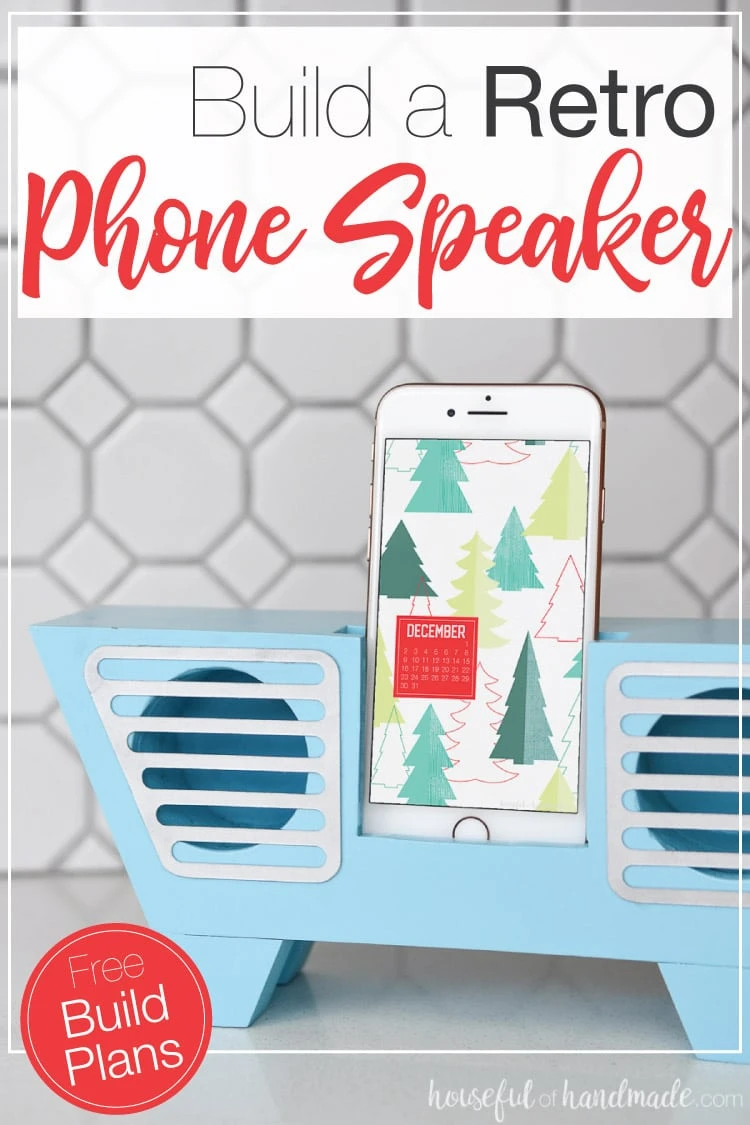
I was skeptical at first. I have tried the “put your phone in a bowl” method and it barely made it louder. But this wood phone speaker amplifier really makes things much louder. And with the fun retro design, it will be the perfect DIY gift (I hope!).
There are many different ways to make a cell phone speaker amplifier. I made this retro speaker out of scraps of wood!
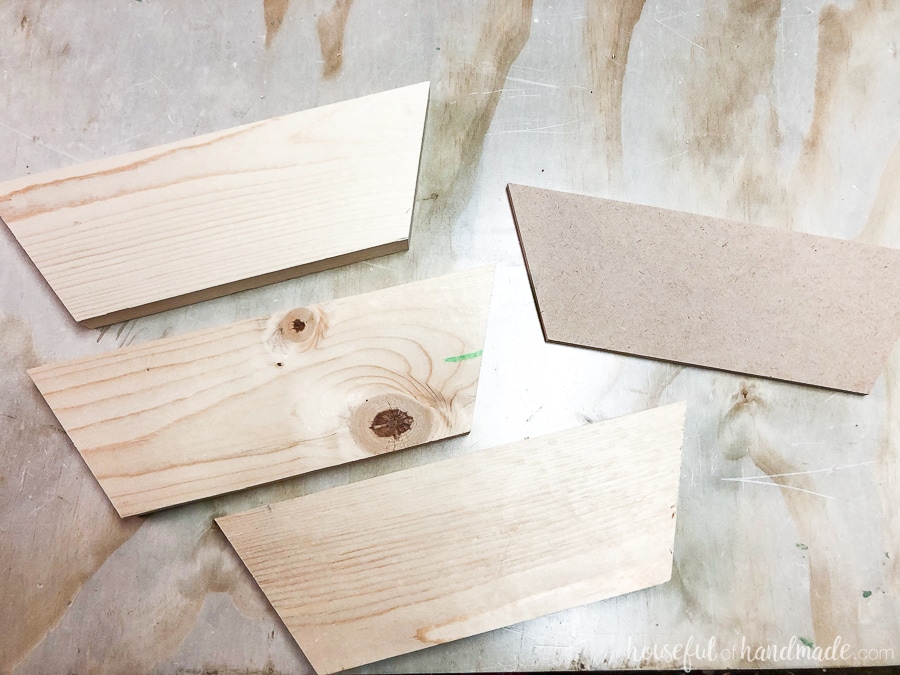
With just (3) 10″ pieces of 1×4 and a 10″ x 3 1/2″ scrap of 1/4″ thick something (MDF, plywood or even 1/4″ thick hobby boards), and a few nubbins of 1×2, you can make your Owen DIY speaker too.
Scrap wood projects are the best!
How to Make a Wooden Phone Speaker
Tools:
- Miter saw
- Jig saw
- Drill with 2″ hole saw bit
- Palm router with 1/4″ straight router bit
- Clamps
- Measuring tape
Supplies:
- 30″ of 1×4
- 10″ x 3 1/2″ piece of 1/4″ thick material
- Either plywood, MDF or hobby board will work. I used MDF because I knew I wanted to paint it, if planning on staining it, I would recommend 1/4″ hobby board.
- 6″ of 1×2
- Wood glue
- Sandpaper
- Paint or stain
- I used spray paint to give my retro phone speaker a glossy finish.
- Coverstock
Cut (3) 10″ pieces of 1×4. Angle the ends toward each other on the bottom at a 22.5 degree angle with your miter saw. The tops will all be 10″ and the bottom about 7 1/8″. Cut a piece of the 1/4″ material to match.

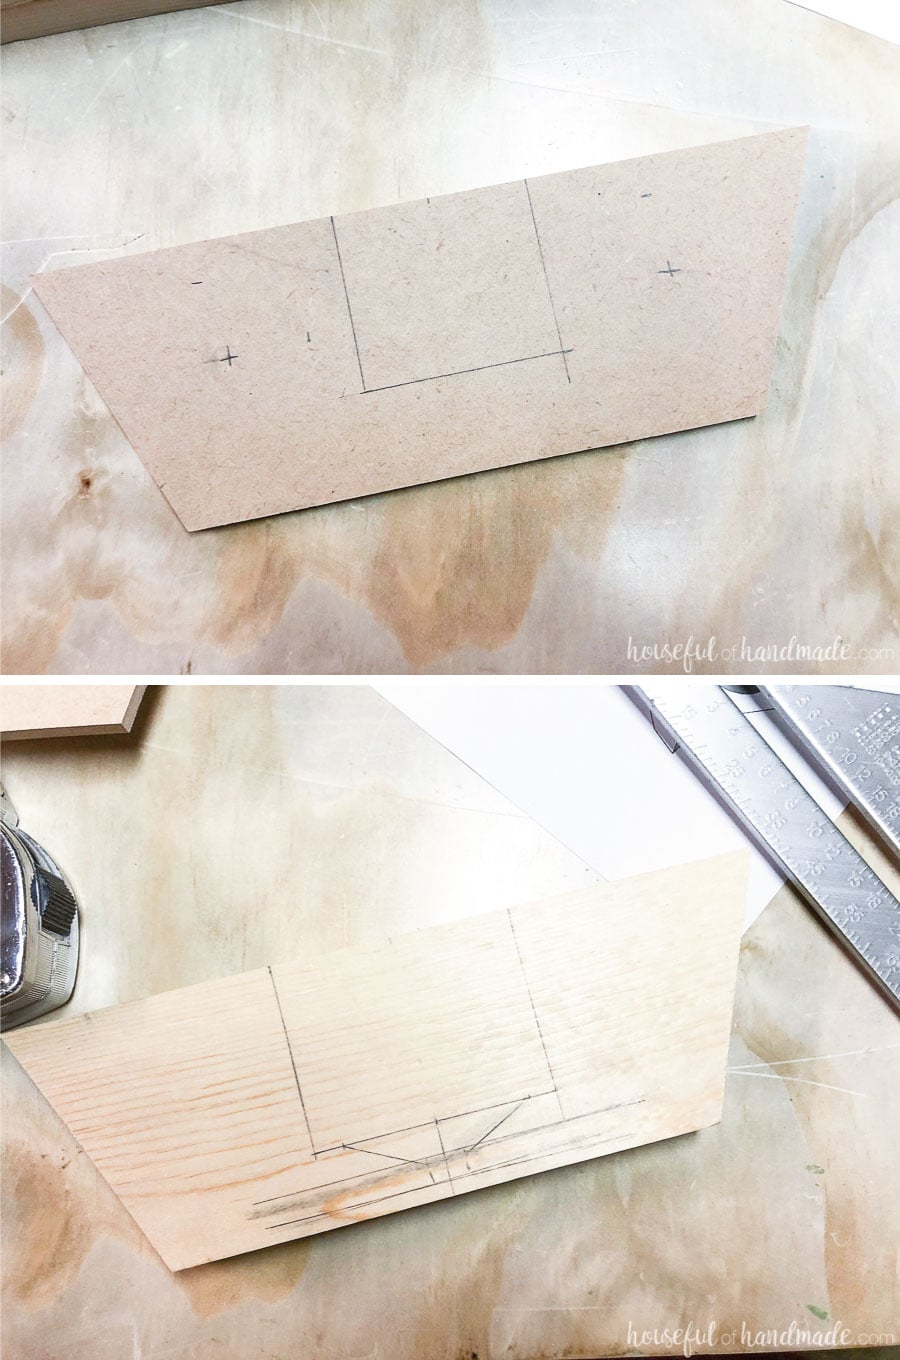
Mark out the following markings to cut/drill:
- On the 1/4″ thick material
- Mark a 2 1/2″ wide by 2 1/4″ tall box in the center top of the board.
- Mark the position for the 2″ holes (or the center if the middle of your drill bit sticks out and is what you will be starting drilling with).
- On one 1×4 piece
- Mark at box 2 1/2″ deep in the center top of the board. The width will depend on your phone. For most larger phones 3 1/2″ wide will work, but for smaller phones 3″ will work (that includes a standard case). But if you have a thick case, make sure to measure before cutting and give yourself at least 1/8″-1/4″ extra to make it easy to pull out the phone.
- Mark a 1/4″ thick line across the bottom of the board 1/4″ up from the edge. Mark a funnel from the box above to the channel so the top opening is wide enough to encompass all the speaker ports on the bottom of your phone and the bottom of the channel is only 1/4″-1/2″ wide. After drilling the holes you will connect the bottom channel to the holes.

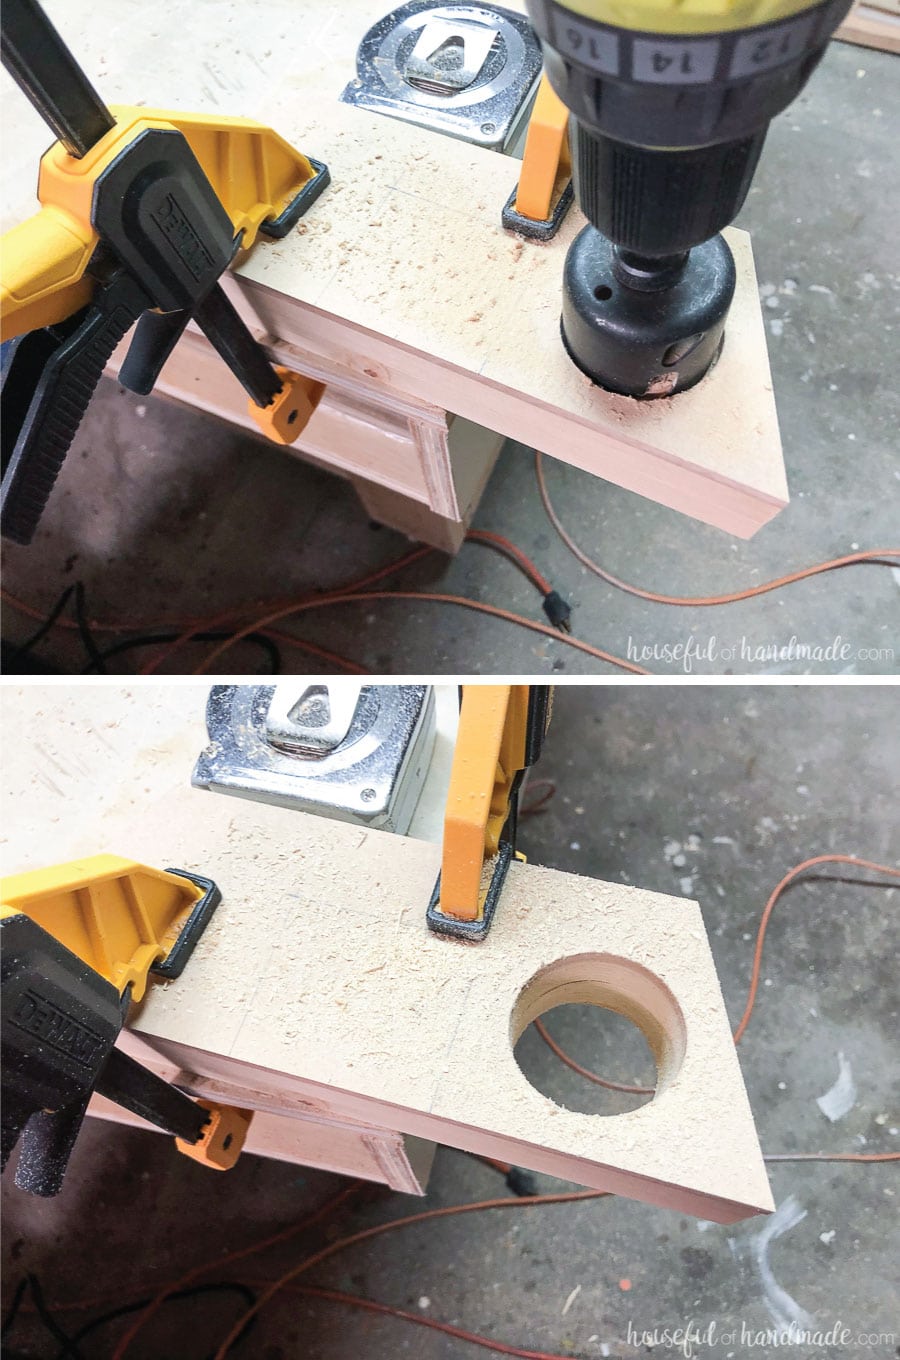
Clamp the 1/4″ board, the marked out 1×4 board and 1 more 1×4 board together. Mark out the 2″ holes on either side of the box on the top board. Using the hole saw, drill the holes through all 3 boards.
I found it easiest to stop and remove the hole piece from my drill bit after I drilled through each board. Go slow and try to keep your drill as straight as possible.

Use your jigsaw to cut out the boxes you marked on the 1×4 board and the 1/4″ thick material.

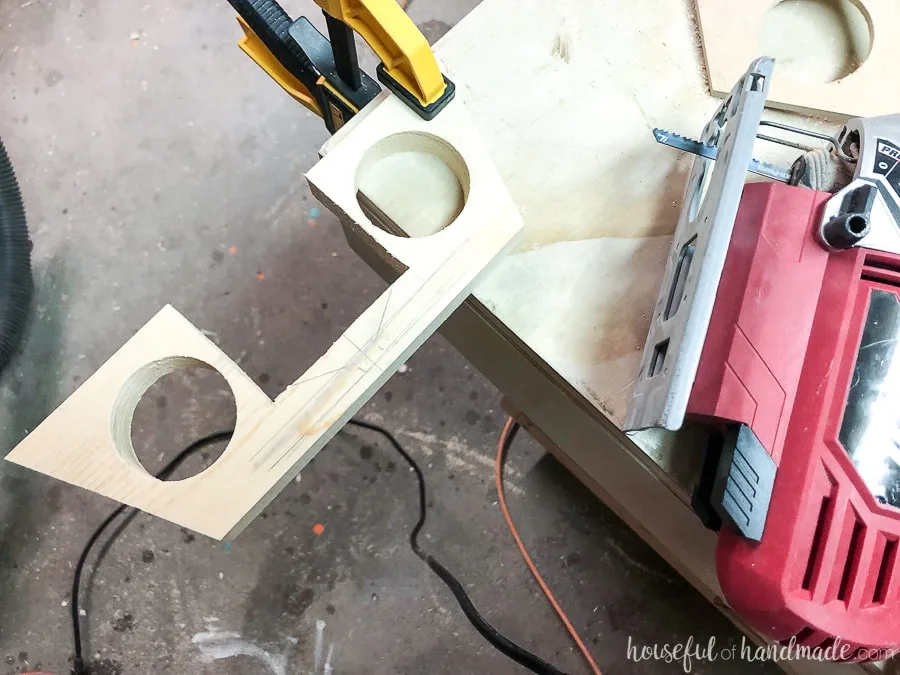
Using the palm router with a 1/4″ straight bit, router out the channel about 1/2 way through the board. I started with my bit only shallower, then increased the depth and repeated the routing so that it didn’t;t chew up the material too much. Connect the bottom cannel to the drilled holes.


Once the channel is all routed out, it’s time to glue up the DIY phone speaker.
Start from the back, add glue to next piece and the press it firmly. I recommend not doing what I did, add the glue to the piece with the holes in it so that you don’t have glue showing in the back of the holes that will need to be wiped off (good thing I was already planning on painting it).
The back of the wooden speaker is the 1×4 with no holes. Next is the 1×4 with just the holes. Third is the the last 1×4 with the box and channel cut out. On the top is the 1/4 material.

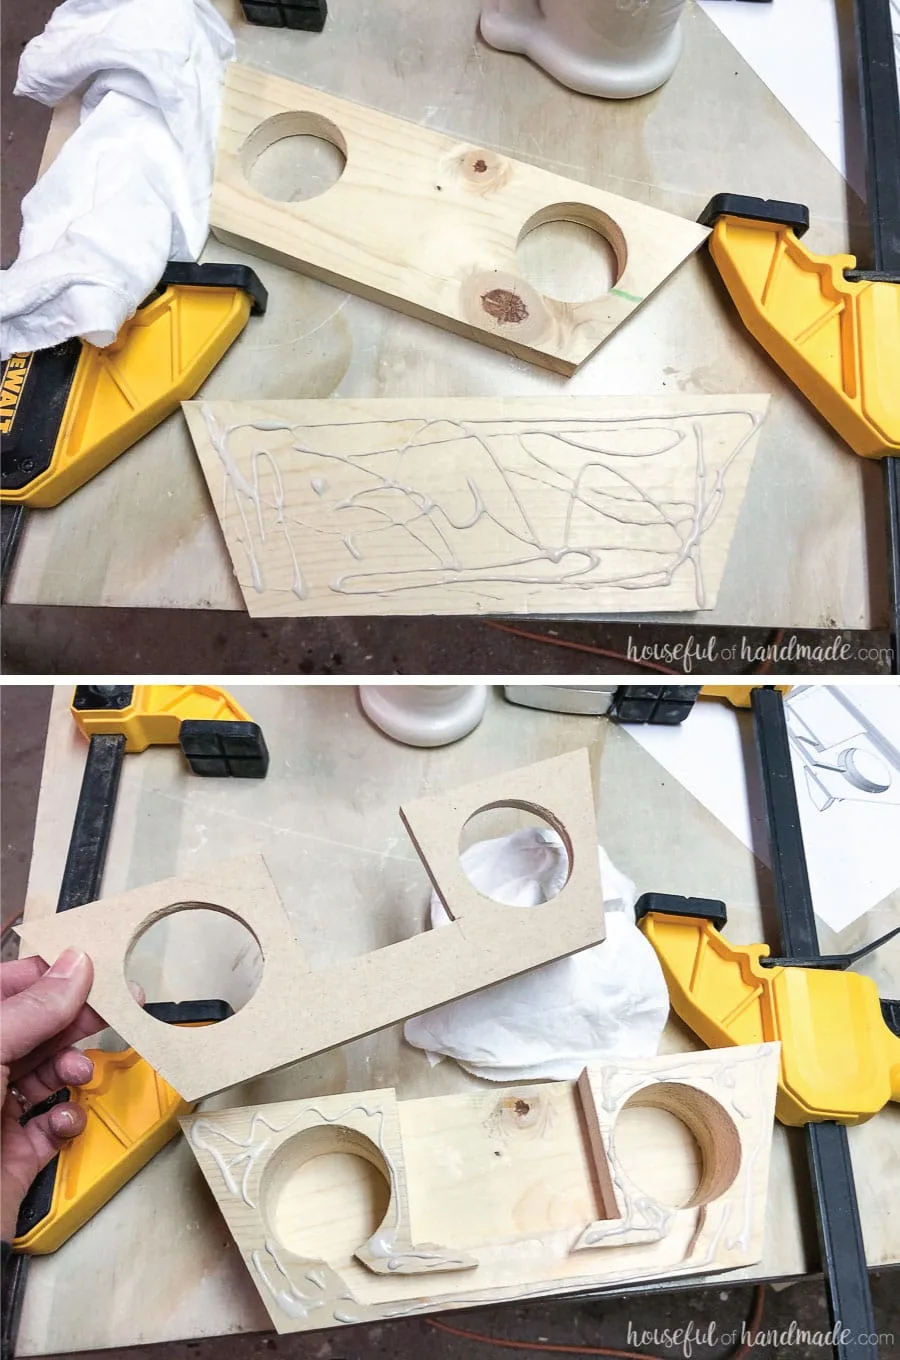
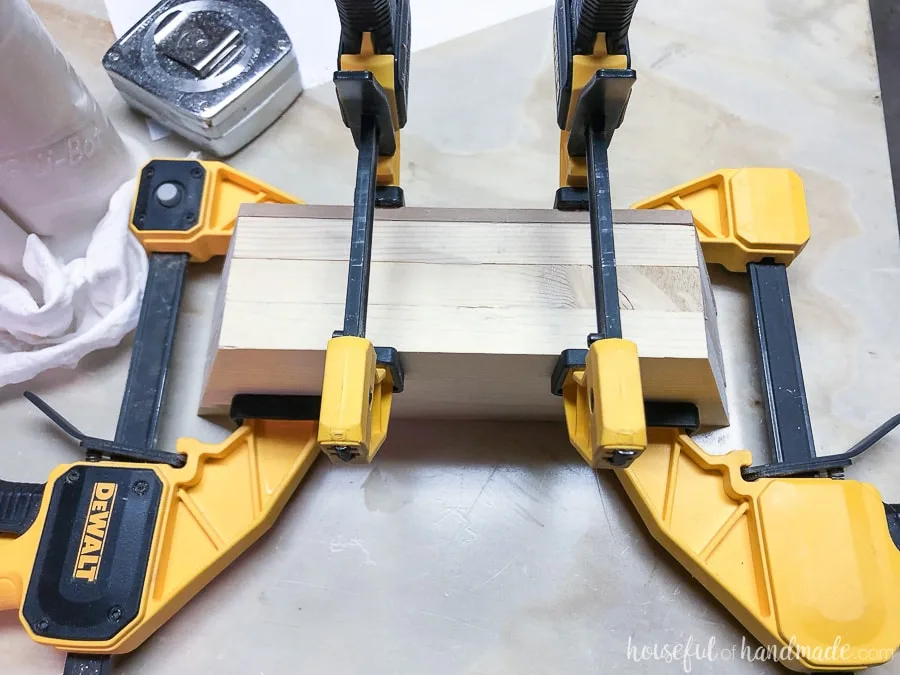
Line up all the pieces so the sides and holes are nice and flush. Then clamp it all together to dry.

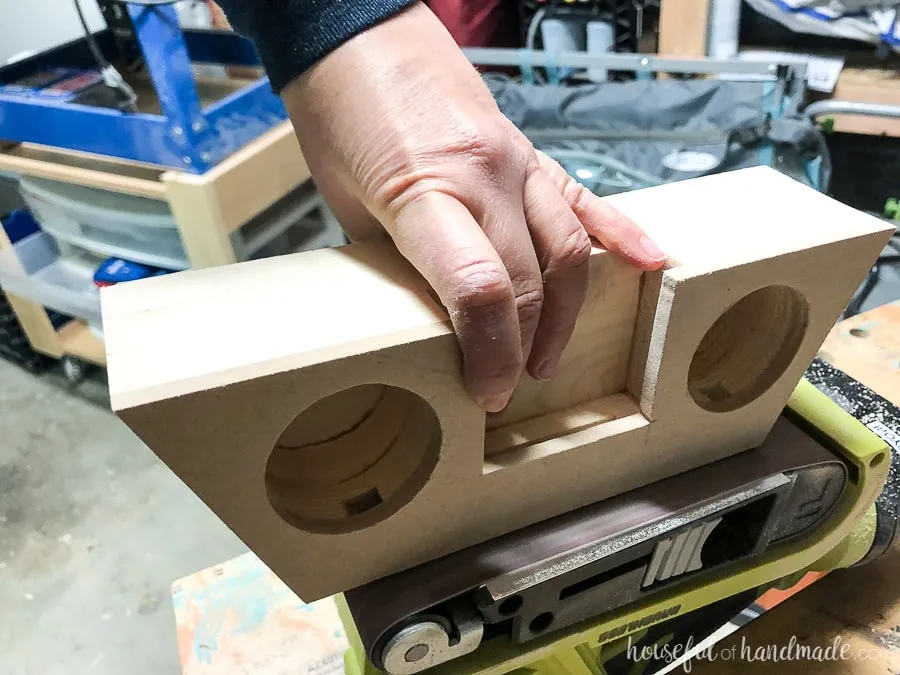
After it is dry, sand all the edges (including the inside of the box and holes).

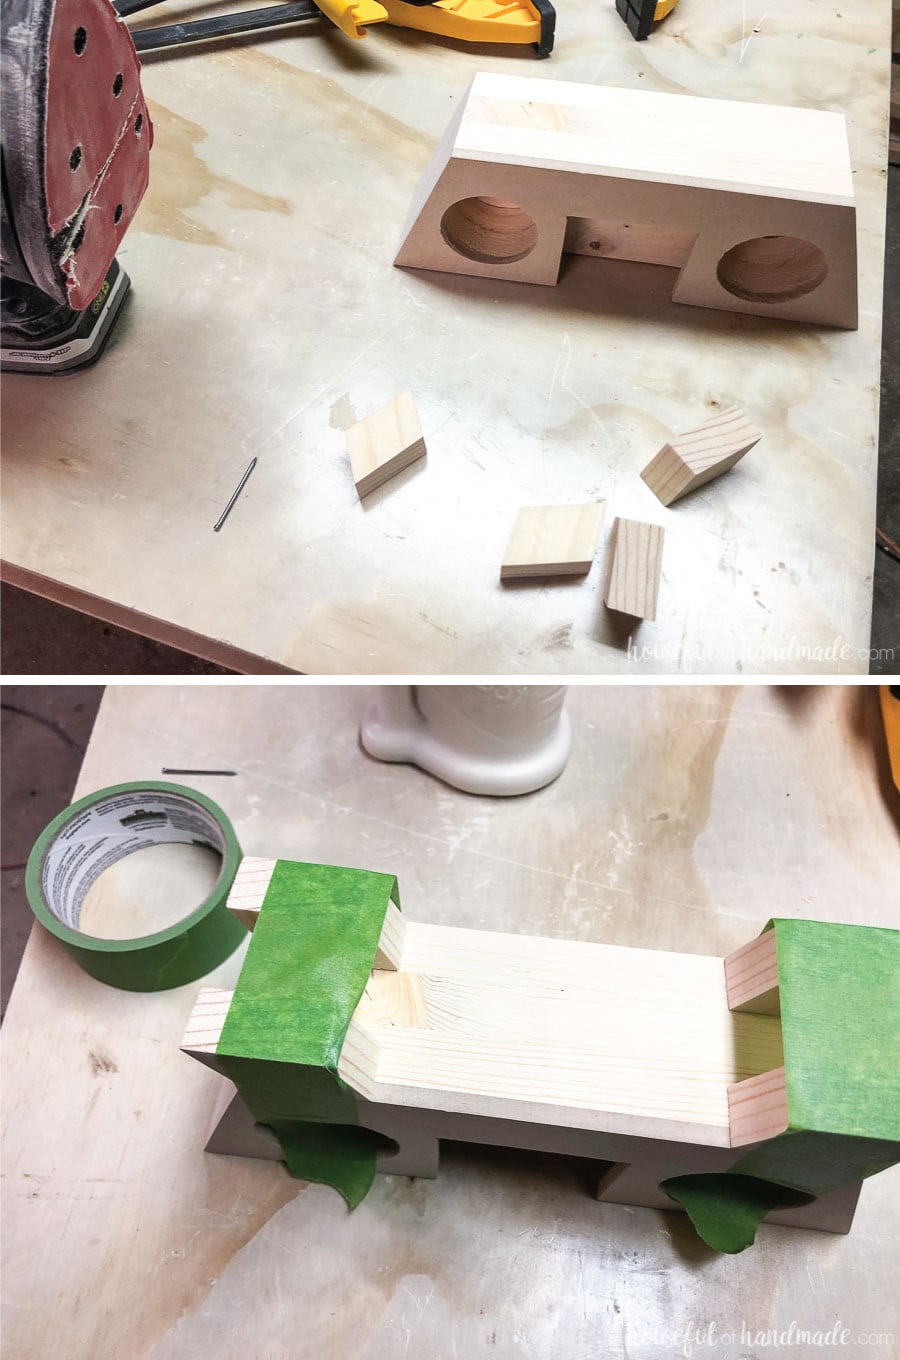
To cut the feet for the wooden speaker, set your miter saw to 22.5 degrees and cut 1″ pieces from the 1×2 board so both edges are at an angle. But the angled sides are still parallel to each other.
Glue the feet to the bottom of the DIY speaker amplifier so that the front feet are flush with the front of the speaker and the back feet are flush with the back of the speaker. And the feet will be angled out on the bottom. Secure with some painters tape until the glue dries.

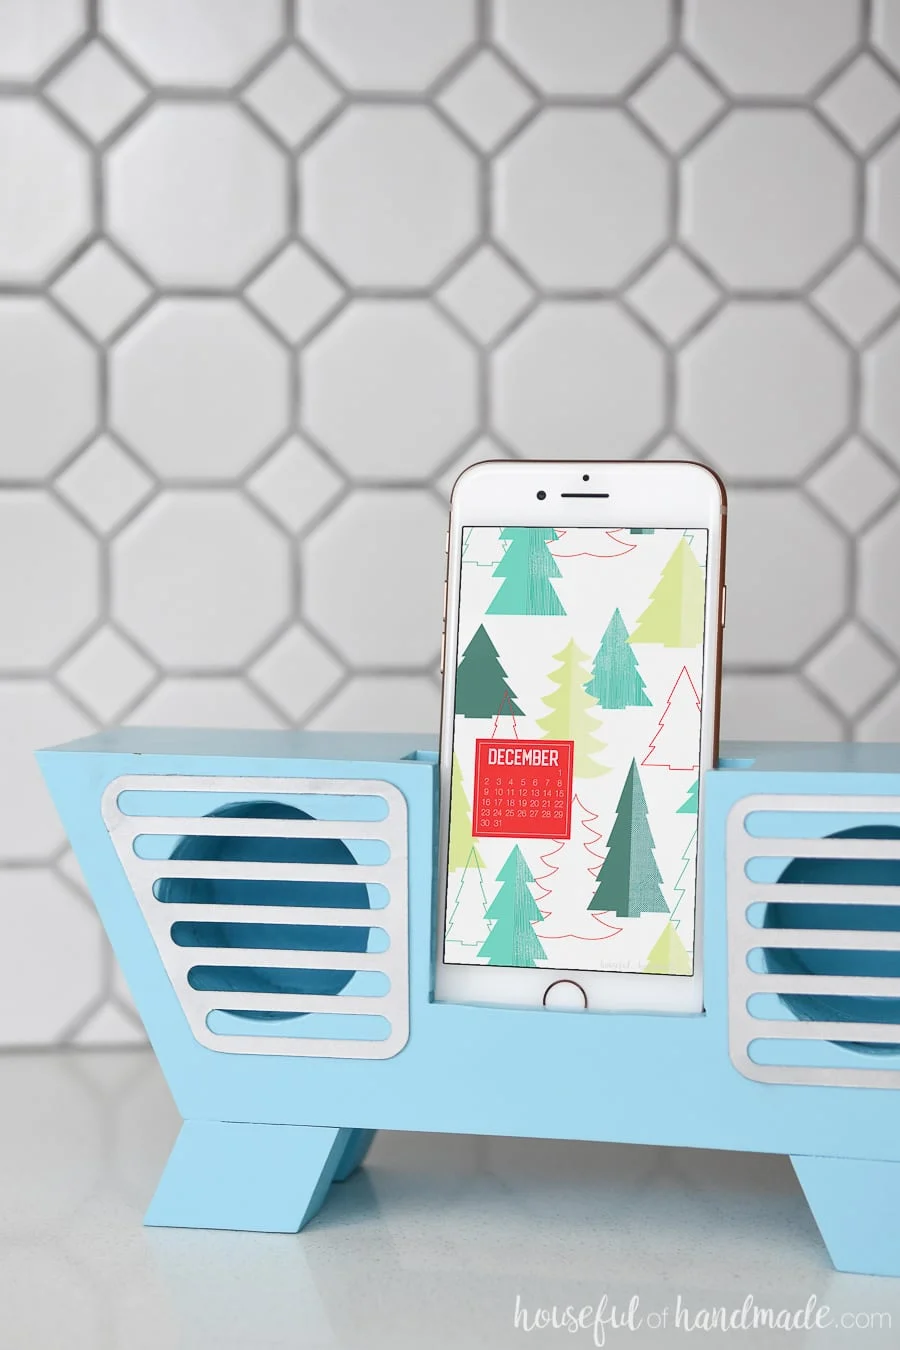
Now it’s time to paint or stain your speaker. I chose to spray paint my speaker to make it easy to get in all the nooks and crannies. It also gave it a glossy look which is perfect for a retro speaker. Make sure to lightly sand between coats with a 220 grit sandpaper to get a super smooth paint finish. Also, I did about 5 coats of spray paint to build it up and make it look super slick.
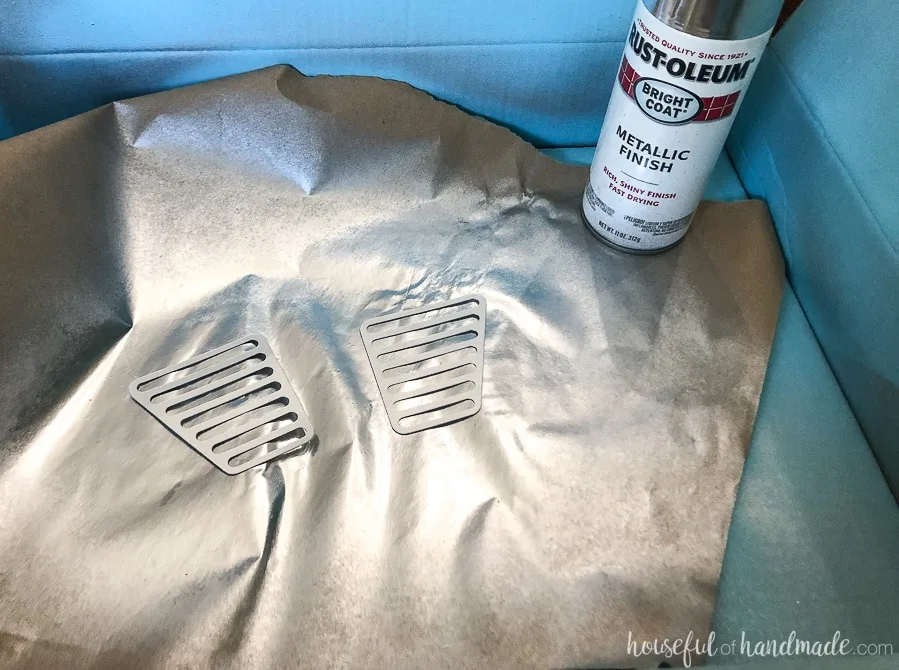
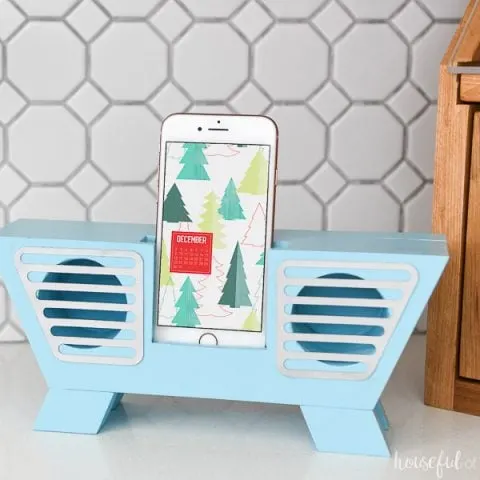
I also decided it needed a little more to make the retro style of the wooden speaker really pop. I made some speaker grates out of coverstock (which is extra thick cardstock). I cut these out with my Silhouette Cameo, but you can also do it with scissors and an x-acto knife. I used metallic spray paint to make the paper look like metal and then attached them to the front the wooden speaker with hot glue.

Now the hardest part is wrapping up this adorable new wooden speaker and giving it to someone else. I guess that means I need to make one for myself! I love how it looks so great on the counter in the kitchen so I can jam to my tunes or podcasts while I cook.

Retro Wooden Speaker for Phone
Make a fun DIY retro wooden speaker for your phone out of wood scraps. It makes a great gift idea too!
Materials
- 30″ of 1×4
- 10″ x 3 1/2″ piece of 1/4″ MDF
- 6″ of 1×2
- Wood glue
- Paint or stain
- Coverstock
Tools
- Miter saw
- Jig saw
- Drill with 2″ hole saw bit
- Palm router with 1/4″ straight router bit
- Clamps
- Measuring tape
- Sandpaper
- *Silhouette or scissors and x-acto knife
Instructions
- Cut (3) 10″ pieces of 1×4 angling the ends at a 22.5 degree angle with your miter saw.
- On the 1/4″ thick material, mark a 2 1/2″ wide by 2 1/4″ tall box in the center top of the board.
- Mark the position for the 2″ holes.
- On one 1×4 piece mark at 2 1/2″ deep in the center top of the board.
- Mark 1/4″ thick line across the bottom of the board 1/4″ up from the edge.
- After drilling the holes you will connect the bottom channel to the holes.
- Clamp the 1/4″ board, the marked out 1×4 board and 1 more 1×4 board together.
- Mark out the 2″ holes on either side of the box on the top board.
- Using the hole saw, drill the holes through all 3 boards.
- Use your jigsaw to cut out the boxes you marked on the 1×4 board and the 1/4″ thick material.
- Using the palm router with a 1/4″ straight bit, router out the channel about 1/2 way through the board.
- Start from the back, add glue to next piece and the press it firmly.
- Line up all the pieces so the sides and holes are nice and flush.
- Clamp it all together to dry.
- After it's dry, sand all the edges.
- Cut the feet for the wooden speaker.
- Set your miter saw to 22.5 degrees and cut 1″ pieces from the 1×2 board.
- Glue the feet to the bottom of the DIY speaker.
- Paint or stain your speaker.
- Make speaker grates out of coverstock with a Silhouette or scissors and x-acto knife.
Recommended Products
As an Amazon Associate and member of other affiliate programs, I earn from qualifying purchases.


Hopefully they will love the wooden phone speaker as much as I do!


Tara
Saturday 17th of July 2021
I absolutely love this!!!! I showed it to my son and he wants to use it for his fair project next year. Would you mind sharing the template you used for the speaker grates?
Kati Farrer
Saturday 17th of July 2021
Josh sent you an email