
Build a decorative wood wagon for your fall decor. It’s the perfect way to add some farmhouse charm to your fireplace hearth or porch.
Every year as the weather starts to change, I get so excited to decorate for fall. This year, we decided to keep our decor classic.
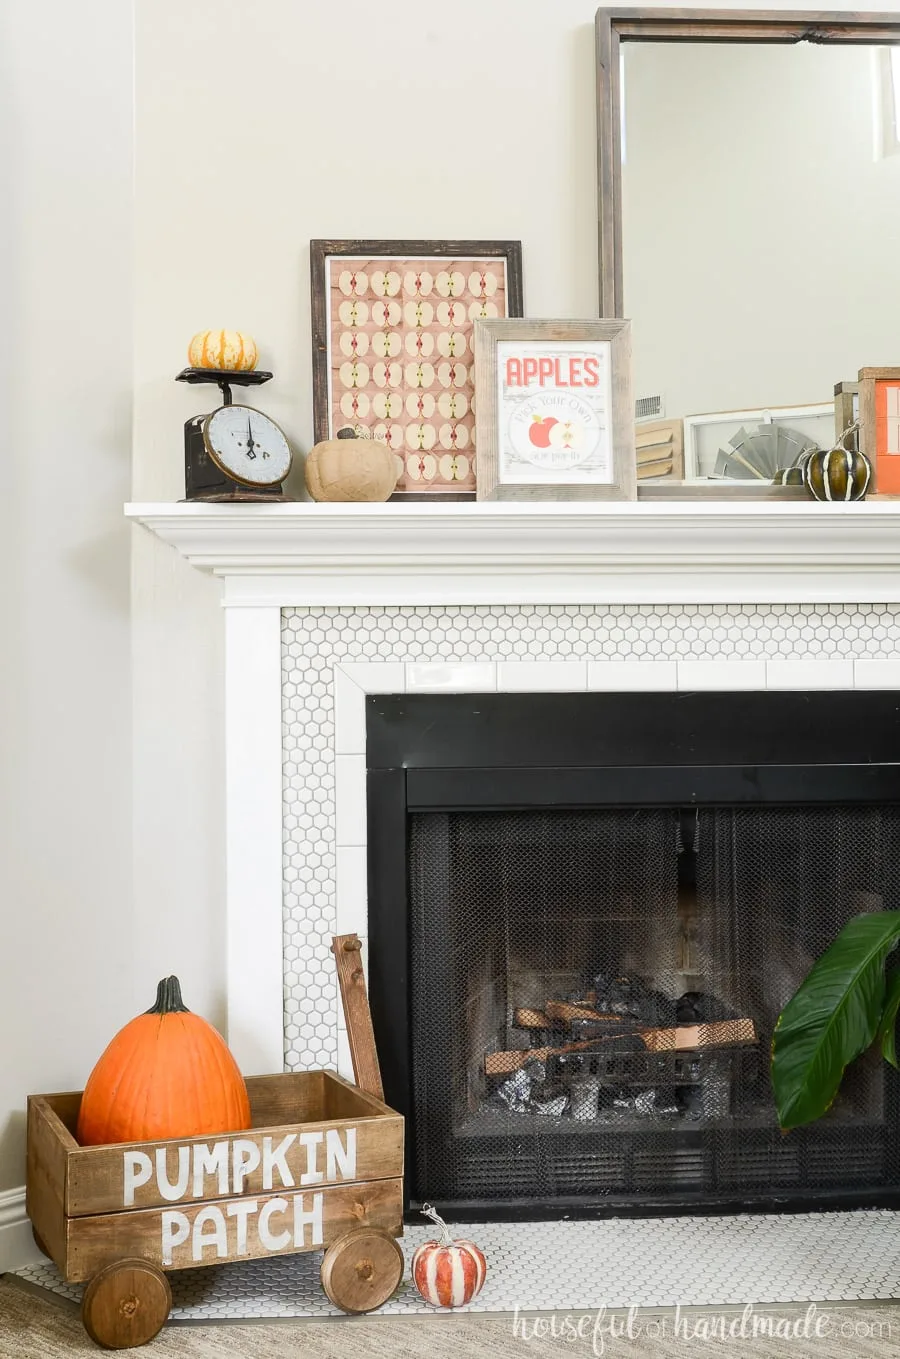
For our mantel, we decorated with all our favorite fall traditions. To represent the most classic of fall activities, I decided we needed the cutest decorative wood wagon to adorn our fireplace hearth.
So I teamed up with HomeRight to make the perfect pumpkin patch wagon for our fall decor.
This post may contain affiliate links. As an Amazon Associate I earn from qualifying purchases. Click here to read my full disclosure policy.
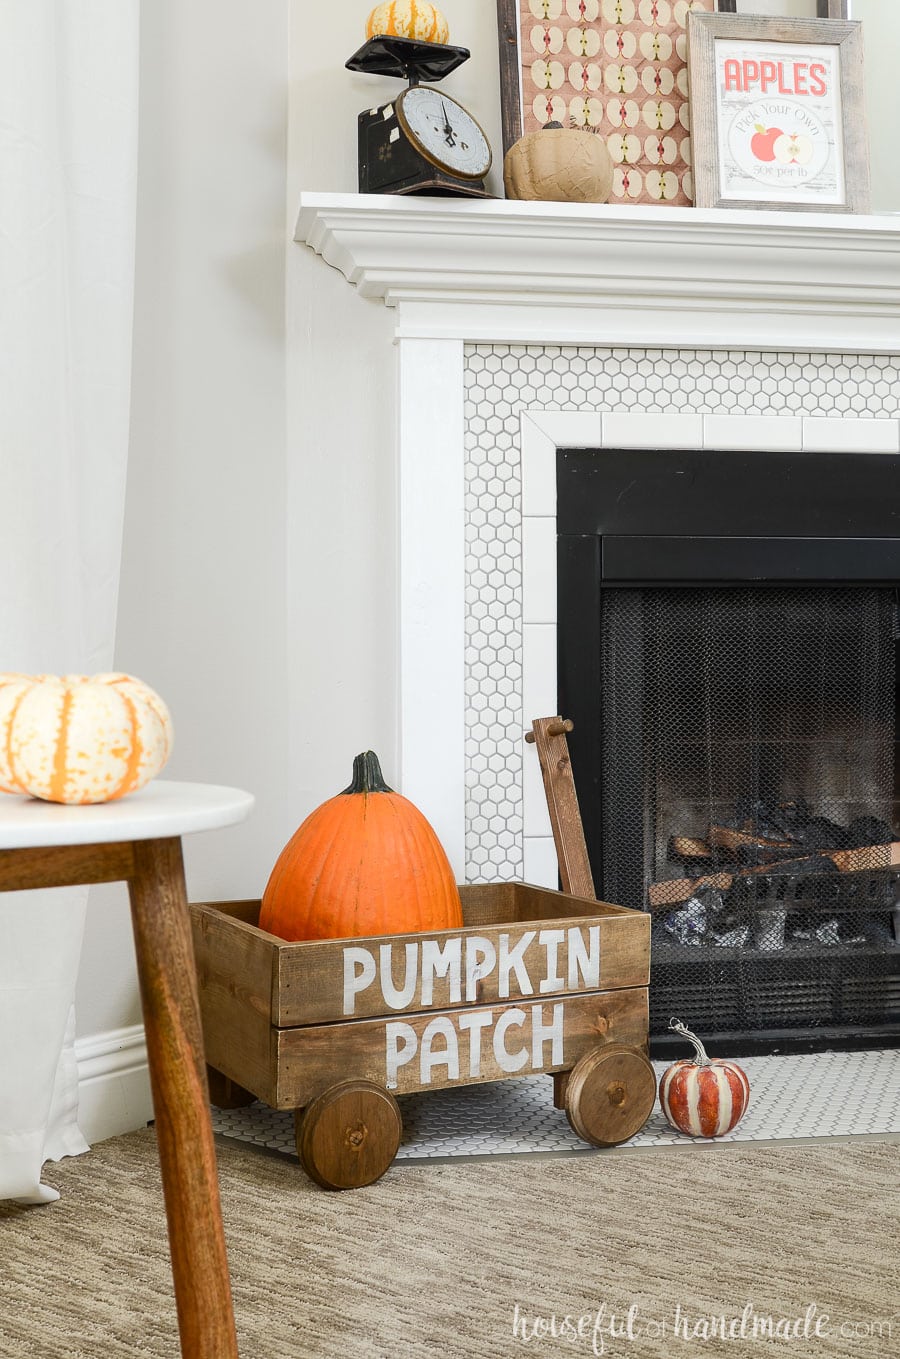

There is just something about pulling a little wagon around the pumpkin patch, hoping to find the perfect pumpkin, that screams fall. That is why this fun decorative wood wagon is the perfect decoration for fall.
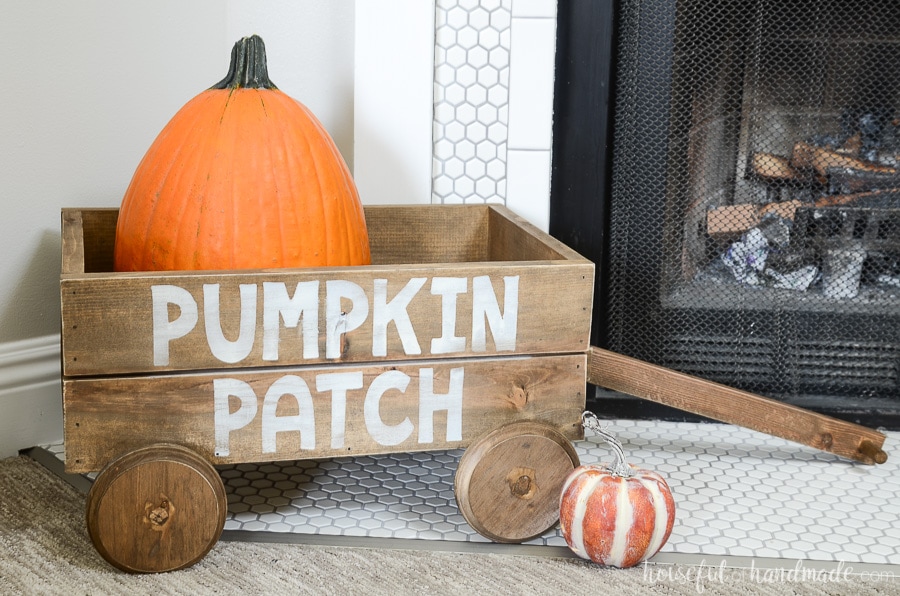
It is just large enough for a pumpkin, but small enough I am hoping my kids don’t try to pull each other around in it.
This decorative wood wagon was built from scraps of wood. It was the perfect way to clear out some of the scrap pile. Then to make the scraps of wood look like they have been hanging around the pumpkin patch for years, I use an Aged Wood Accelerator to stain the wood.

Painting between all the slats of our wood wagon would have been so time consuming. Instead I grabbed my trusty Super Finish Max paint sprayer to make quick work of it.
It only took me 20 minutes to completely spray the entire wagon! And that included set up and clean up time.
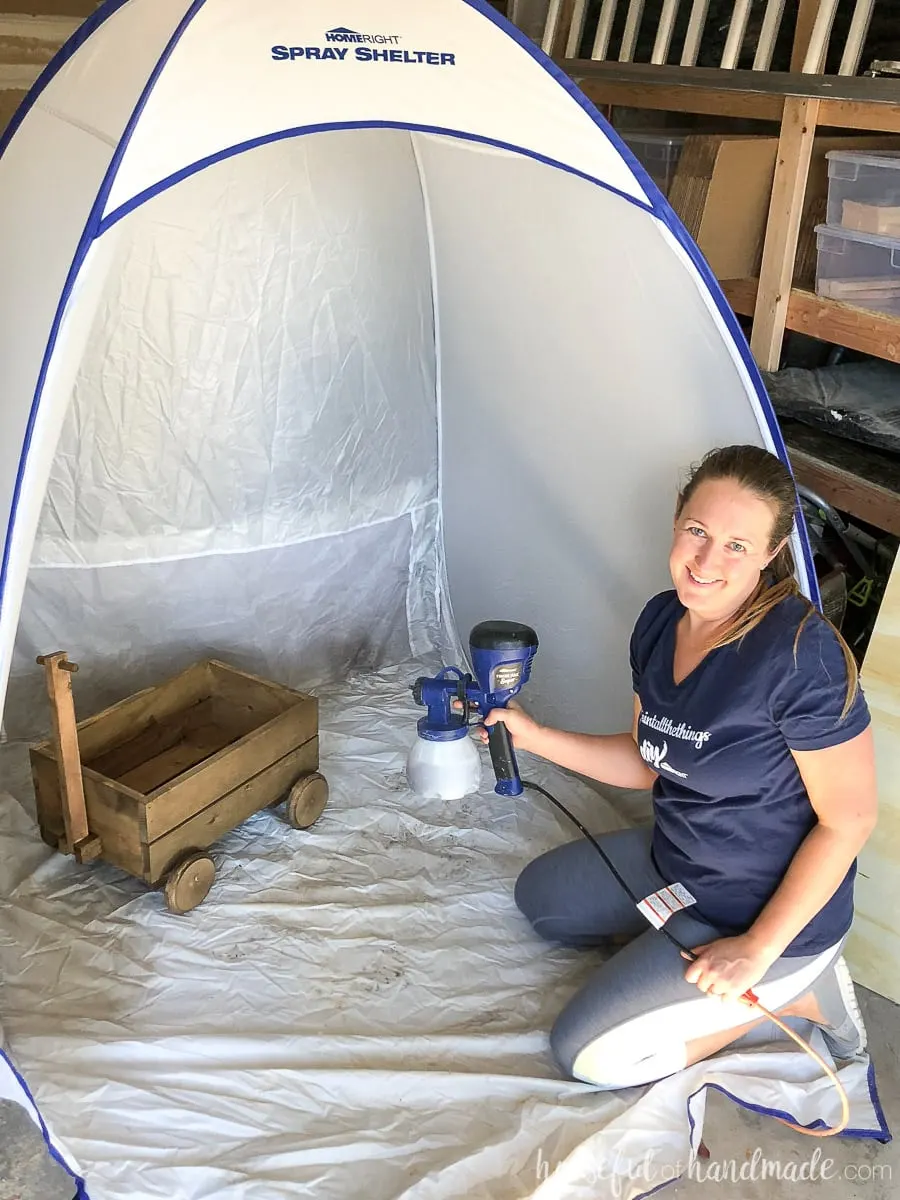
And the new HomeRight Medium Spray shelter is my new favorite thing. It’s so easy to put up and take down and is the perfect size for spraying smaller projects.
It was a blustery fall day, so I set up the spray shelter in my garage. With the garage door open, and the spray shelter facing the opening, I was able to quickly finish my project without worrying about over-spray.

If you want to build your own totally adorable, decorative wood wagon, I have the complete build plans below.
How to Build a Decorative Wood Wagon
This wagon is for decorative purposes only. The wheels do turn, but I would not recommend using it to haul around your children because the wheels are only held on by a wood dowel.
Tools:
- HomeRight Super Finish Max paint sprayer
- HomeRight Medium spray shelter
- Saw
- I use my miter saw for quick and easy cutting. This is the one I use for my
- Finish nailer
- Drill with 3/4″ and 5/8″ drill bits
- Clamps
- Tape measure
Supplies:
- Wood:
- (2) 8′ 1×4 boards
- (1) 2′ 1×8 board
- (1) 3′ 1×3 board
- (1) 2′ 1×2 board
- (1) 4′ 5/8″ dowel
- (4) 5″ wood circles
- You can cut circles out with a jigsaw, or you can purchase precut circles. To get the 5″ size, I bought 5″ wood plaques at Hobby Lobby. They are 3/4″ thick wood with a routered edge on one side.
- 1 1/4″ finish nails
- 1 1/4″ self taping wood screws
- Wood glue
- Varathane Aged wood accelerator
- Optional: vinyl stencil and paint to decorate the side of the wagon
To Build the Wood Wagon:
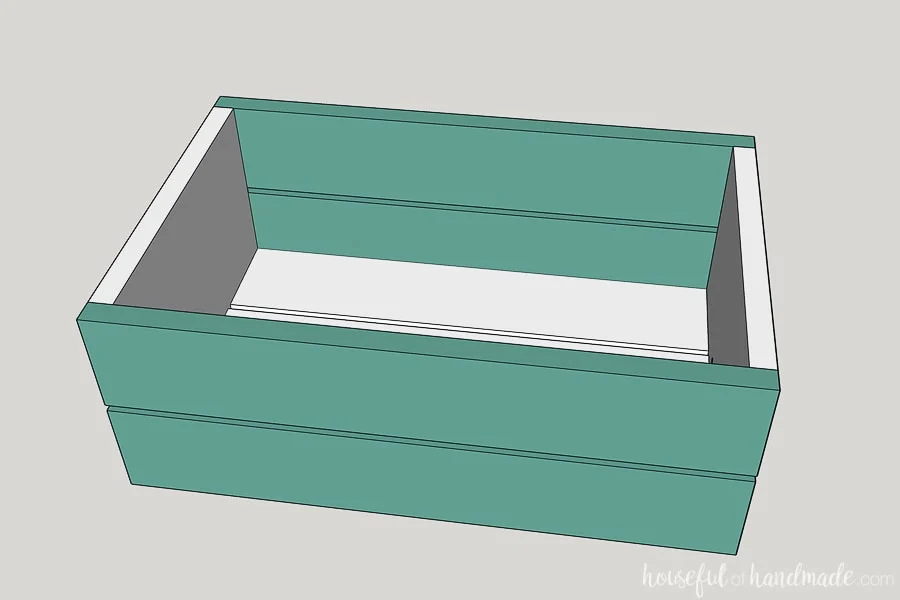
Cut (3) 18″ long pieces from the 1×4 boards and (2) 11″ long pieces from the 1×8 boards. Attach the 18″ pieces to the long side of the 1×8 boards using wood glue and the 1 1/4″ finish nails.
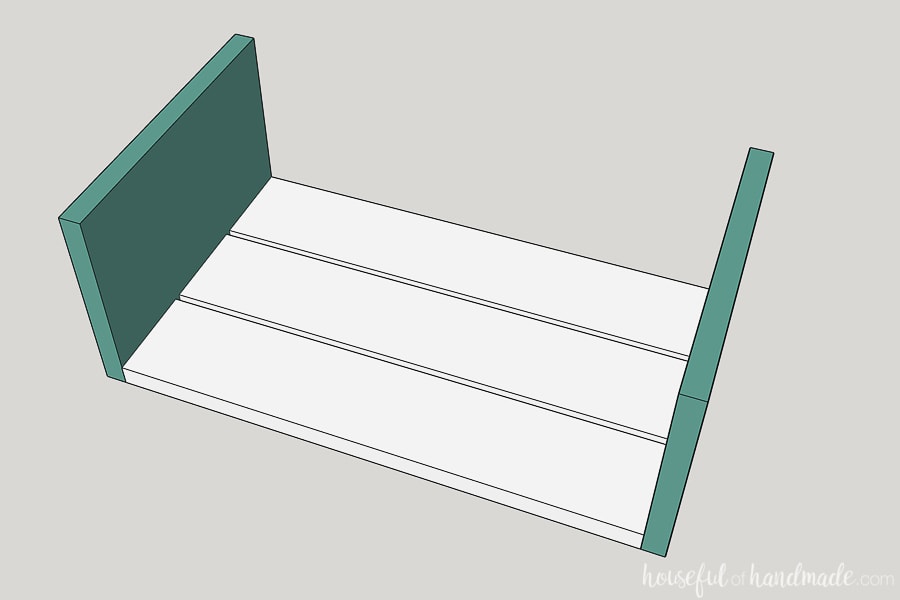

Cut (4) 19 1/2″ pieces from the 1×4 boards and attach them to the sides of the 1×8 boards. Use wood glue and 1 1/4″ finish nails.

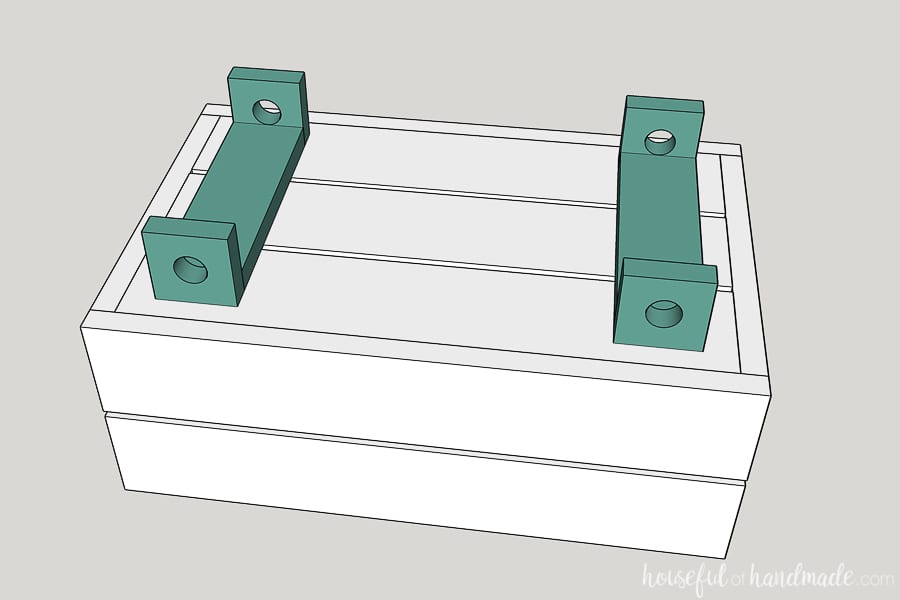
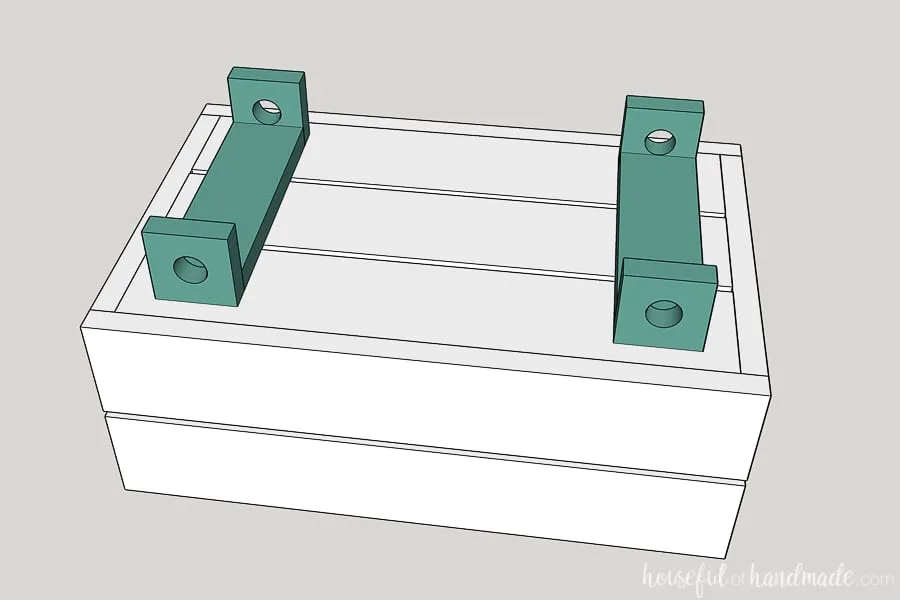
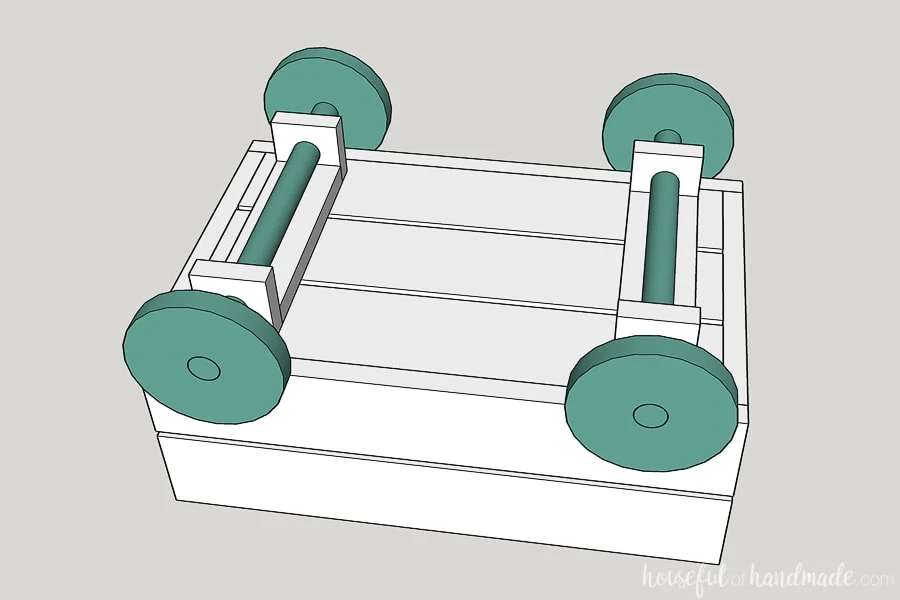
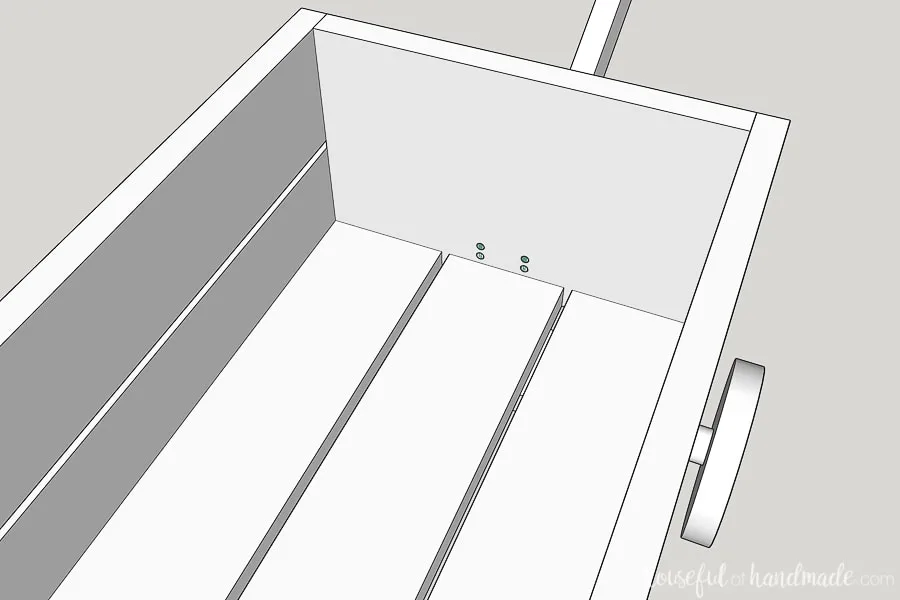
Build the wheel housing with the 1×3 boards. Cut (4) pieces to 2 1/2″ long and (2) pieces 8″ long. Drill a 3/4″ holes so they centered on the smaller pieces. Attach the large boards in the center of the wagon bottom and 2″ in from the edge using wood glue and 1 1/4″ finish nails. Then attach the 2 1/2″ pieces to the ends of the 8″ pieces as shown below.
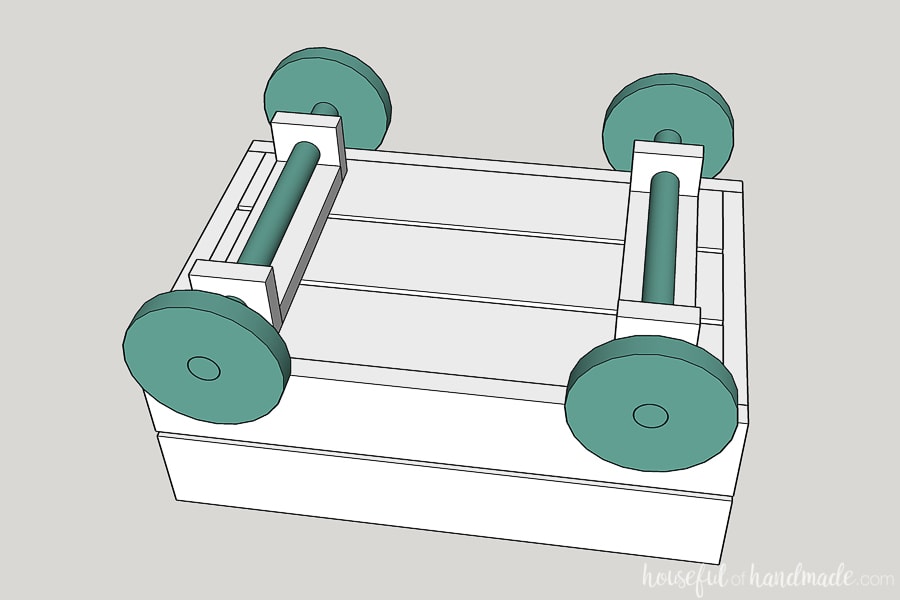
Drill 5/8″ holes in the center of each wood circle (aka, wheel). Cut (2) 15″ pieces from the 5/8″ dowel. Place a good amount of wood glue in the hole of one wheel and then place the dowel into it. It should fit tightly. Press it in until the edge of the dowel is flush with the front of the wheel.
Thread the dowel into the wheel housing. Then add wood glue to the hole in the other wheel and press it onto the dowel. If you are using wood plaques like I did, make sure the routered edge is on the outside of the wheels. Repeat for the other side.
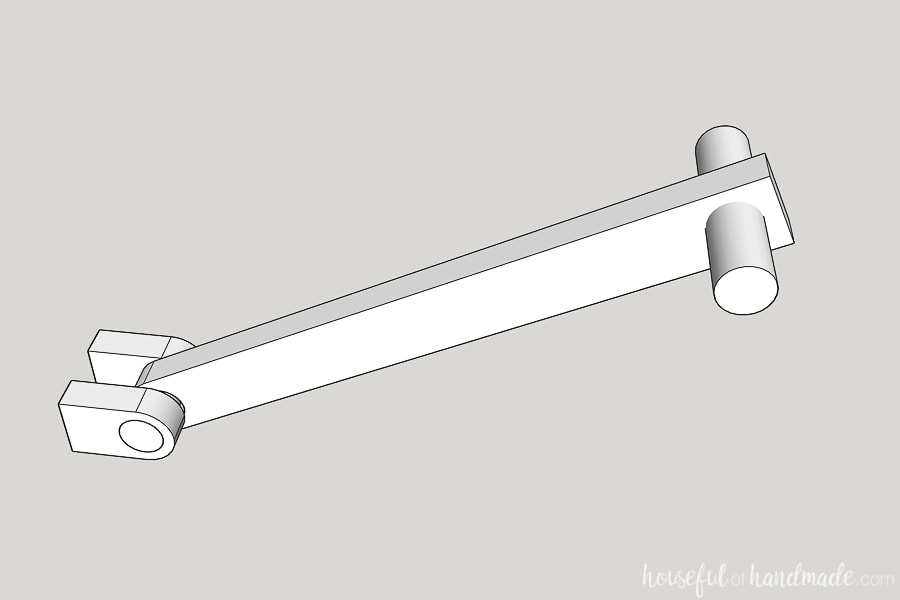
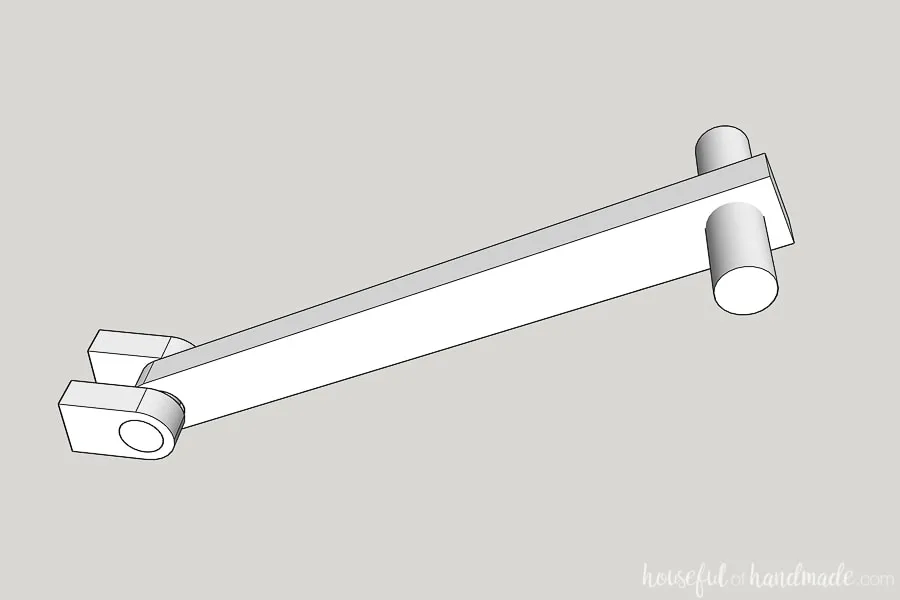
Build the handle by cutting (2) 2 1/2″ pieces of 1×2. Curve or cut off the corners of one side (I used my miter saw to just remove the sharp corners instead of trying to use the jig saw on such a small piece of wood). Cut a 15″ piece of 1×2 for the handle. Cut or curve one end of this as well.
On the 2 1/2″ pieces, drill a 5/8″ hole into the curved end of each piece. Make sure they are in the same spot on both pieces. On the handle, drill a 3/4″ hole on the center of the curved end and a 5/8″ hole on the center of the other end.
Cut a 2″ piece of dowel for the handle assembly and a 5″ piece of dowel for the handle pull. Assemble the handle assembly by adding wood glue to the hole on one piece, press the dowel into it, then thread the handle piece onto it. Add wood glue to the hole of the last piece and secure it on the end of the dowel.
Glue the handle pull into the hole on the top of the dowel.
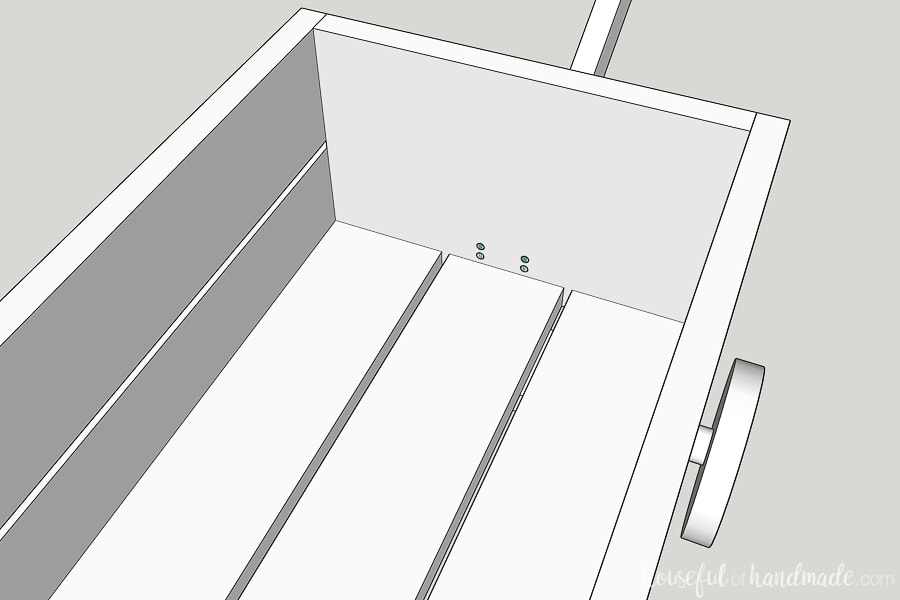
Attach the handle assembly to the wagon with wood glue and 1 1/4″ wood screws from the inside of the wagon, into the assembly.
Sand your new wagon to prepare it for stain. I wanted to keep mine rustic, so I mostly focused on removing any marks on the wood.
To Paint the Decorative Wood Wagon:
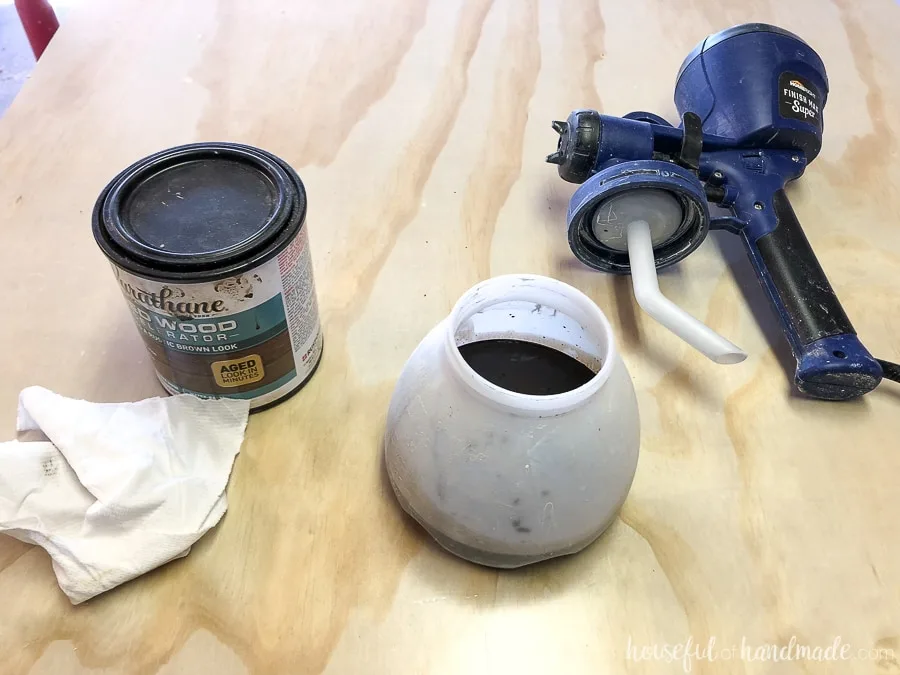
The Aged Wood Accelerator by Varathane is water based so it was super easy to use in the HomeRight Super Finish Max paint sprayer. Just pour some in the paint container. Attach it to your sprayer and you are ready to go!
This stuff is really thin (just like water), so make sure the sprayer is set to a light spray. And you will need a rag to wipe off excess stain.

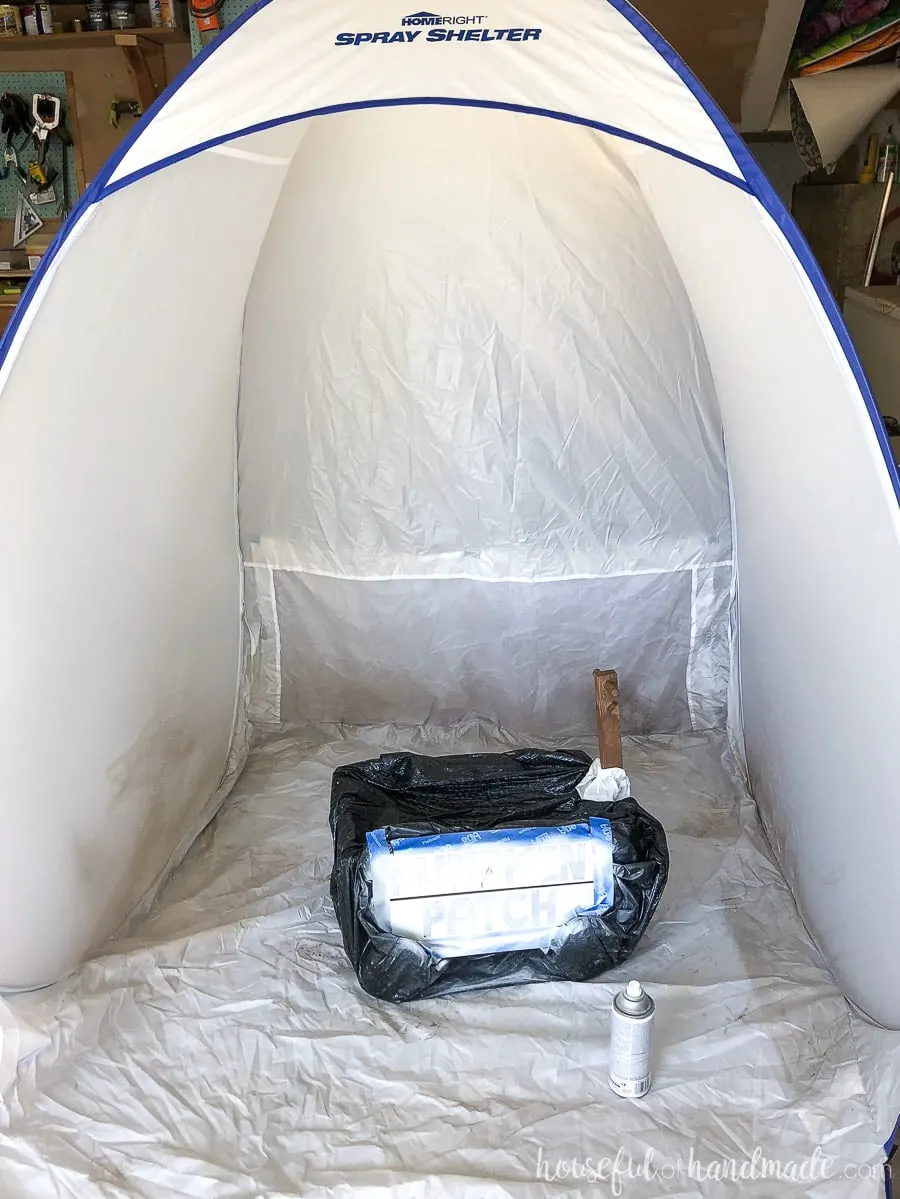
Set up the Medium Spray Shelter and place your new decorative wood wagon inside. I like to use something in the bottom of my spray shelters to collect excess paint/stain.
For this, I just put a couple sheets of brown packaging paper from boxes I’ve received. I also like to use dollar store tablecloths, flattened boxes, or even a cut open garbage bag. It just helps minimize the build up of paint over many uses.
Spray the stain over the one side of the wagon, then quickly wipe the excess off. Then rotate and repeat until you have covered the entire wagon. This aged wood accelerator is great because it doesn’t really have to dry before you turn the wagon upside down because it’s won’t rub off like paint or traditional stain.

Let the wagon dry. If you want to add some decor to the sides, you can hand paint directly onto the wood wagon. Or you can cheat like me and use a vinyl stencil to get perfect lettering.
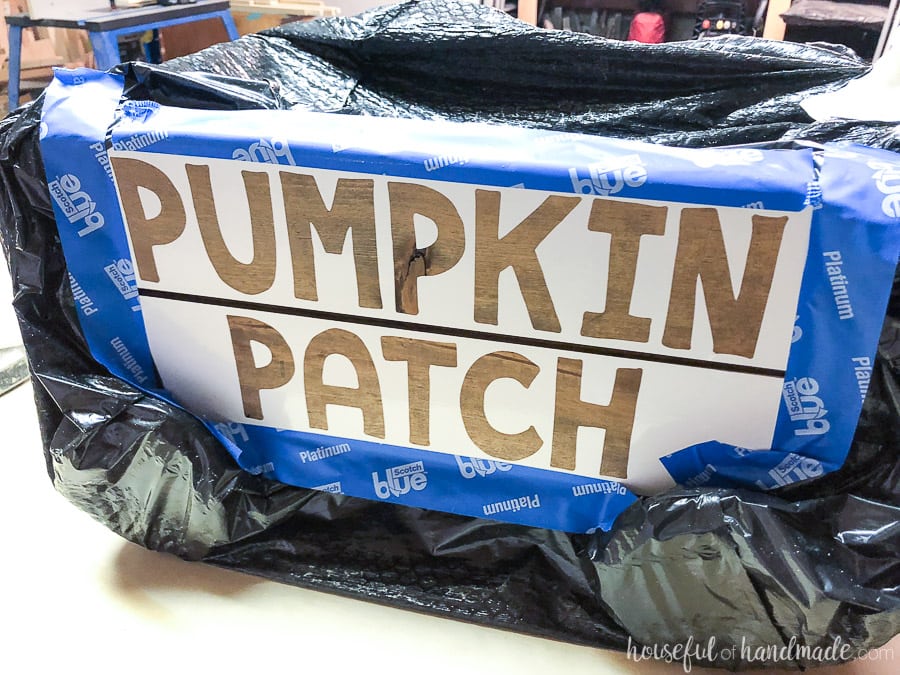
I cut out a stencil with my Silhouette Cameo and placed it onto the side of the wagon. To protect the rest of the wagon while I spray painted the stencil design, I put it in a large garbage bag (I had to tear a hole to put the wagon handle through to get it to fit). Then I used some painters tape to secure the bag around the stencil.

Back into the spray shelter it went. The HomeRight Spray shelters are great for spray painting project too!

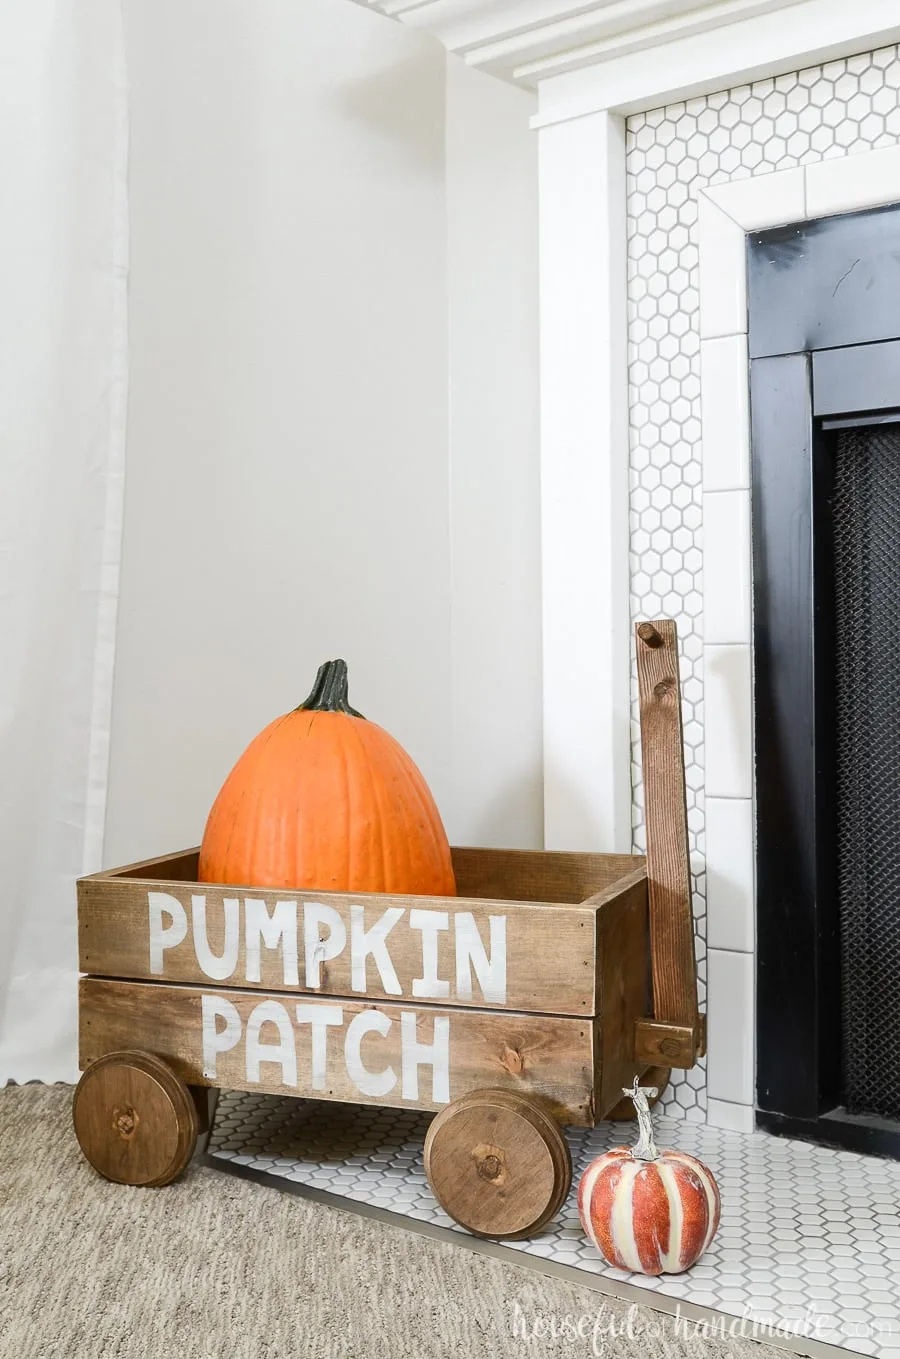
After removing the stencil, I also roughed up the finished wood wagon with some sandpaper to give it more of an aged appearance. Then it was ready for the hearth!
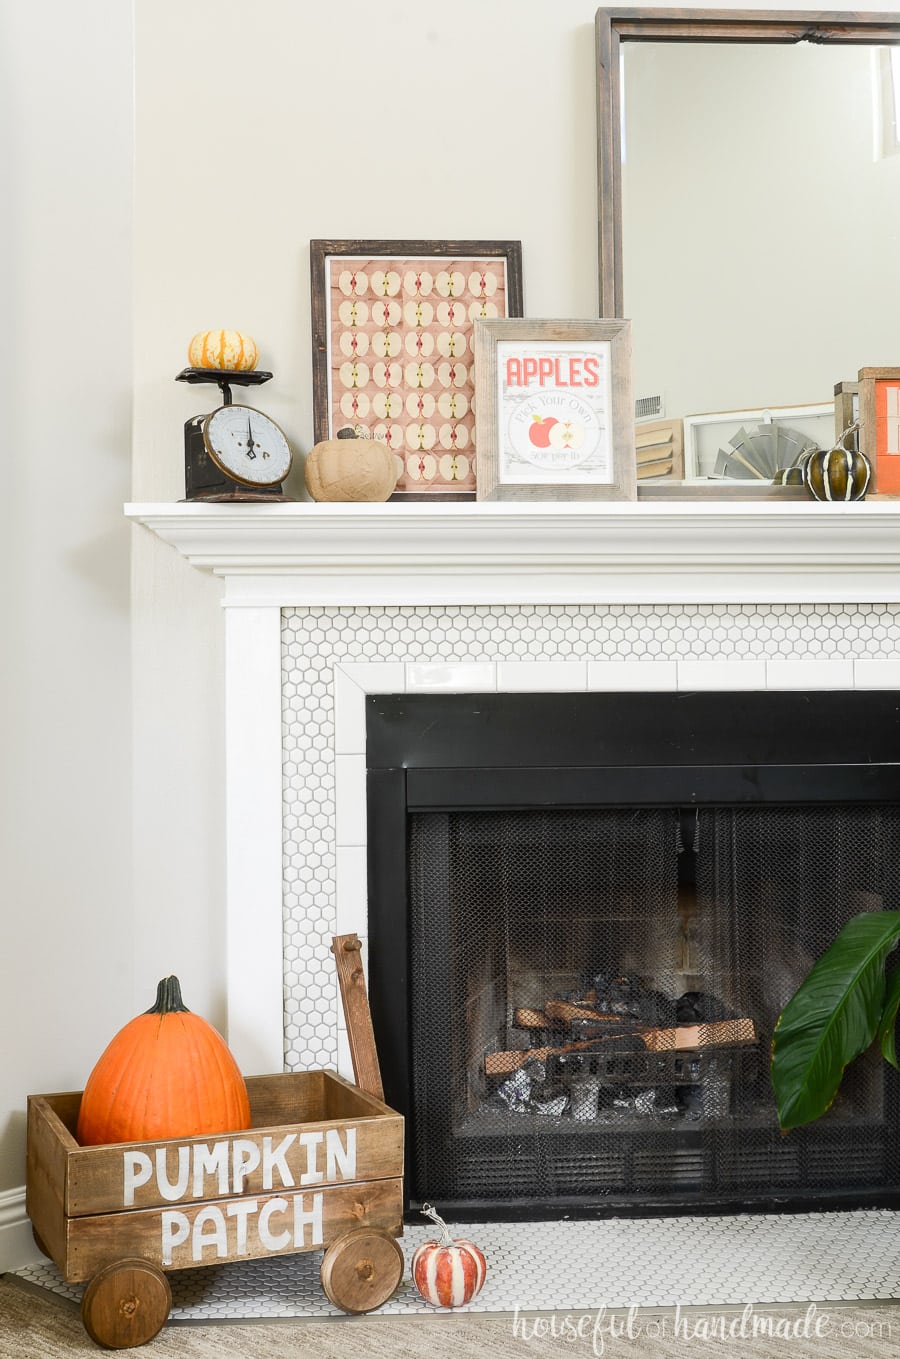
Happy fall!


Thank you to HomeRight for sponsoring this post. I only recommend products that I use and love and all opinions are 100% my own. This post contains some affiliate links for your convenience. Click here to read my full disclosure policy.
Amy
Friday 6th of September 2019
What kind of protectant should be used if putting wagon outdoors?
Kati
Friday 20th of September 2019
Just use an outdoor wood sealer. I like spar-urethane.