I'll show you how to make a marble inlay cutting board that's perfect for a cheese tray or charcuterie board!

Most DIY cutting boards require lots of milling to create perfectly flat and straight strips of hardwood that are glued together. Even if you buy a cutting board kit, you'll still have lots of gluing and sanding to do!
Not this one! I'll show you how to make a cutting board using a single board of walnut, then add a marble inlay for contrast.
This post contains affiliate links for your convenience. Purchases made through these links may earn me a small commission at no additional cost to you. Please visit my disclosures page for more information.
Not quite what you were looking for? Check out these other unique cutting board ideas!
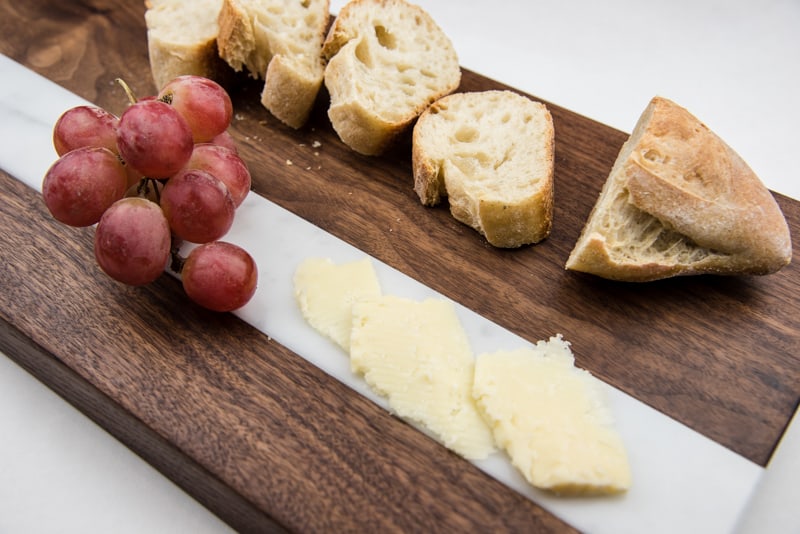
I made this cutting board as a gift to my mom for Christmas last year, and she uses it all the time for serving cheese and crackers when she has guests. The dark walnut cutting surface is great for slicing bread, and contrasts beautifully with the white marble inlay, which keeps the cheese cool.

My dad was in town to help me with this project, so it's his gnarled hands you see in the photos. Those are the hands of a handyman! 😉
Materials Needed for Making a Stone Inlay Cutting Board
- Walnut wood at least ¾" thick and 8" wide
- You could also use maple, but it won't have the same contrast with the marble.
- 18" marble tile (I had a 2" x 18" long piece of marble tile left over from building my fireplace hearth.)
- You could also use a granite tile for a different look!
- Carpenter's square
- 100% silicone adhesive (must be food safe)
- Painter's tape
- Table saw with dado blade
- You could also use a regular blade with flat teeth and make multiple passes with the table saw.
- Palm router and ⅛" roundover bit
- Sander and sandpaper
- Mineral oil or cutting board wax
Don't forget your safety gear when woodworking! Here are my recommendations for safety glasses and ear protection. No excuses!
How to Make an Inlay Cutting Board
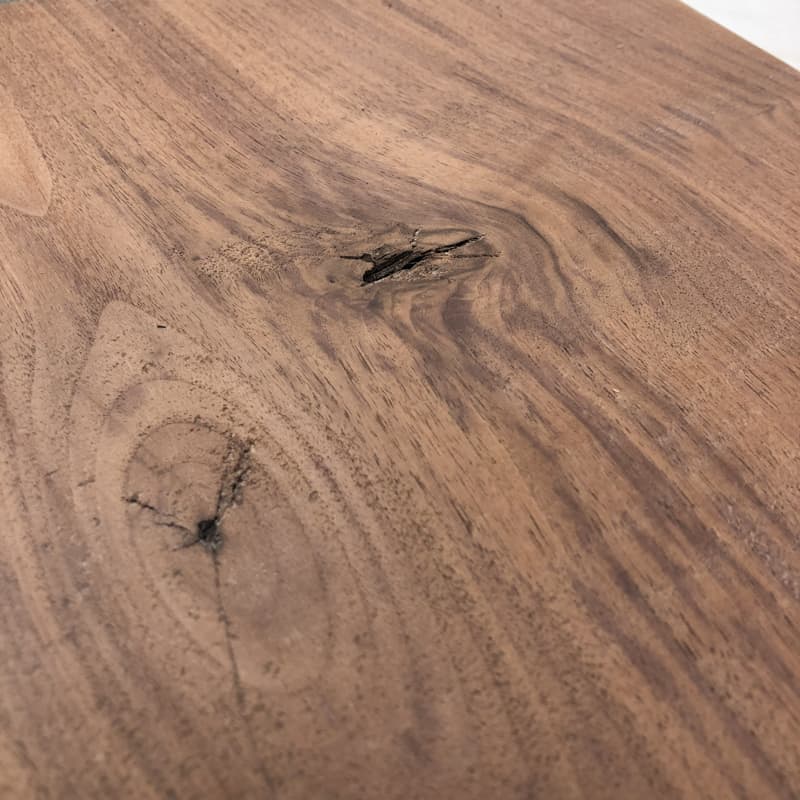
Choose Your Wood Wisely
The hardest part about making this cutting board is finding the right wood. You'll have the best selection at a local hardwood supplier (I got mine at Crosscut Hardwoods in Seattle).
Stick with walnut or maple at least ¾" thick and 8" wide. I searched through the stack of thick milled walnut until I found a piece that was 1 ¼" thick and 9 ½" wide.
Plan how long you want your cutting board to be BEFORE you purchase the lumber. I needed an 18" long piece that was free of imperfections. To get a clear section, I had to buy a 3 foot length to avoid a knot at the end of the board.

Cut the Marble Inlay
Cut a piece of marble tile to your desired size. I had a 2" x 18" offcut left over from the fireplace remodel that was perfect for a project like this! This is why I never throw anything away! 😉
The cut edges were a little rough, so I sanded them down with 80 grit sandpaper to smooth out any bumps. Marble is a soft stone, so just a few passes should do it!


Cut the Board to Size
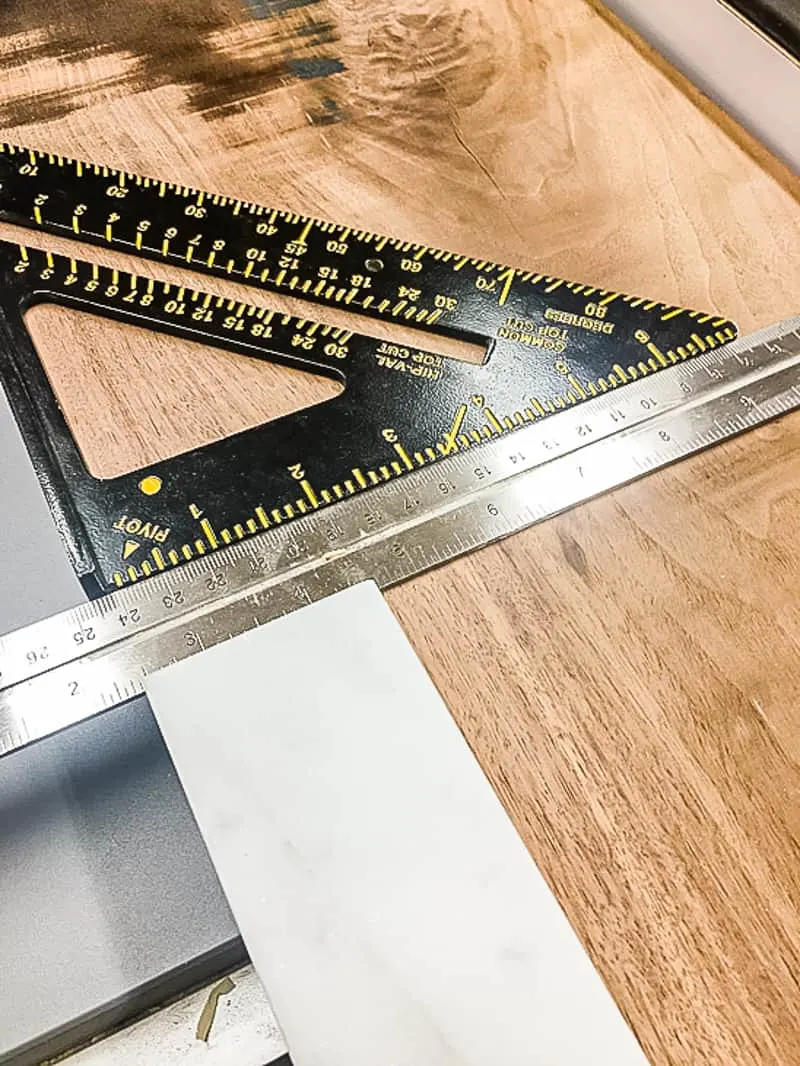
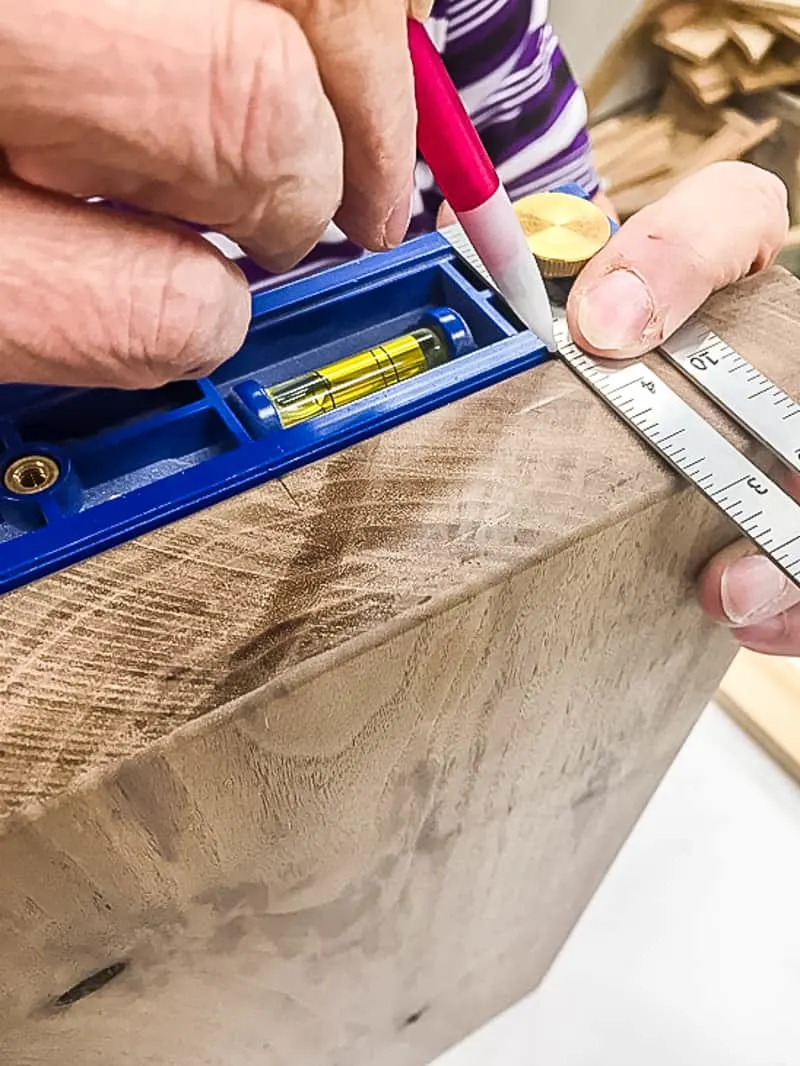
The end of my walnut board was roughly cut at the store, and wasn't square. My dad recommended marking and scoring the cut line with a sharp utility knife to prevent tear out at the miter saw.


Use the marble tile piece to mark the other cut line. I wanted to avoid the knot at the end of the board and keep the clearest grain for the cutting board. The rest of the wood was used in other projects, like the stop block on my miter saw!

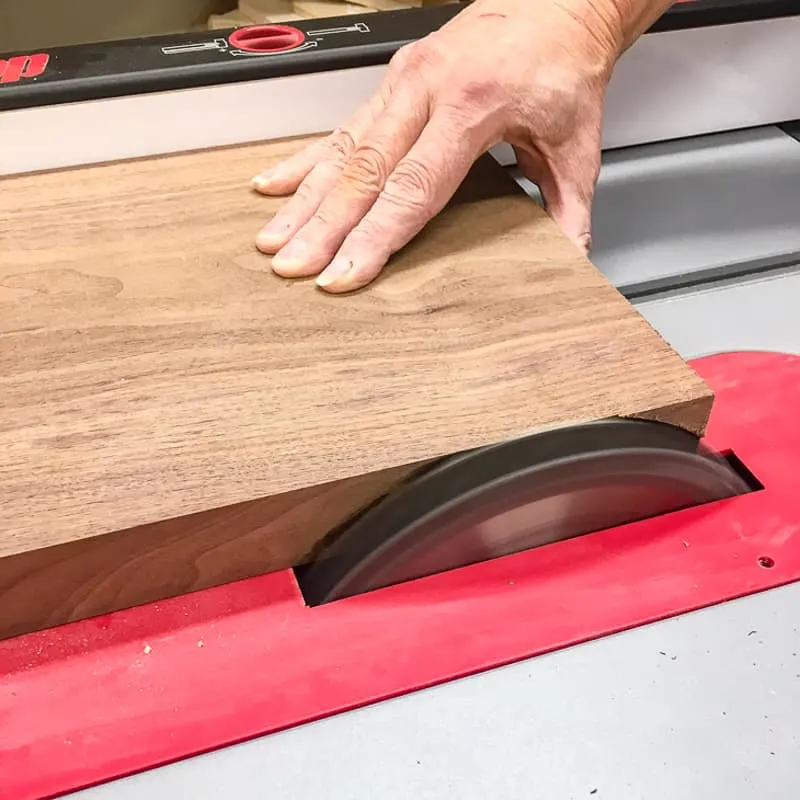
After cutting the board to the length you want, square up the sides. Just trim a tiny bit off with the table saw to make a nice, clean corner. You can see below that the dado blade had already been installed for the next step.

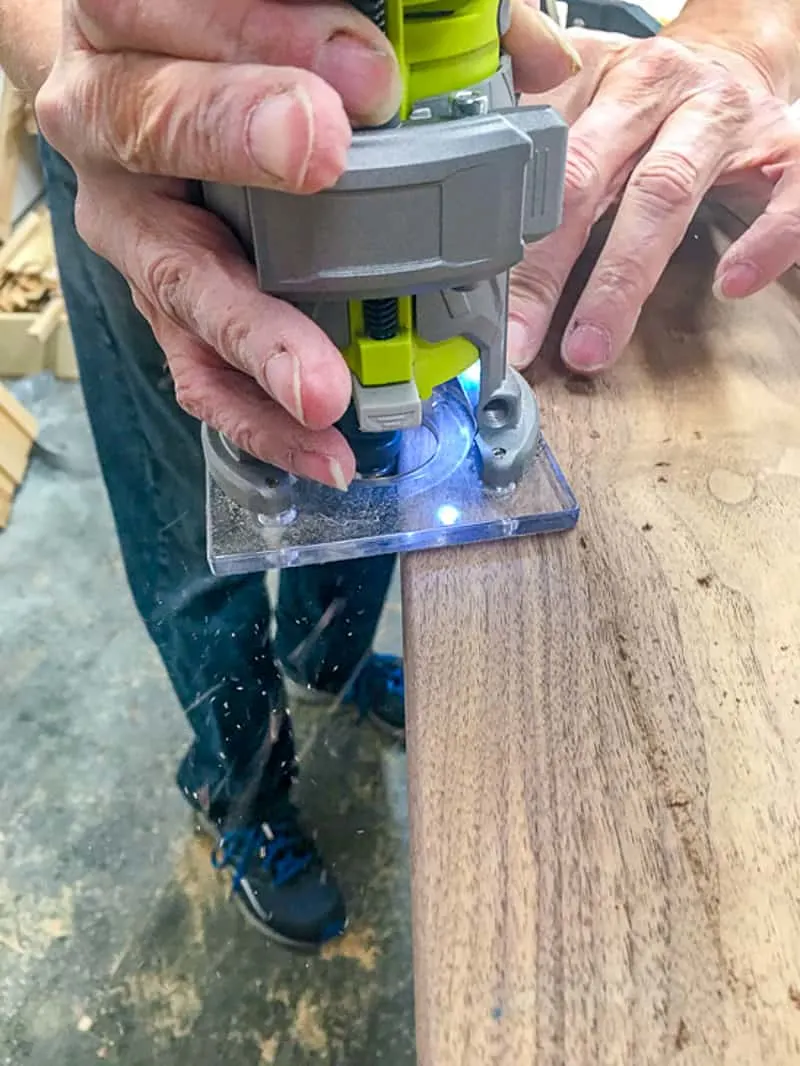
Round Over the Sharp Edges
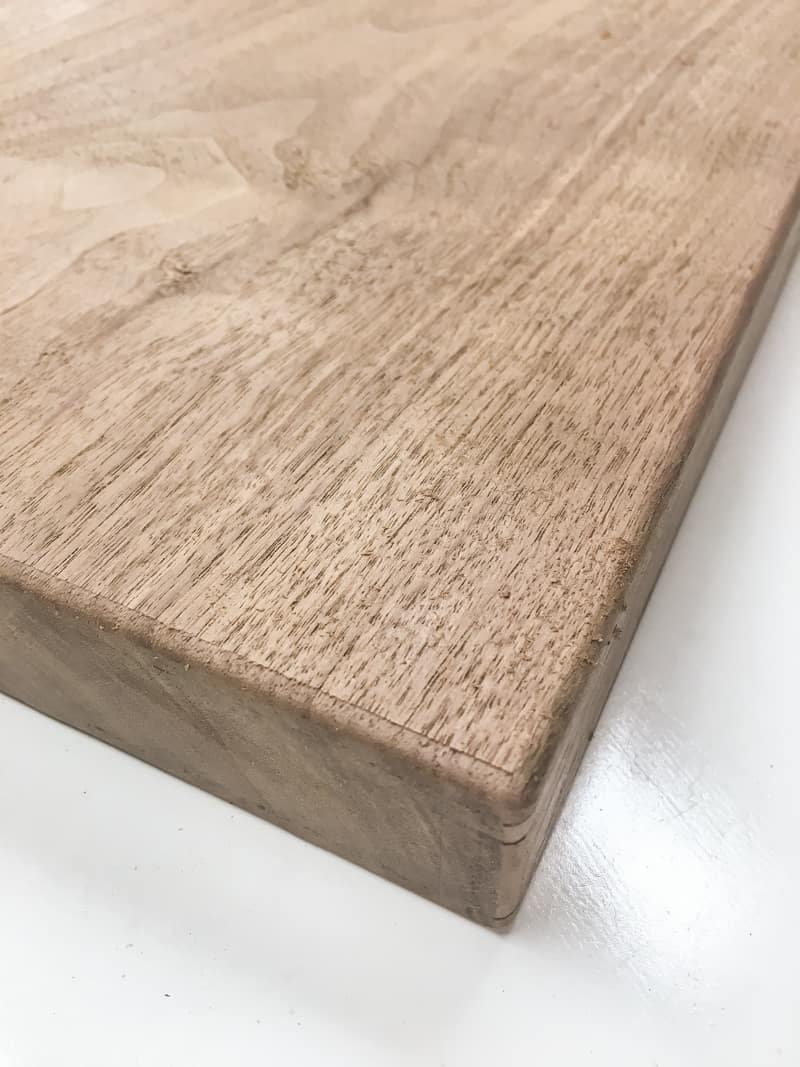
Those crisp, sharp wood corners look nice fresh off the table saw, but they tend to chip and dent with heavy use. A palm router can round over those sharp edges and make your cutting board last longer. Here you can see the difference between the two corners (that ridge will be sanded off later on).

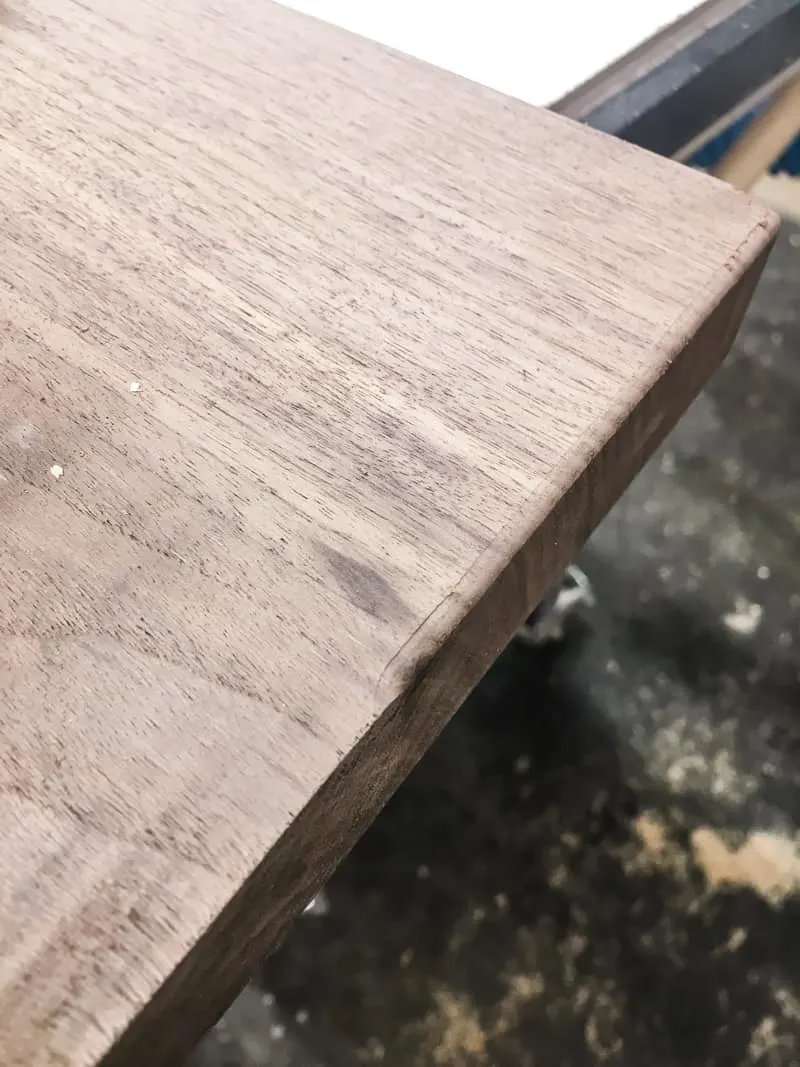
It's easier to round over the edges of the cutting board when it's a solid slab, rather than after the groove for the marble inlay has been cut. Use a ⅛" roundover bit and a palm router to create a nice, curved edge on all sides.

Honestly, you could just stop here! Just give the wood a good sanding and some oil and you'd have a gorgeous cutting board! But that marble was calling to me, so I kept going.

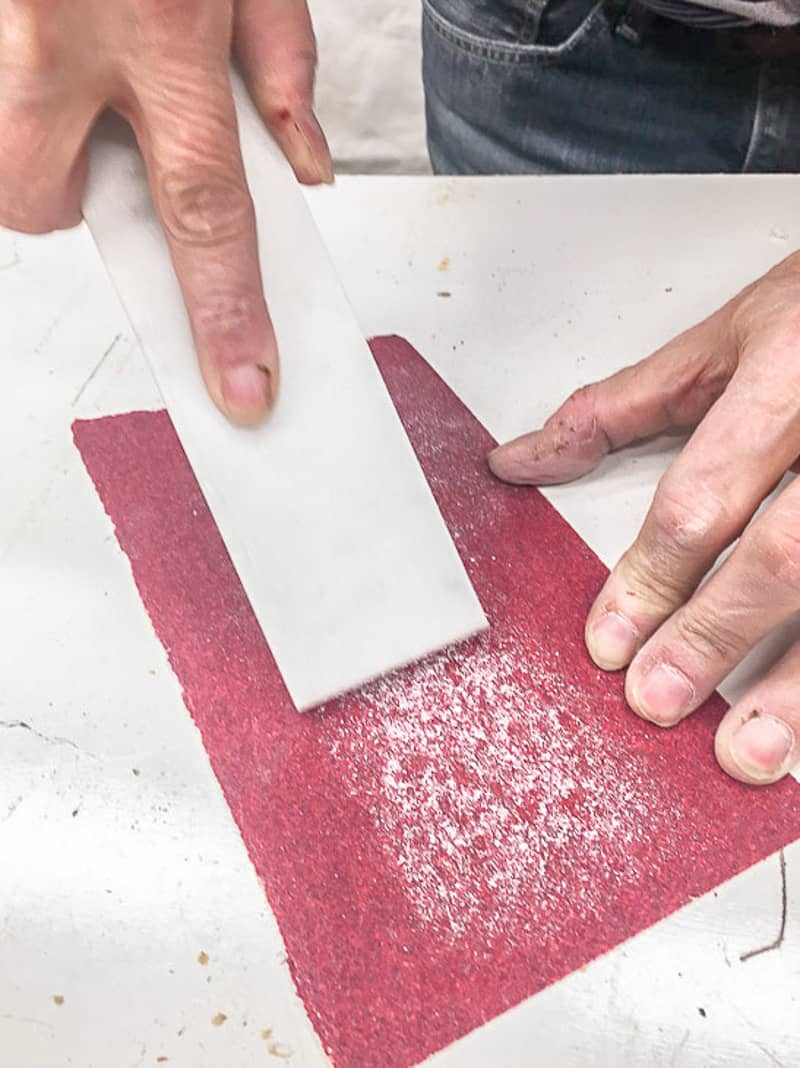
Unfortunately, you can't use a router on marble! Instead, we used 80 grit sandpaper to round over the short ends of the marble to match the wood.

Cut a Groove for the Marble Inlay
Play around with the positioning of the marble tile to find the right proportion of wood to marble. I wanted to have plenty of cutting space, so the marble is offset just 2" from the edge of the board.

Measure the width and depth of the marble tile, then transfer those measurements to the end grain of the walnut board.

Set the height of the dado blades on the table saw to the same thickness as the marble. Use the markings on the edge of the board to line up the blade for the first cut. Repeat until you've cut out a groove wide enough to fit the marble strip.

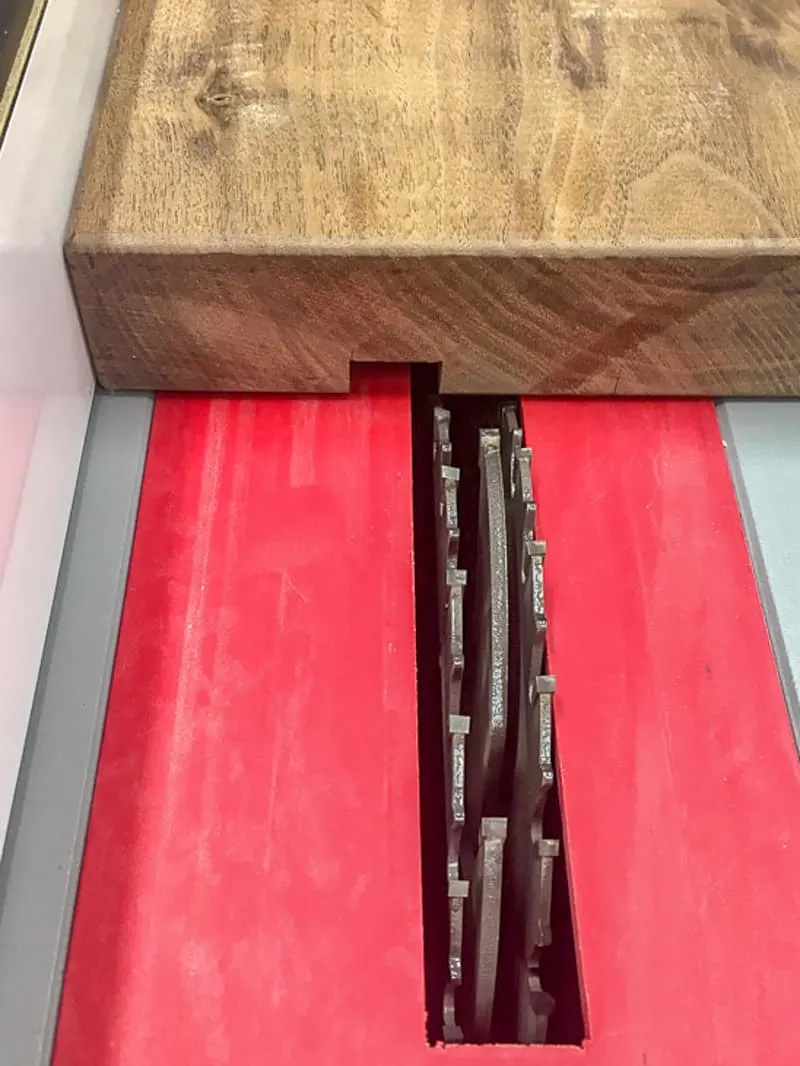
Test the fit of the marble inside the groove. Allow a sliver of space on either side of the marble so the wood can expand and contract with the seasons. If the bottom of the groove isn't flat, you can clean it up with a straight router bit.
Sand and Prep Wood Surface
Sand all the surfaces of the wood with progressively finer sandpaper, up to at least 320 grit. Be careful not to accidentally round over the edges of the groove. Clean up any dust with a tack cloth.
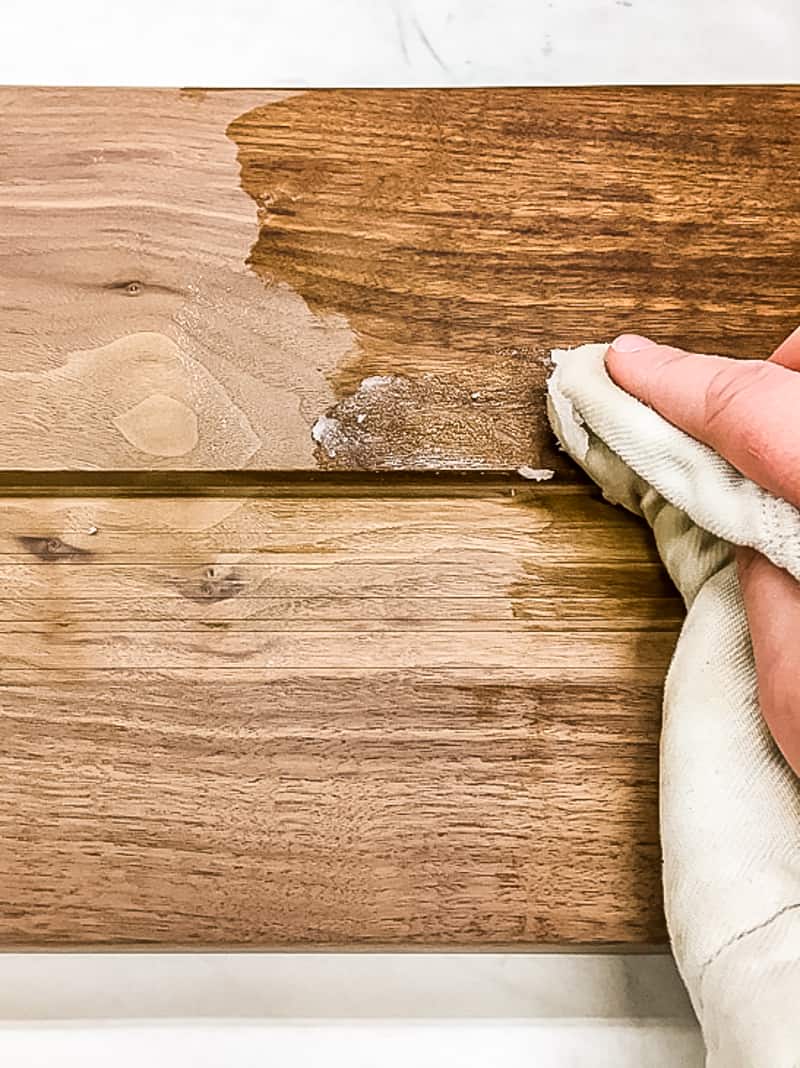
Apply an initial coat of mineral oil or cutting board wax to the wood with a clean cloth. This will prevent the silicone adhesive from soaking into the grain. The wood really comes alive as the oil gets soaked up!

Add the Marble Inlay
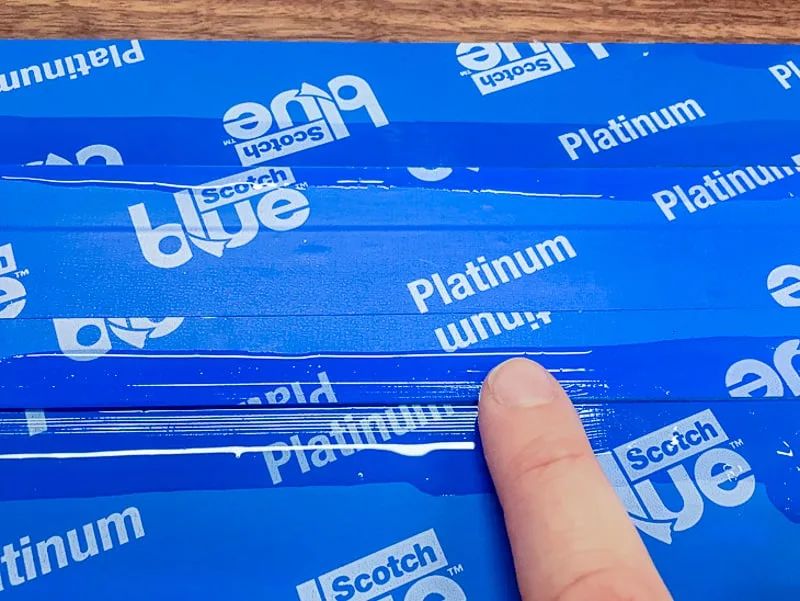
Apply painter's tape to the surface of the cutting board along the groove, making sure it forms a tight seal. Then apply the food safe silicone adhesive along the inside corners and ends of the groove.
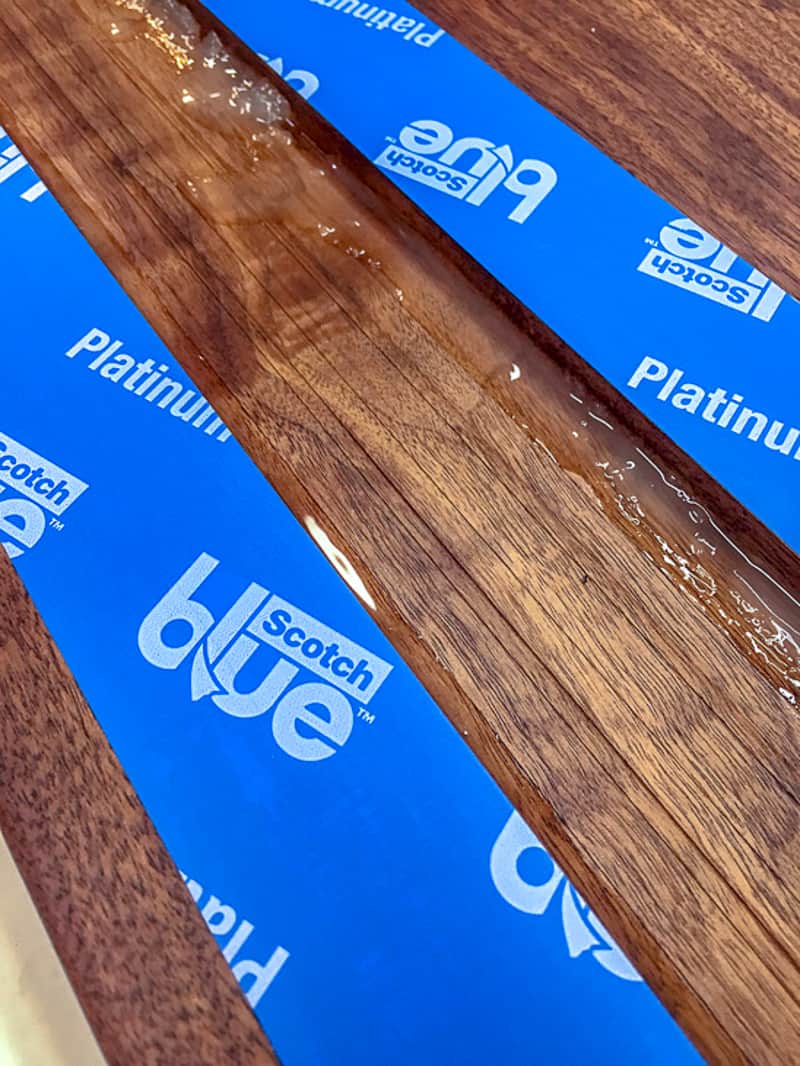

Cover the top of the marble with painter's tape, making sure it doesn't go over the edge. This will prevent the silicone from gunking up the surface of the stone. Then lay the marble in the groove and slide it back and forth to spread out the adhesive evenly.
Apply more silicone in the gap between the marble and the wood, and remove excess with your finger. This will function as caulk and will prevent crumbs from getting into the cracks, while also allowing for wood movement. Let the silicone set for at least 24 hours.

Apply a Food Safe Finish
Once the silicone has cured, remove the painter's tape. A few little blobs of silicone got stuck to the surface of the wood, but they were easily cleaned up with a razor blade.
Give the entire cutting board a few more coats of mineral oil or cutting board wax. Each layer will give the wood a deeper, richer color and protect the wood. Once you're happy with the result, it's ready to be used!
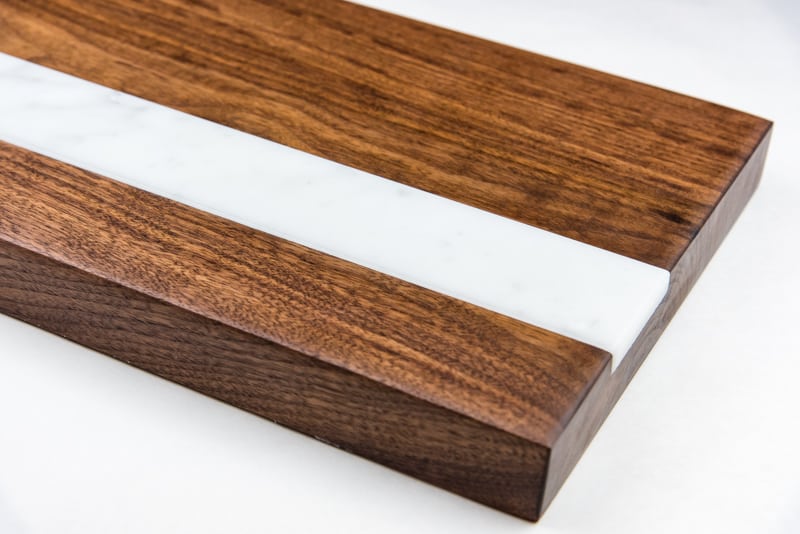
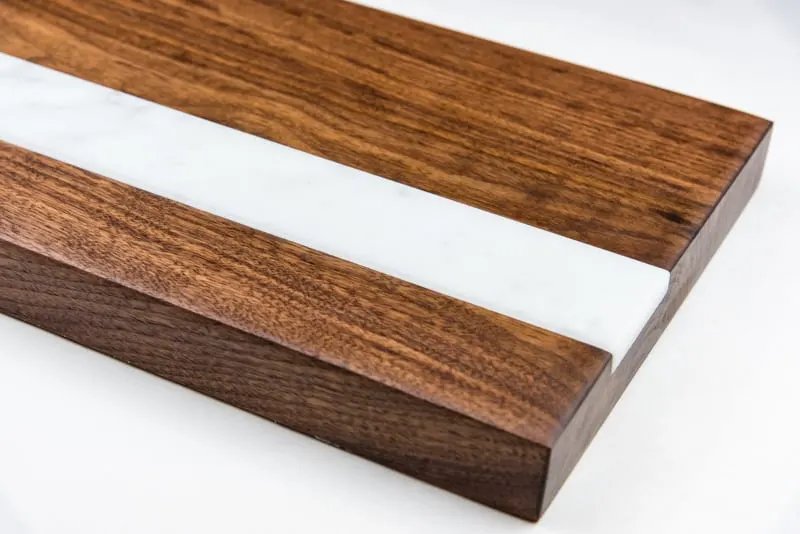
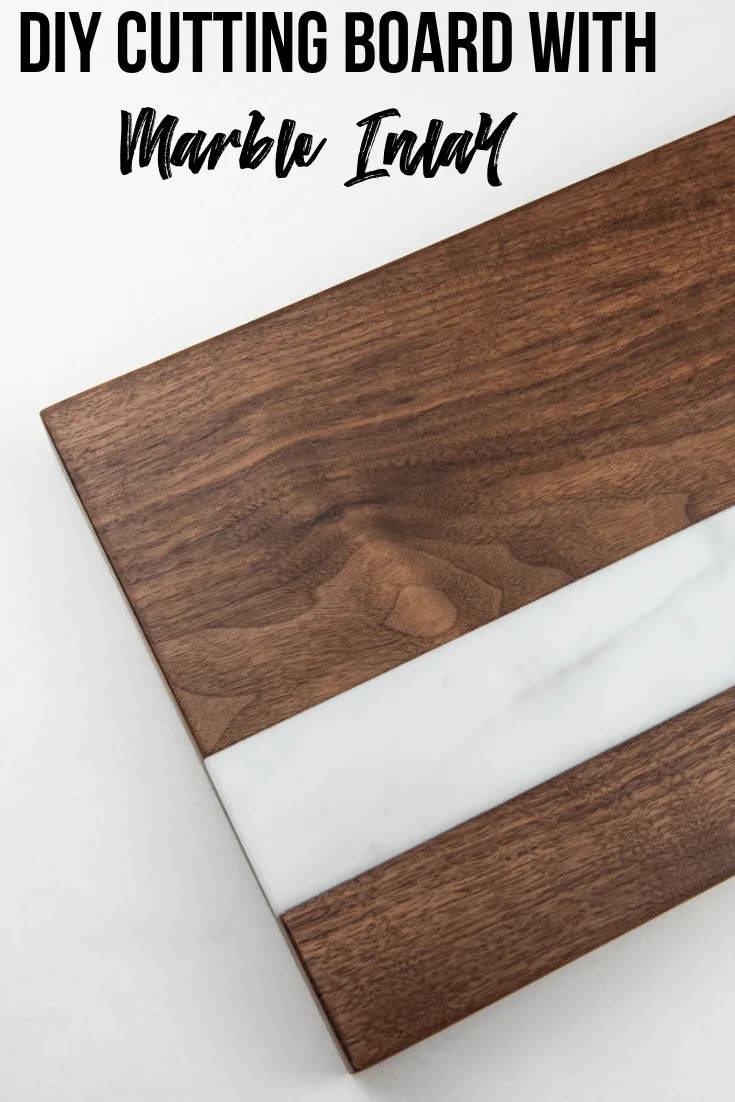
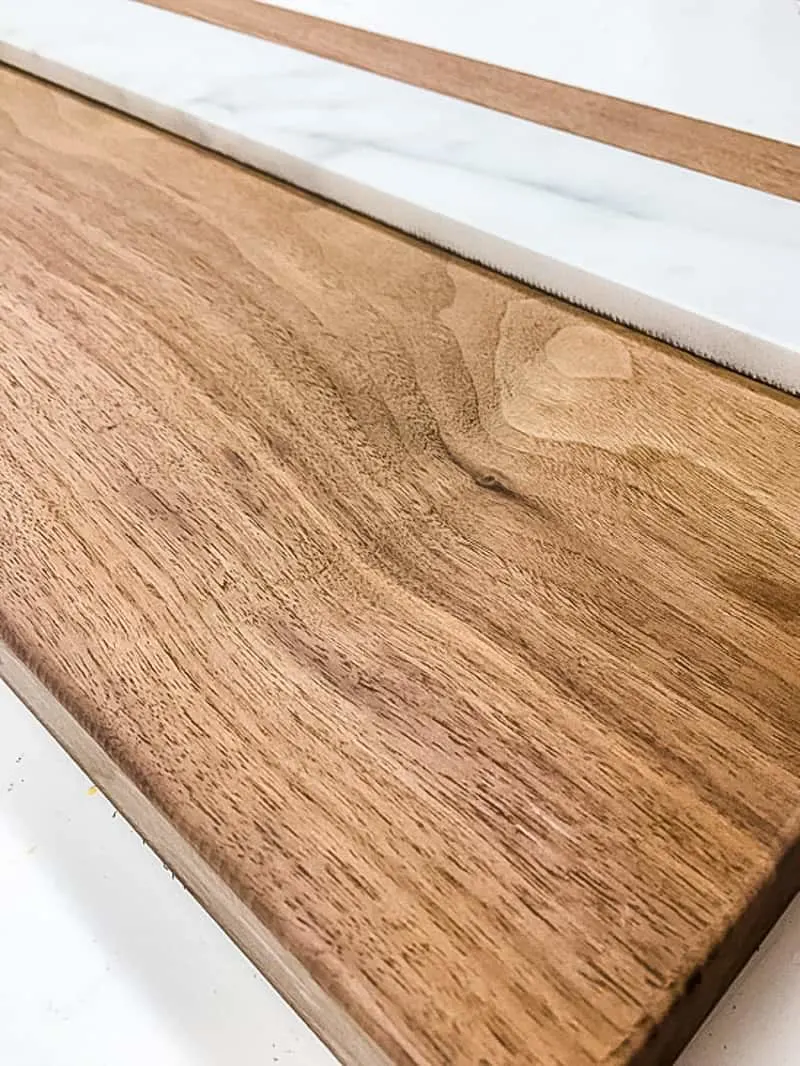
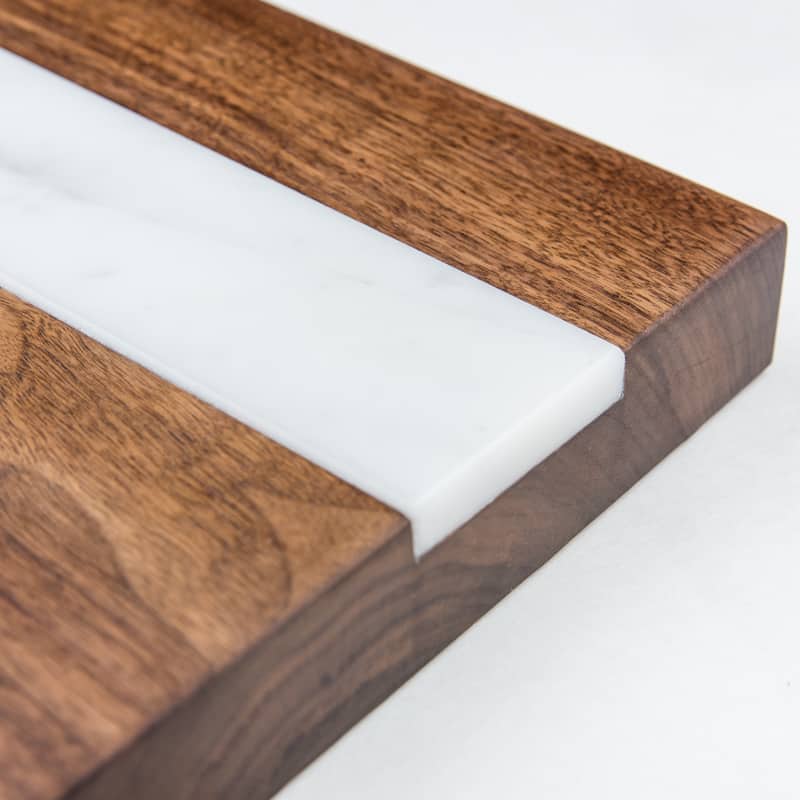
Unlike the typical cutting board with many strips of wood, this one keeps the gorgeous wood grain intact as a single slab!
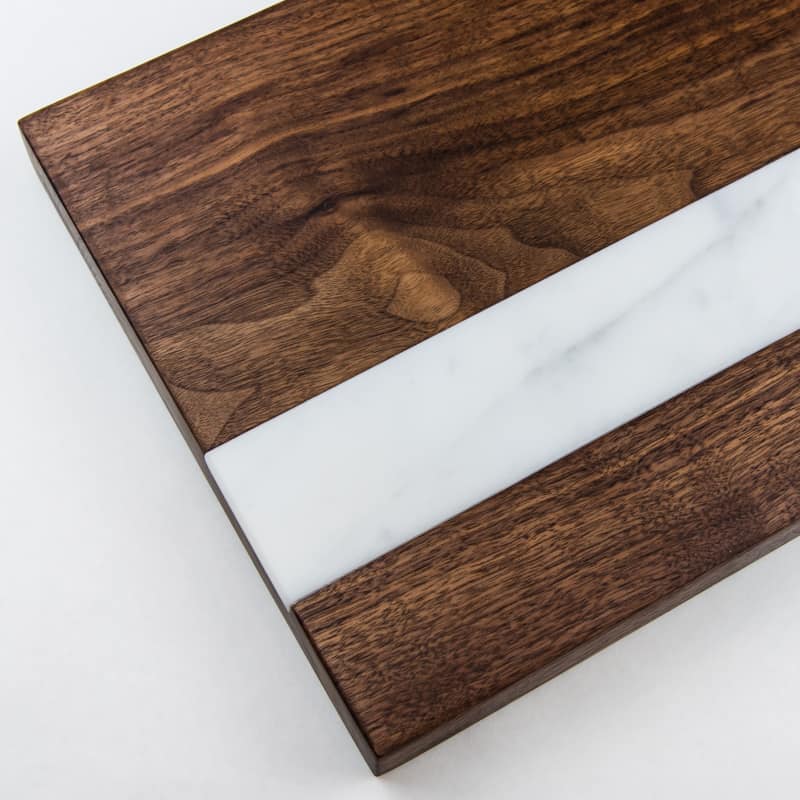

The marble fits perfectly in the groove and contrasts beautifully with the dark walnut.

I gave the cutting board to my mom for Christmas last year, and we put it to work right away serving bread and cheese before dinner.
Now that you know how to make an inlay cutting board, you can impress your friends and family with gorgeous gifts like this! All it takes is a few cuts on the table saw!
Check out these other easy woodworking projects!


Lindsay Fay
Tuesday 8th of January 2019
Your cutting board is gorgeous! Funny enough, my aunt gave me the leftover marble from her fireplace project. It's been sitting in my basement for six months, and while I don't think I have enough tools to complete this project successfully, at the very least, you've inspired me to go downstairs and see what I can do with it!