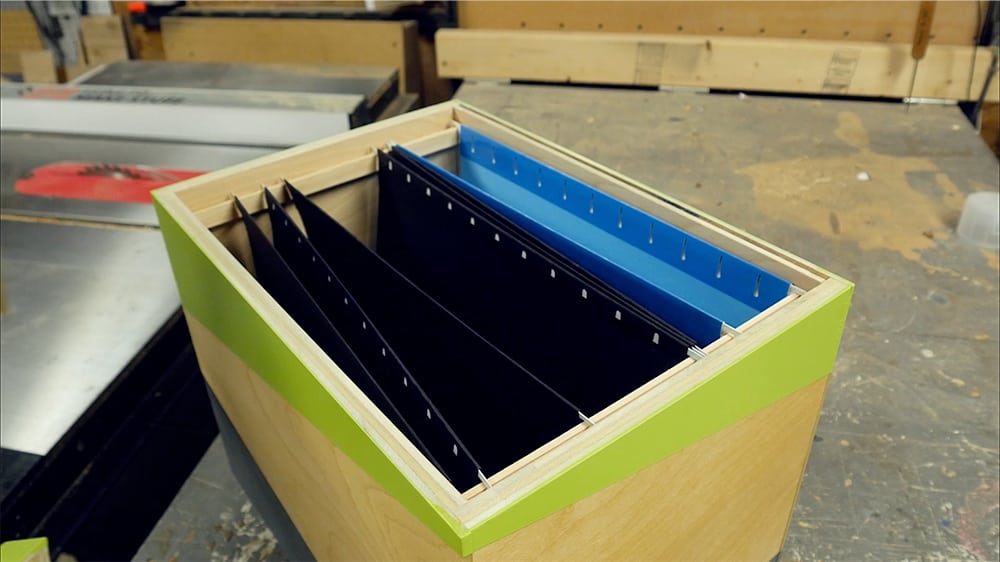
Four kids (three in school) means LOTS OF PAPER. Lots of pictures, report cards, notes, etc that need a place to go. We almost grabbed another plastic hanging file box at the store the other day when I thought, why not make one so it can look a little more interesting and be totally free (I used scrap wood and spray paints I already had on hand) ?
I went back and forth on the design trying to decide what type of joinery would look best with plywood edges and how to finish them in a way that wouldn’t screen PLYWOOD. I ended up with a simple rabbet and focusing instead on an interesting paint job. I took the available colors to my wife and said “pick two.” Obviously you can paint or finish it in a million different ways to fit your space and style.
It’s a simple project that can be made from scraps! Check it out!
Tools List:
(purchasing via these affiliate links supports ILTMS)
Woodworking:
- https://kit.co/iliketomakestuff/my-woodworking-tools
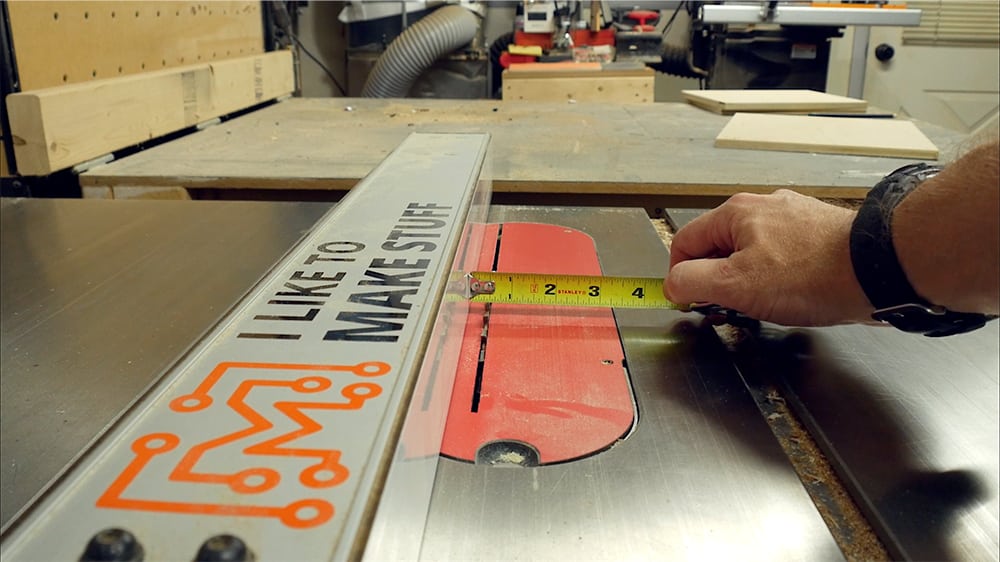
I measured out the width of the folders and added 1/4″ to the width for some wiggle room. I added 1/2″ for each of the side panels of the box.

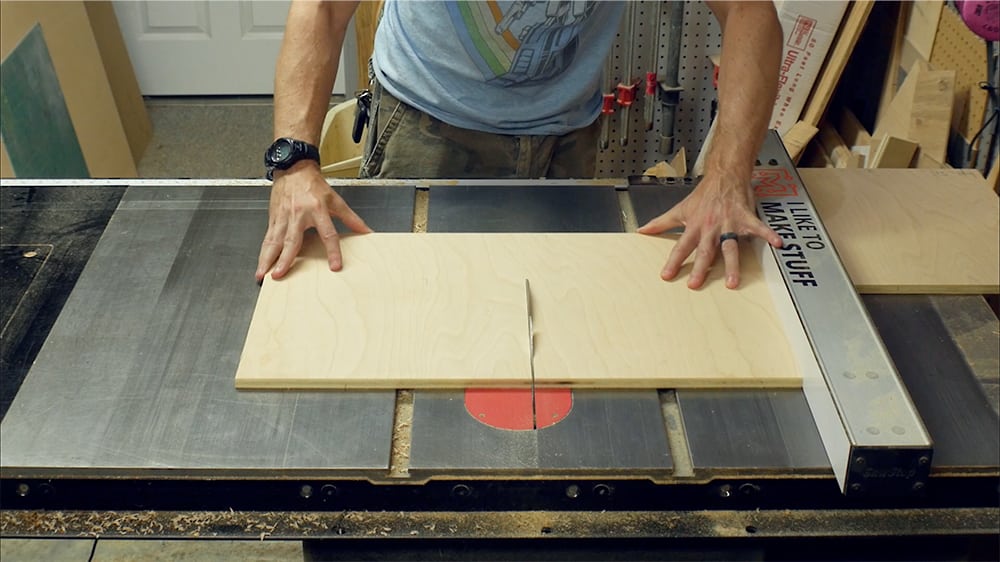
I cut down the front, back and side panels from 1/2″ plywood.
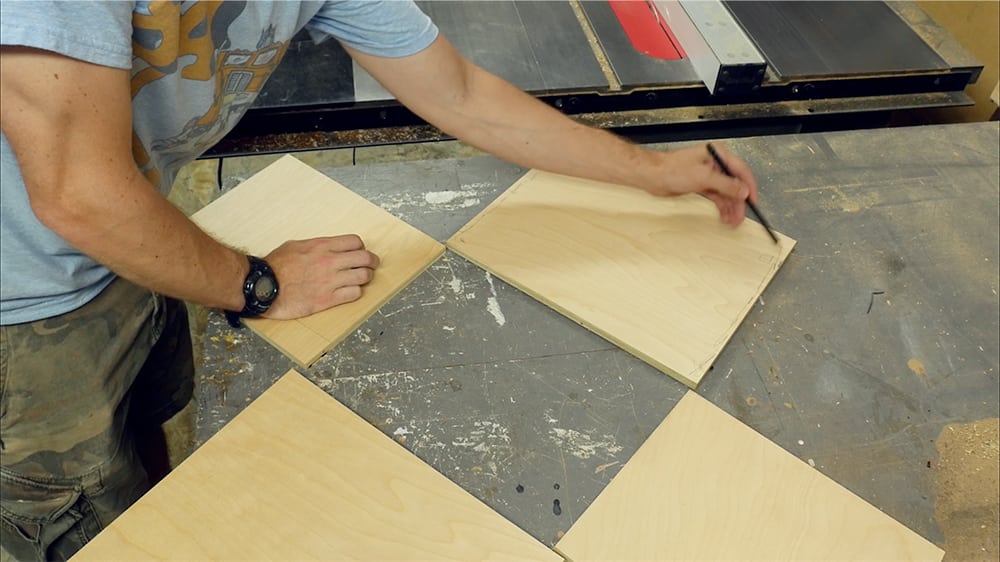
I sat the pieces up together with the correct overlap (front and back overlapping the sides).

Then I laid the pieces flat and marked the areas to remove on the front and back pieces.
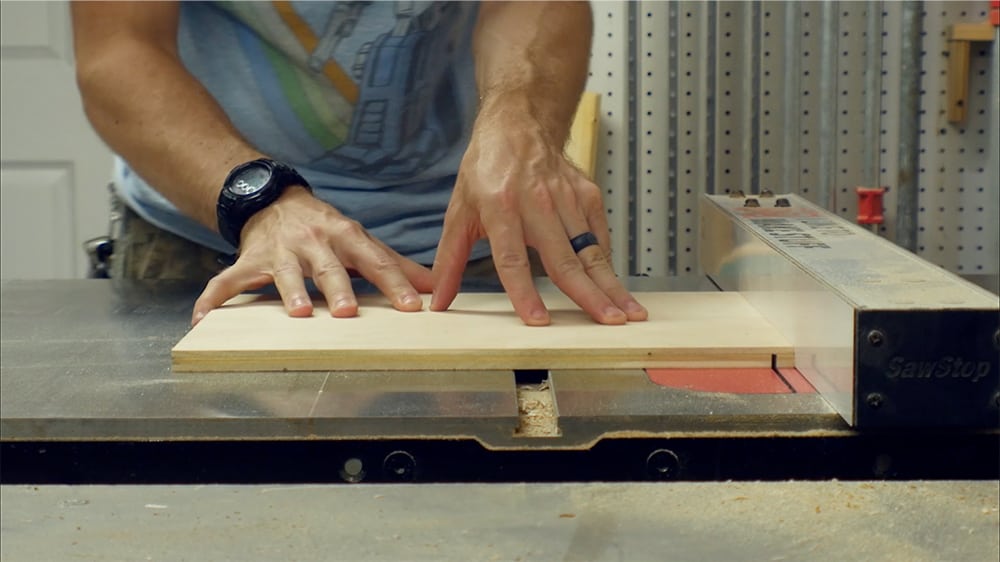
I set the height of the table saw blade to remove two of the three plys.
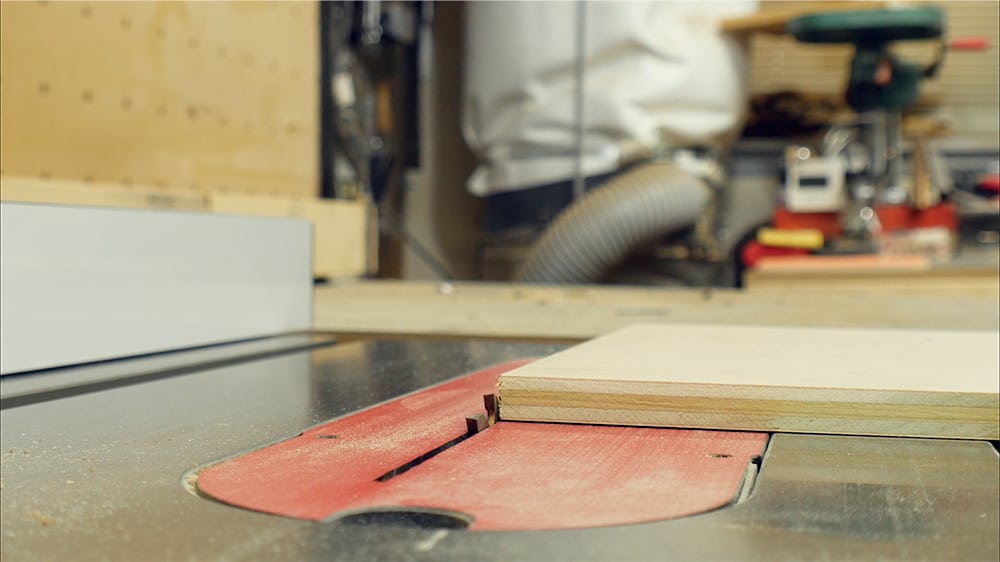
I set the fence to 1/2″, the thickness of the panels.
I ran the front and back panels through cutting a slot on each end.
Then I sat the piece on end and matched the blade height to the are to cut. This type of remaining overhang is called a rabbet.
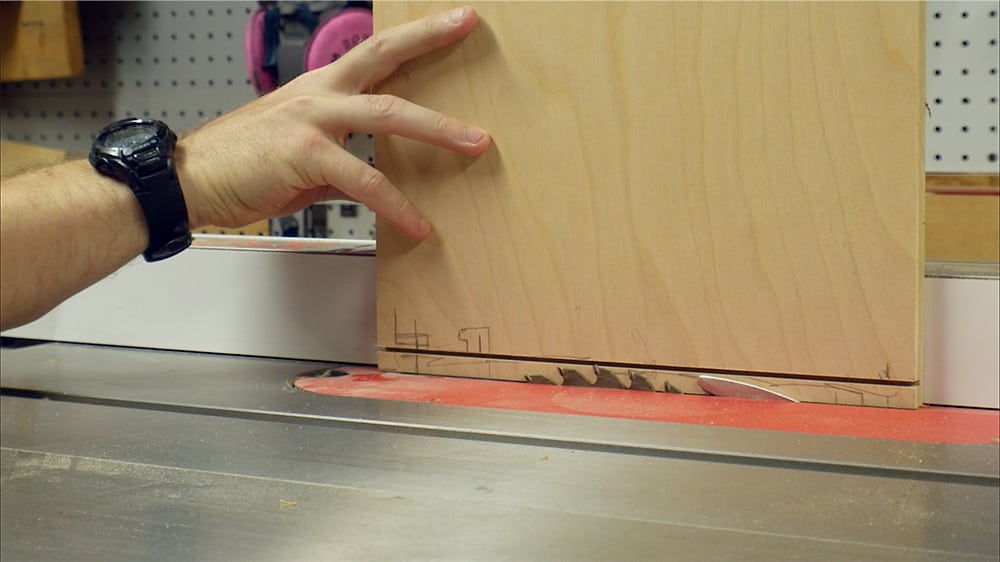
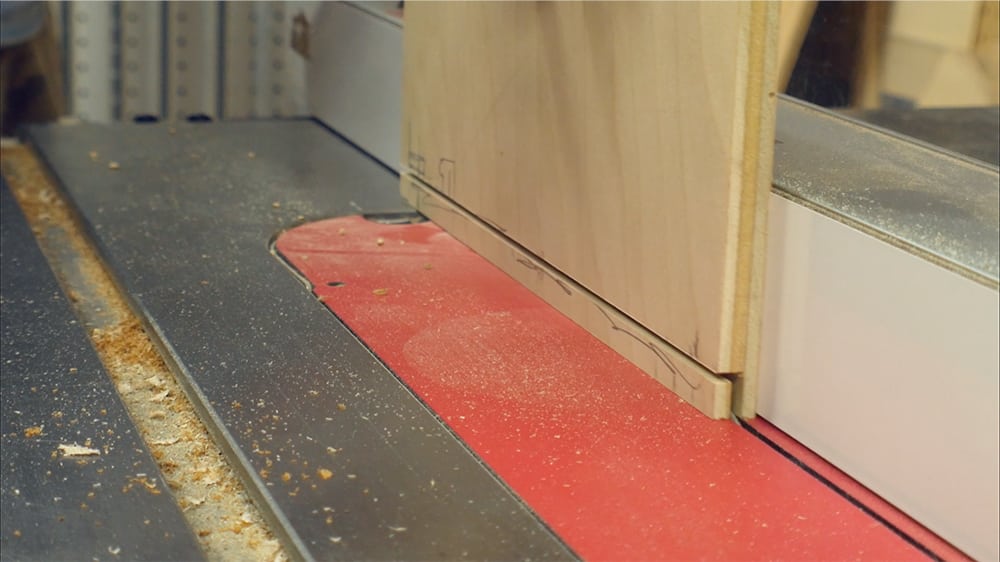
Moving the fence over to match the thickness of the one remaining ply, I finished the rabbet.
I did a test fit of the side panels to make sure everything fit.
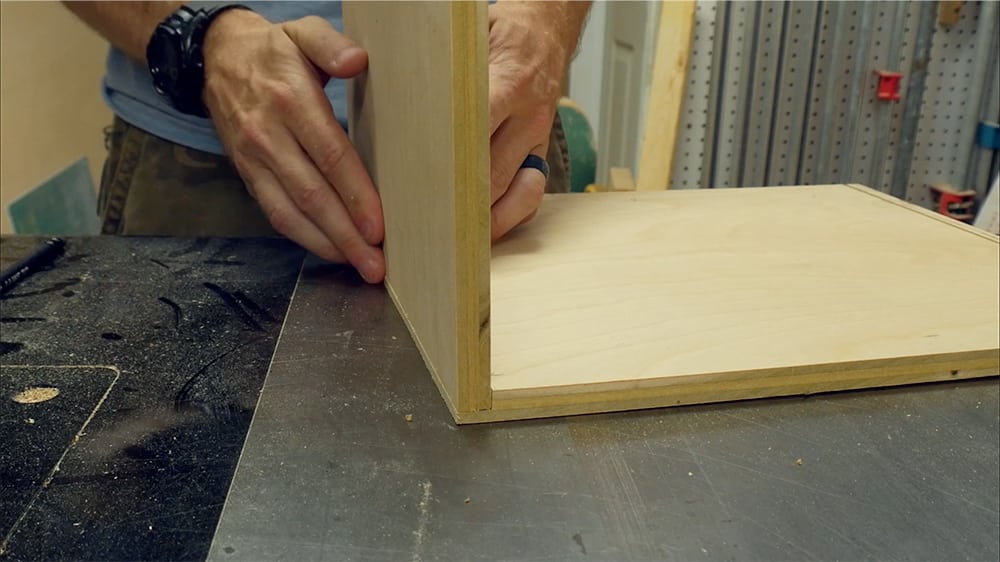
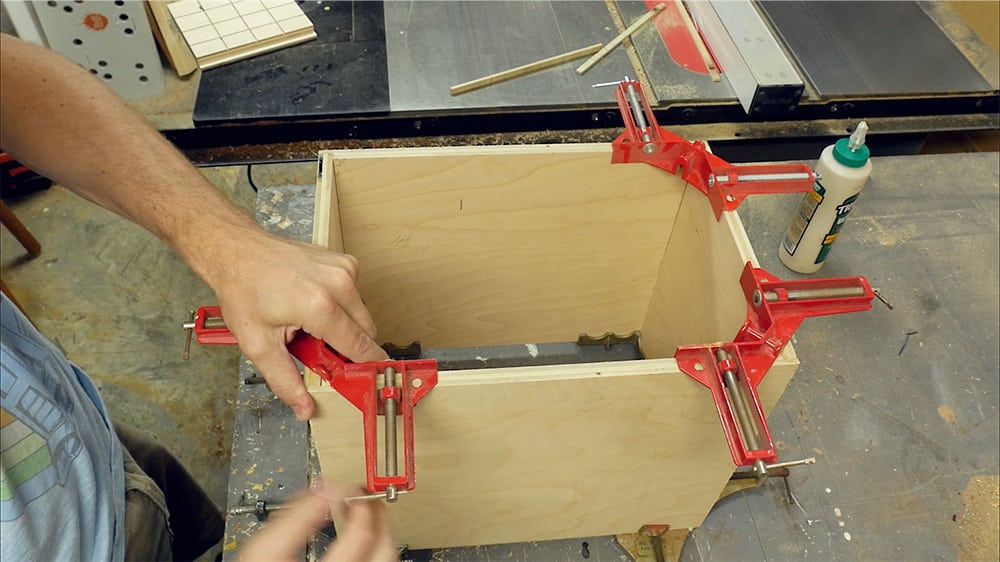
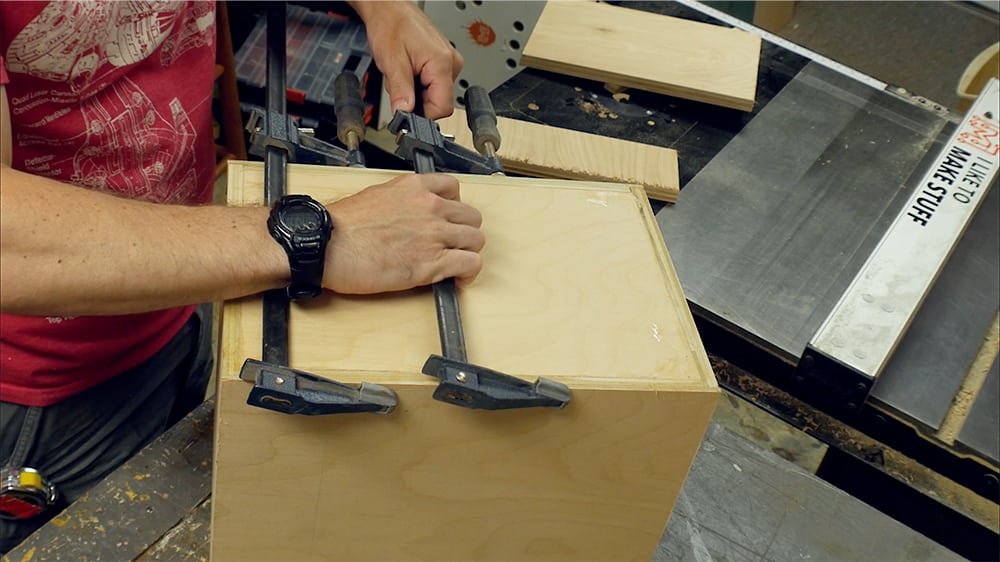
Then I added glue to all of the rabbets and sat the four box sides together.
I used corner clamps on the top and bottom to hold the pieces square while the glue dried.
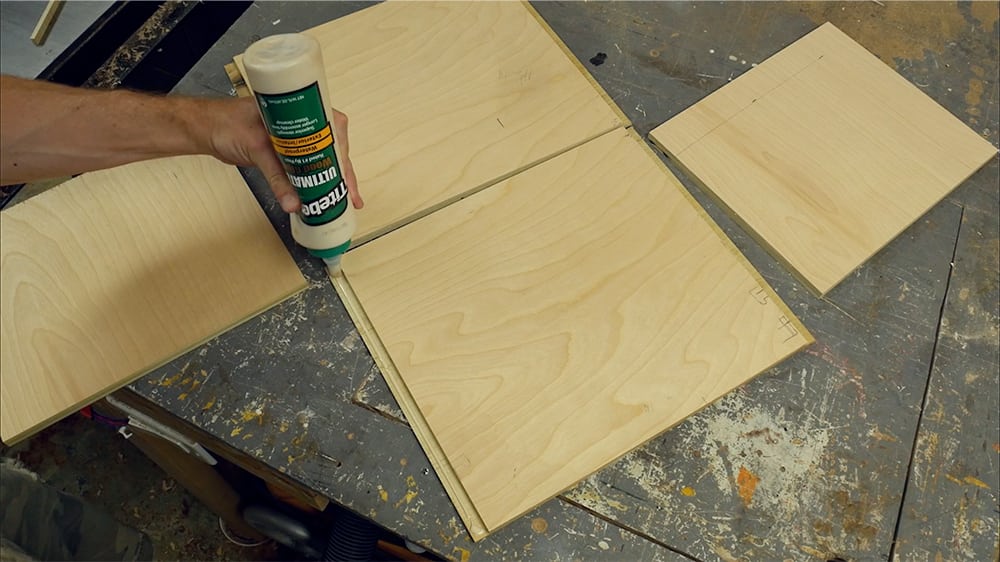
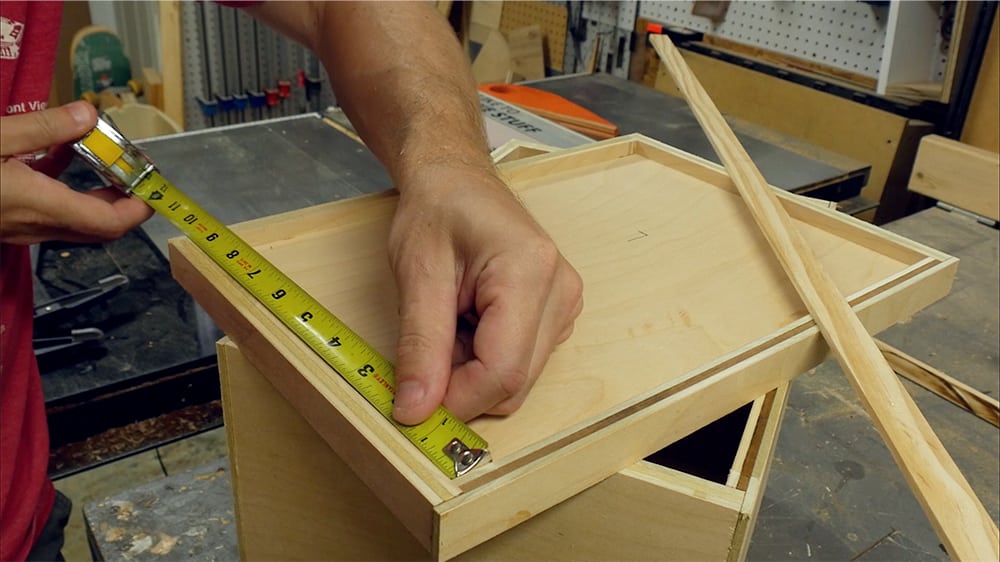
With it dry, I measured the inner dimensions of the top and bottom. These SHOULD be the same theoretically (and mine were here) but it’s always good to measure them separately.

I cut two pieces of plywood to inset as the top and bottom.
After a test fit, I added glue and knocked them into place with a rubber mallet.

I was careful here to keep the piece flush with the outer edge.

I added some clamps to both sides to make sure all of the faces were connecting evenly.
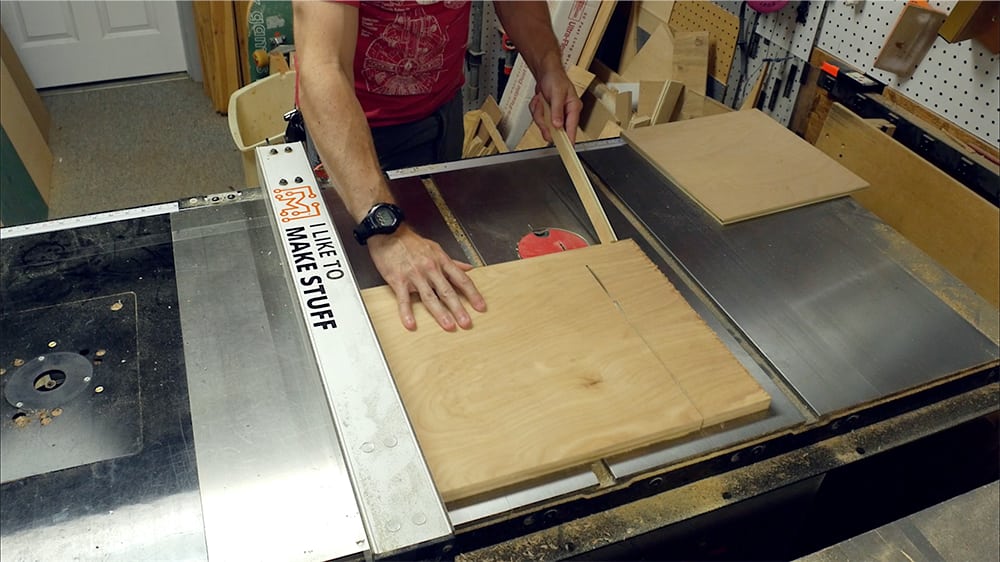
After it dried, I ran the box through the table saw, spinning it toward me 90˚ after each cut. This cuts the box lid free.
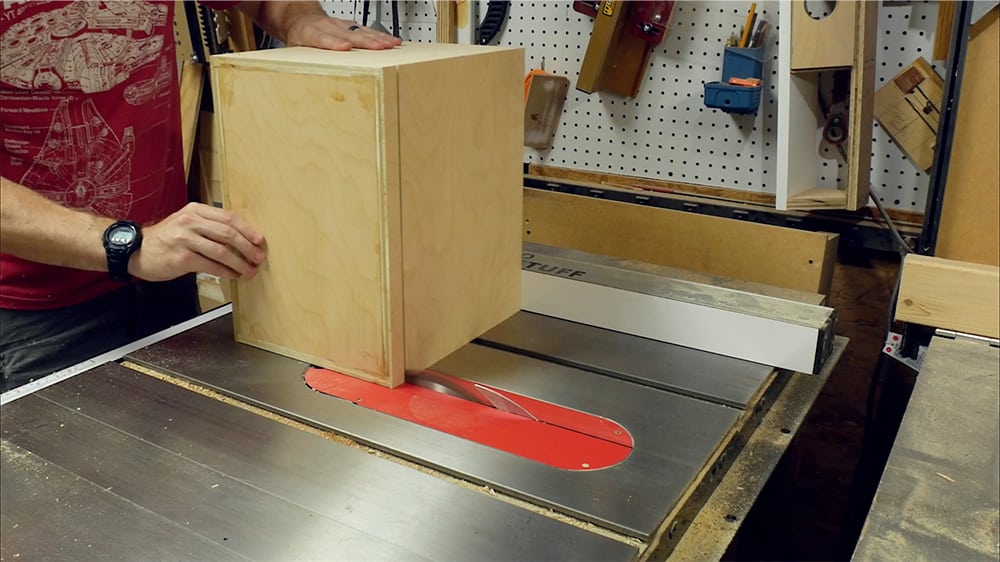
Cutting a lid this way creates a perfectly matching lid.
I measured the inside dimensions of the lid (which theoretically should be the same as the panels that were inset).
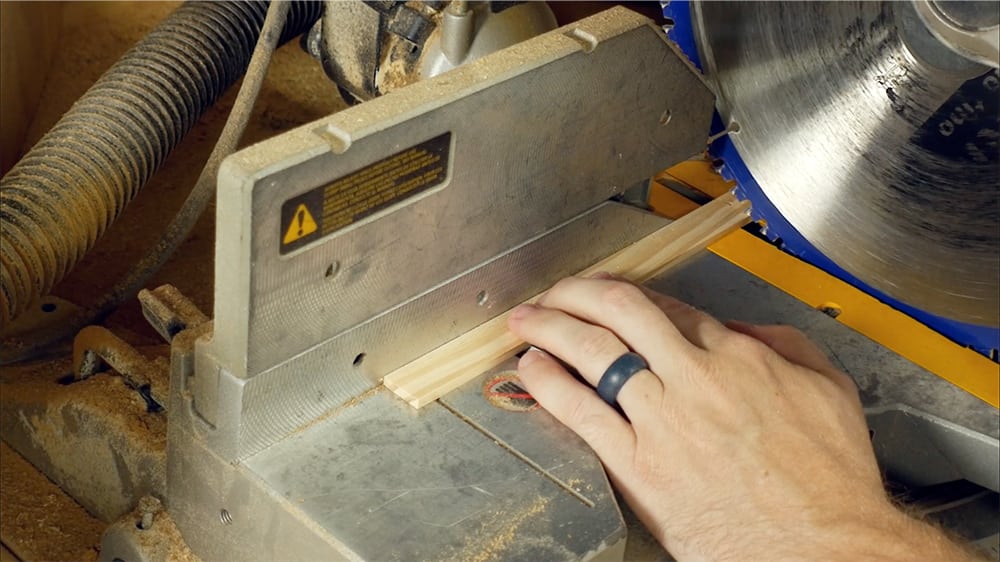
I cut some pine to 1/8″ strip.
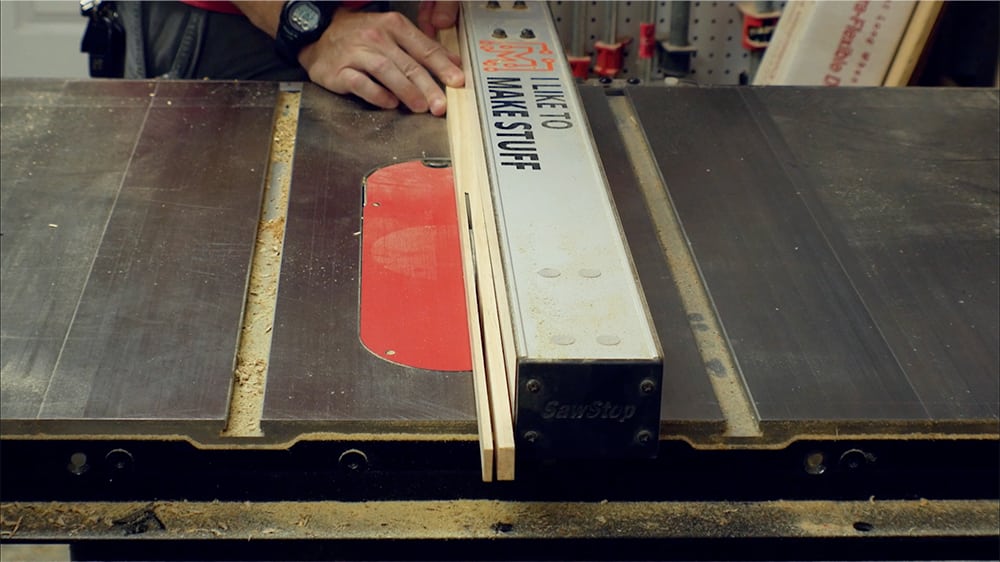
Then I chopped this strip down to four pieces to fit inside the lid.
I sprayed these four pieces with activator, to quickly cure CA glue.
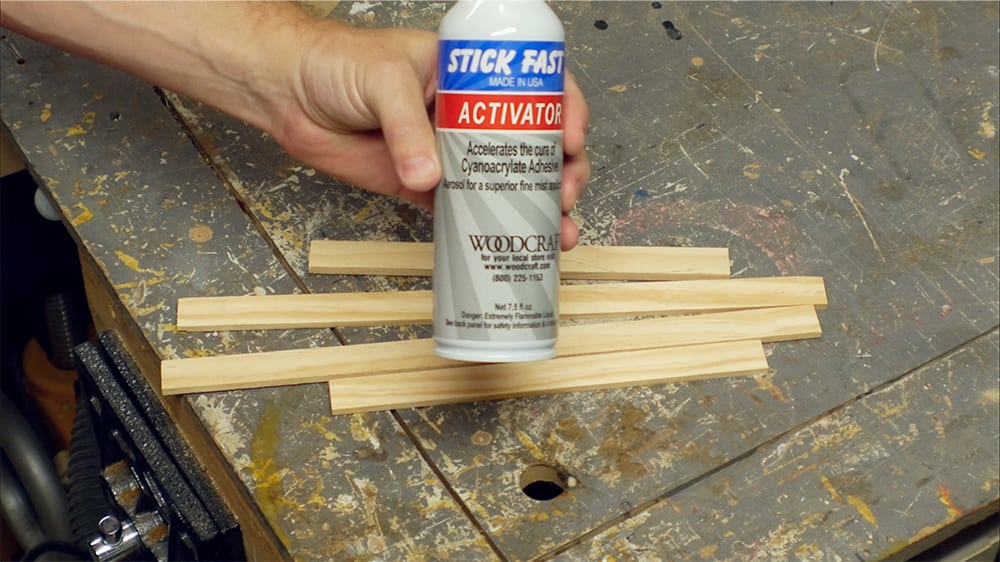
I added some glue around the inside edges of the lid.

I sat the pieces in place. The activator causes the glue to set immediately, so you only get one shot at placing them correctly.
With all four pieces in place, I tested the fit. It fit very tightly.

I used a plane and a sanding block on the outer face of the lip to back it off a little. This kept it fitting well, but helped it slide on and off easier.
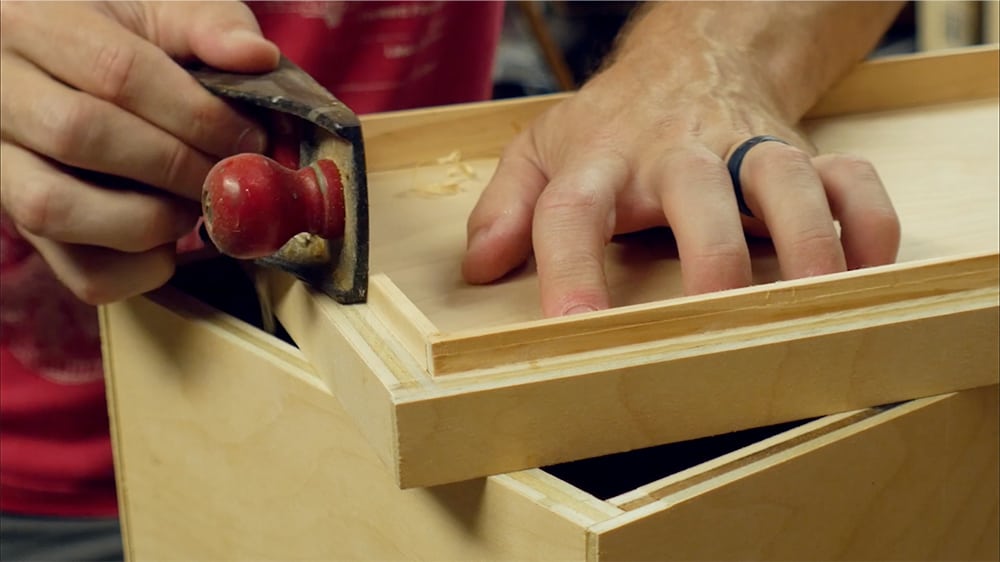
I used a chisel to knock off the four corners which helped in getting the lid lined up, therefore it was easier to drop in place.
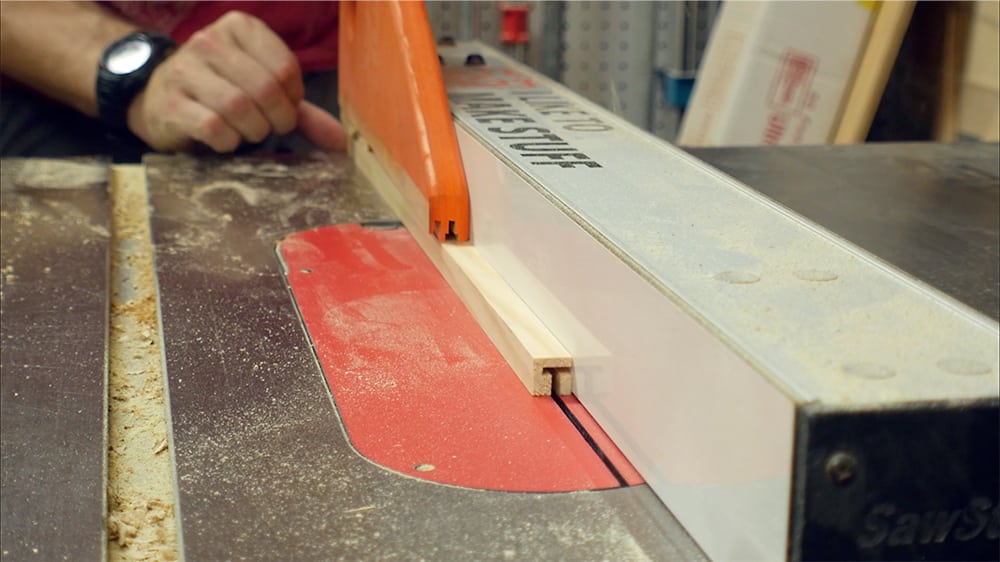
I squared up another strip of pine to 1/2″x1/2″.
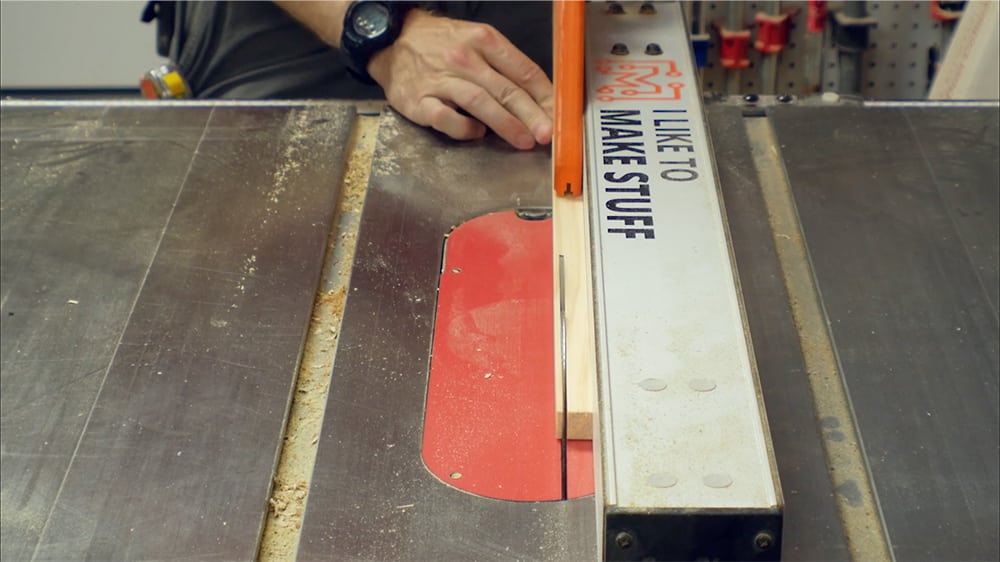
I cut a slot in the piece about 1/8″ from one side. This was just eyeballed.
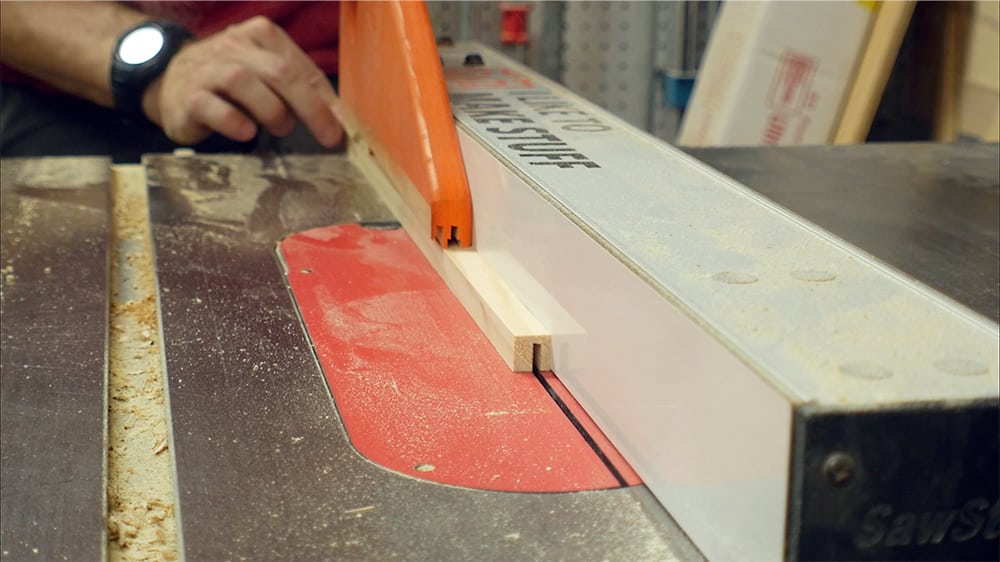
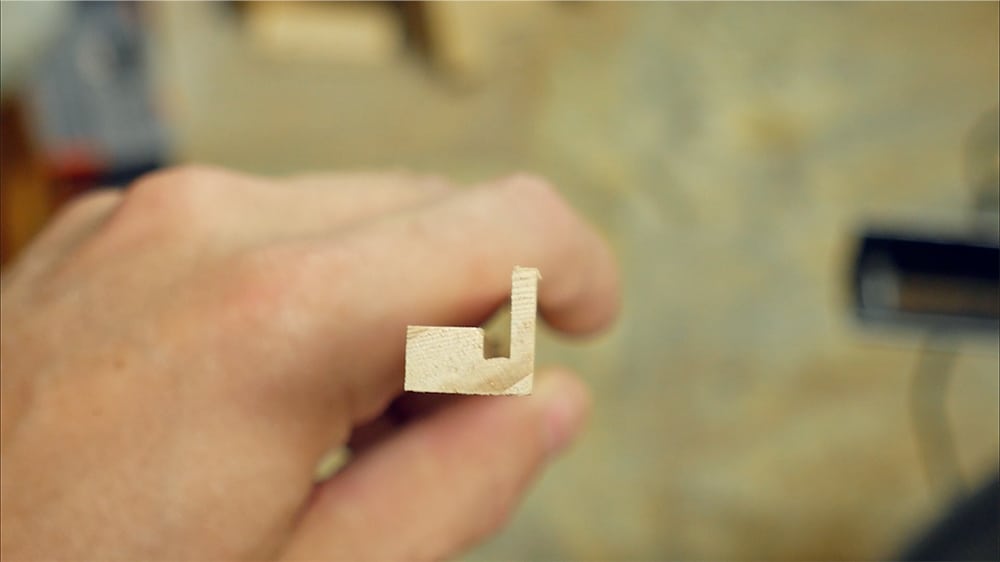
I flipped the piece around and onto it’s side then cut another strip off.
I ended up with a channel to hang the folder on.
I cut this down to two pieces that fit inside the box and added CA glue to hold them in place.

I used a scrap from earlier as a spacer to place these. This was just to make sure that they were the same distance from the top edge.
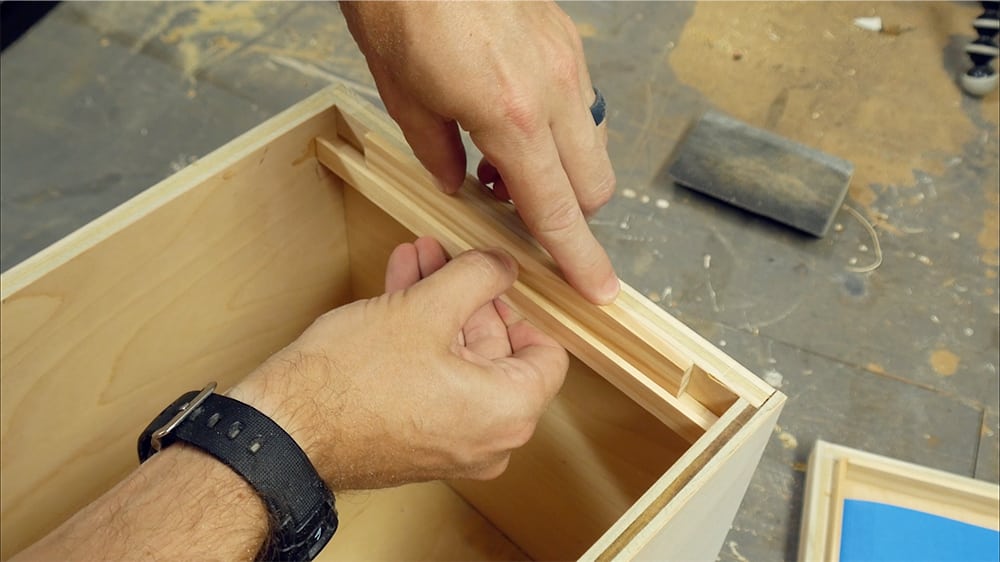
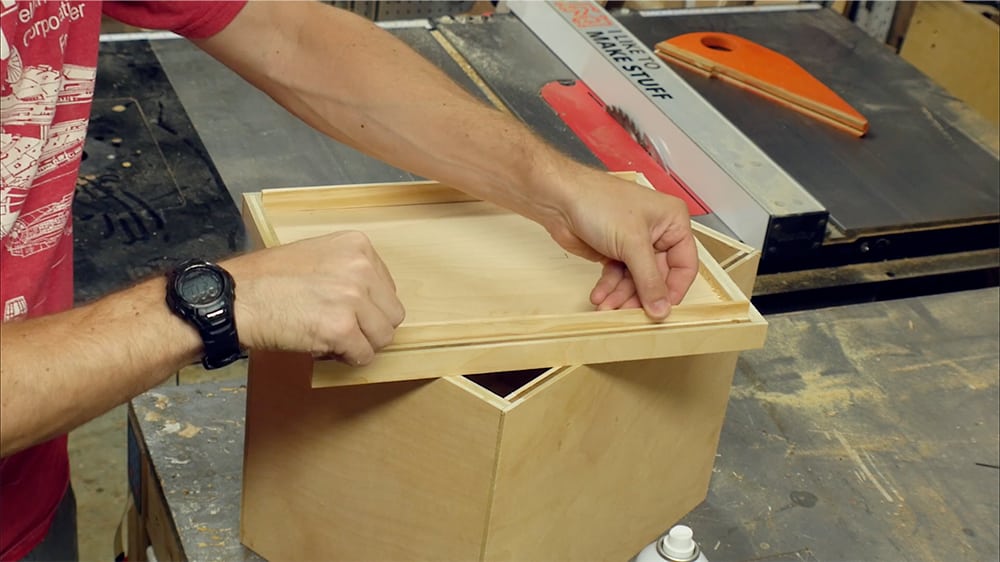
I tested dropping in a folder and was relieved at how easily it moved.

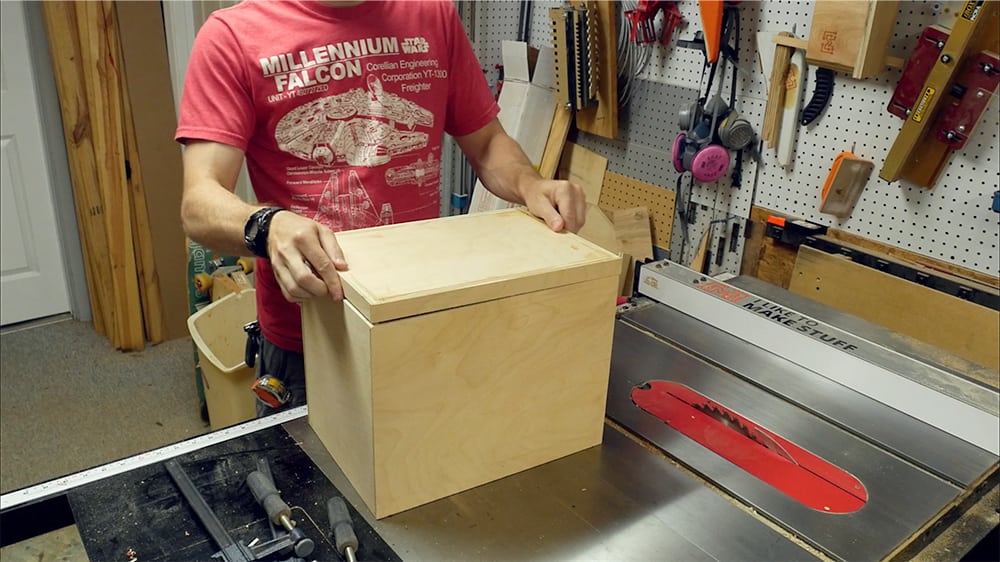
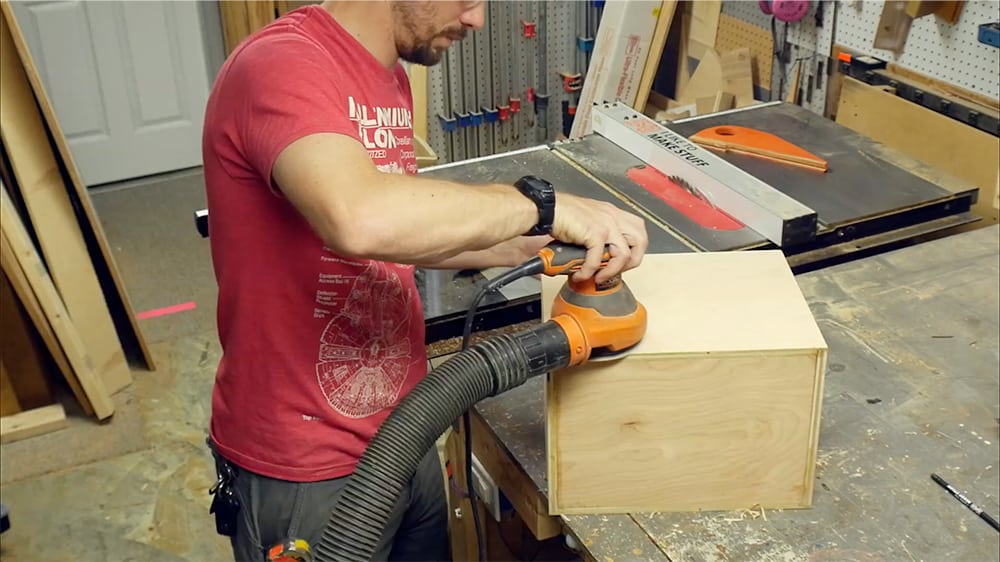
I closed up the box and gave the whole thing a good sanding.
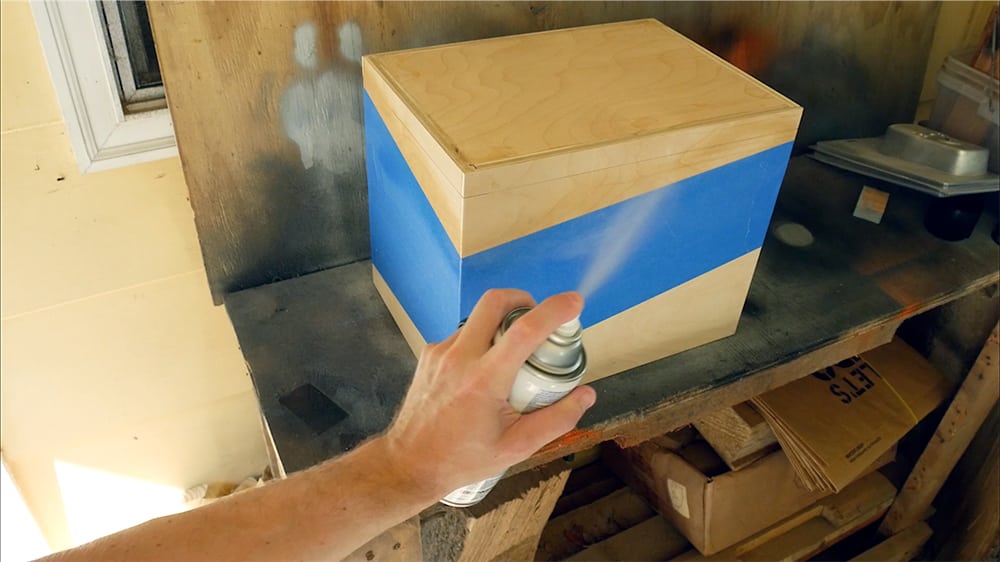
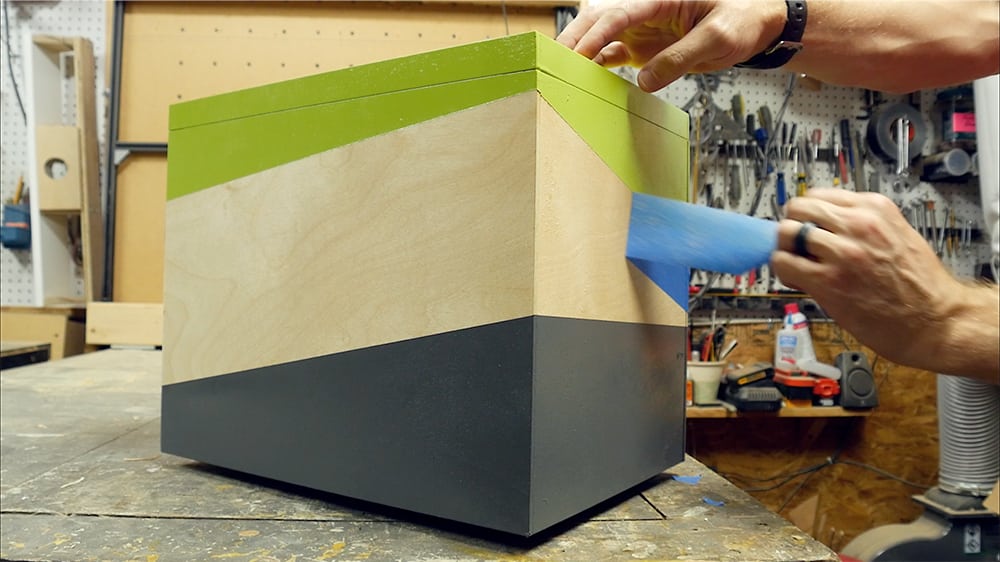
Using some painters tape, I masked off an area in the center of the box connecting around the edges.

There was no specific design here, just opposing angles on each side changing directions on the corners.

I pressed down the tape edges with my thumb nail then used a clear spray to coat all of the tape edges.

The clear spray will seep under any tape edges that didn’t adhere perfectly so that the colored paint can’t seep there later. This makes a HUGE difference when using tape and spray paint. The lines come out very cleanly.
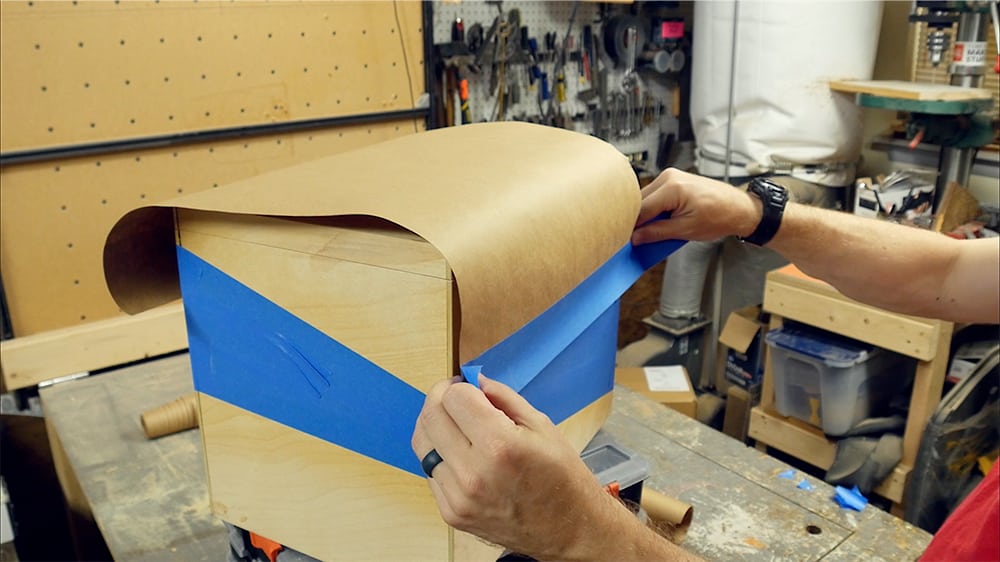
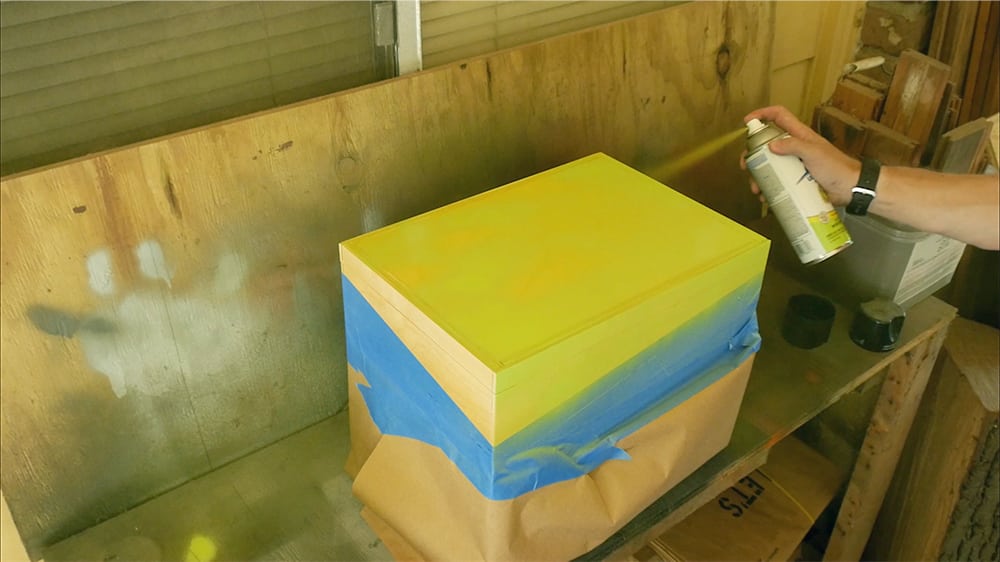
I used some brown paper and more tape to cover the top section of the box.
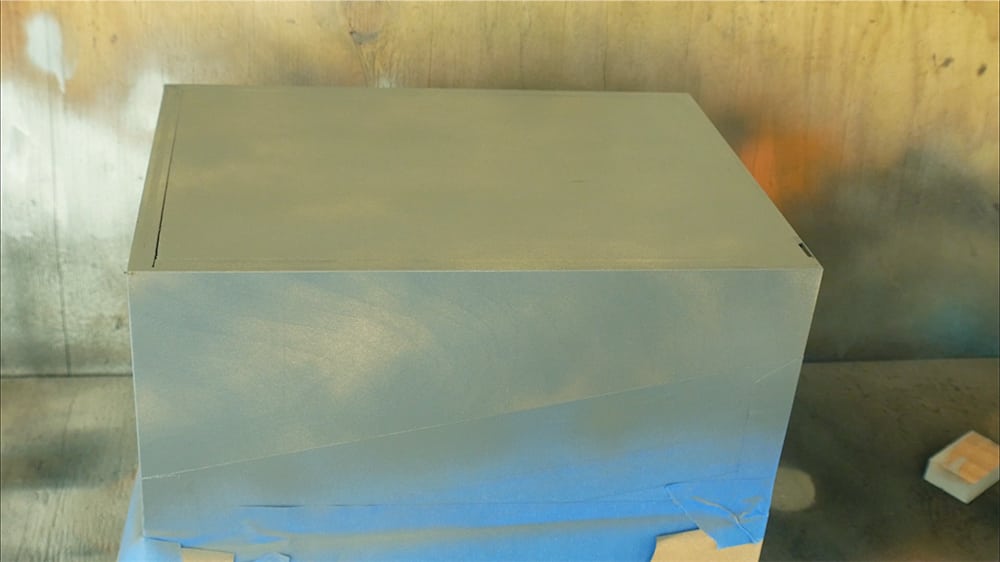
I flipped it over and sprayed the exposed bottom section grey using several light coats to avoid drips.
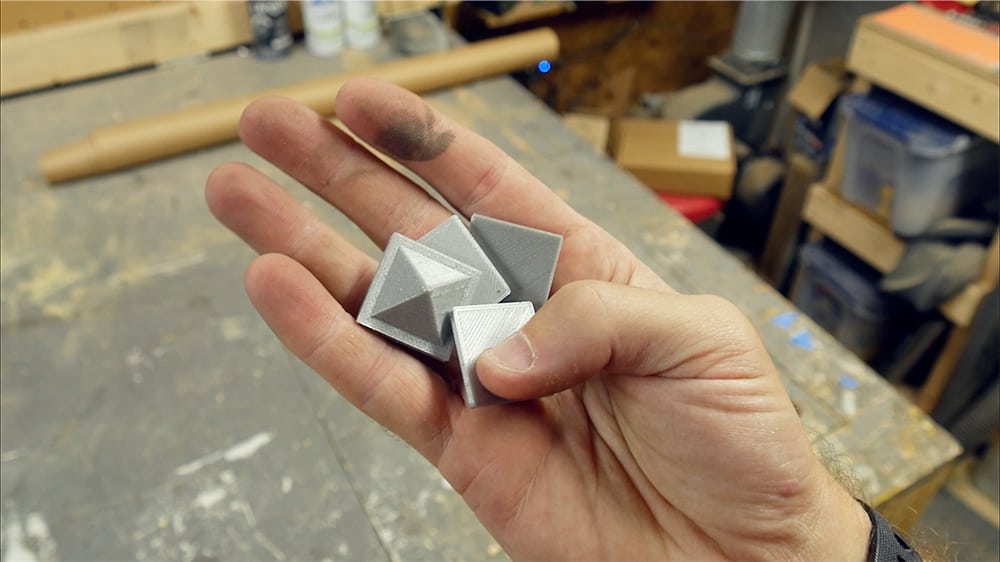
I used some 3d printed painting corners to hold the box off of the table surface.
I removed the top paper, sat the grey end on the painting corners and then covered the grey area with paper like before.

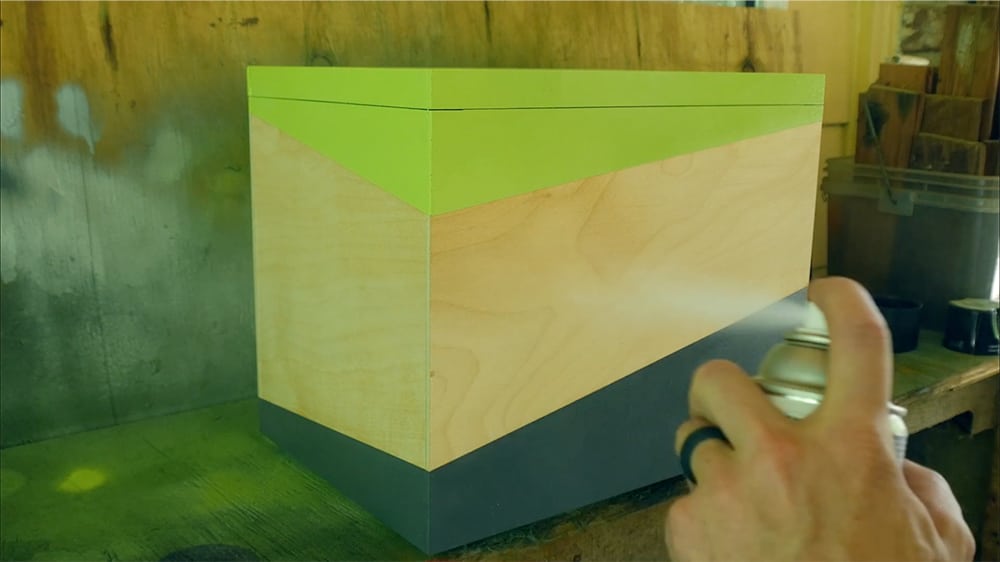
With the grey area protected, I sprayed the top section green.
After it dried, I removed all of the paper and tape.
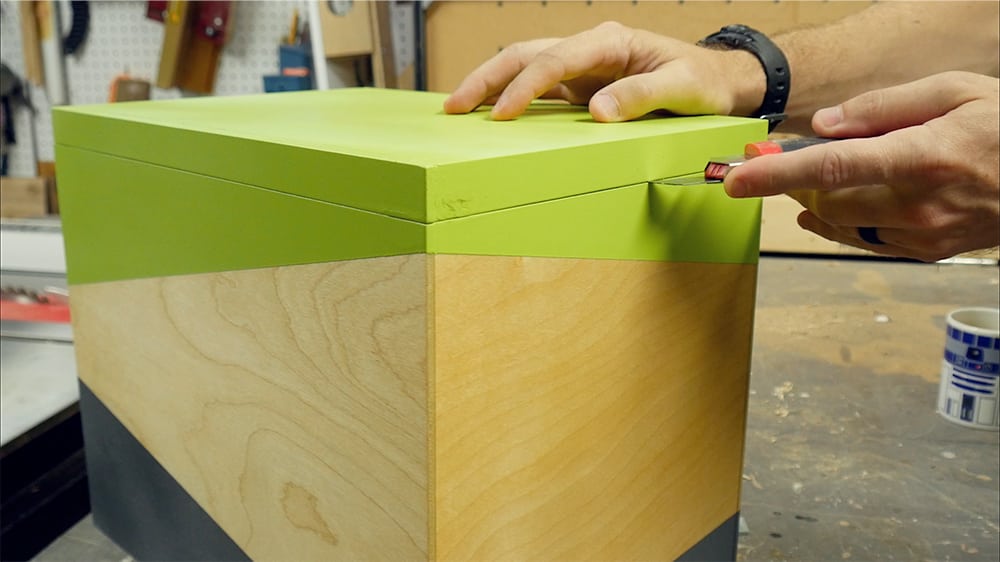
Finally I hit the whole thing with a coat of clear. This protects it and also brings out the wood grain in the center section.
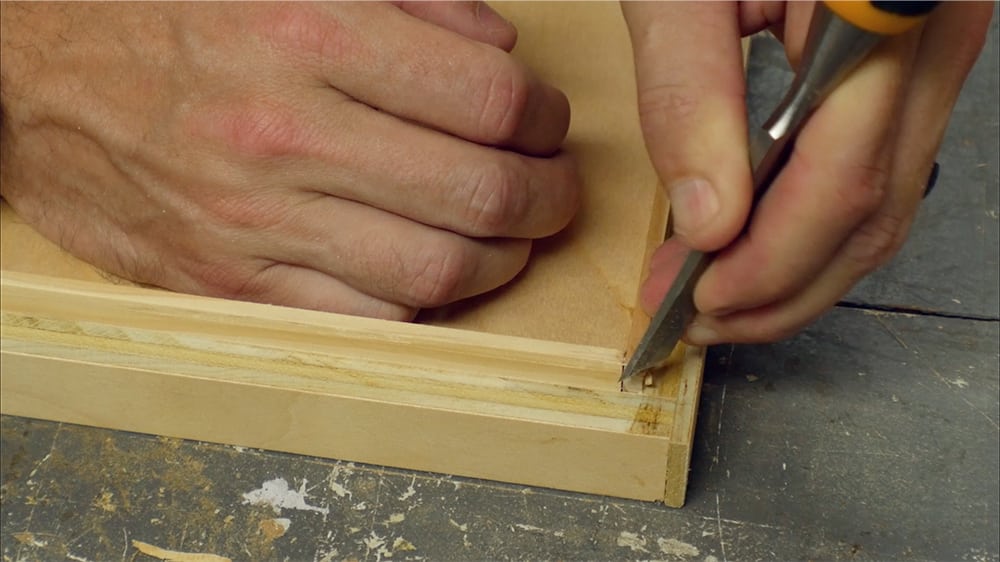
I ran a sharp blade along the whole seam of the lid to separate any paint before removing the lid.
It was ready to use and it works great!