We had always planned on building a picnic table as soon as we finished the deck but we were lucky that we had enough lumber left over to build the table right away!
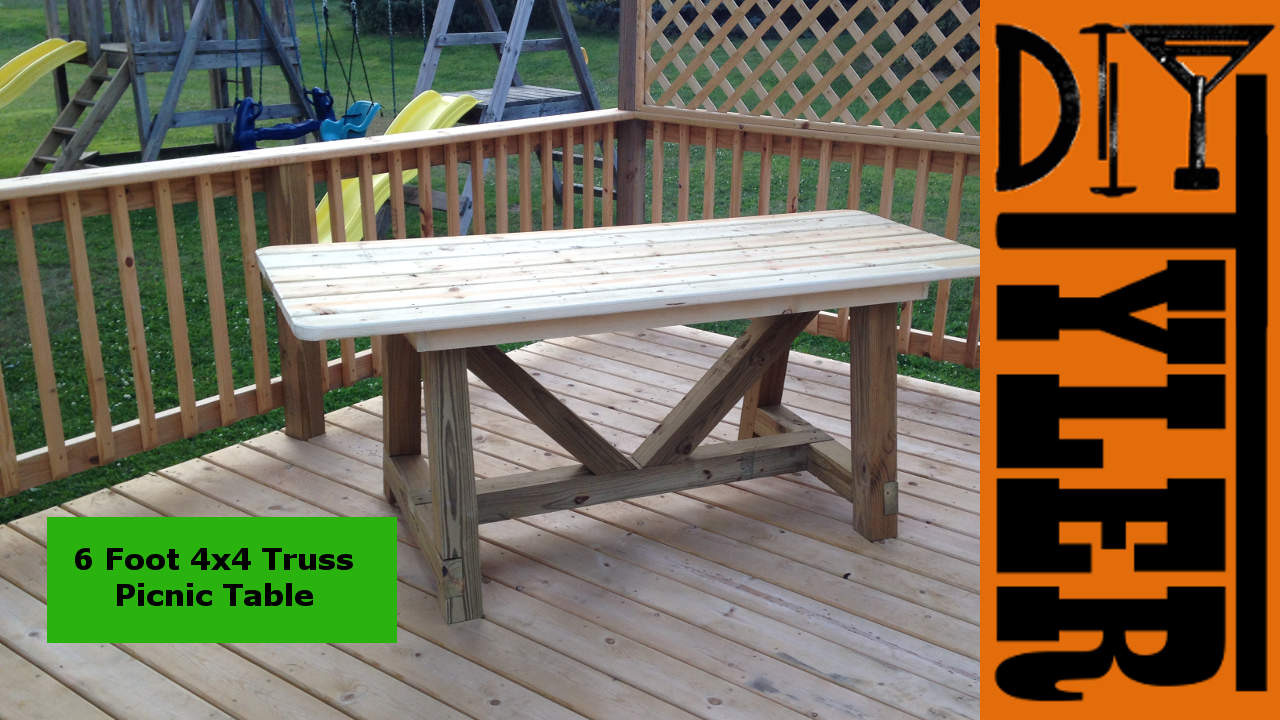
My wife and I have never been a fan of the typical picnic table with benches attached to it. I don’t know what it is, maybe the large footprint, maybe because everybody has one….who knows. Saw a few unconventional tables that we really like so I came up with a design that we liked. Originally it was going to be a 8′ table but the morning we started building we decided to make it a little shorter.
Used half lap joints for most of the weight bearing joints and it seemed to work out pretty well.
We also used a torsion box assembly to support the table top. Thought that this would take some weight out of the table and I also wanted to give it a try since I will be using the same method for some tables in the workshop. It worked out lovely to say the least! In the build video you will see me bounce on the tabletop and it doesn’t move at all.
Free plans below so you can build this yourself!
Article and pictures below:
Started by cutting a 10° angle on one side of what will be the table legs. Then measured to length,
27 1/2″and cut a 10° angle on the other side as well. (Took me a while to make sure I had the angles in the proper direction!) Then measured up 2 1/2″ from the bottom of the legs and struck a line at 10° using the speed square and marked out the section I needed to notch out using a scrap block of 4×4.
I then clamped together opposite ends of the legs together and cut through several times at a depth of 1 3/4″. One item of note; I cut the joints like a fool not thinking of how unsafe it really was….CLAMP down your work piece and don’t stand on one foot while using a circular saw…Please!
I then knocked the pieces off with a hammer and ground smooth by carefully sliding the saw blade back and forth. End result was a very nice half-lap joint.
Cut the leg cross beam to length (30 1/2″) with a 10° miter on either end. Cut a half-lap on both ends and also in the middle to accept the bottom support beam.
Cut the support beam to length (50 1/2″) and cut the half-lap joints on either side of that using the same steps.
Assembled the legs using 2 1/2″ deck screws. Used glue on one of the legs but decided that it was probably a better idea not to in case we want to widen or lengthen the table. I then did a dry fit.
Cut the diagonal supports to 29 3/4″ and lopped off the top end so it would sit flush against the top of the legs and allow the torsion assembly to slide over it.
Counter sunk the screws that were going from the bottom of the support bean into the diagonals using a pocket hole drill bit and attached all pieces with deck screws.
Brought a 1×8 treated board that we got into the shop and ripped into 4 equal strips, cut to length using the cross cut sled and drilled pocket holes. Assembled the torsion box in the barn. Originally my though was to attach the table top boards from the bottom using pocket screws but I got carried away and fastened them from the top with deck screws. Either way it looks splendid.!
Cut the table top boards to 74″ and fastened to the torsion box with deck screws. The two outside boards had to be ripped and routed to make sure they didn’t over hang the torsion box too much. Rounded the corners with jig saw.
Used a piece of fence board planed down to about 1/2″ to make sure the overhang of the table top stays even. Counter sunk and screwed with 1 1/4″ deck screws.
Brought the table parts up to the deck and screwed the table top to the sub frame from the bottom using a a few 2″ deck screws. Bounce test proves that the torsion assembly is very strong!
Plan on finishing the table, maybe some spar-varnish on the table top but we will see! Thanks for tuning in folks and we will see you next time.
Sketchup plan for the table available to download, click the link below.
Please follow and like us:


9 thoughts on “6ft 4×4 Truss Picnic Table”
Awesome looking table. I’m going to tweek your blueprint alittle and build one myself.
Thanks for the ideas.
Lee
Great idea. I have a 32″ x60″ x 2 1/2″ live edge slab of red cedar that I got for a picnic table(plus 2 12″ slabs for benches) and I’ve been looking for a different idea for the base. Like what you did. Did you make benches also. Thanks!
Mark
No benches but cute little replicas of the table would look great! Where are you at I will take the cedar slab! Want to make a live edge dining table soon here…not sure if cedar is hard enough for the abuse that it will need to take.
Built a kitchen table out of Cedar 2×6 a year ago. I have two boys (9 & 5). it is holding up ok. if i were to do it again, i would use something other then cedar. something harder.
Hey Tyler,
Great table! As soon as I’m done with the paver patio, I’ll start on this project.
Do you have any plans for benches?
Leon, no plans for the benches at this time….sorry!
Here are plans for the benches. Same style, but slightly different construction.
http://www.shanty-2-chic.com/2013/10/diy-bench-2.html
Pingback: 45 Free DIY Picnic Table Plans for Kids and Adults - Lemon Slide
Hi Tyler,
Great table. Any chance you could add an 8′ table plans?
Casey