So after months of watching me struggle to draw straight lines on my current chalkboard calendar, Jamison came up with a better plan. This wood black calendar is coated with clear chalkboard paint. Not only is it functional but it looks pretty awesome and would make the perfect gift!

For sneak peeks of our upcoming projects be sure to follow me on Facebook and Instagram. Also, follow me on Pinterest to get tons of projects plans from all around the web!
Required Tools
Materials
- Qty 1 – 1/4″ x 24″ x 48″ Plywood
- Qty 2 – 1 x 4 x 8′
- Qty 1 – 1 x 2 x 8′
- 1-1/4″ Brad Nails
- Clear Chalkboard Paint
- Wood Glue
Disclosure: The links provided in the “materials” and “required tools” sections are affiliate links. If you would like to support our site and help keep our content free come find out more about how we can make money with no extra cost to you.
How to build a Wood Block Calendar
Step 1: Cut Wood
Using a miter saw cut the following:
- 35 1×4’s at 3 1/2″
- 7 1×4’s at 1 1/2″
- 1 1×4 at 24 1/2″
- 2 1×2’s at 24 1/2″
- 2 1×2’s at 24 1/8″
Using a table saw cut the following:
- 1/4″ ply wood at 22 1/2″ by 24 1/4″
Step 2: Sand and Stain
Using 220 grit sand paper, sand and prep the wood pieces to be stained. Be sure wood is clean and free of debris before apply stain. For this project I went with a variety of stain colors. If you want to stain all the same color, then you can wait to stain until after step 3, however I would still sand and prep my wood at this stage. Using a stain rag, apply stain and allow to set for 1 minute and wipe clean using a stain rag. Allow time to dry before moving onto the next step.
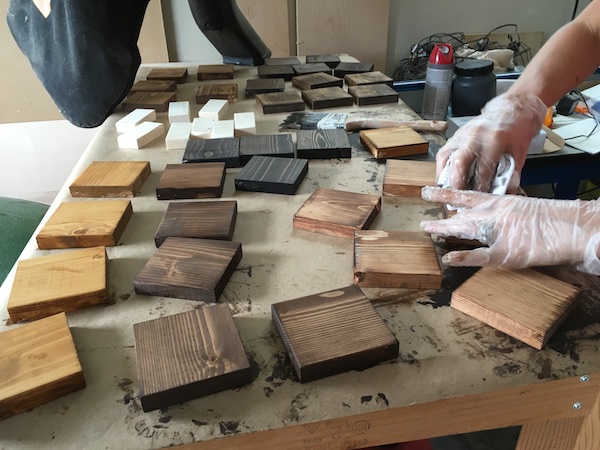
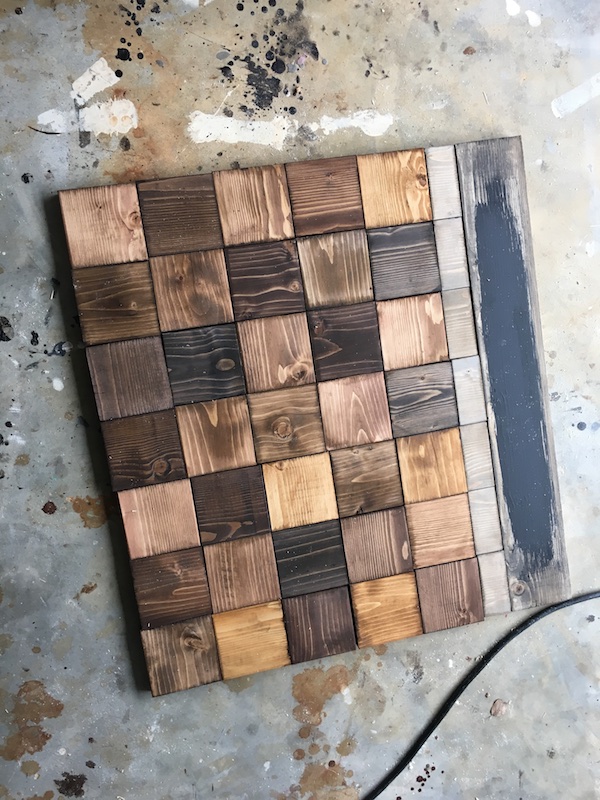
Note: I added some black Chalkboard Paint to add a little detail to the top of the calendar, this just for looks, it isn’t necessary since we will be using the Clear Chalkboard Paint over the entire calendar.
Step 3: Assemble Calendar
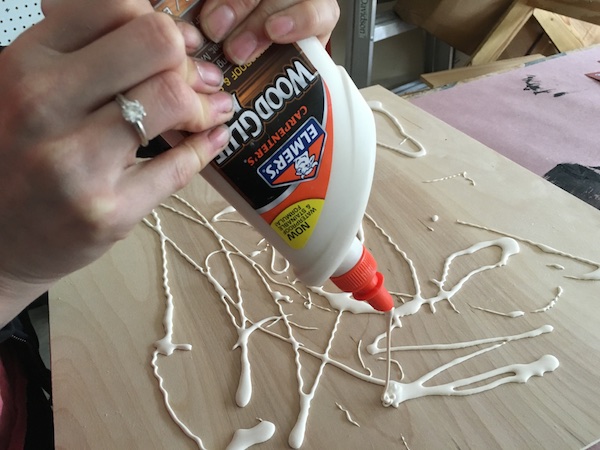
Apply a good amount of wood glue to the 1/4″ plywood.
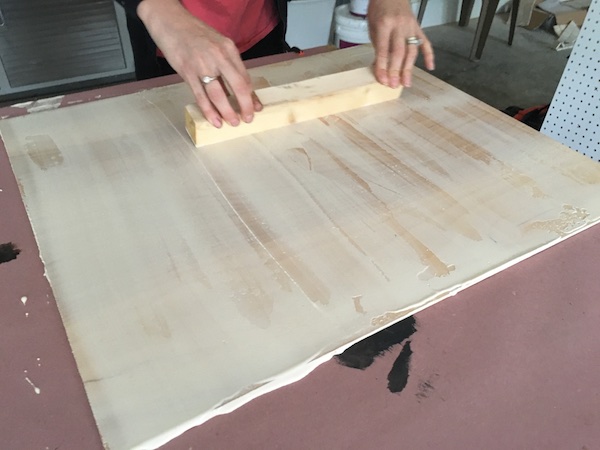
Using a piece of scrap wood even out the wood glue to the entire surface of the plywood.
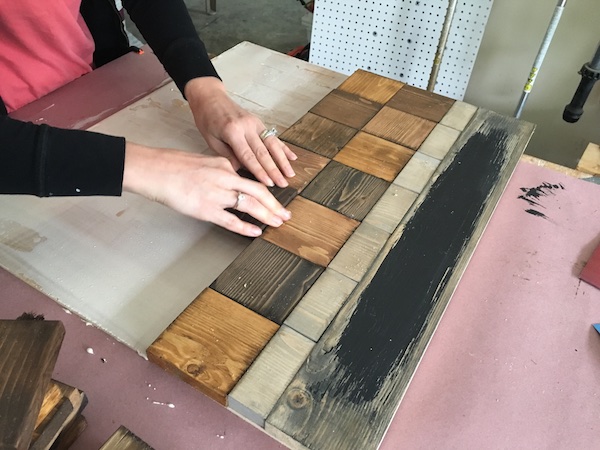
Place the pieces of your calendar onto the plywood.
Place some heavy objects onto of the calendar to ensure all pieces are really stuck down. Allow to dry completely before moving top the next step.
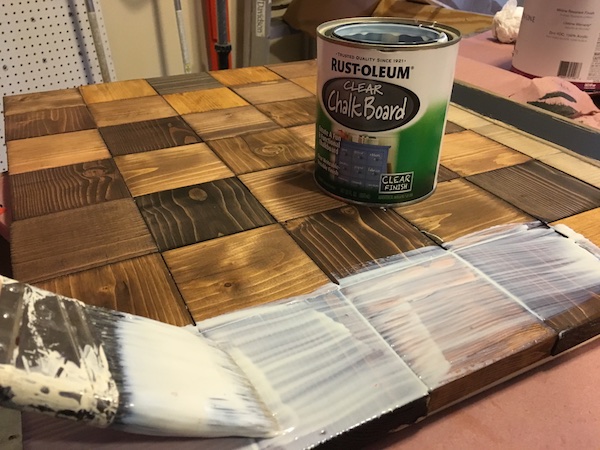
Step 4: Apply the Clear Chalkboard Paint
Using a brush, apply a good amount of the clear chalkboard paint to your calendar. The paint will look like it has a white tint to it, but do not worry, I promise it dries clear! Jamison had little faith in this step, but after allowing it to dry for 24 hours he saw the light!
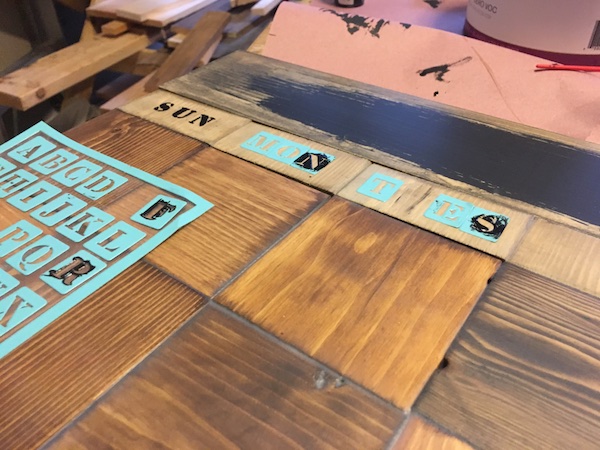
Step 5: Stencil Weekdays (Optional)
Using stencils and black acrylic paint, I added the weekdays to my calendar. This step isn’t necessary, since they have the chalkboard paint, but I wanted to add it so its one less thing to write then I change the calendar each month.
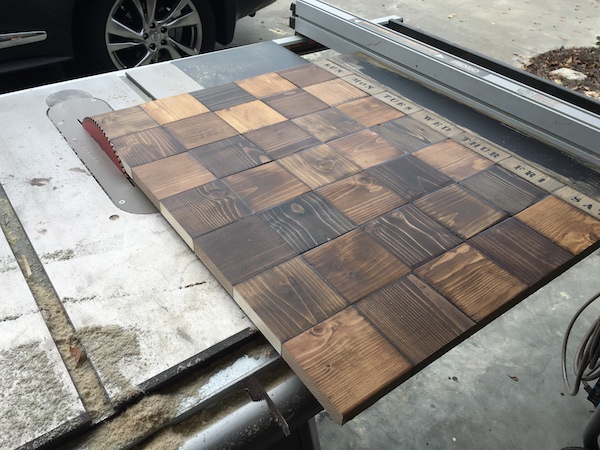
Step 6: Paint and Attach Trim
*Note: Before attaching the trim I ran the calendar down the table saw to straighten out the edges.
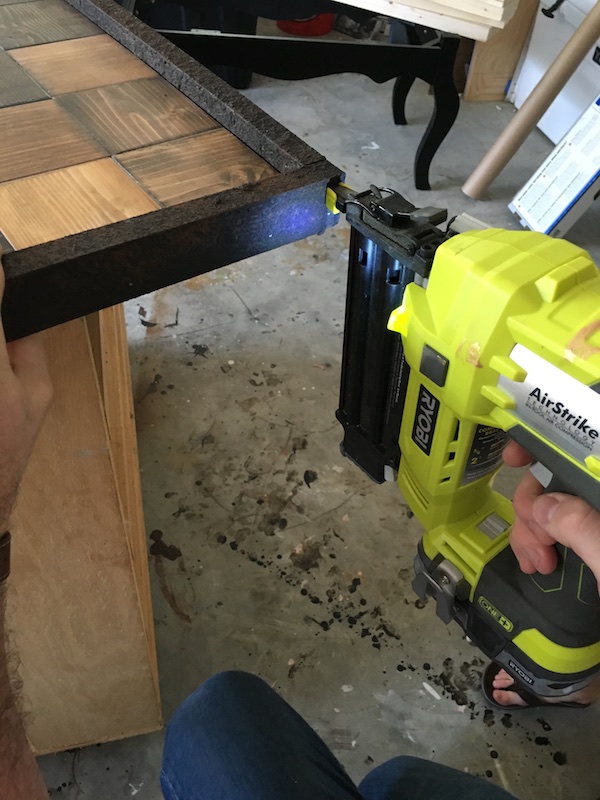
I painted the trim using a Faux Corroded Iron technique, to give the calendar a cool industrial feel before I attached it using 1 1/4″ brad nails.
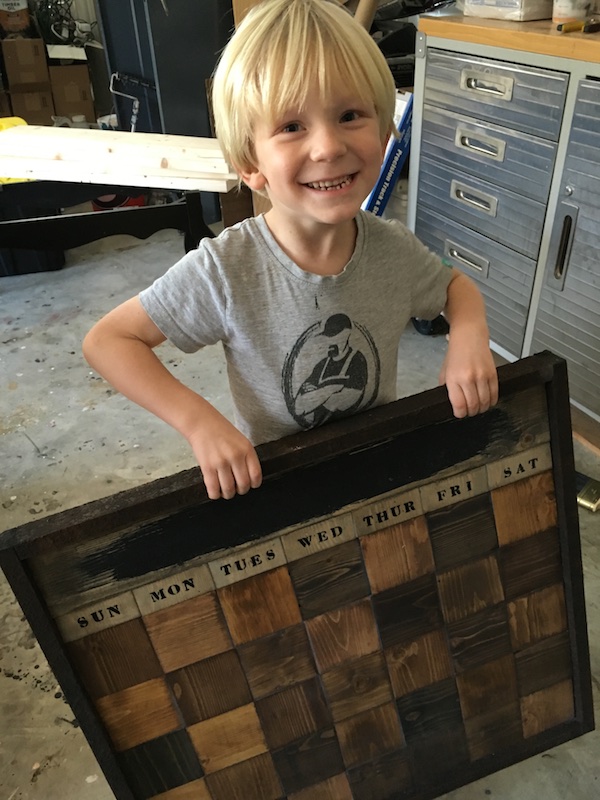
He is pretty happy with the results and so am I! I love having a daily calendar, helps me keep up with our crazy life. I even think this wood block calendar just looks cool on its own! Hope you enjoyed!

Questions? Comments?
As always, if you have any questions don’t hesitate to comment below and especially don’t forget to post pictures of your finished products in the comments! ENJOY!