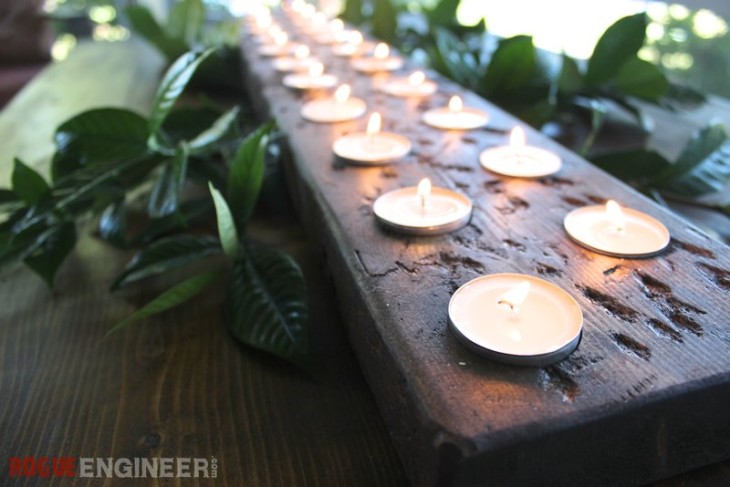
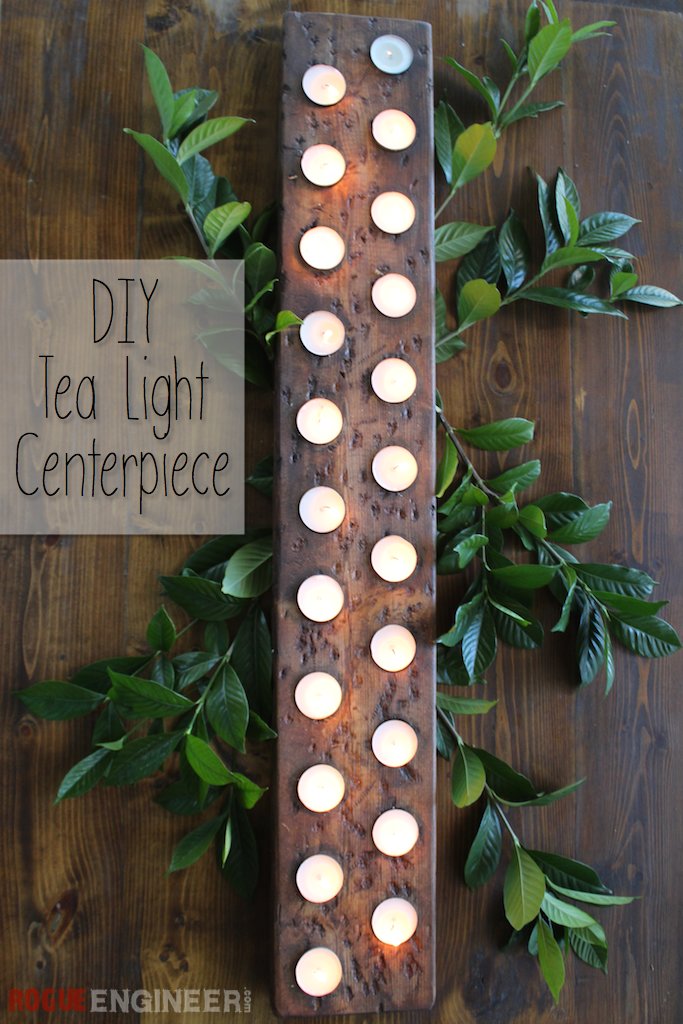
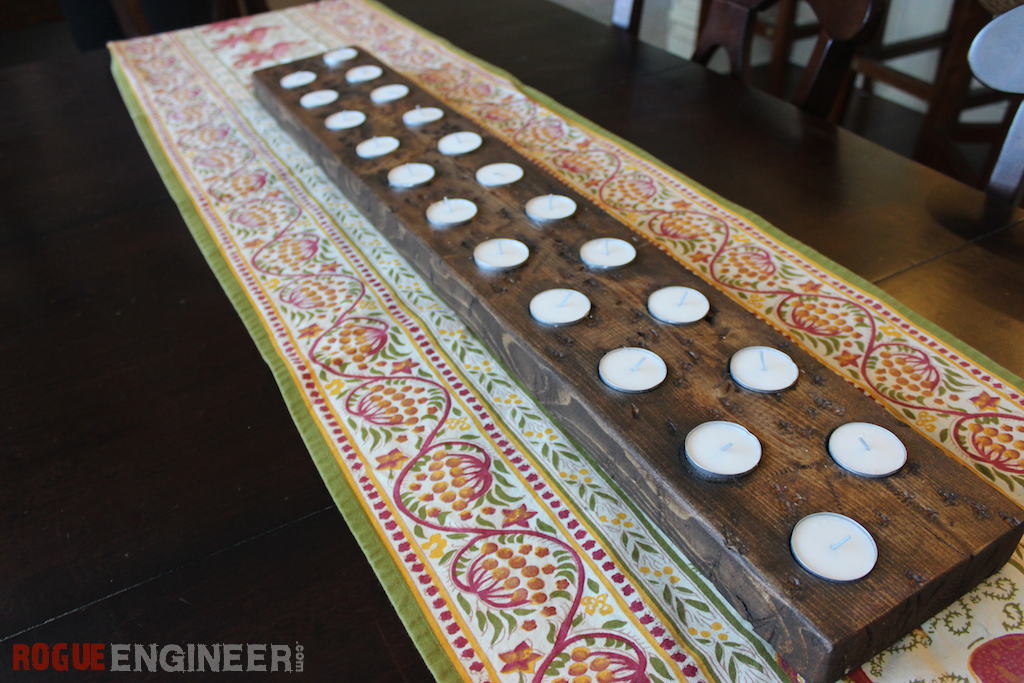
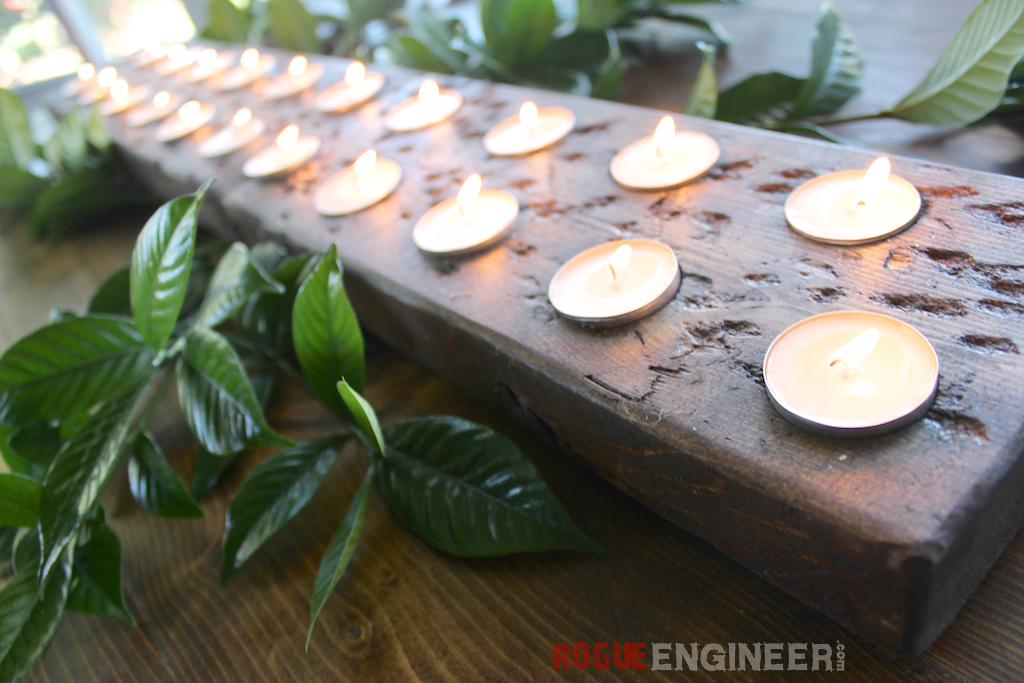
We been looking for ideas for a fall centerpiece for some time now. The other day we spotted a great idea on the Pottery Barn fall decorating page for a simple tea light centerpiece. As stated by Pottery Barn, “In place of a wood-burning fire, a series of candles makes a compelling – and eco-friendly – spectacle of light.” I could’t agree more. Possibly the best free piece I’ve made thus far. We hope you enjoy!

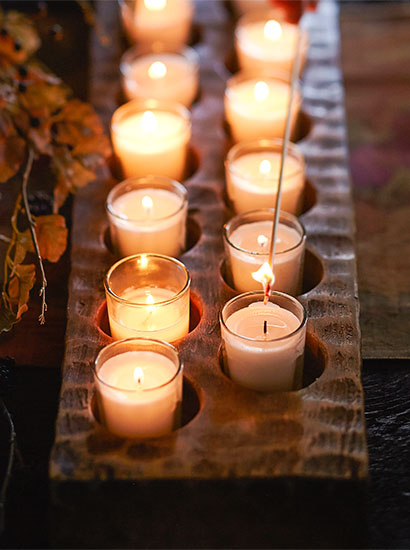
Inspiration from Pottery Barn
Disclosure: The links provided in the “materials” and “required tools” sections are affiliate links. If you would like to support our site and help keep our content free come find out more about how we can make money with no extra cost to you.
Tools Required
- Drill
- 1-1/2″ Forstner Bit
- Note: This link is to the smaller Ryobi Forstner bit set but you actually need the larger bit set that includes the 1-1/2″ Forstner Bit, which I could not find anywhere on the internet. However, I do know HD has this set because I bought it myself.
- Miter Saw
Materials
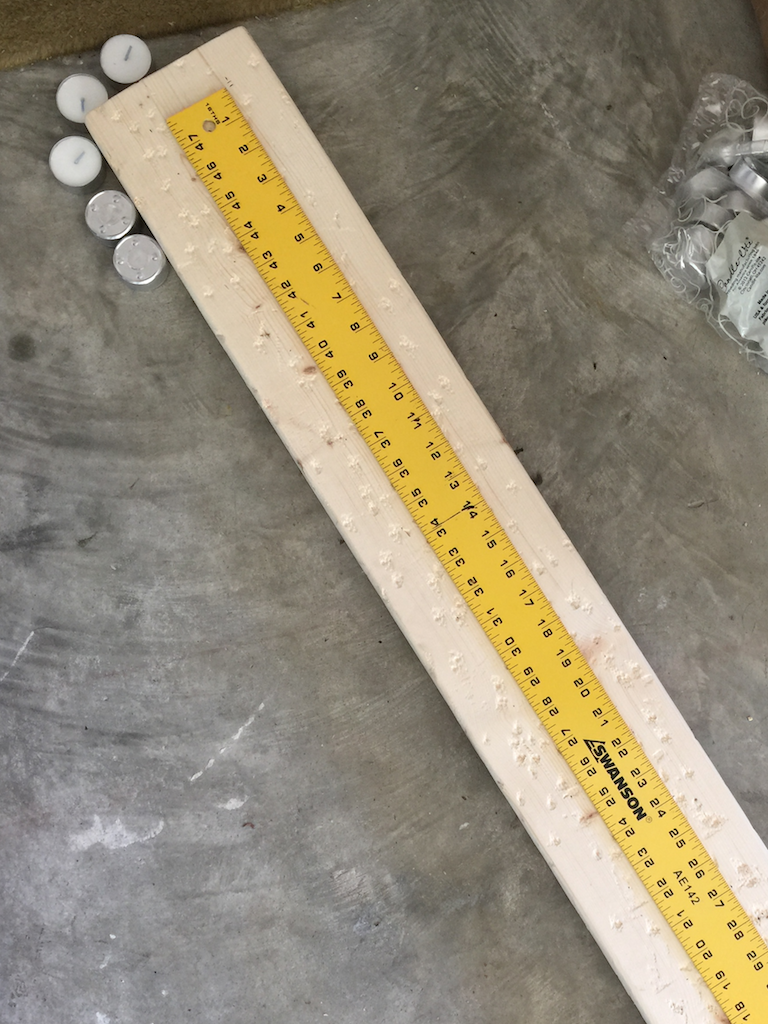
- Qty 1 2 x 6 (I used scrap wood)
- Qty 22 Tea Lights
Cut List
- 2 x 6 x 34.5″
Tea Light Centerpiece Plans
Step 1: Beat the crap out of your board
No really, I used a brick but you can use whatever makes you happy. I sanded it first. Not sure why, but I did. Then we took turns beating the heck out of it because, although fun, it gets tiring slinging that brick around.
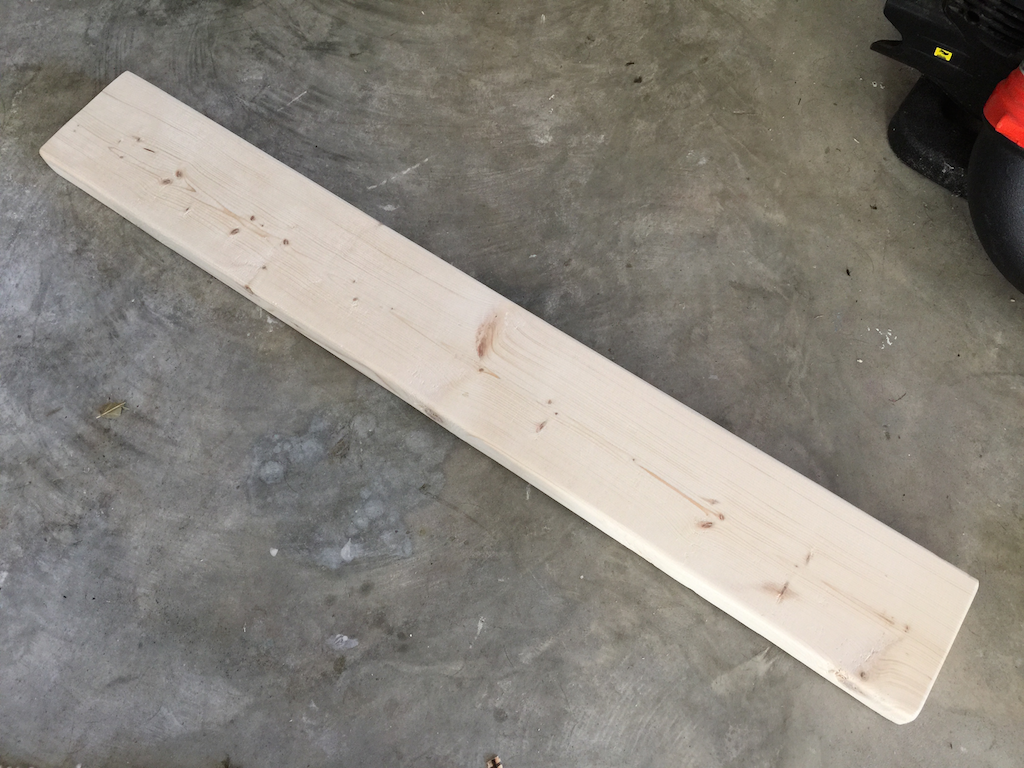
Sand your 2×6

Beat the crap out of it.
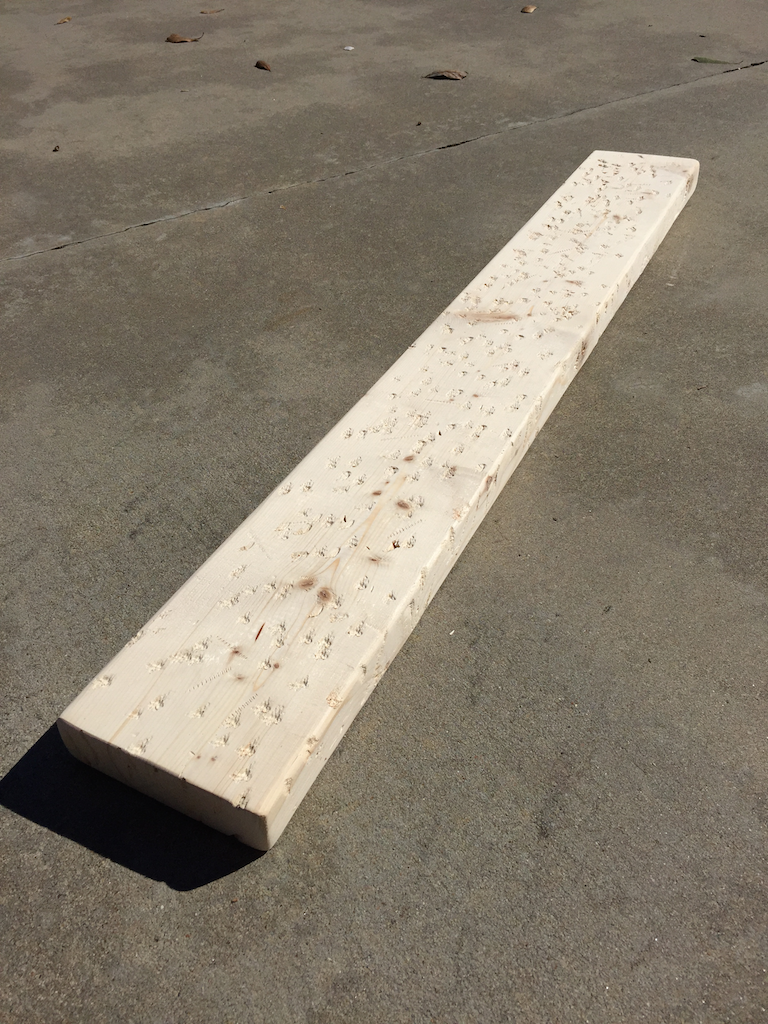
Take that wood!
Step 2: Drill your holes
Using the 1-1/2″ forstner bit I bored a hole to a depth approximately equal to the depth of the tea lights. Oddly enough this is about the same depth of the cutting portion of the forstner bit itself which made it really easy.

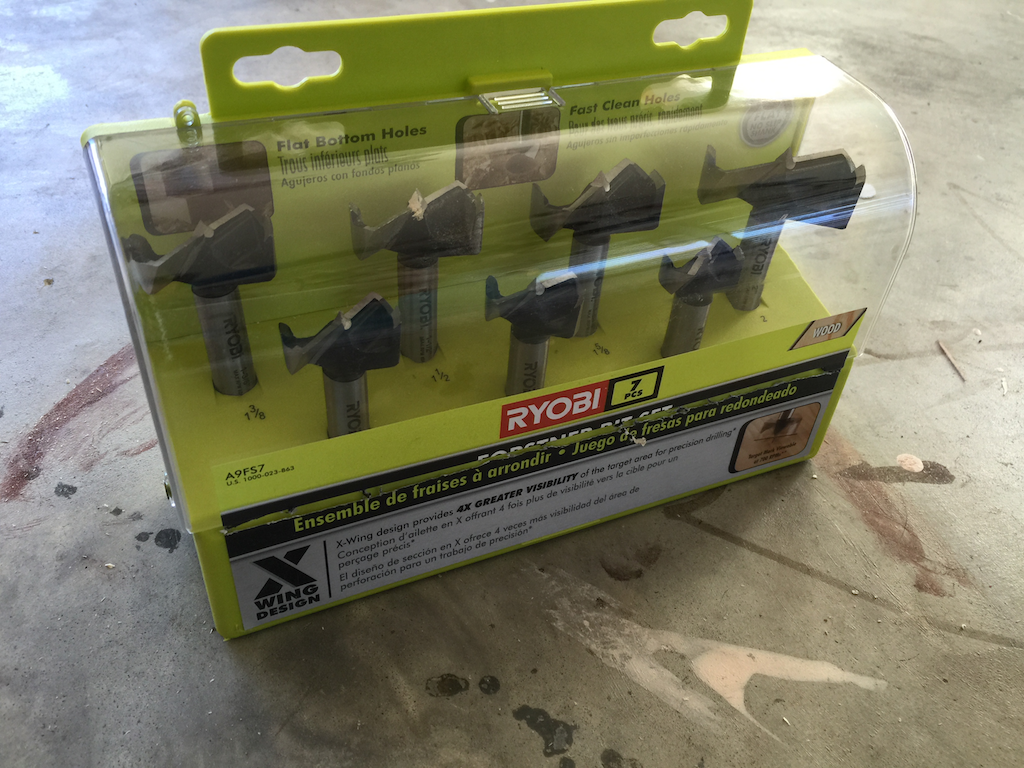
Ryobi Forstner Bit Set
Mark your holes
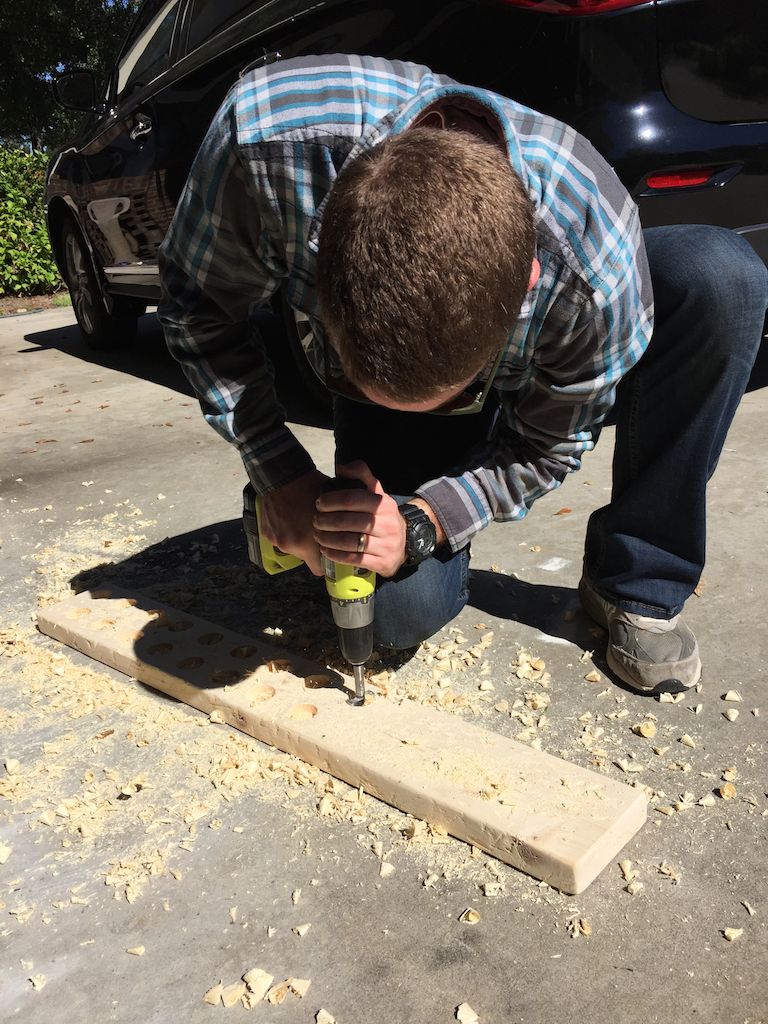
Drill 1-1/2″ hole to appropriate depth
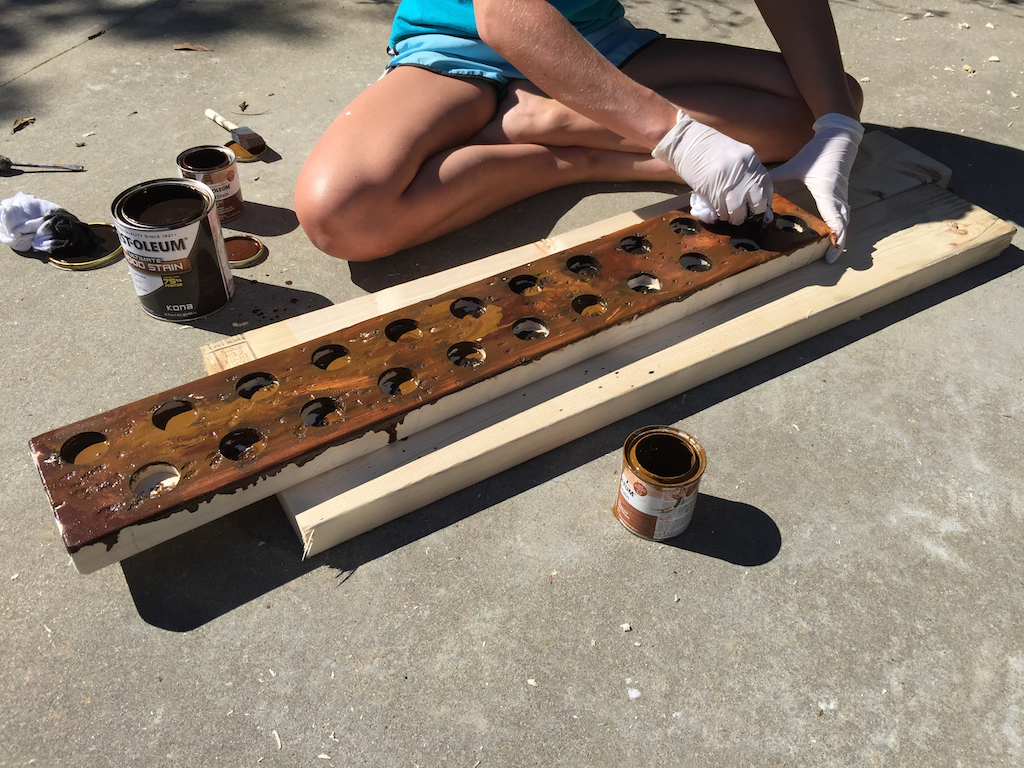
Finishing
After giving the centerpiece a nice sanding to remove all the debris and rough patches it was ready for stain. Jamie opted to go for a finish that we saw at Rustoleum this past week which was dabbing on different stain colors and blending them together. I think it turned out great. She opted to go with Kona, Wheat and Carrington for this mixture.

Questions? Comments?
As always, if you have any questions don’t hesitate to comment below and especially don’t forget to post pictures of your finished products in the comments! ENJOY!