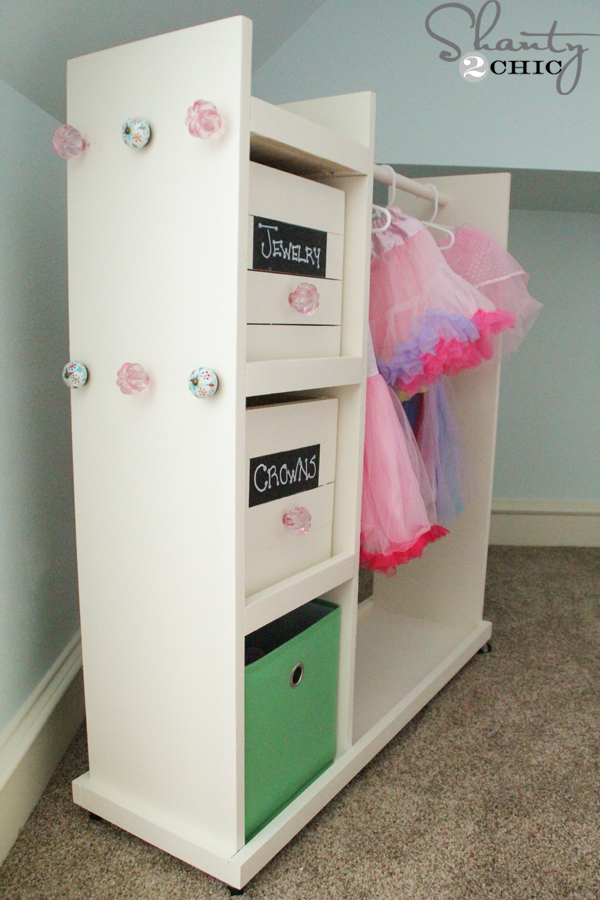
Hey guys!!! I took a break from furniture building this week and built our little miss something pretty cool! If you follow us on Instagram, you may have seen a sneak peek of this! I have been wanting to build her a dress up storage cart for a LONG time now but I made myself wait until every member of our house had a bed!
 There were times that I thought…eh, I have so much furniture to build right now, maybe I should just buy her one but, I’ve bought her a play kitchen and a bassinet and sadly, they haven’t held up well. The cart I debated on purchasing was $150 plus shipping and tax and I just couldn’t bring myself to do it again!

Not only was I able to customize this to match her room, I was able to build it for $70 and that was with a 1/2 sheet of plywood left over so really I consider it a $50 investment 😉
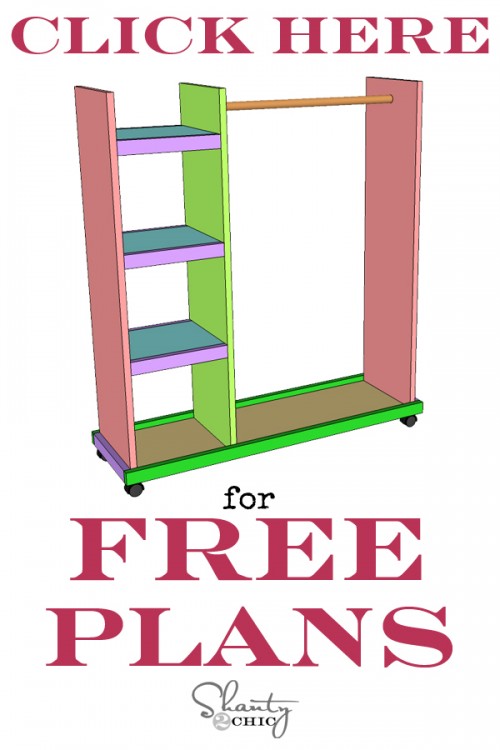
Of course, we have the FREE Printable Plans for you guys! You can click HERE or the image below to print yours!
And as always, I’ve got the step-by-step pictures to help you along the way!
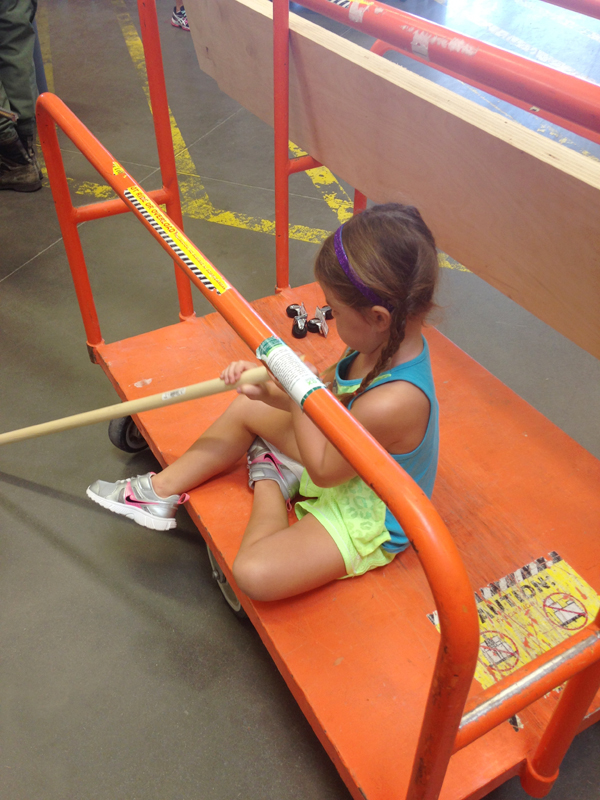 We got all of our supplies at Home Depot and had the nice man rip our 3/4″ Purebond Plywood down into 4 – 11 1/4″ boards. You can substitute 1×12 boards for this but, the cheapest boards were $20 each and there were not two the same width and the select pine boards were a whopping $30 each. I opted for ripping Purebond because I was able to get 4 – 1×12 boards for $49!
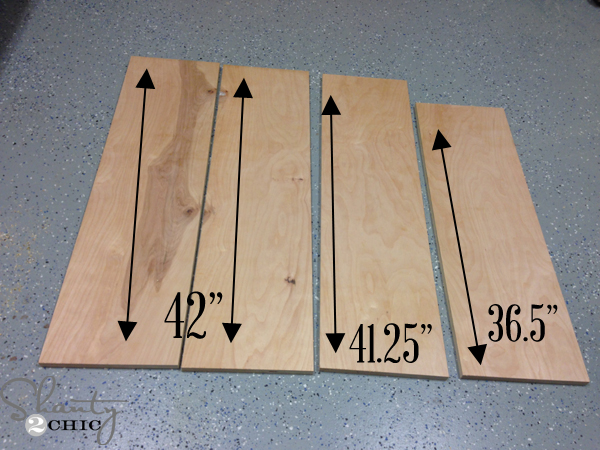 We brought our lumber home and got to work! I cut the four boards that will construct the frame of the cart, first.
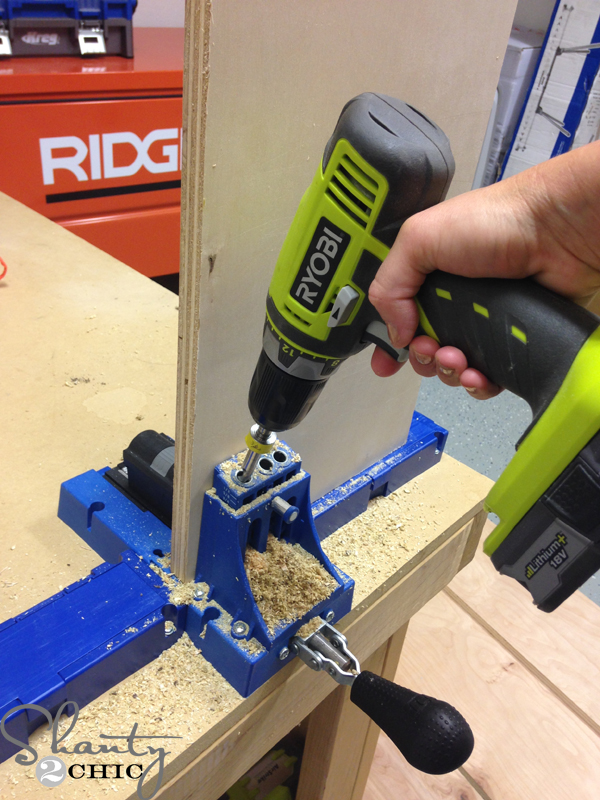 Then, I used my K5 to drill pocket holes in the bottom board.
 I drilled 3 – 3/4″ pocket holes on each end.
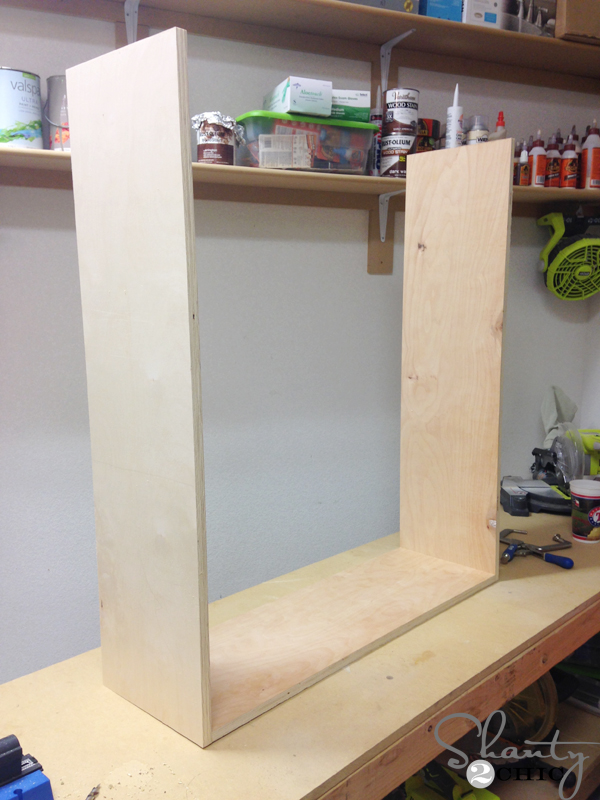 Next, I attached the side pieces to the bottom piece with 1 1/4″ pocket hole screws and Gorilla Glue Wood Glue.
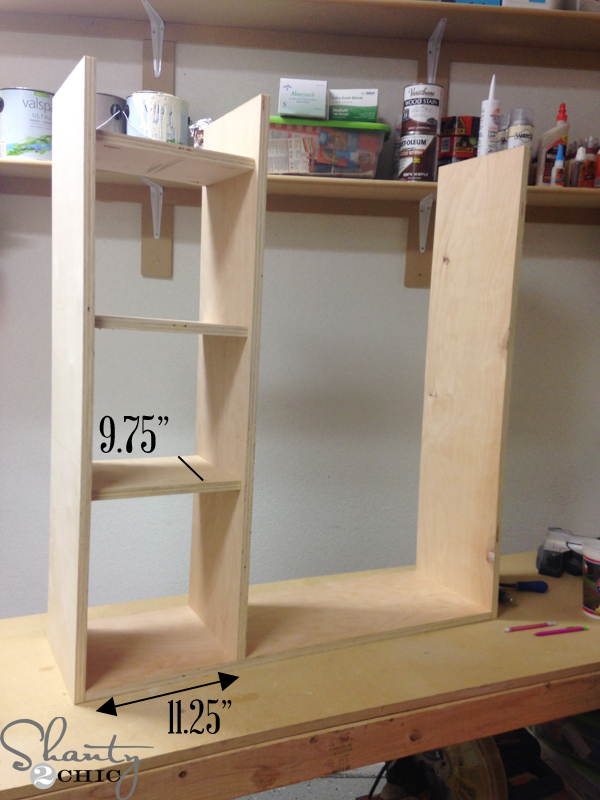
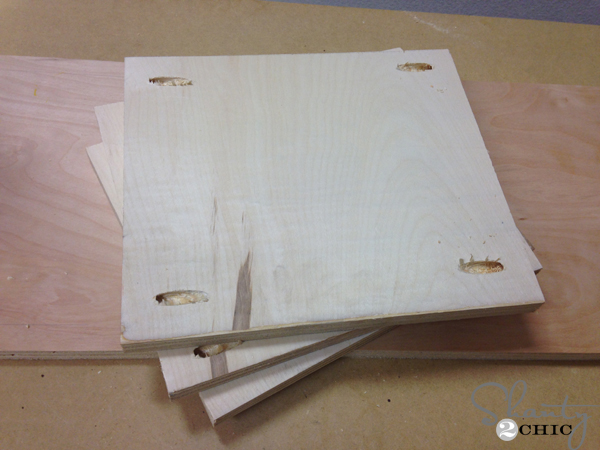 I cut my shelf pieces and drilled 2 pocket holes in each side
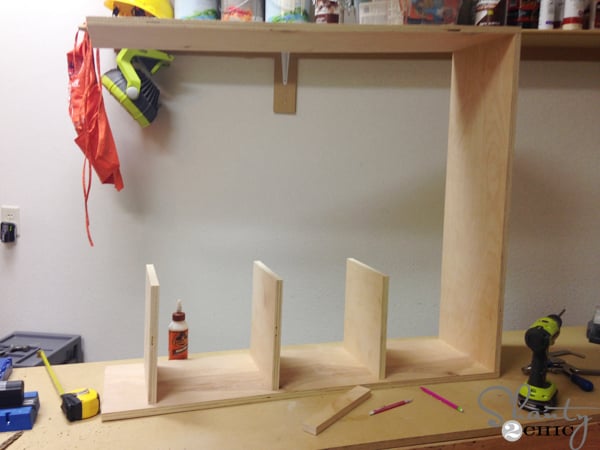 and attached them with pocket hole screws and wood glue. This is a very customizable part. You can refer to the plans to see where I set my shelves. If you have bins that you want to put on the shelves, you can set the shelves accordingly.
 Then, I added the center board. I attached the shelves to board and the bottom of the board to the base of the cart.
 This was a snug fit for my drill so, I used my Ryobi Right Angle Drill to attach the shelves to the center board. If you don’t have a right angle drill, you could use a short Kreg bit too!
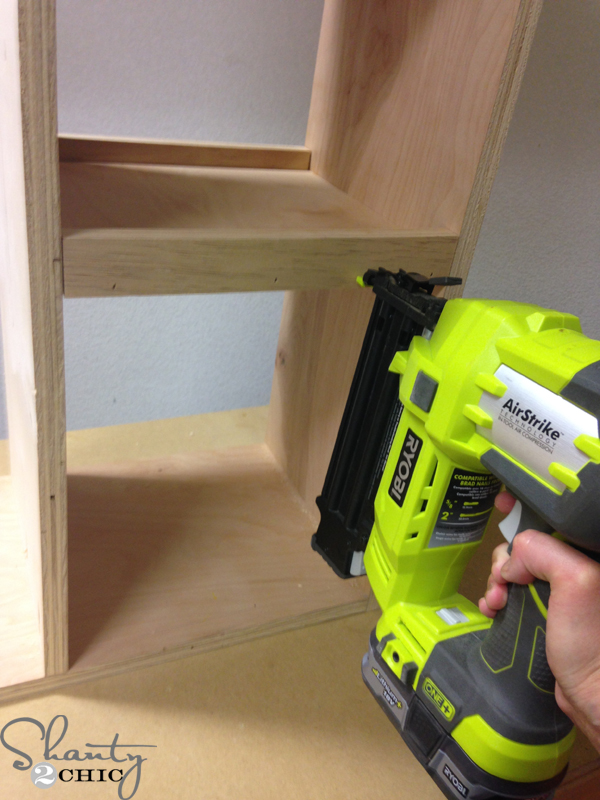 I attached the 1×2 trim, to the shelves with my 18 ga. Airstrike nailer, 1 1/4″ nails and wood glue. Measure as you cut for a perfect fit with these pieces.
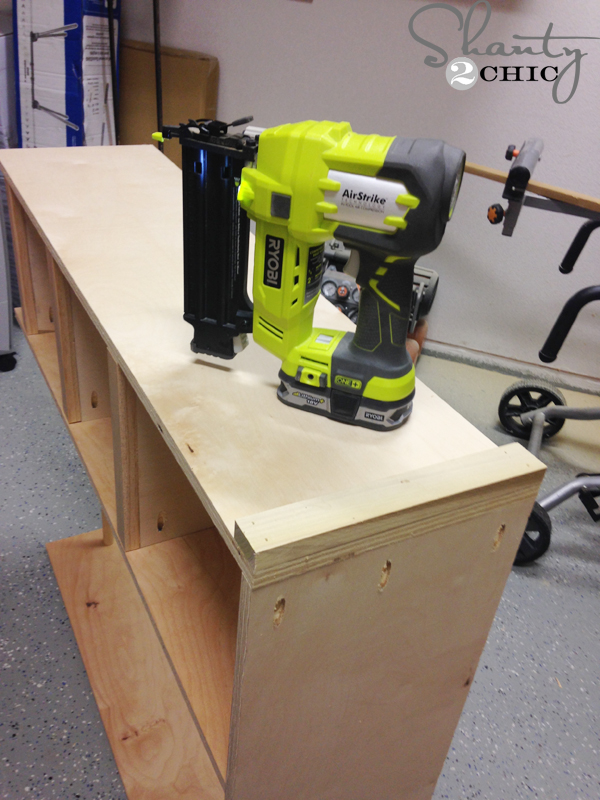 Attaching the trim to the bottom of the cart.
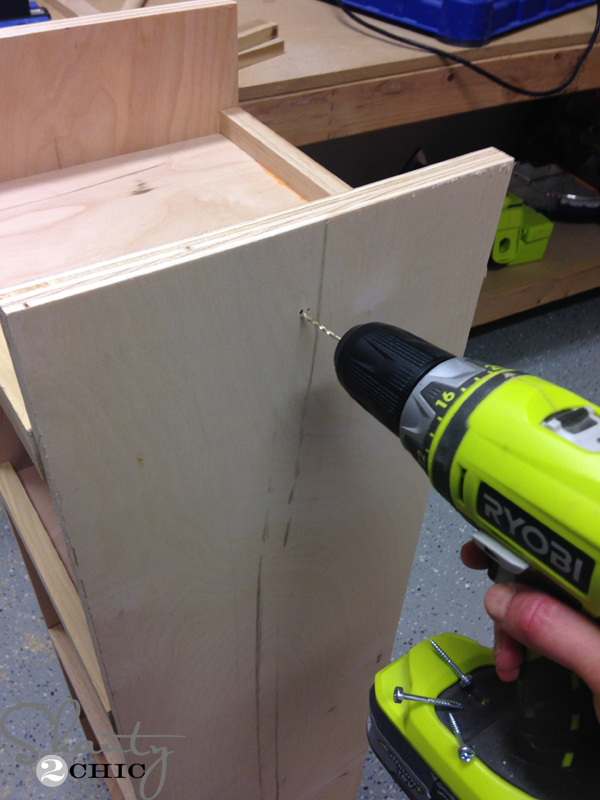 To attach the dowel, I predrilled into the outside board, the center board and the center of both ends of the dowel and attached the dowel with 2 1/2″ wood screws and wood glue.
 That’s it! For the construction part – now for the fun 🙂 I painted this to match the trim and her bed in her room. It’s Ivory Lace by Valspar.
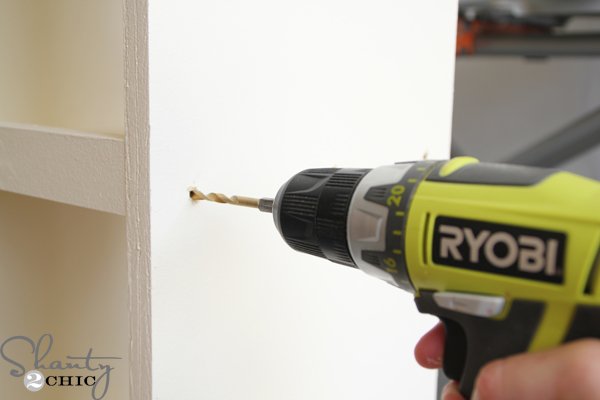 I wanted to add pretty knobs for her to hang her necklaces, wings, wigs…. you know the necessities so, I predrilled from one end into the shelves. This way, you won’t have a screw sticking out in each cubby.
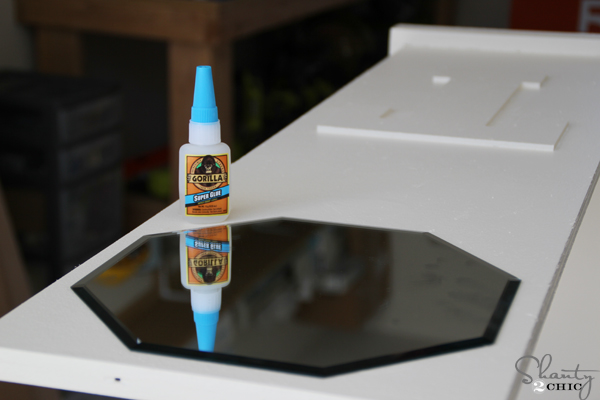
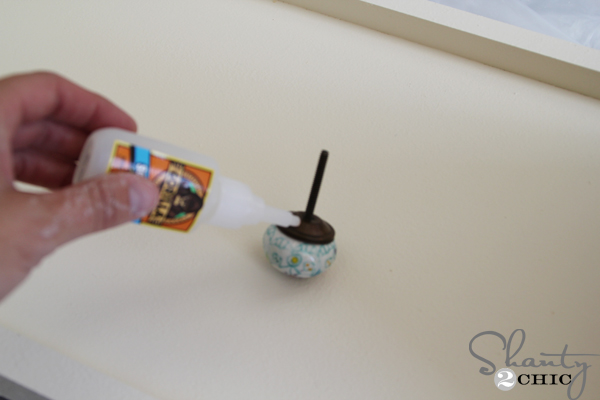 I used Gorilla Glue Super Glue Gel (this stuff is the BOMB) and applied a generous amount to each knob
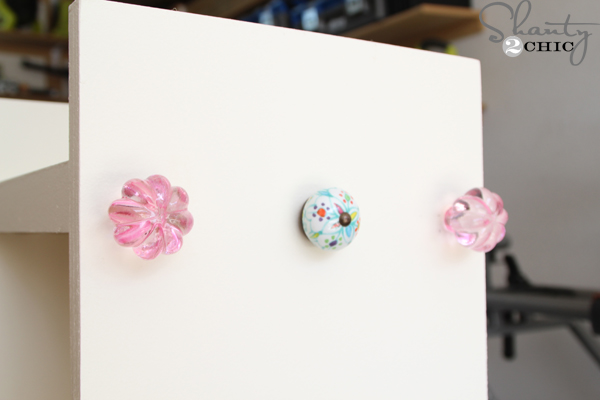 and pushed them through the holes. These babies aren’t going anywhere 😉 I added 2 rows of 6 to our cart. Bought the knobs at Hobby Lobby when they were on sale!
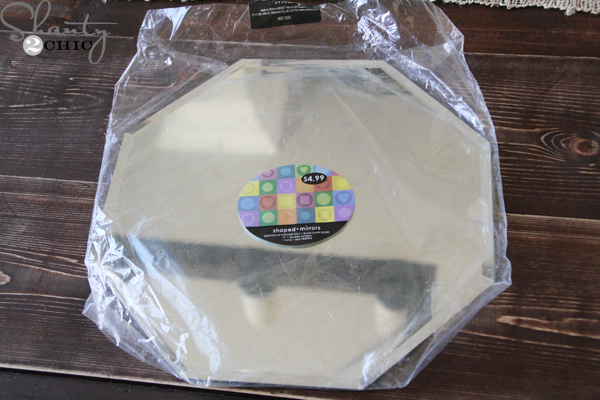 I also found this mirror at Hobby Lobby – and purchased when it was on sale.
 I removed the foam pads from the back of the mirror and glued it to the top of the other side of the cart, along with a “T” for her name 🙂

 I added 4 small casters and a cute pull so that her dress up wardrobe can follow her wherever she goes! (and yes, I may regret that when I have dress up stuff all over my house)!
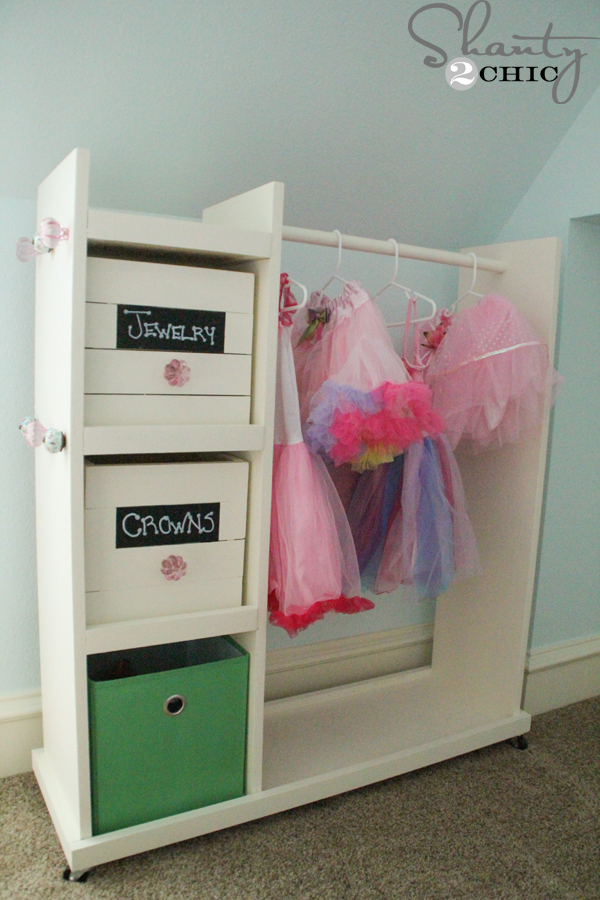
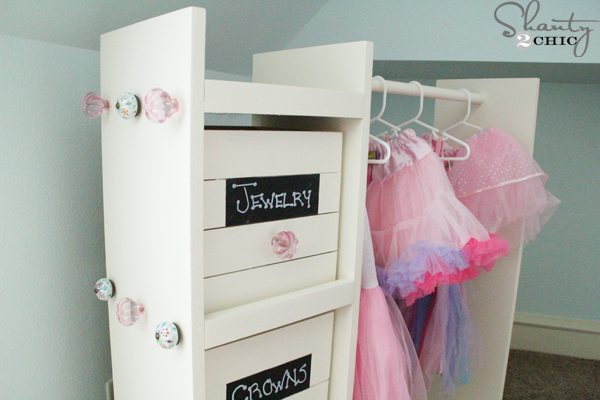 I built some cute crates with some scrap lumber 🙂
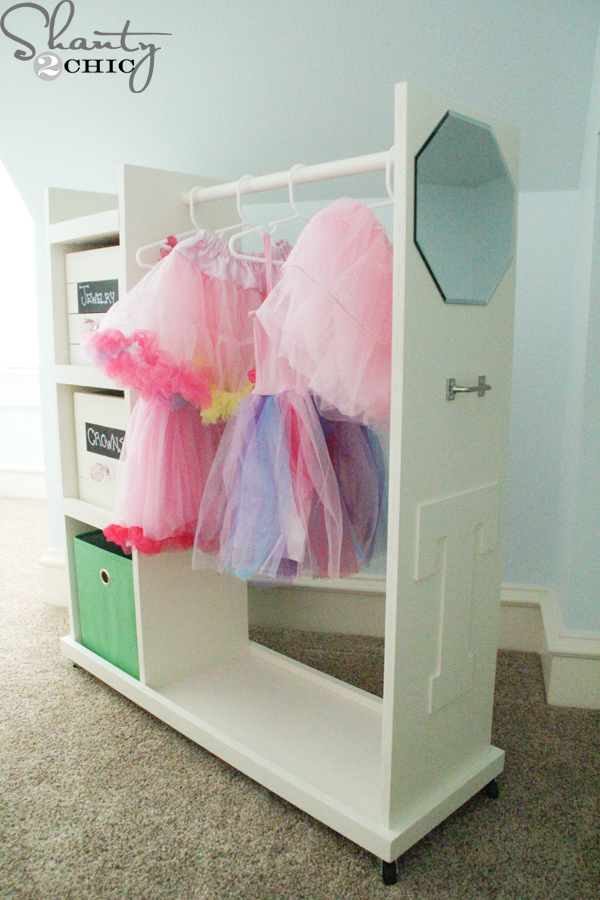 And the green cube is from Target 🙂 It matches her bedding perfectly!
This was so much fun to build, I saved a TON of money and it’s built to last! This could be easily modified for an adult if you need more storage in your closet too 🙂
Well, it’s back to the shop for me – I still have lots of furniture left to build 🙂
Thanks so much for stopping by!
~Ashley


I don’t even know how I stopped up right here, however I thought this publish
was once good. I do not understand who you are but certainly you are
going to a well-known blogger in the event you are not already 😉 Cheers!
Thanks in support of sharing such a fastidious thinking, piece
of writing is pleasant, thats why i have read it fully
I went over this site and I conceive you have a lot of excellent
information, saved to my bookmarks (:.
Thanks for some other informative website. The place else could
I am getting that type of information written in such
an ideal method? I’ve a venture that I am simply now running on, and I’ve been at the glance
out for such information.
Thanks to my father who stated to me on the topic of this webpage,
this weblog is actually remarkable.
I wanted to check up and let you know how , very much I valued discovering this blog today.
I will consider it an honor to do things at my place of
work and be able to make real use of the tips contributed on your
web site and also get involved in visitors’ comments like this.
Should a position regarding guest article author become on offer at your end, i highly
recommend you let me know.
I’m making this for my three year old for Christmas this year. Any chance you remember the dimensions of the wooden crates you made? Thanks for the plans, they are always so well done!
Just finished it. The girls picked the colors and painted it.
Could you give me the dimensions please?
I built this for my son for Christmas. I turned it into a Superhero Command Center. I’m a beginner but the plans were easy to follow and I learned a lot along the way too! First time using the Kreg. Thanks so much! He loves it!!
That is fantastic! Great job!!
That is adorable!!!!! I absolutely LOVE it and want one. Thank you for the awesome tutorial and plans!
Which of the three tall boards is the 41.25″ one from the cuts? They all three look like the same height in the picture. And is the bottom shelf the 36.5″ cut?
What do you do about the exposed edges you get when using plywood. Do you use a banding tape or cover it with anything before painting it?
How adorable is this. I love it.
This is amazing! Thanks for the detailed tutorial. I have a question about the painting/finishing process. I am building a cart and want the finish painted. I first sanded the whole thing and then put a coat of primer. Then sanded again and another coat of primer. Now I’m ready for the paint but I’m pretty sure I’m going to have to sand after each layer and then do the same for the poly.
The finishing is taking way longer than the building. Can you let us know how you did the finishing (painting)?
Thank you, Adrienne! Honestly, we do not do anything special. I’m sure professional painters/wood workers would recommend the steps you are taking but we give a light sanding, then apply two coats (typically). We only poly if it’s a table top or something like that. I’m pleased with the way ours turn out – without all of the steps 🙂 hope this helps!
Thanks!! Your finishes always look great too!