It’s been a while since I made a pure 2×4 project. The last one I made was my toilet cabinet and it also happens to be my most favorite project that I have made. I think the idea of turning construction grade 2x4s into nice, home worthy pieces of furniture is very rewarding. It gives a good sense of accomplishment in my opinion.
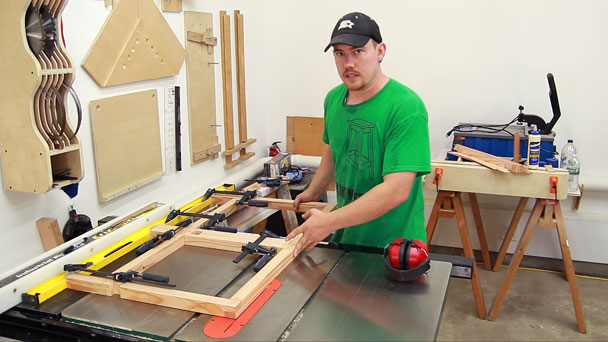
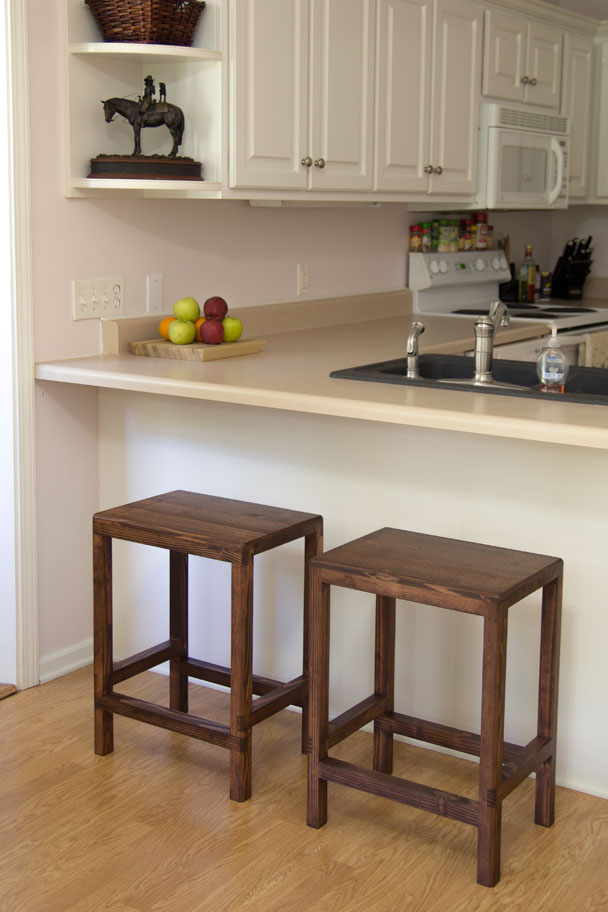
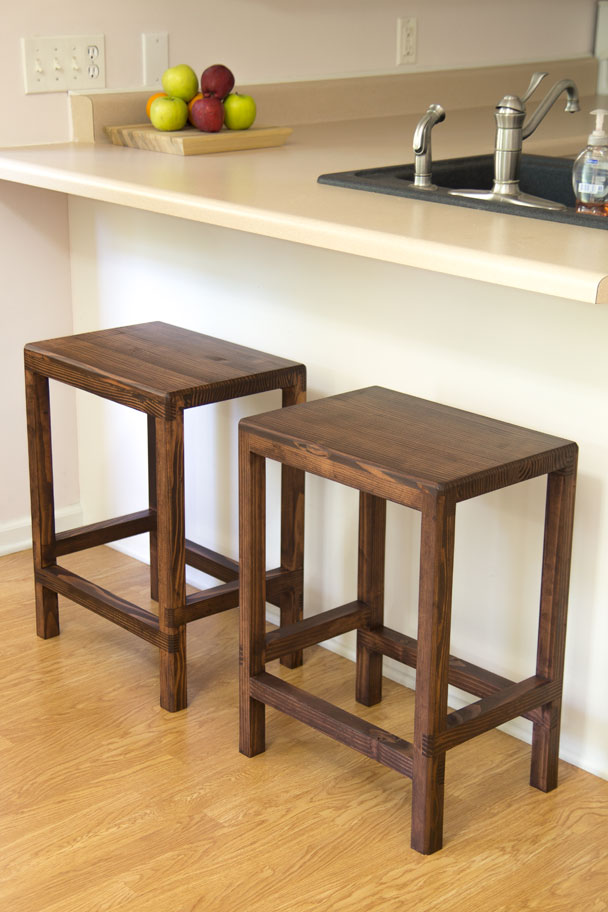
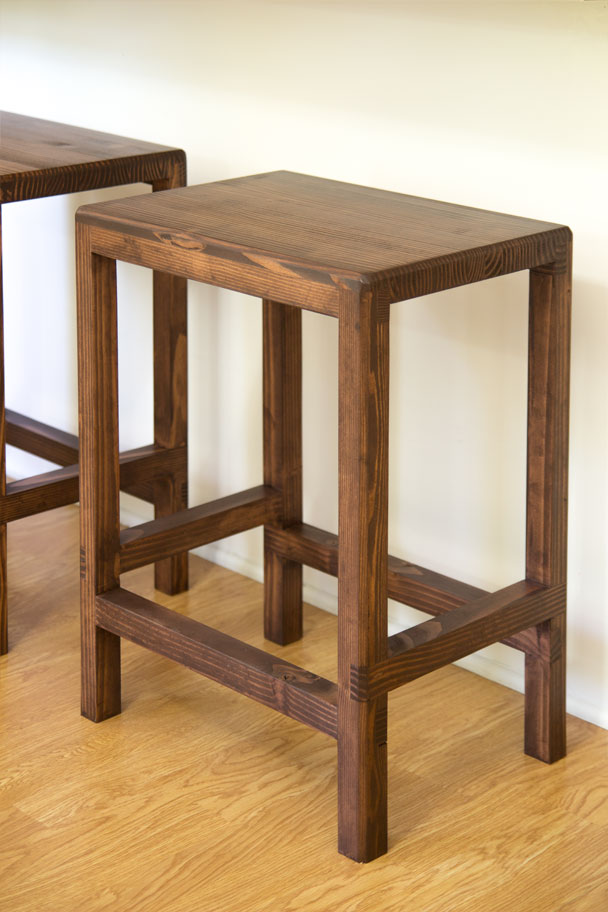
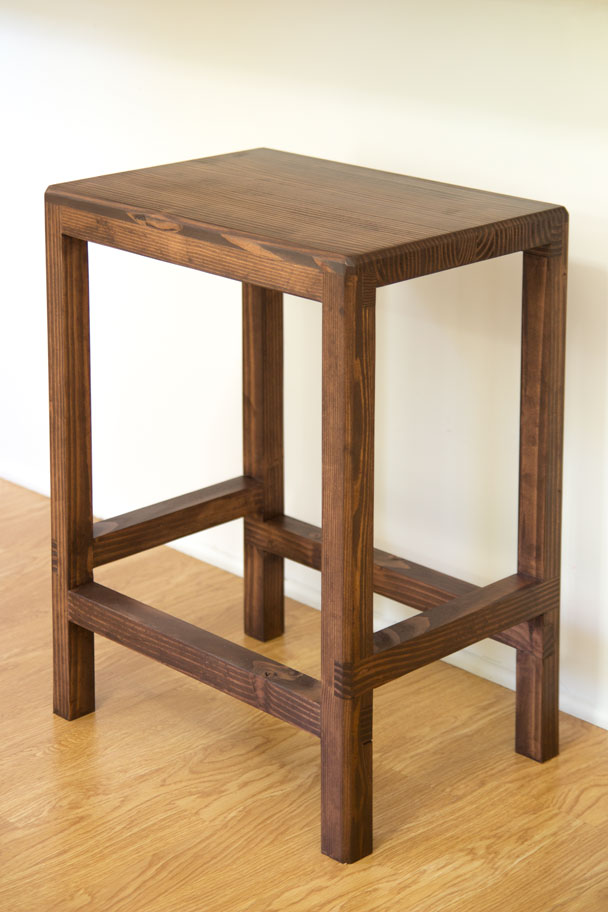
The project I decided to make was a pair of 24” high bar stools. The reason I went with a slightly shorter height than what is typically used for bar stools is because our new home has a 36” tall bar on the back side of our kitchen countertops. I’ve already made a previous bar stool project but it was too tall to be used in this location. So, a shorter bar stool is needed.
You will need approximately three 8′ 2x4s for each bar stool. I say approximately because you could probably get away with much less if you included the random knots commonly found in pine 2x4s. I chose to cut around them and because of that I ended up with a lot of waste. Even with a lot of waste still only paid $21.51 for the materials to make these. Try and price a pair of solid wood bar stools of this size in a store! I bet they wont be anywhere near that price.
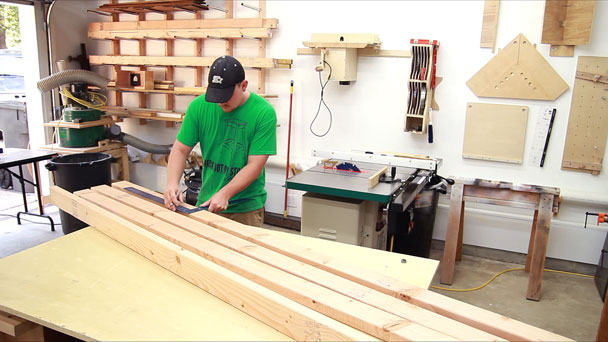
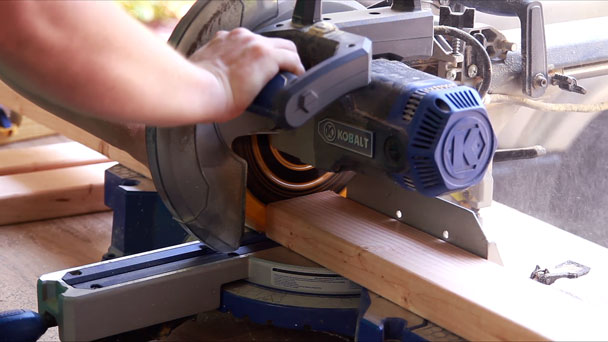
With all of the rough sizes marked away from the knots I could cut them out. I have an older model Kobalt sliding miter saw and I definitely know why they don’t sell this particular saw anymore. It’s got a crazy amount of flex to the sliding mechanism and it rarely holds it’s angle. For that reason I only use this saw for rough cutting.
The rough cut blanks can then be trimmed to width. First one quarter of an inch is cut from the width to remove the rounded edges.
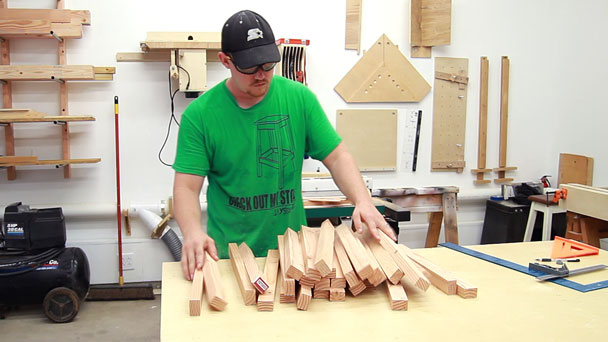
Then what seemed like a million strips needed to be ripped for the seat blanks. They were 1” wide and 1-1/2” tall. I cut these so that the grain ran vertically along the 1-1/2” dimension.
And here they are.
Once they are all rotated into the proper orientation with the top side being the good side they can be glued up. I used a pair of scrap pieces as culls on the ends so that the clamping pressure wouldn’t dent the glued panel.
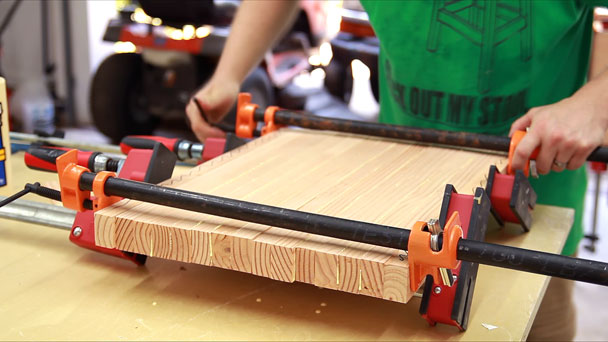
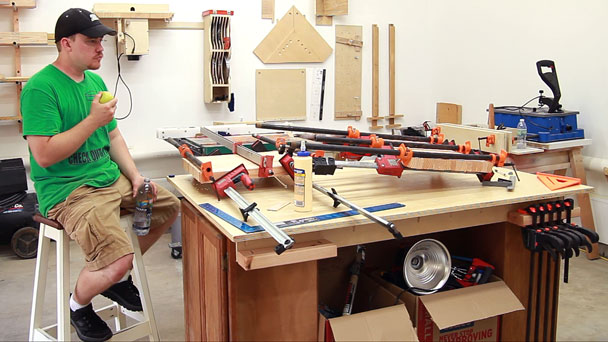
With everything in the clamps you can sit for a minute and watch the glue dry.
1-1/2” x 1-1/2” blanks were ripped for the legs. Here you can see how well digging through the bins at your local home center can sometimes pay off in lumber selection. I probably looked at 30-40 boards on my last trip for lumber and only purchased 10 of them. This board was the best of the batch.
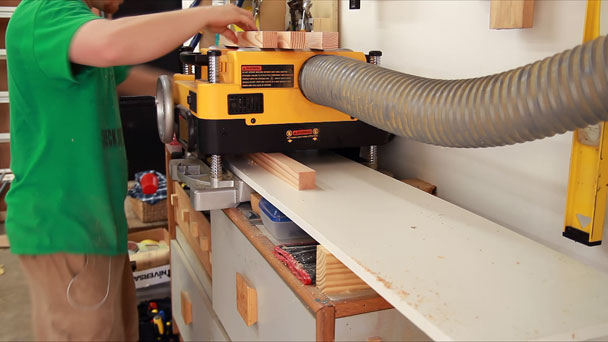
After the leg blanks were ripped and rough cut to length I ran them through the thickness planer to make sure both short dimensions were exactly the same. This will make cutting the half laps a lot easier.
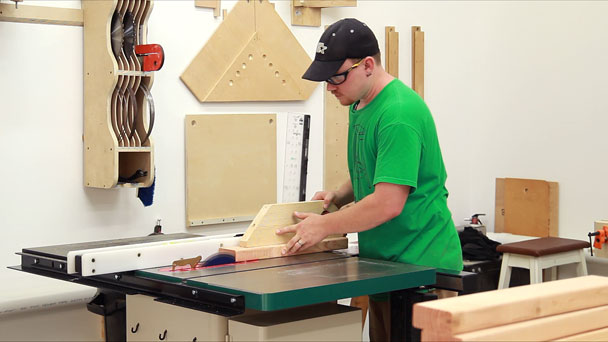
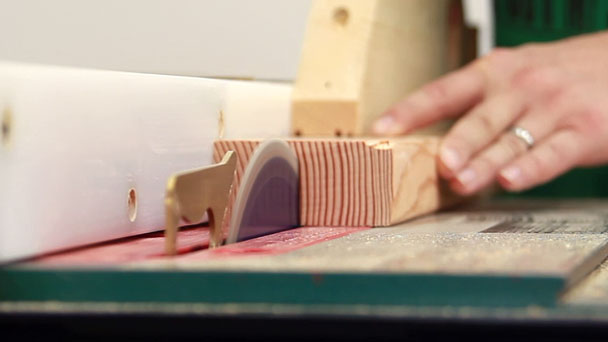
When possible I make all of my final length cuts at the table saw with my crosscut sled. It’s a lot more accurate than my miter saw.
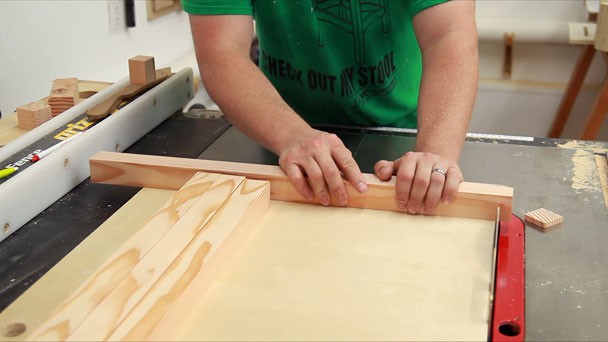
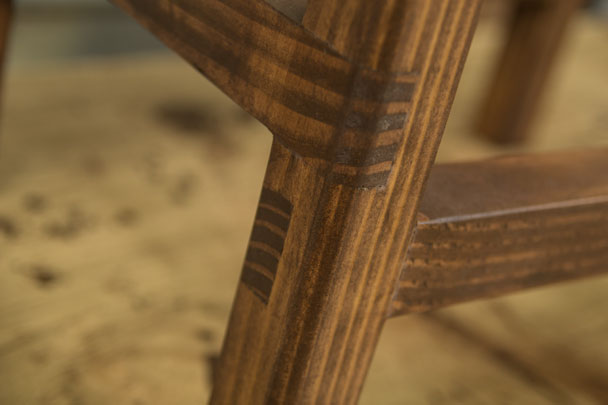
All of the frame pieces need half laps on the ends. The legs only need them on one end but everything else needs them cut on both ends. Doing this is easy once a dado stack is installed and raised to half the thickness of the material.
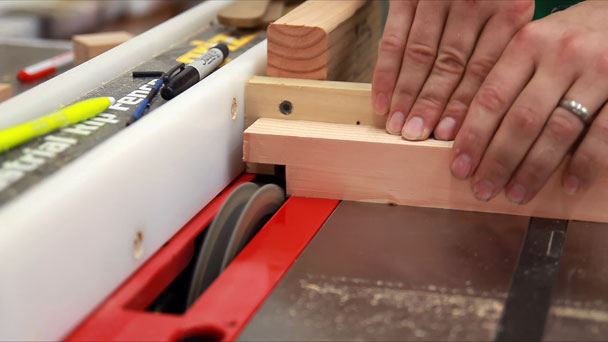
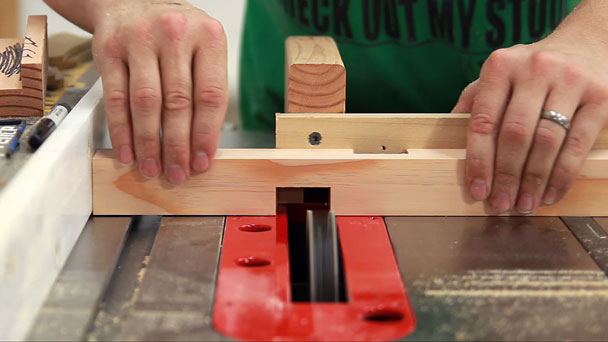
The leg pieces get two half laps on adjacent faces in the middle of the material. To get the proper spacing for the dado stack that I am using I made what I call a kerf-maker style stop block. This is explained much better in the video that I can with text in this article.
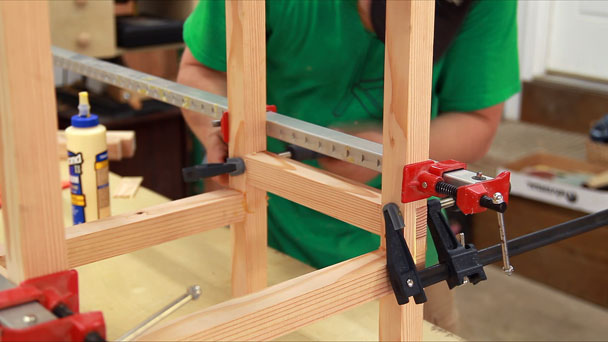
With all of the half laps cut two long rails can be glued to two of the legs to form a leg assembly. To make sure the seat has a nice flat and perfect gluing surface I need to trim the tops of my leg assemblies and to do that I clamped two together and then clamped them to my four foot level. This gives a nice flat surface to reference against the fence.
With the tops of the leg assemblies ready for the seat I can continue the glue up starting with the short rails.
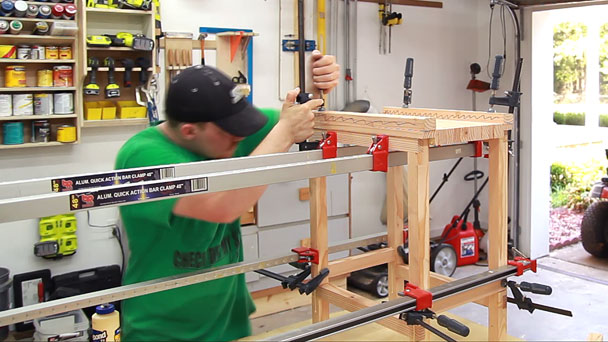
followed by the seat. I made sure to use scrap wood as cauls again so that I did not damage the top surface of the seat with the clamp heads.
Once the glue dried I used my crosscut sled to cut the top to it’s final length. I also used the fence to rip the top to its final width.

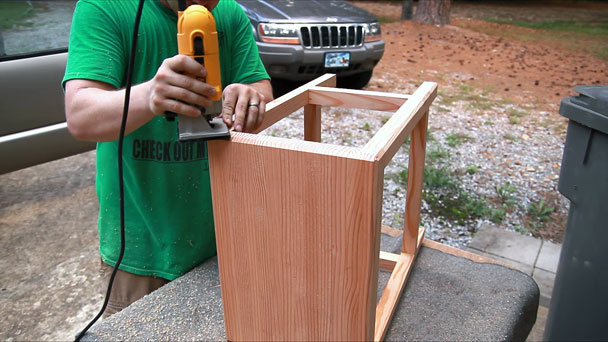
Most of the joints were flushed up with a cheap bench plane. This makes sanding much less time consuming.
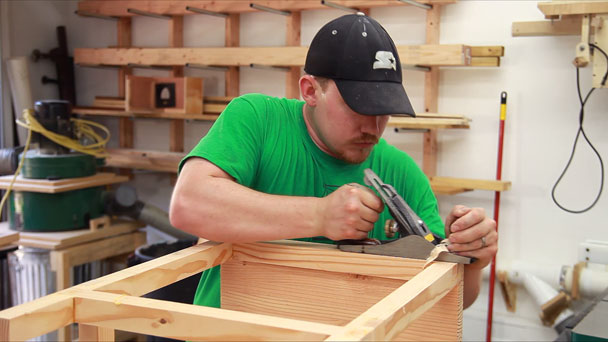
And finally the entire project got a good sanding.
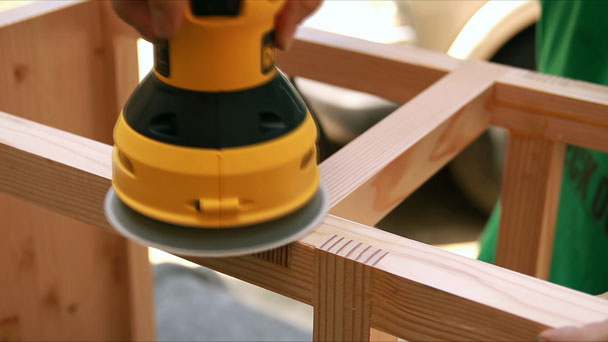
I used a chamfer bit in my trim router to break up the harsh edges. I also made the mistake of cutting in the normal routing direction for quite a bit of the first bar stool which caused a few pieces to chip out. Climb cutting the rest solved the issue. As a result, only one of the stools is perfect on the routed edges.
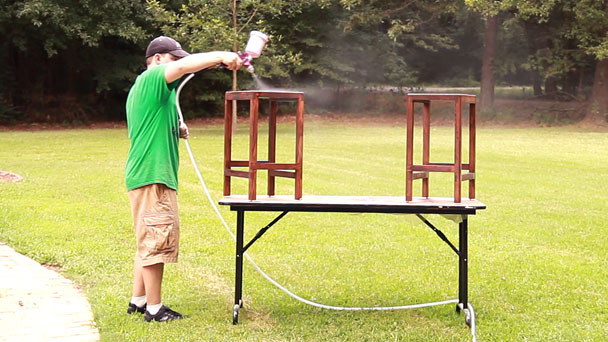
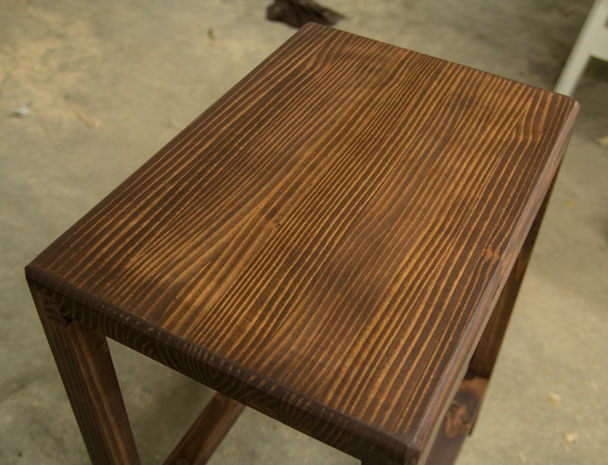
I normally use Early American Minwax Stain with great results. I decided to change it up a little bit and used a Carrington stain by Rustoleum which ended up being way to dark for my liking. I topped that with a few sprayed coats of water based Target Coatings EM6000 satin lacquer. It’s a little pricey but I absolutely love the results I get with it.
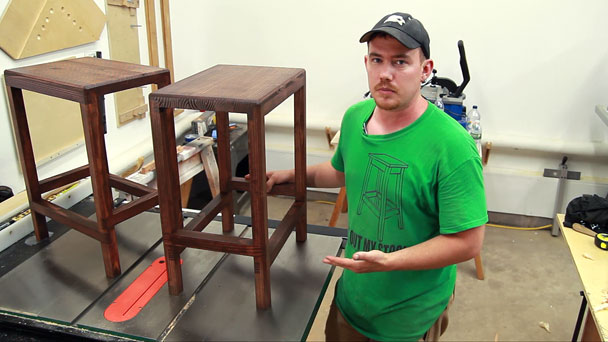
In the end I’m not 100% happy with the color of the stain but that’s nobody’s fault but mine. I should have went with the stain I was more familiar with as it would have done a better job of showing off the grain. But it’s not a deal breaker. I’m happy with the final result and it will definitely get used in my home.
I’d love for you to share this project for your friends to see and hopefully inspire or motivate someone to get out there and create their next piece of furniture instead of buying it. Thanks for reading and have a good one folks!


Hey Pinterest Users!
Free Plans
Although this plan is free to you remember that it isn’t free to produce. If you would like to show your thanks please consider using the donate button at the bottom of this page. If you liked this project and found it useful please share it so others can do so as well. Thanks for stopping by folks and have a great day!


Thanks for taking the time to make your videos, always a pleasure to watch
Thank you Richard. And thank you for watching.
Nice looking Bar Stools. Thanks for taking the time to make the videos you make. By the way, how much did it cost for your planer? I would love to get one. But I don’t know if it is within my budget. I have a DeWalt hand power planer, but it’s hard to get a truly flat surface on wide boards.
It was $599 or $550 if I recall correctly. I wouldn’t buy it again if I had to. Really crappy blade life. you cant sharpen the blades and they are $55 a set.
Wow! That’s more than my budget will allow. I’m surprised you can’t sharpen them. On my hand planer you get a sharpening gauge to help resharpen them.
Thanks for the reply.
Thanks Mike. I too would like to know more about your planer setup
I’ll do a video on it for my second channel soon. That way I can cover everything. Thanks for stopping by!
HEY J. I REALLY ENJOY YOUR SENSE OF HUMOR RE; WATCHING YOUR GLUE DRY WHILE EATING AN APPLE OR EATING POTATO CHIPS. YOUR PROJECTS ARE ALSO OUTSTANDING!
STAN
Thank you Stan. I appreciate the feedback. It is very much appreciated.
Magnificent work,awesome shop setup.I like the grain !!!
Thank you!
Jay,
Another great video. I really like the camera angles and editing you did with this. I’m guessing you’re finding the right place to use the GoPro and I compliment you on how you’re using it in this video. Of course, watching the glue dry is just great. I smile every time you do that. Very nice. Keep up the great work.
Thanks Tom. I appreciate the feedback :)
Nice, Jay, I’m a fan of these 2×4 projects.
I saw your new T-shirt “check out my stool” which is nice. I guess a more straigtforward “sample my stool” would have been off-limits…
Thanks again for the good work.
I’m working on a shirt design with both stools that says “stool sample” lol
Great Work! Learning things e rey day.
I’m a novice here and in fact haven’t even started yet but I got some tools and other things I need to get started. I’ve been scouring the youtube videos to help me make some things. I ran into your site and I have I have to say Jay, my search is over. Great format and content! I just signed up for your weekly emails and am looking forward to seeing what else you have in store. Just looking around your garage has given me ideas. I like the way you have your lumber pieces off the floor with your shelving idea. Thanks for designs and presentations.
Glad you find the content useful and I very much appreciate the feedback!
Hey, thanks for the video!! I actually have a need for stools like these for a table I just built myself. However I am concerned with it being pine about the durability with heavy weight on it (I’m a big boy). Have you done any stress tests to see how much yours can hold? BTW, I’m a novice in case you can’t tell by my question :)
I haven’t done any testing but half lap joints are incredibly strong and since the legs are vertical the weight is transferred directly down through the leg. Just guessing but I would bet these could support 500-1000 pounds easily.
Another great project. I realize this is an older build and have watched a few times, gives me inspiration and lights a fire under my a** to get out in the shop and build. I am currently building four of your pocket hole barstools and a bar/pub height table for my daughters small kitchen/dinning area. I haven’t quite finalized the exact table design but need to get started on that asap. Thanks for all your great videos and information.
Hi Jay, I searched the web for a site that is helpful to novice woodworkers and am lucky I ran into yours. Enjoy watching your videos and your plans for projects are very clear. A question on the half lap bar stool – not having s table saw, you think routing the half laps is a good alternative? I noticed that you have to take 1/4″ off of the width to remove the rounding on the 3-1/2″ side. Can you tip this 3″ to make 3 pieces available? Thanks again – in my list is this project and the sliding cabinet tray that you shared in another videoo
I really like those barstools! I’ve pinned them!
Beautiful bar stools!!
Hilarious video.
How much?$$
Very nice work!