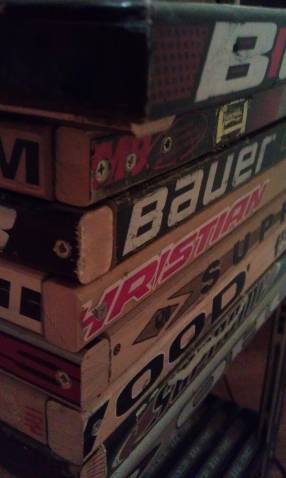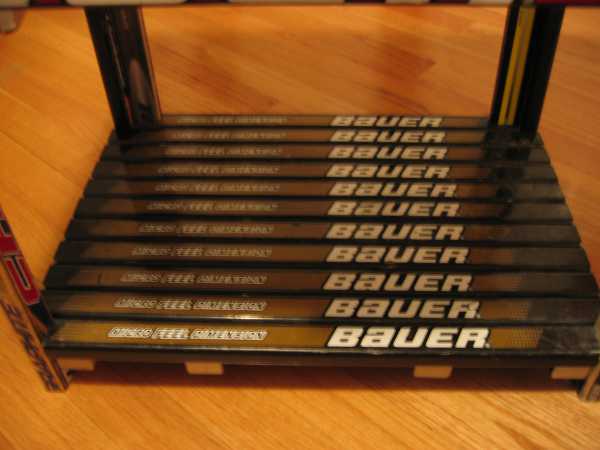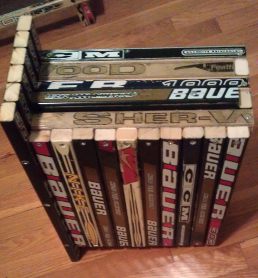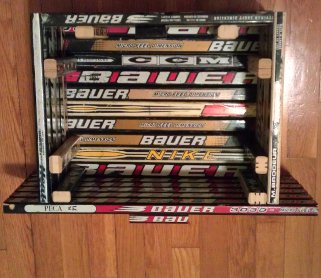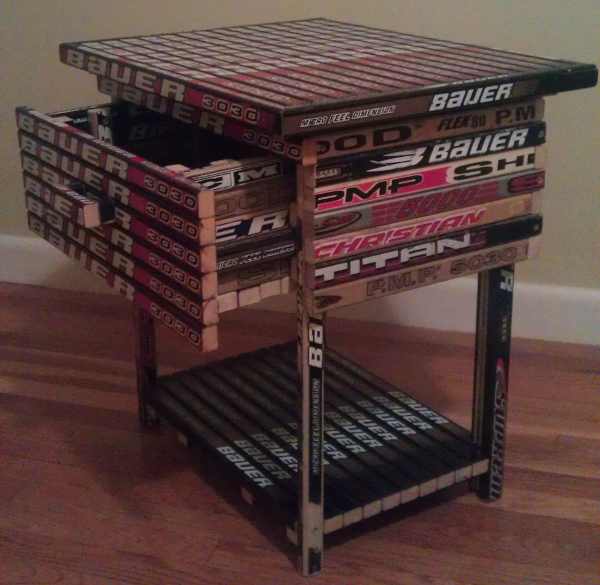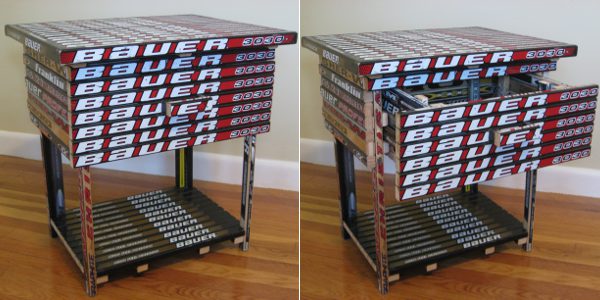
It’s easier to dream of hockey with the ultimate hockey nightstand.
The hockey stick nightstand is no doubt one of the cooler things to build when it comes to hockey stick furniture. Building the nightstand is not for the faint of heart as it requires a significant amount of cutting and screwing things together. All told, it took me about 60 broken sticks to get it done. You may find ways to bring that down, such as not including the drawer, but this walk through will cover the whole construction process. Remember, the design dimensions given here aren’t exact! Always measure for your cuts first.
Design Approach
This one is tricky. Of high importance on building the nightstand, is understanding where the points on one surface are used as the attachments for another. Pay attention to that detail and I’ll try to highlight the instances as I go. Really think about how you’re going to do this design by modeling or at least drawing it out. Seriously, take the time to do it. You’ll appreciate it as soon as you start. Onto the processes:
- Top Surface
- Top Undercarriage
- Drawer Frame – Legs/Sides/Back
- Bottom Shelf
- Drawer
- Top Frame
Listed below are the tools and hardware that are required. I don’t recall the exact number of sticks, but it was something way up there. You don’t necessary need the circular saw for this one, but again, it makes the cleanest cut for the top. The bar clamps just need to have a throat big enough to clamp the top which isn’t nearly as big as the coffee table. Also, you don’t have to follow my instructions exactly for installation. Several more screws can be hidden inside the frame if you choose to do so. I recommend getting a flex shaft for your drill bit. It’ll help when you botch an assembly order. A band saw or hand saw is needed to make one special cut for the bottom shelf. You don’t have to have one, but it makes the bottom look slightly cleaner.
Regarding hardware, the usual #6 1.25″ and #6 1.5″ are important. Buy a ton of the #6, 1.25″. 200+ will be helpful.
Tools
- Miter saw
- Circular saw
- Drill
- Bubble level
- 4 bar clamps (of sufficient length)
- (Flex shaft if you need it)
- Band saw or hand saw
Hardware
- Around 60 sticks. (Yeah, woof.)
- 3 boxes of #6, 1.25″ wood screws
- 1 box of #6, 1.5″ wood screws
- 2, #6 1.75″ wood screws (for the handle)
- 1 box of 1.5″ finishing nails
- Liquid Nails
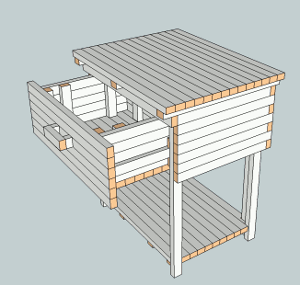
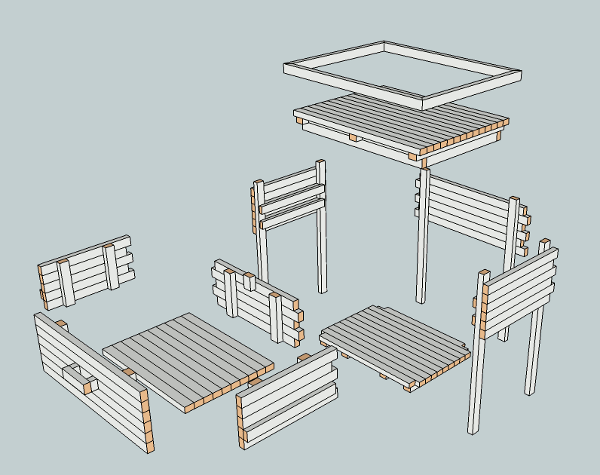
All the pieces we will build and put together are highlighted in the exploded view below:
Build
Top Surface
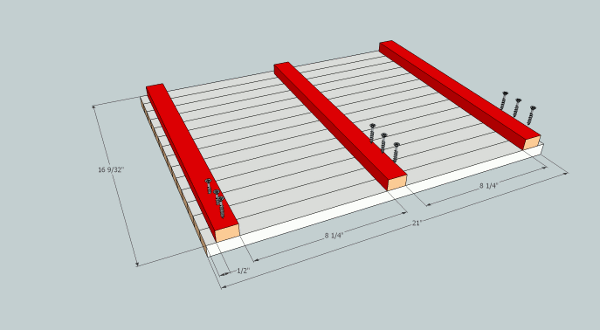
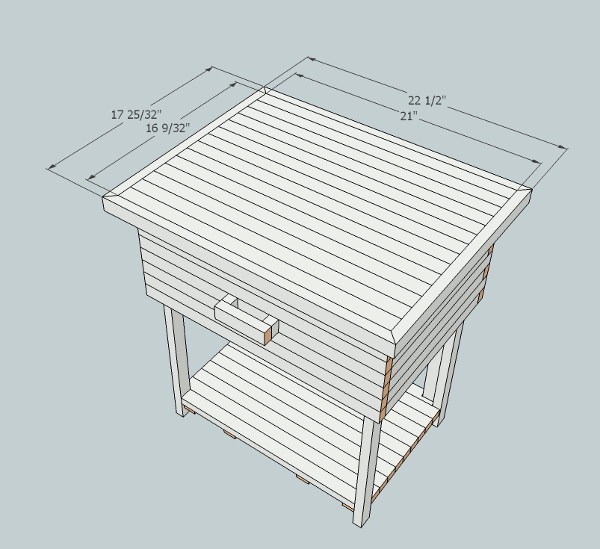
First we’re going to start off with the top surface. Cut the top as described in Building for circular or miter saws. Using the circular saw will give you a nice clean cut and guarantees that when you attach the frame on top, it looks good. The outer 2 pieces highlighted in red set the width of the housing for the drawer! (One screw per stick naturally, I’ve only shown 9 here so I didn’t fill the image with wood screws.)
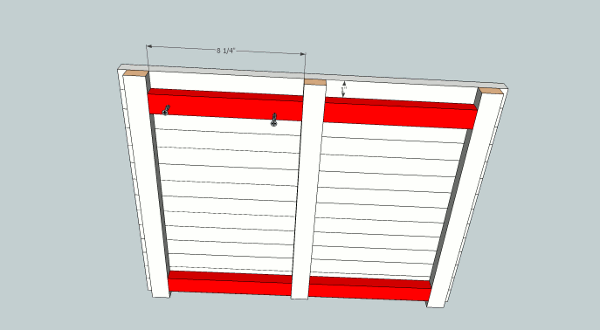
Next add these spacer pieces. They’ll be needed to close up the gap in the front. I put them about 1″ from the front surface and about 0.5″ from the back, but it’s up to you. This will set the depth of your drawer housing and in the end, the drawer.
Top Undercarriage
Next, add the top undercarriage to enable the drawer housing to attach to the top surface.
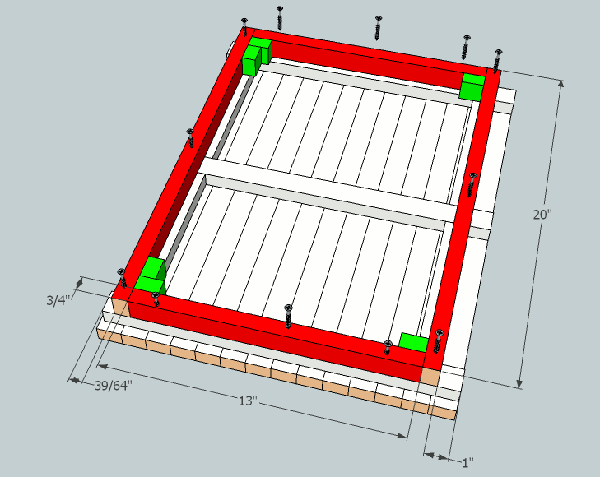
You can see above how the pieces that hold together the top frame set the width. The new pieces are highlighted red and should be attached at this point. The green blocks show where the drawer frame pieces are going to attach later in the process. Don’t put any screws through the undercarriage pieces near those green pieces. You’ll need the spots later! The places I have called out here with screws will work just fine.
Drawer Frame – Legs/Sides/Back
Now that the top is made, you’ll want to focus on making the legs, sides, and back of what I call the drawer frame/outer housing of the nightstand. Using the pieces that hold the sticks together as the legs is an easy way to get things together. It is these attachment pieces that will connect to the top (as the green blocks) and to each other. Planning the placement of these sticks before screwing things together is important. You want the legs on the front of the sides to be nearly at the front while the leg in the back exactly one stick width off the edge(see images). It’s best to think of the undercarriage pieces added previously as the pieces that would naturally follow on the progression of stick lengths for these surfaces. The amount of the legs left remaining at the top should be just below the long width of a single stick.
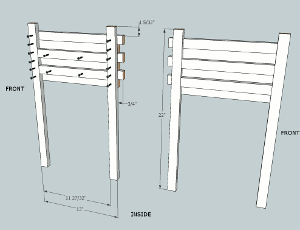
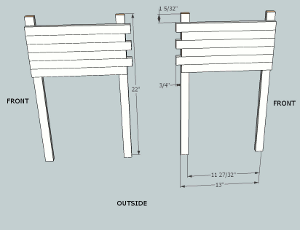
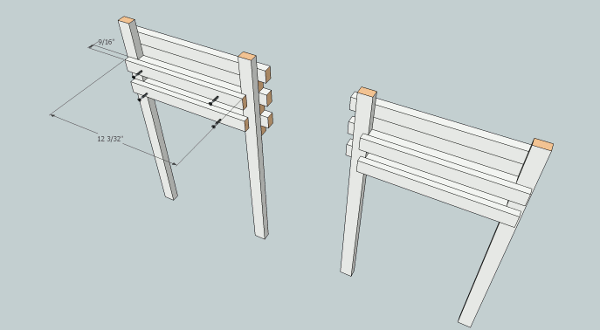
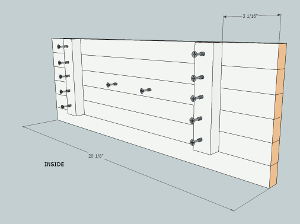
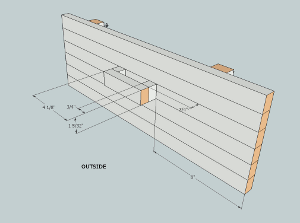
For the sides legs and back, I went with a boxed type joint. This adds some additional rigidity to the design and makes bolting things together without seeing too many screw heads possible. Just make sure that the parts of the sticks sticking out the “sides” are exactly one stick width on the short side. They’ll weave together soon. Belobottw are the inside and outsides of the the side pieces. Note the 2 extra pieces in the middle for each side in the left image. These will hold the drawer runners.
Now that the sides are mostly completed, add the 2 runners per side (see below). The drawer runner will slide between these two. As you can see in the image, the width of those 2 sticks on each side is slightly less than a standard stick. When I assembled mine, I didn’t make the frame wide enough (or I made the width of the drawer too wide). I had to cut the sticks lengthwise to get the runners to work. Fair warning for getting your measurements right! Also, make the distance between the two runners on either side slightly wider than a stick width as this will provide some room for slop in the process as well as allow the drawer to point slightly downward when open to gain better access. Add about 1/16″ to 1/8″ total. When attaching these four sticks on the inside, screw them loose enough initially to be able to take them out easily in case anything bad happens when lining things up.
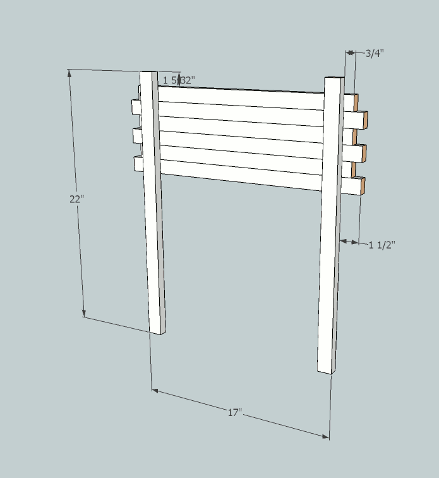
The back is easy to make and should also match the undercarriage framework set earlier. The back undercarriage piece should naturally connect to this piece as well. Notice the offset off the attachment pieces from the “sides”. This differs slightly from the how the sides were made. It’s marked as 3/4″ in the figure, but it should be the width to fit the legs of the side attachment pieces as they mate together here!
Time to put it all together!
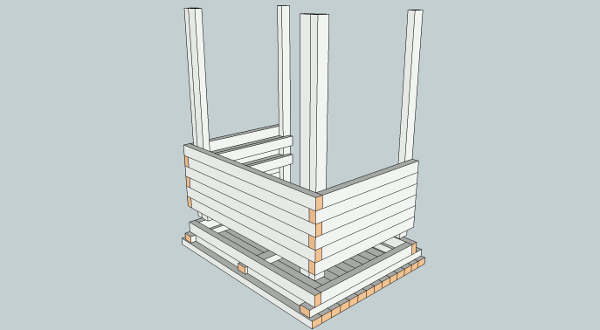
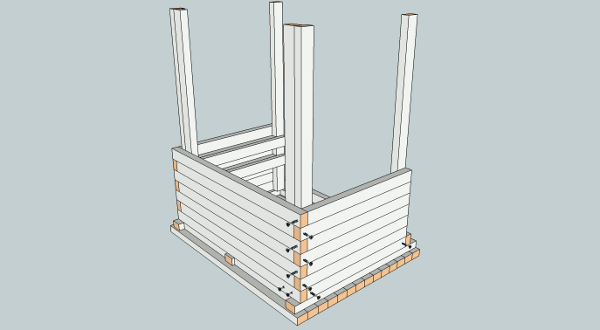
The front undercarriage piece is will lie flush with the drawer face, so the sides of the framework created here will stop just before it. It can be seen in the lower right.
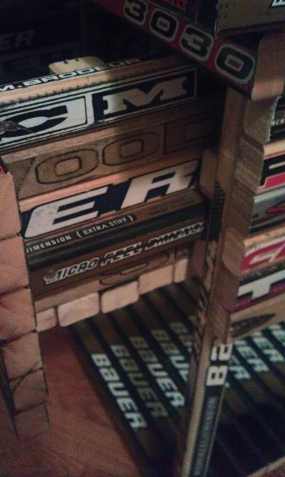
At the end of the assembly, the inside should look something like this in real life:
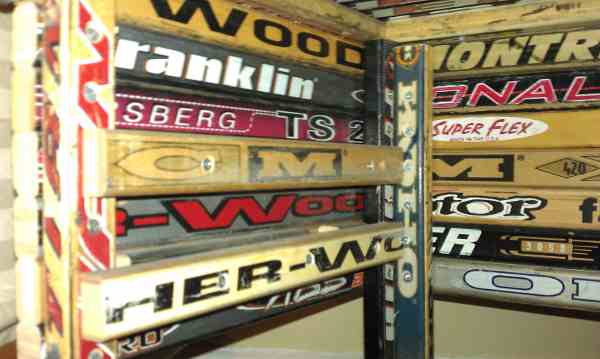
And the outside something like this:
Bottom Shelf
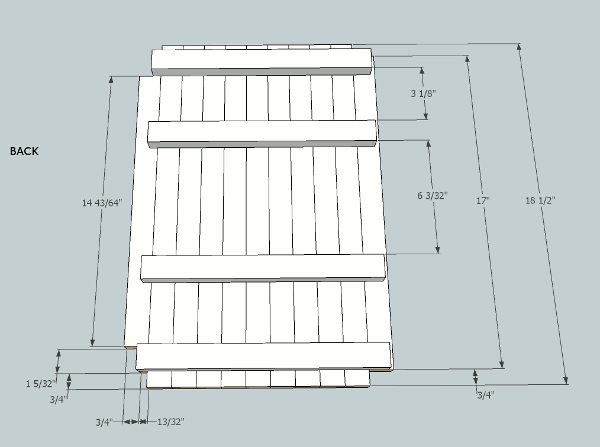
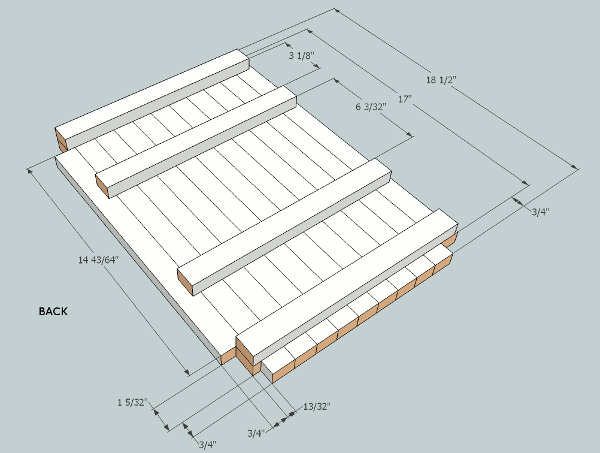
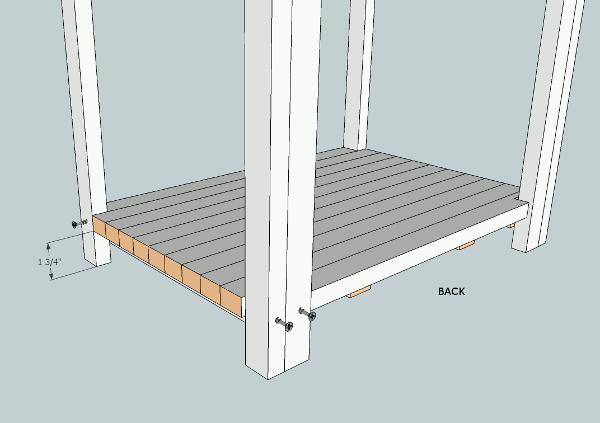
Next step is adding the bottom shelf. This requires special attention to two details. First, the attachment pieces to make up the plane should only be one stick short width away (0.75″) from the sides. This will make attaching the bottom to the legs much easier. Follow the same instructions for making nice even planes that you used on the top and you’ve seen elsewhere on the site. Second, pay special attention on how to cut the back piece of the plane. It’s the same length as the front piece but also has a cut out in the shape of another stick. You’ll need a band saw or hand saw to make these cuts on the back piece as they would be nearly impossible with just a miter saw. If you don’t have one or want to cut this last stick in a special way, just make the stick length 14 43/64″ (or so) and leave those tabs off. Screw the leg into the attachment piece with a single screw.
Now it’s time to attach the bottom! There is a little gap between the bottom plane and the legs. That’s because the hockey stick model used isn’t perfect. Always adjust for your own sticks!
Drawer
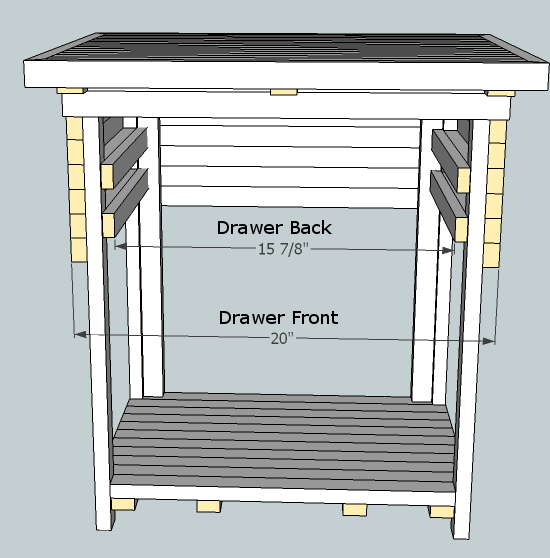
Ah, the drawer. At this point, you may need to deviate significantly from my shown dimensions if you haven’t already. The goal is to make the drawer slide on the inner rails you loosely attached earlier with a single stick protruding from the side of the drawer. Drawer width isn’t an easy measurement to make or execute well. You want to measure on your completed assembly, the distance between the 2 runners on either side of the walls of the drawer housing. This is shown below as 15 7/8″. That should be the width of the back of the drawer. If you need to err in one direction, err on making the back too small. If the drawer is too big, it’s a major pain to fix! (involves shaving down those 2 runners on either side)
The opposite holds true for the front. Shown in the image as 20″, mine is actually slightly larger. It’s easier to fix if too long and ensures you cover up the stick ends from the drawer housing facing forward.
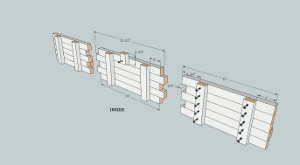
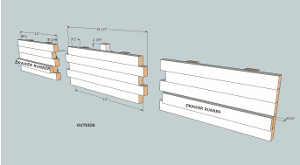
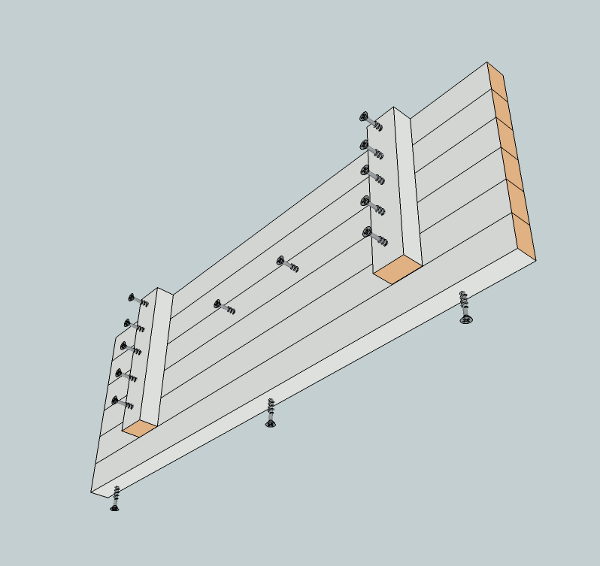
The drawer back and 2 sides are shown below, both inside and outside.
You’ll note in the above that the drawer runners are thinner than a hockey stick which is again, due to bad measurements on my part. I also neglected to show the screws. Just but the runners in with 3-4 screws from the outside.
The stick stub poking out the top with the single screw is the drawer stopper. It keeps the drawer from falling out. Only use one screw on it! You’ll need to be able to rotate it down so you can get the drawer in and then rotate it up so to act like a stop.
Now it’s time for the front of the drawer. The goal is for something like this:
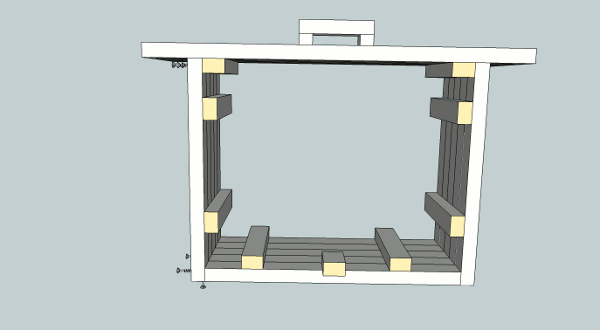
This means you need to line up your drawer attachment points well! Don’t make the attachment beams go all the way down to the last stick. Only attach up to, but not including the bottom stick. These images below show the inside and outside exactly as you should do it. Add the handle at this point too, it’s significantly harder to do later. Trust me. You’ll need some extra long screws for getting into the front part of the handle without going through it as seen in the middle. I used #6, 1.75″ and some Liquid Nails to hold everything together. The offset from the drawer face depends on how fat your hand is.
Wait a minute, these images show the bottom stick attached. How? Like this with 1.5″ screws!
Go ahead now and attach the front to the sides and weave the sides and back together the same way you did the drawer frame.
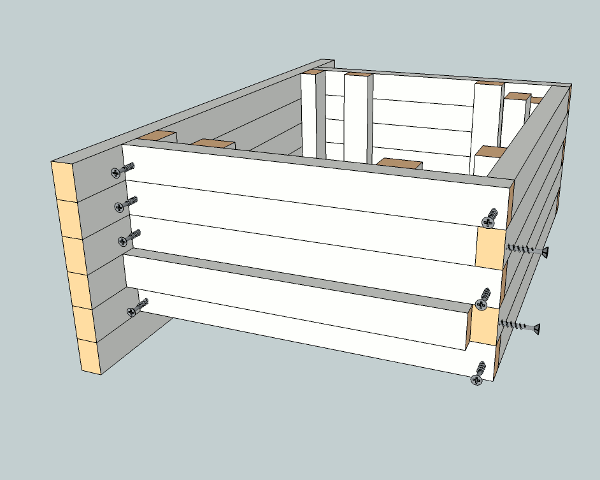
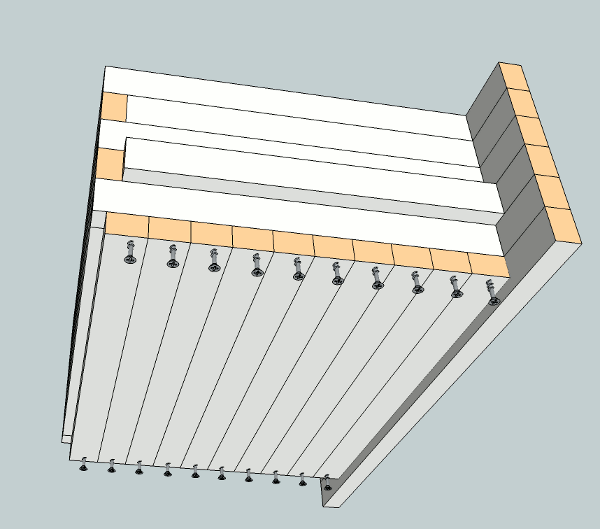
Now add the bottom of the drawer one stick at a time. This shows why you can’t run the front drawer piece all the way down and the last stick is screwed in from the bottom. Also, there is a small space left over in the back. That’s because the depth of your drawer isn’t an integer multiple of you stick width. You can design it that way (modeling!) … or just deal with the gap. If you don’t get lucky with the gap, you might have to attach a stick on the bottom vertically (It won’t have any effect fitting things together). You’ll figure it out.
Congrats, you’ve made the drawer!!!
Go ahead and install!
Top Frame
Shown here are the dimensions for the top frame. I added these using some small project glue (like Liquid Nails) and the finishing nails. Just take your time doing these edges at the 45 deg angles. Oversize the cuts and shave down to get it just right. Be patient.
All finished:
This was a big effort to write up….
Model
For a full model of the nightstand, check Models.


