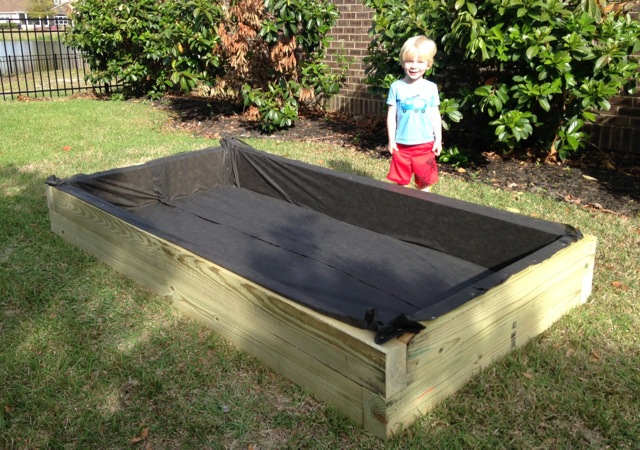
I couldn’t help but repost this raised garden that we built last year. We got more veggies from it than we expected last year and are in the process of replanting for this year’s harvest!
I wanted to build something substantial but small enough to easily maintain. I also wanted something kid and wife friendly so I made sure there was a nice bench top and a sprinkler head nearby (wife kills plants). This was a great family project, my son had a blast building our garden and planting vegetables. So here is how I built my Brayden and I built our vegetable garden.
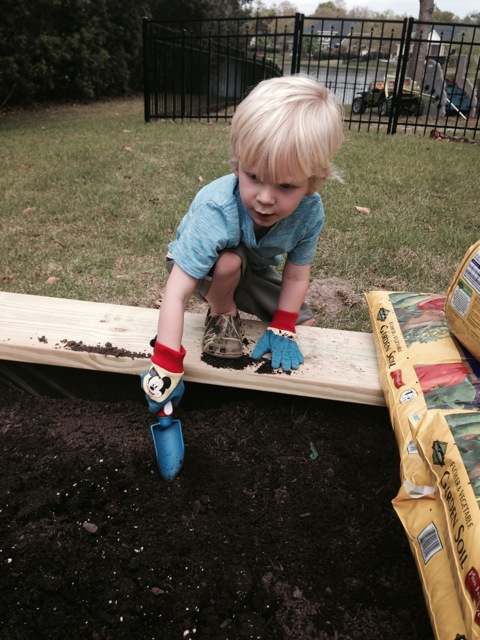
Doing some gardening

Ready for day 2!
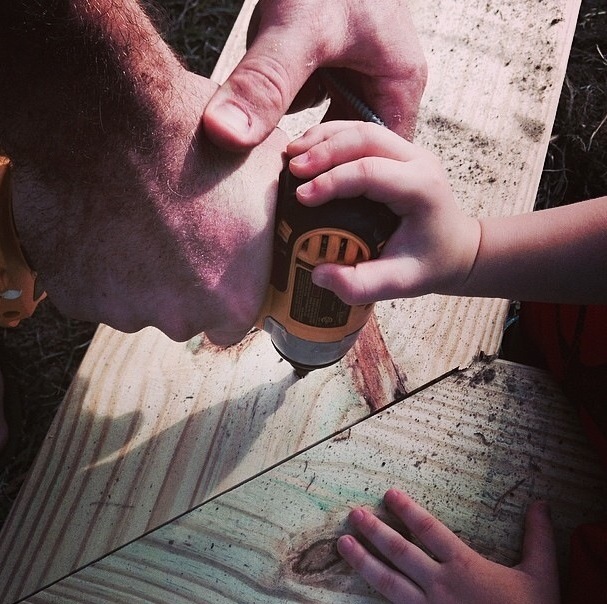
Helping hands
Required Tools
Materials
- 6x 4 x 6 x 8′ pressure-treated wood (YellaWood)
- 3x 2 x 10 x 10′ pressure-treated wood (YellaWood)
- 4″ Exterior Wood Screws
- 10 cubic feet topsoil
- 10 cubic feet compost
- 12 cubic feet garden soil
- Weed Barrier
Note: Using pressure treated wood for a vegetable garden…
Some people freak out about using pressure treated wood to build vegetable gardens. I have done my research on this topic and I am fine with using pressure treated lumber for my vegetable garden. Now, if I had access to cedar or cypress and the cost wasn’t absolutely ridiculous I would have gone that route but in most parts of the world this stuff is hard to find and expensive when you do. Rather than detailing everything about the subject, I will list a couple of sources. Here’s where YellaWood claims their pressure treated lumber is safe for vegetable gardens.
“YellaWood® brand products are gentle enough to be used in raised vegetable gardens and durable enough to provide long-term protection.”
But if you want to learn more about the subject from an unbiased source the check out what Fine Gardening has to say about it.
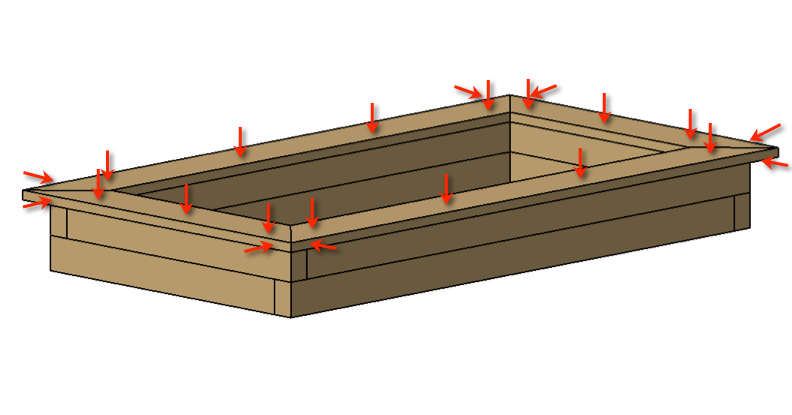
Cut List
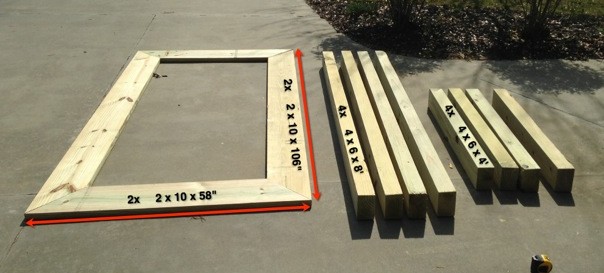
Raised Garden Bed Plans
Step 1:
Determine a location for your vegetable garden. You’ll want something that gets good sun; at least 6 – 12 hours of full sun each day. If you already have an irrigation system in place then make sure to use that to your advantage and place your garden where you will get adequate watering from your irrigation. If you don’t have irrigation then consider the distance to the water spigot and my advice is to invest in a programmable timer with a soaker hose. (Note: make sure to place your timer at the faucet to avoid water pressure on the hose.)
Once you’ve determined your location, lay out the 4 x 6 timbers in a lap joint pattern as shown. Pay attention to how they are laid out so that the best looking sides are facing out. After getting them arranged how you like then screw the lap joints together for both levels, using 4 inch exterior wood screws. (And yes, I know I’m not wearing the proper footwear.)
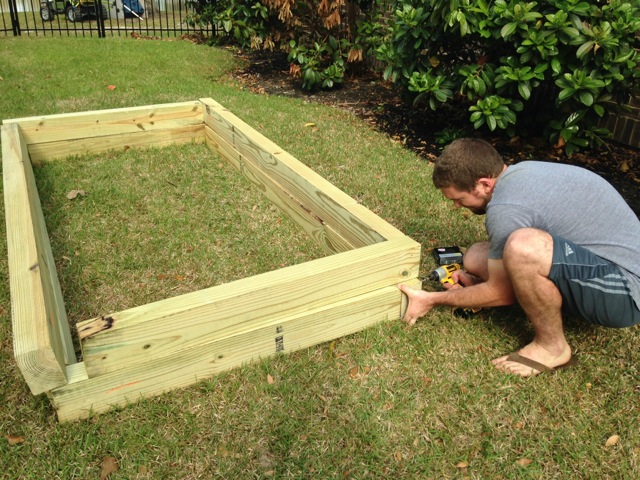
Check for square and level. Dig out soil as necessary to achieve level.
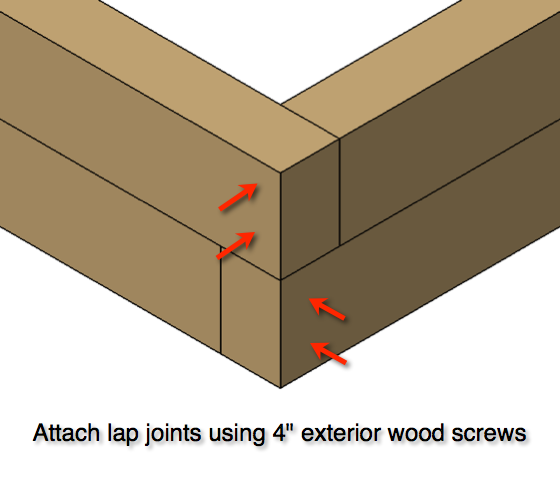
Screw together lap joints
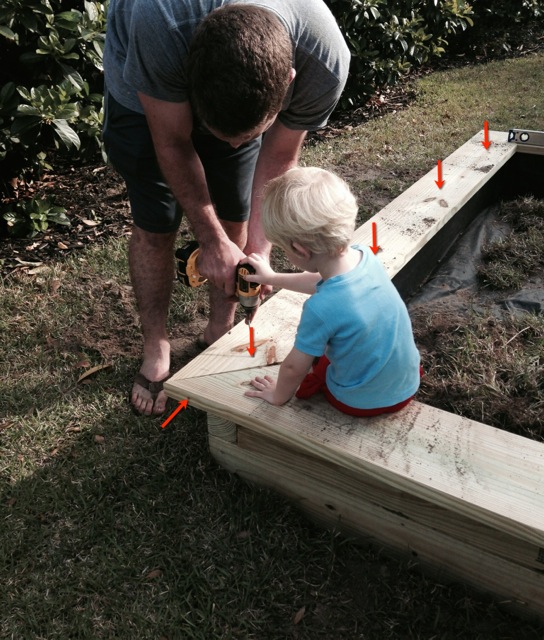
Step 2:
After checking for a flush exterior, attach the two levels together using 4 inch exterior wood screws on a 45 degree angle from the inside-top level to bottom level, as shown.
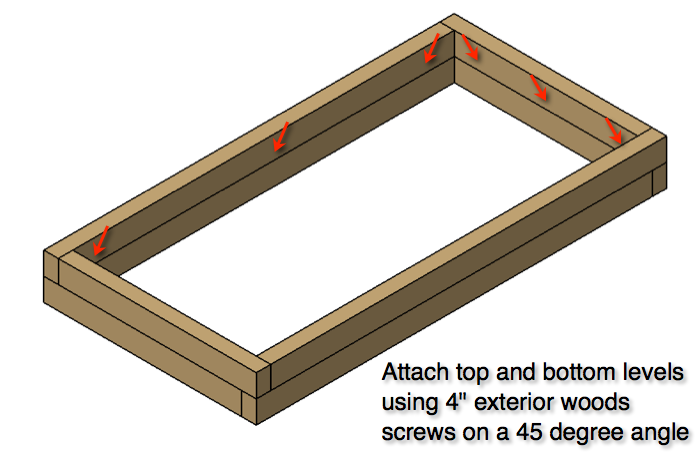
Step 2: Attach top and bottom levels together
Step 3:
After assembling the base you should install your weed blocker using a staple gun not only to keep out the grass and weeds but to keep in all that lovely soil you’re about to add in the next step.
Install weed blocker
Step 4:
Time to install the cap/bench top! After setting everything in place so there is an even overhang all around, screw the cap down to the base using 4 inch exterior wood screws. As you move to the next board, screw them together with two horizontal screws at each corner as shown in the picture.
Installing cap
Including the kids
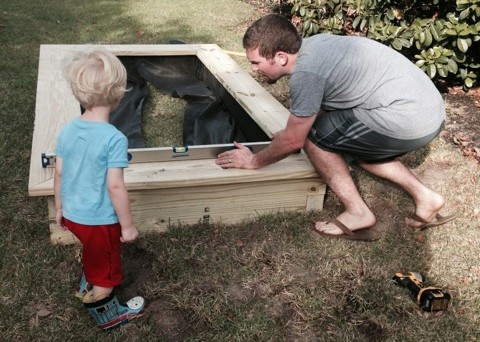
Checking for level
Step 5:
Finally you can fill your garden with soil. You’ll need about 32 cubic feet of it. The blend that I used was 10 cubic feet of topsoil as a base layer the a mix of about 10 cubic feet of compost and 10 cubic feet of garden soil for vegetable gardens.
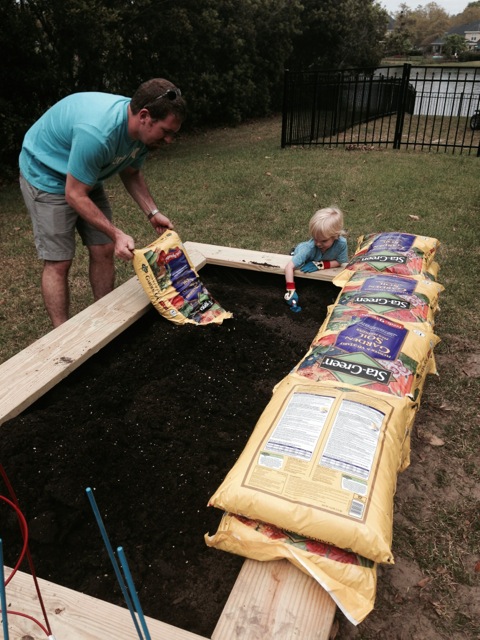
Fill with garden soil
Step 6:
Plant your veggies, water and enjoy!
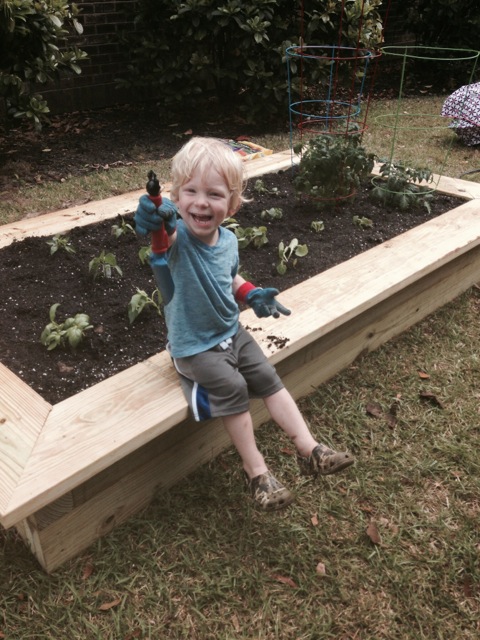
Garden DONE!
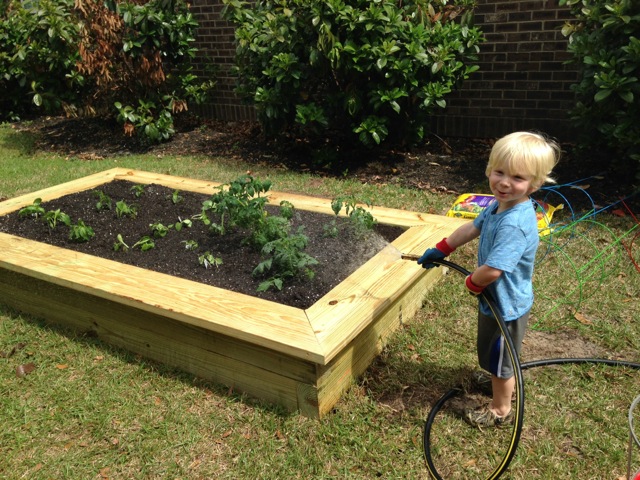
Watering Veggies
As always if you have any questions don’t hesitate to comment below and especially don’t forget to post pictures of your finished products in the comments! ENJOY!