


Neat Little Project: Make a Mini Wooden Wall Console
Use this handy holder by a bed or desk for eyeglasses or jewelry, or as a convenient charging station
Chris Hill
September 2, 2013
Houzz Contributor. Chris Hill, of chiefs-shop.com, has been woodworking for more than 25 years and has family members who have been involved in nearly every aspect of home building. Chris also builds custom furniture and furnishings and restores and repairs pieces. You can find him on Houzz every week and at http://chiefs-shop.com.
Houzz Contributor. Chris Hill, of chiefs-shop.com, has been woodworking for more... More
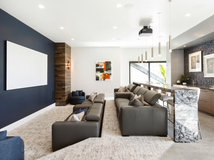
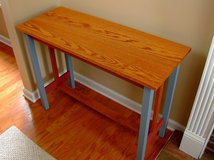
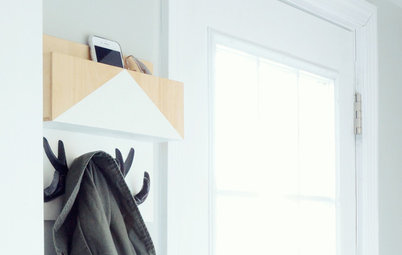
A wall-mounted console can be handy in many ways, from simply being another place to set down stuff to being a charging station for phones and tablets. It even fits nicely on a wall next to a bed. Consider this project something that creates a little space where you might not expect it.
This console measures 12 inches wide, 3 inches high and 6 inches deep.
Materials:
Materials:
- (1) 1-by-6-by-4 pine board
- (1) 1-by-2-by-4 pine board
- (1) ¾-inch square dowel
- 3-inch wood screws
- #18 x 1¼-inch brads
- Wall anchors
- Wood glue
- Primer and paint
- Table saw
- Miter saw
- Jigsaw
- Drill
- ¾-inch Forstner or spade bit, and a #12 countersink bit
- Hammer
- Measuring tape
- Square
- Level
- Paintbrushes
Make the Top Shelf
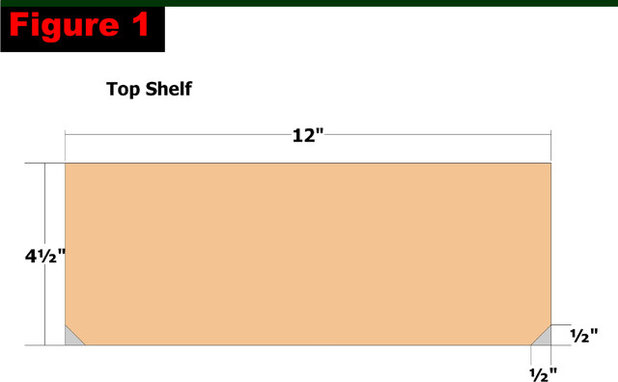
Using a table saw, rip the 1-by-6 board to 4½ inches wide. Use Figure 1 as a guide for cutting the top shelf to length (12 inches) and for cutting the mitered corners. Cut the corners at 45 degrees.
Using a table saw, rip the 1-by-6 board to 4½ inches wide. Use Figure 1 as a guide for cutting the top shelf to length (12 inches) and for cutting the mitered corners. Cut the corners at 45 degrees.
Make the Bottom Shelf
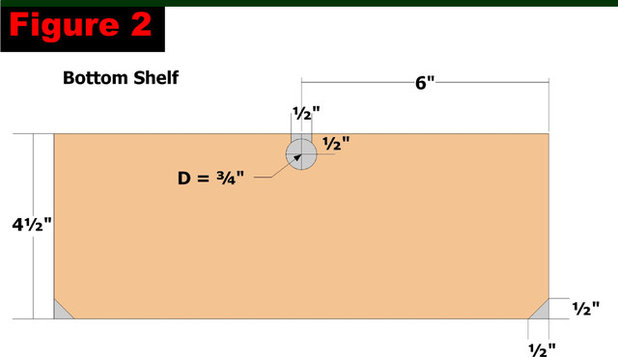
Cut the bottom shelf from the ripped 1-by-6 board to 12 inches long. Drill a ¾-inch hole (using a ¾-inch Forstner or spade bit) 6 inches from the end and ½ inch from the edge as shown in Figure 2. Use a jigsaw to cut a ½-inch-wide slot leading to the hole. This slot will be used as a pass-through for cords for electronics. if you do not plan to use the console this way, you can bypass this step.
Cut the 45-degree miters on the corners on the opposite side of the board from where the hole is located..
Assemble the Shelf Cleat and Ends
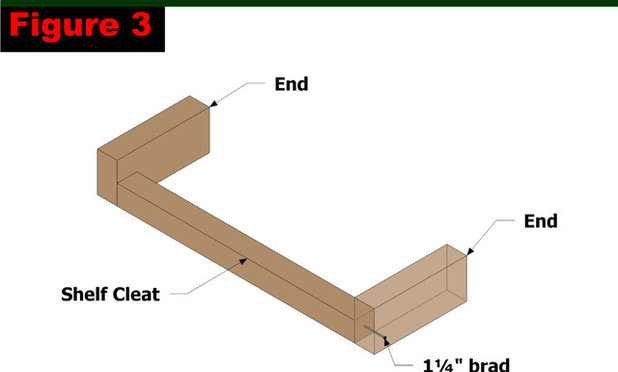
Cut the shelf cleat from the ¾-inch square dowel to 9 inches long. Cut the ends from the 1-by-2 board to 3½ inches long. Position the parts as shown in Figure 3 after applying glue to the ends of the shelf cleat. Attach using 1¼-inch brads.
Sand the inside edge of the shelf cleat until it is slightly rounded.
Attach the Top Shelf
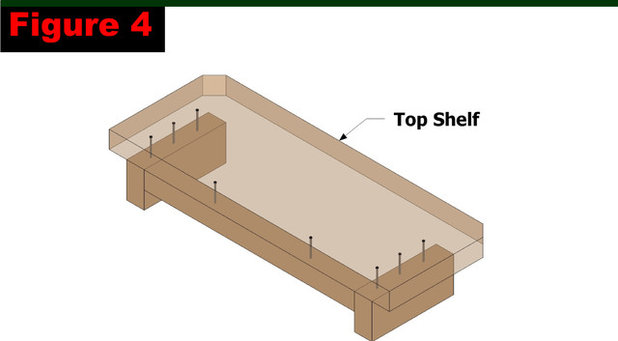
Apply glue to the edges of the ends and wall cleat. Position the top shelf centered on the shelf cleat assembly and flush against the wall cleat (there will be a ¾-inch overhang beyond the ends) as shown in Figure 4, and attach it using 1¼-inch brads.
Prime and paint this assembly (with the exception of the bottom edge of the ends) and the bottom shelf.
Attach the Bottom Shelf
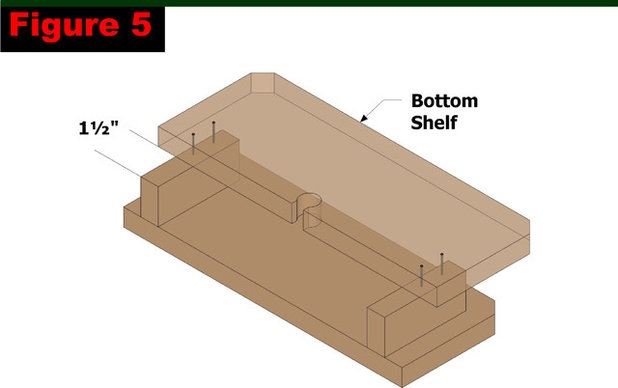
Apply glue to a 2-inch section on the ends farthest from the back (where the wall cleat is located). Position the bottom shelf 1½ inches from the back of the assembly (on this glued area) as shown in Figure 5, and attach it using 1¼-inch brads.
Apply glue to a 2-inch section on the ends farthest from the back (where the wall cleat is located). Position the bottom shelf 1½ inches from the back of the assembly (on this glued area) as shown in Figure 5, and attach it using 1¼-inch brads.
Assemble the Wall Cleat and Wall Cleat Support
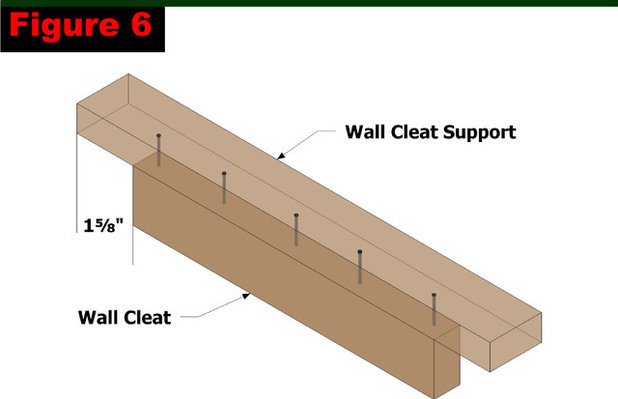
Cut the wall cleat from the 1-by-2 board to 8¾ inches long. Cut the wall cleat support from the 1-by-2 board to 12 inches long. Apply glue to an edge of the wall cleat, position it as shown in Figure 6 and attach it using 1¼-inch brads.
Sand the top edge of the wall cleat until it is slightly rounded. This will help with placing the shelf assembly onto the wall cleat assembly.
Prime and paint this assembly.
Attach the Wall Cleat Assembly to the Wall
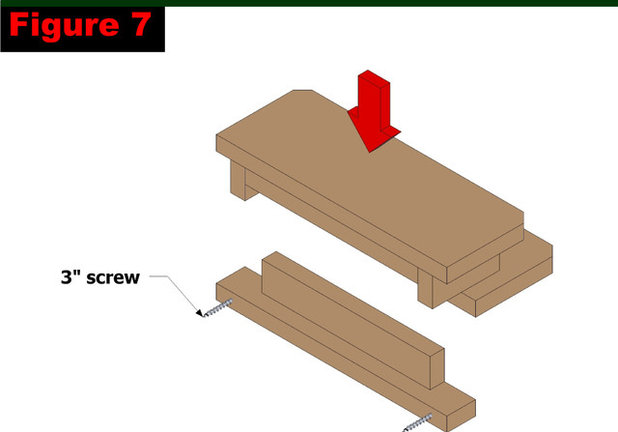
Select the desired location for the console. Use a #12 countersink bit to drill pilot holes for 3-inch screws in the wall cleat support.
Position the wall cleat assembly on the wall and use a level to make sure it is level. Slowly drive the 3-inch screws through the wall cleat support until they just enter the wall, creating small divots. Remove the assembly and drill pilot holes for wall anchors for the screws. Insert the wall anchors in the holes and then attach the wall cleat assembly to the wall by driving the 3-inch screws through the assembly and into the wall anchors.
You can now place the shelf assembly on the wall cleat assembly. If you find it a bit tight, then back out the screws slightly until it fits.
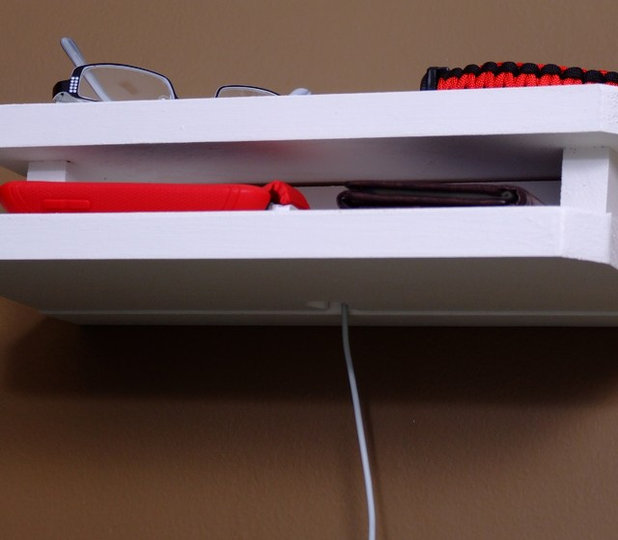
If you're placing charging cords with wide connectors (such as for iPods) in the assembly, insert the cords in the slot prior to placing the shelf assembly on the wall cleat assembly.
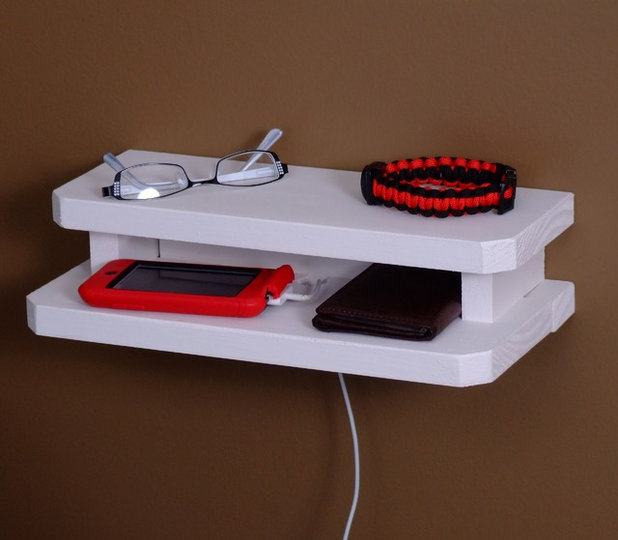
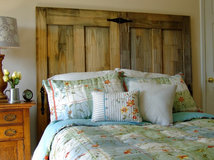
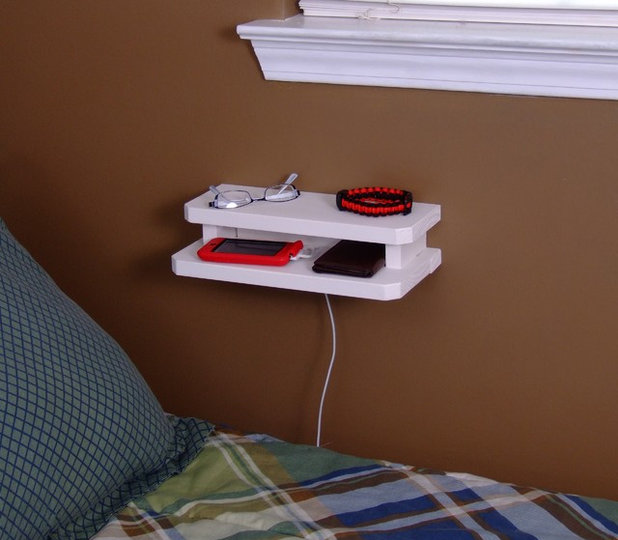
Here's the finished console in action.


Dave Fox is a design/build remodeling firm with a customer focused process, an incredible staff and a close knit... Read More
Related Products
Related Stories
Fall and Thanksgiving
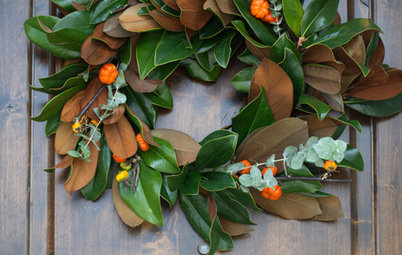
DIY: Make a Fresh Magnolia Wreath
Learn how to add a statement piece to your front door with these easy-to-find evergreens
Full Story
Bathtubs
10 Times When Painting a Claw-Foot Tub Refreshed a Bathroom
See how designers and homeowners use colorful paint to give tubs and bathrooms a fresh look
Full Story
Decorating Projects
6 Fun Ways to Decorate With ... Tape?
By Janet Paik
Add a new accent wall, a midcentury closet detail and more with this budget-friendly, multipurpose wonder
Full Story
Decorating Guides
How to Hang a Heavy Mirror
By Erin Carlyle
Here’s what to know about your mirror, wall and hanging hardware to do it right
Full Story

Mother’s Day
Surprise Mom With an Elegant DIY Bouquet
For Mother’s Day, use flowers and branches from your local market or backyard to create this pastel beauty
Full Story

Decorating Projects
12 Projects to Indulge Your Spring Fever
Get busy beautifying your home with one of these budget-friendly DIY decorating projects
Full Story

Entryways
DIY: Corral Your Boots With This Handy Entryway Tray
By Faith Towers
Follow along to make this easy and chic tray to protect your floors when it’s soggy outside
Full Story

Valentine’s Day
Put Together a Romantic and Whimsical Valentine’s Day Bouquet
By Becky Harris
Use American-grown branches and blooms for a truly individual way to show your love
Full Story
Crafts
Create a Festive, Colorful Mardi Gras Bead Wreath
Reuse collected beads from parades for an easy-to-make front door accent
Full Story
Organizing
DIY: Make a Wooden Wall Organizer to Curb Entryway Clutter
By Faith Towers
Create a hanging catchall for hats, coats, keys and phones
Full Story
A mini wooden wall console amazing idea . Nice article and i liked all the pictures.