Not every project requires a lot of expensive tools. For this toy box I only used a circular saw and a miter saw to cut my parts and a Kreg Jig and a brad nailer for assembly. A circular saw can be a pretty accurate tool with a few jigs. To cut all of my straight lines I used a home made track. This allows the saw to reference off of a straight edge to create a perfectly straight cut every time. Because MDF creates a thick fog of harmful dust I recommend you cut yours outside. I didn’t have the option to cut outside so I rigged up a dust collection hose to mine to better control the airborne dust in my shop. You could even use the circular saw to make all of your cross cuts on the trim pieces if you want to. Have a look at my zero clearance circular saw t-square if you are interested.
To make this toy box you will need one sheet of 3/4” MDF. Be careful moving it because the stuff is HEAVY! You will also need wood glue, 38 1-1/4” pocket hole screws for the main box, and some brad nails for the trim. And of course your paint of choice.
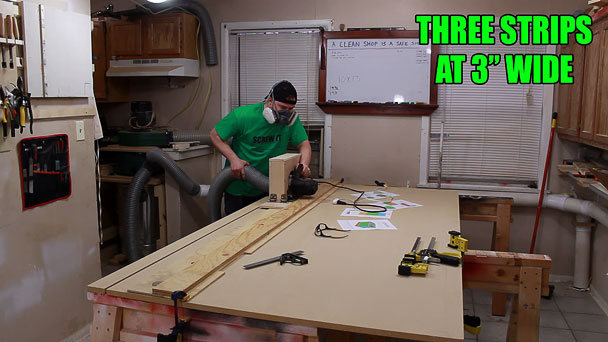
As always, the first step is to cut out all of your pieces according to the cutting layout (included in the PDF plan at the end). The first pieces cut are three 3” wide strips along the long edge of the MDF. Later we will cut the top frame and lower base trim from these pieces.
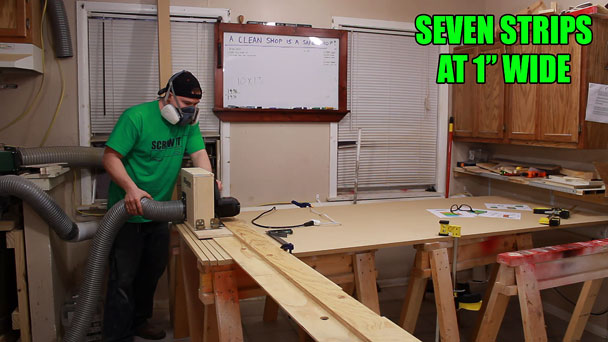
Seven 1” strips need to be cut from the resulting short side. These pieces will later be cut to trim out the top of the box.
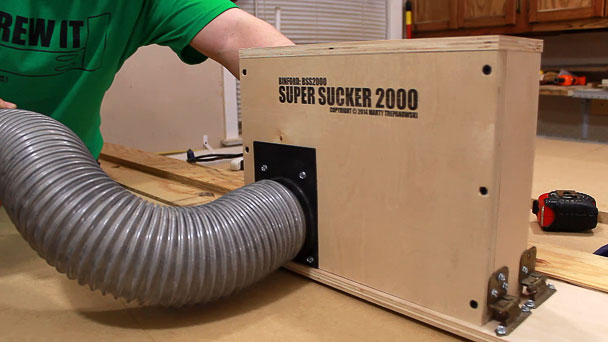
Here you can see the Binford Super Sucker 2000 (BSS2000). It’s just the box I made for better dust control when using the circular saw. Marty Trepanowski came up with the name on my Facebook page a few weeks ago. If you haven’t already, stop on by and give the page a like. You’re missing out on all the fun!
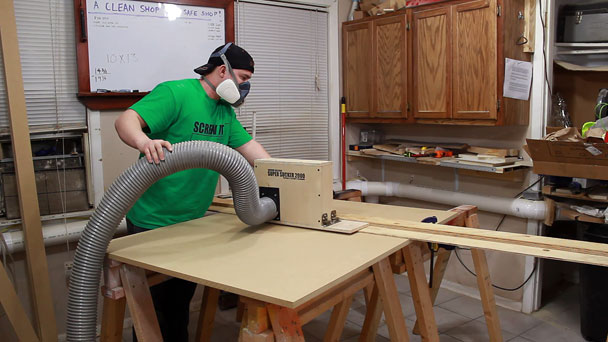
And from there all the panels can be cut. Moving this homemade setup repeatedly was a bit of a pain in the rear but no where near as annoying as breathing in all that MDF dust. This simple setup was incredibly efficient at sucking up all the MDF dust. I’m soooooo glad I put it together before this project.
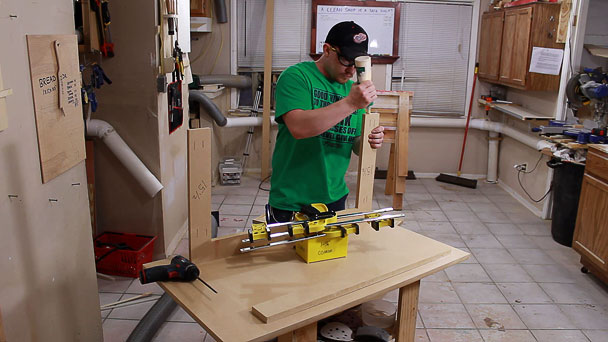
The main assembly method is pocket holes. If you don’t have a pocket hole jig I highly recommend getting one. They make quick, strong joints in almost anything. I’ve got a Kreg Jig K4
and love it.
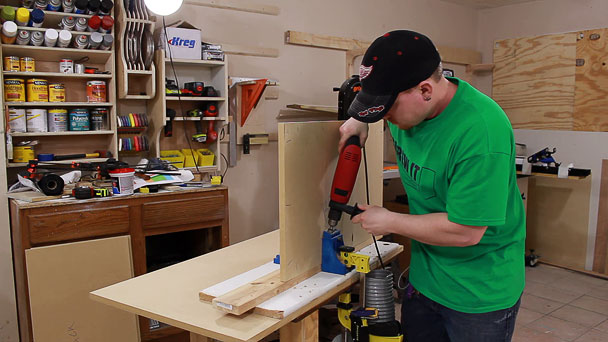
I assembled the sides first. Securing the two short sides to the front and back and then flipping the assembly to attach the back.
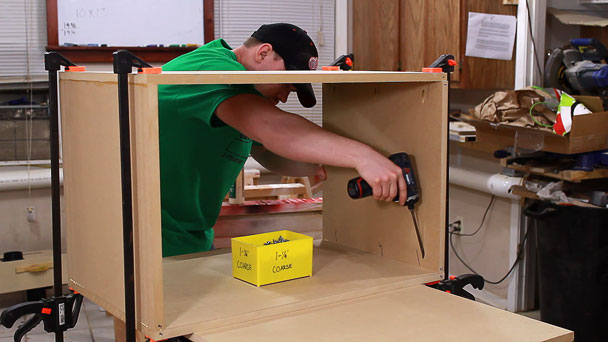
Then the bottom could be added and screwed down.
I filled all the interior pocket holes with quick drying drywall compound. It works really well with MDF. After they had enough time to dry I sanded them and used my dust collection hose to better control the dust.
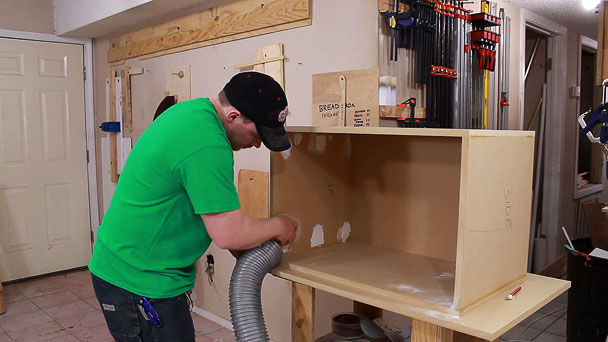
All of the trim pieces can then be cut and fit to the inside and outside of the top perimeter. These are the 1” wide strips.
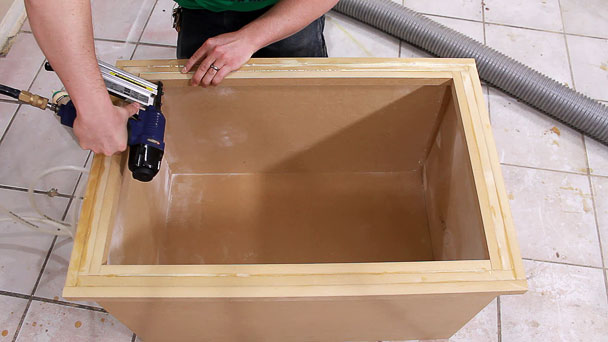
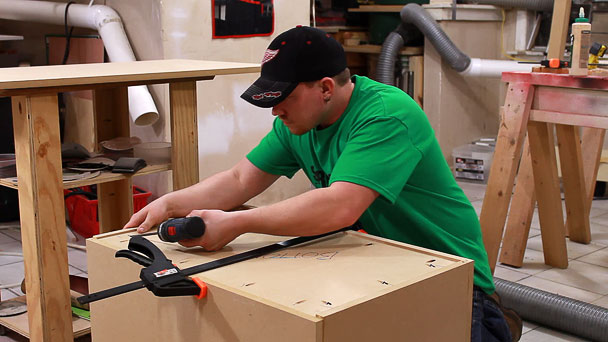
With a stable platform for the top most frame to sit on I built the top frame and secured it with glue and brads.
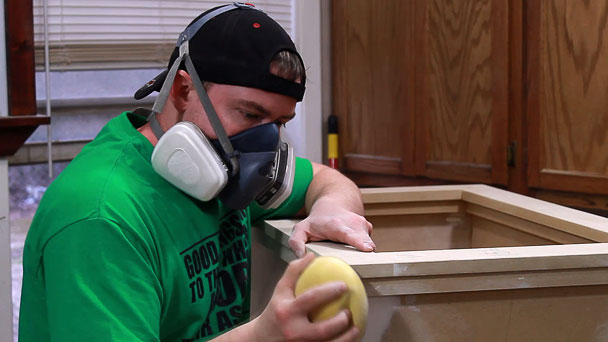
I added the base trim the same way as the top trim, filled all the nail holes, and started sanding. Because this is a toy box for kids all of the edges needed to be rounded over.
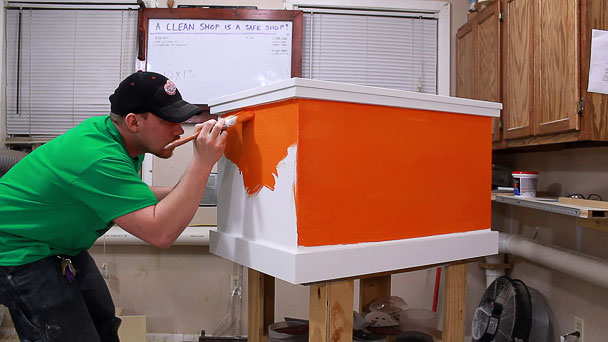
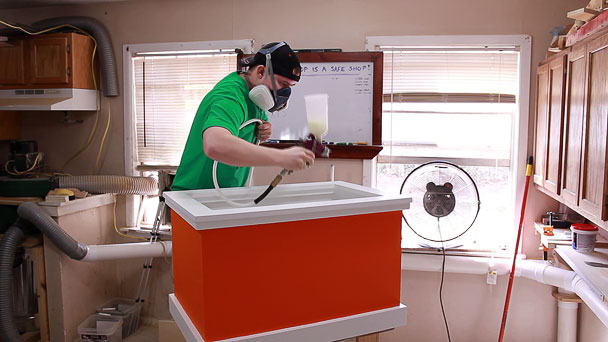
The entire box got a base coat of white primer inside and out. Followed by a white semigloss latex paint on the inside, top trim, and lower base trim. Then the outside body of the box was panted bright orange. The original idea was to make a Dukes of Hazard toy box but I wasn’t feeling too confident on the numbers so I just left it orange and white.
You could just leave it painted if you want but I wanted to add a layer of protection on top of the paint. I sprayed the entire box inside and out with a few coats of water based satin lacquer. You could just use a brushing lacquer or a non yellowing polyurethane if you want.
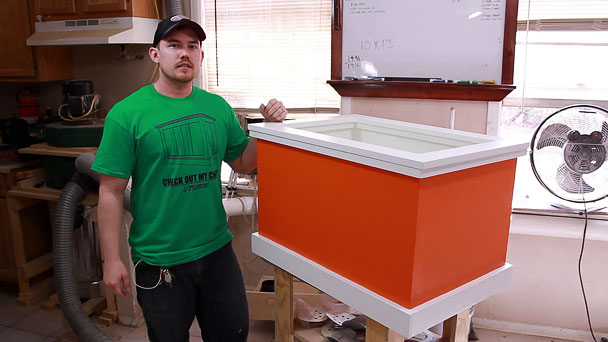
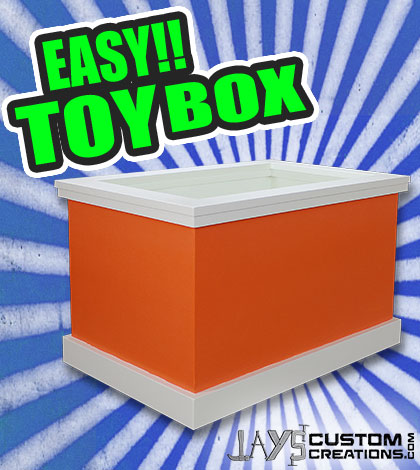
In the end it’s a very easy project that anyone can make with a few tools. No table saw needed for this one. If you decide to make one stop by my Facebook page and share it with all of us.
Want one of the shirts seen in this video? You can find them in my store CLICK HERE
Download
Although this plan is free to you remember that it isn’t free to produce. If you would like to show your thanks please consider using the donate button at the bottom of this page. If you liked this project and found it useful please share it so others can do so as well. Thanks for stopping by folks and have a great day!


I liked the super sucker 2000 stencil you but on the side. That was a nice touch.
Great toy box. I have 11 grandchildren 8 of them still young enough for a toy box. I just might have to build a few of these between now and Christmas. Thanks for the plans.
You’re very welcome Grant. Thanks for stopping by!
Great helpful stuff! Thanks Jay!
Enjoyed the toy box build. Cool the way you matched the use of your tools to the music nice touch.
Thank you Mark!
Is the toy box for sale??? It’s lovely
This box was a gift. Sorry.
Thank you for the plans. New at this. Made the Kreg jig workshop table. First thing I made. Hopefully the toy box will go as smoothly as the table.
what is the size for the front and back and side panels
Hey Mark. All of the dimensions are in the free downloadable plan.
thank you i found them
Hi Jay. New subscriber to your youtube channel. I’ve really enjoyed your videos! I’ll be they take almost as long to edit as the projects themselves! Great job on the mix of explanations and the speed ups during the get-r-done portions. :)
Question – On this project, I see you filled the pocket holes with spackle. I’m building a similar box (before I found your plans) that will be painted. Would you fill your holes with spackle again? I used Birch ply instead of MDF to keep the weight down.
Keith
If it’s going to be painted I don’t see a problem with it and would do it again if I had to.
Thanks Jay! I’m going to give it a try. Way faster looking than cutting a bunch of plugs!
I used one piece of plywood but I wish I had the solid wood around the outside. I think having solid wood to connect the hinge to will work better.