
How to Build a Wood Garbage Can Hidden in a Cabinet
Build a Concealed Garbage Can
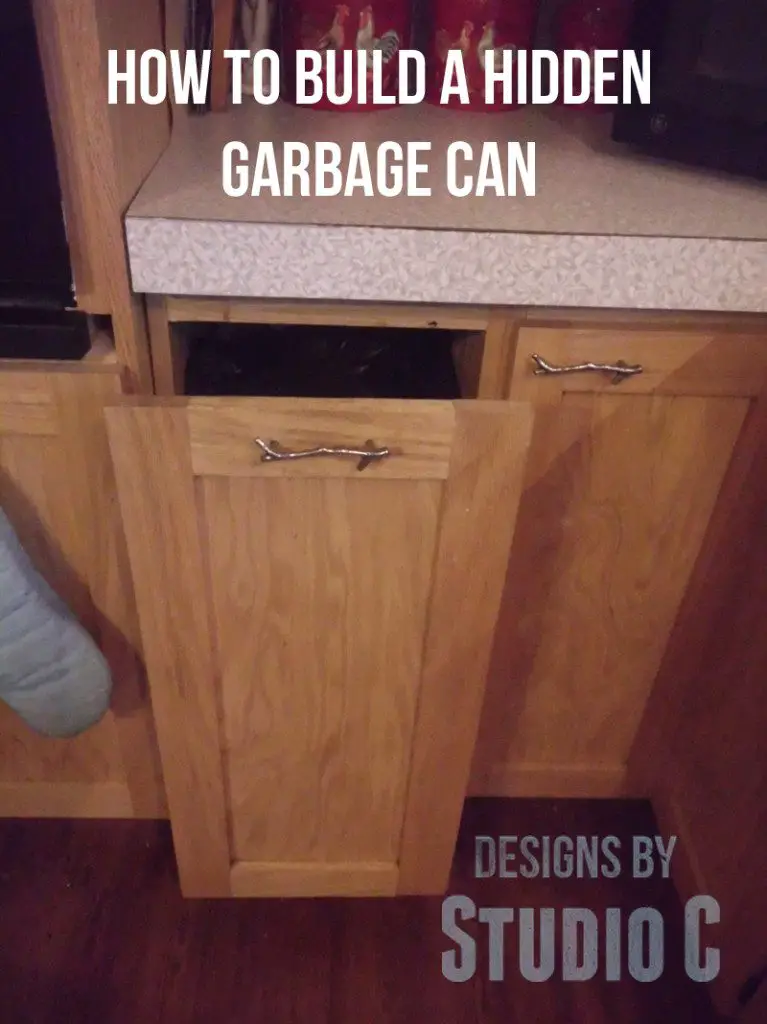
When I was designing my new kitchen, I was thinking about how awesome it would be to have a trash can that is hidden in a cabinet. No one would know it was there! It would be safe from pets (which meant I would have less clean up) and no one would be tripping over it.
I built all of the cabinets in the kitchen and had one that I wasn’t quite sure what to do with. It could have been appliance storage, more drawers, wine storage, etc. Then the trash can idea struck me… That afternoon I had a trash can built from plywood scraps with drawer slides, and it was mounted inside the cabinet. I was thrilled! The door actually mounts to the can itself and I added an extra handle to the back of the trash can to make it easier to lift out of the slides. I also store the roll of can bags behind it!
How to build a concealed trash can:
- Measure the cabinet opening. Your trash can will need to be the width of the opening minus 1” for the drawer slide clearance.
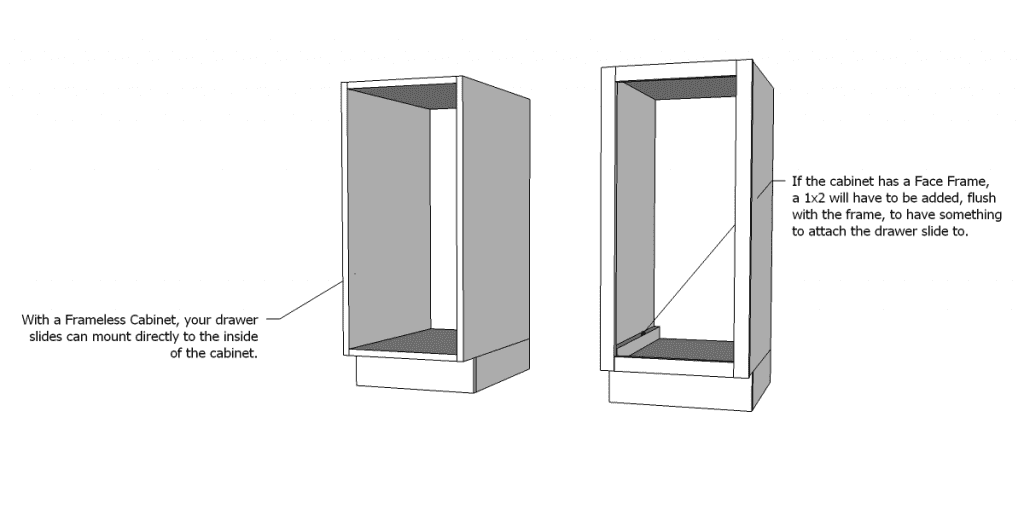
- Determine if you have a face frame on your cabinet or if it is frameless. If it is frameless, the slides will mount right to the sides of the cabinet. If there are face frames, a spacer will have to be mounted to the bottom or sides of the cabinet at the opening in order to attach the drawer slides or you can use mounting sockets to clear the face frame.
- Measure the depth of your cabinet. Most drawer slides are sold in even lengths – 18”, 20”, 22”. I used 18” drawer slides (<– affiliate link – its what I already had) so my trash can is 18” deep which allows me to store the roll of bags and an air freshener in the back!
- Measure the height of the cabinet opening. I allowed for a few inches between the can and the top of the door opening.
- Start building! Scraps of different species of plywood are fine to use. Mine is a combination of birch and oak~ You can also use different thicknesses, for example, the front and back can be ½” plywood while the sides and bottom are ¾” plywood or vice versa, although the bottom should be ¾” thick.
- Install your slides. I used the slides with the rollers in the beginning but they quickly wore out. I switched to the ball bearing slides that mount to the side. They hold up much better and it is still easy to remove the can if I have to.
- Pick your finish – it can be stained, painted, left natural or whatever you choose! I left mine unfinished because it is hidden, after all, but I did sand it really well, including the edges. The “door” is finished to match the rest of the cabinets.
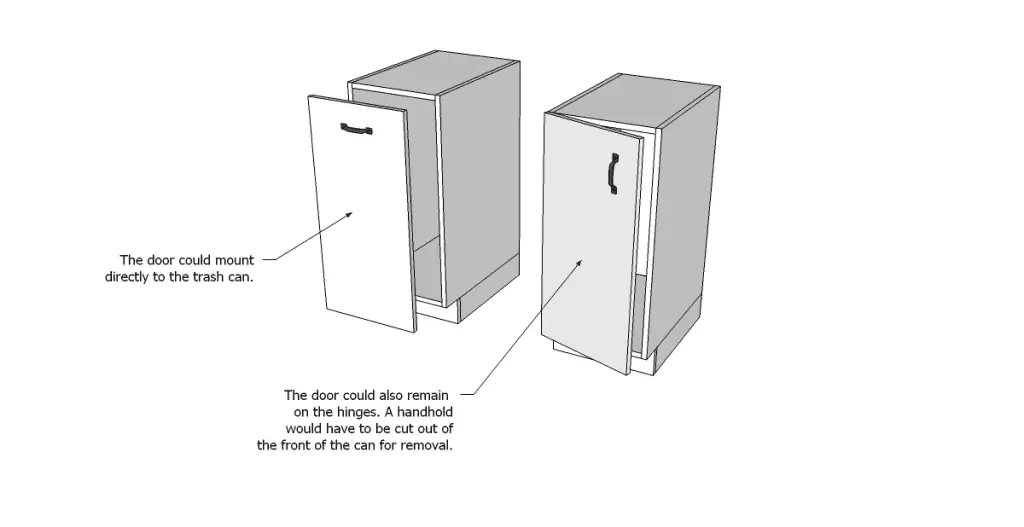
- Mount the door. You can choose to mount the door directly to the can or you can leave it on its hinges. If the door is directly mounted to the can, add a handle or pull in the top center to make it easier to slide the can out. If the door is left on the hinges, a notch or handhold would have to be cut into the front of the can so it can be pulled out.
- For ease in removing the can to remove or replace the bag, I suggest adding a handle to the back of the can provided there is enough clearance. If not, just cut a handhold in the back of the can!
Load it up… Enjoy your new hidden trash can! Does this have your DIY wheels turning? Ha ha! If you have any questions on how to build a wood garbage can, leave a comment below!