


Build a Wooden Screen Door

Materials and Tools
miter saw
table saw
hammer and chisel
screw gun
drill and various-sized bits
brad nailer and nails
clear Douglas fir (net thickness) – two pieces at 8’ x 6” x 1” and one piece at 3’ x 8” x 1” (our door frame is 35-3/4” x 78”)
two 10’ pieces of screen stop (small trim)
6 feet of screen material
staple gun and 1/4” staples
wood glue
3” hinges
screen door latch
Steps:
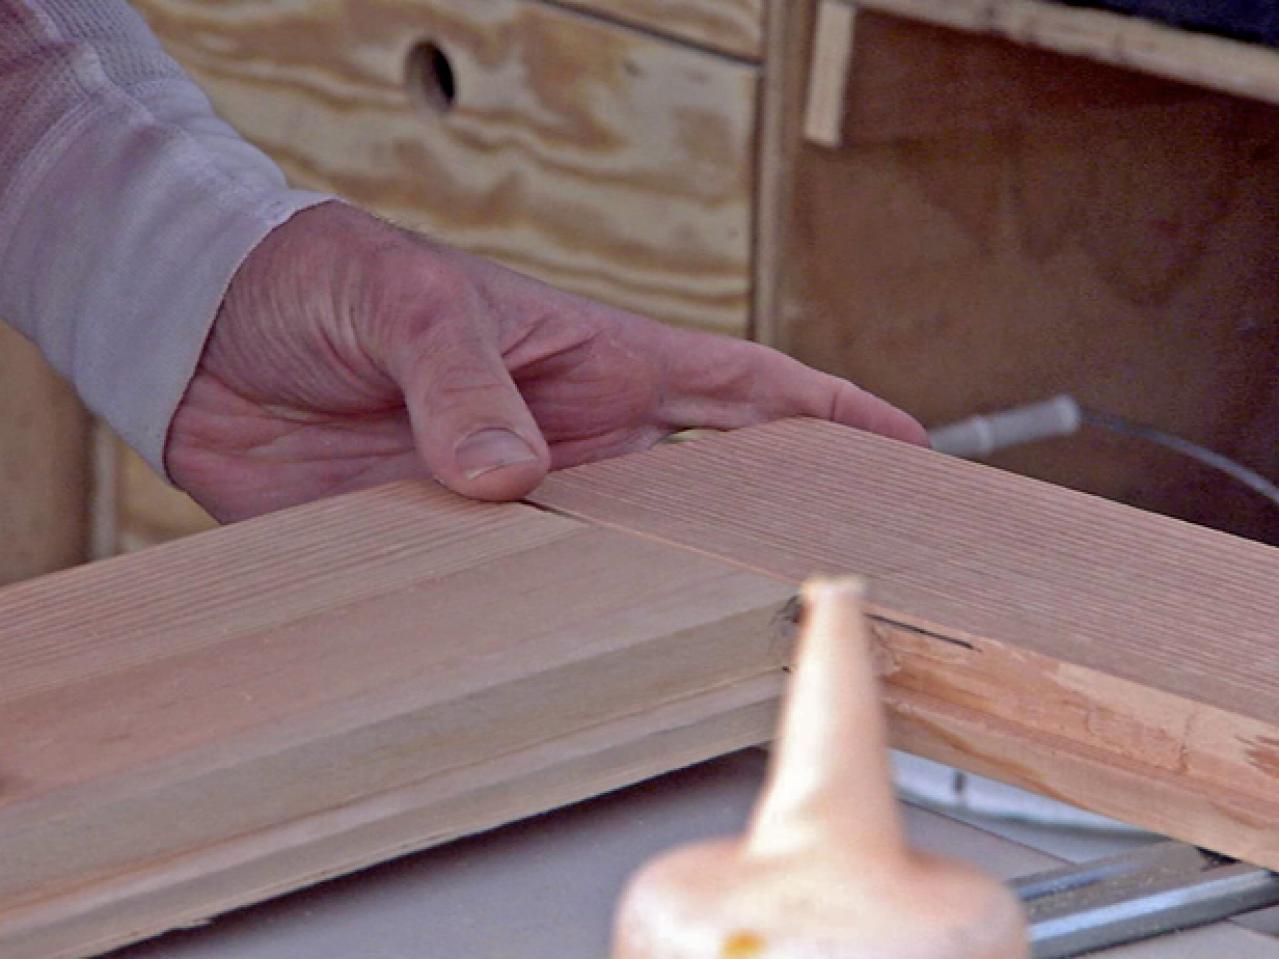
1. Build the frame for the door. We cut the 6-inch fir down to 5-1/2 inches to create the stiles (vertical) and top rail (horizontal). For the bottom (kick) rail, we cut down the 8-inch fir to 7-1/2 inches.

2. To attach the stiles and rails, fit the table saw with a tongue and groove bit. Cut tongues (deep ridges) in the stiles and grooves (slots) into the rails.
3. Cut a 5/8” rabbett cut on the inside of each piece to create a space to attach the screen.
4. Use dowels and glue to fasten the frame. Clap tightly and let dry.
5. Paint or stain the frame and the screen stop piece. Be sure to cover the inside of the groove as well. Let dry.

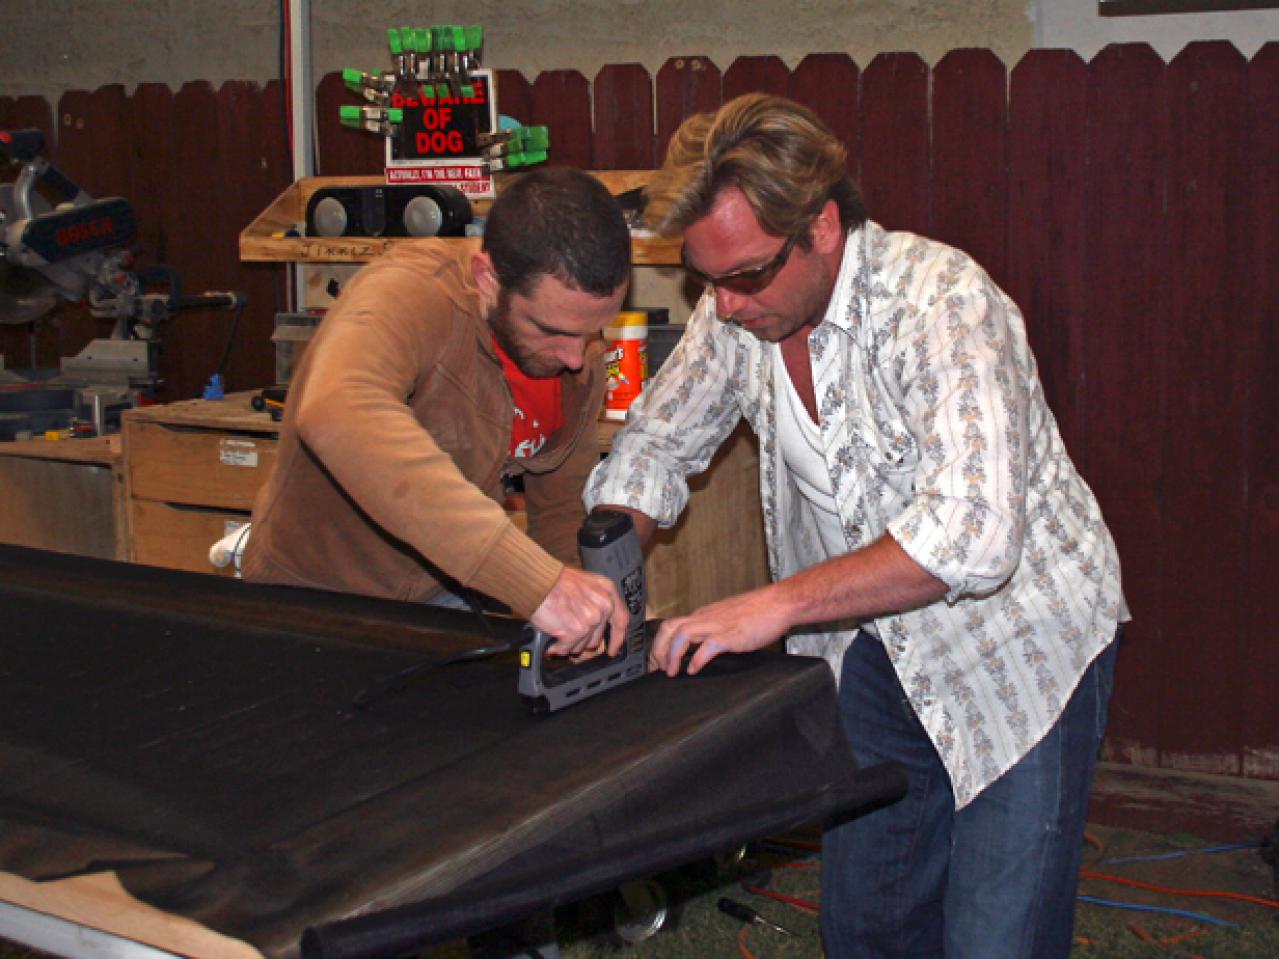
6. Install screen material with staples. Ensure material is stretched tightly during installation for a neat appearance.

7. Miter cut the trim to size to fit inside the rabbet cut and cover the staples. Attach the trim using a brad nailer.
8. Attach hinges and hardware then hang.


